


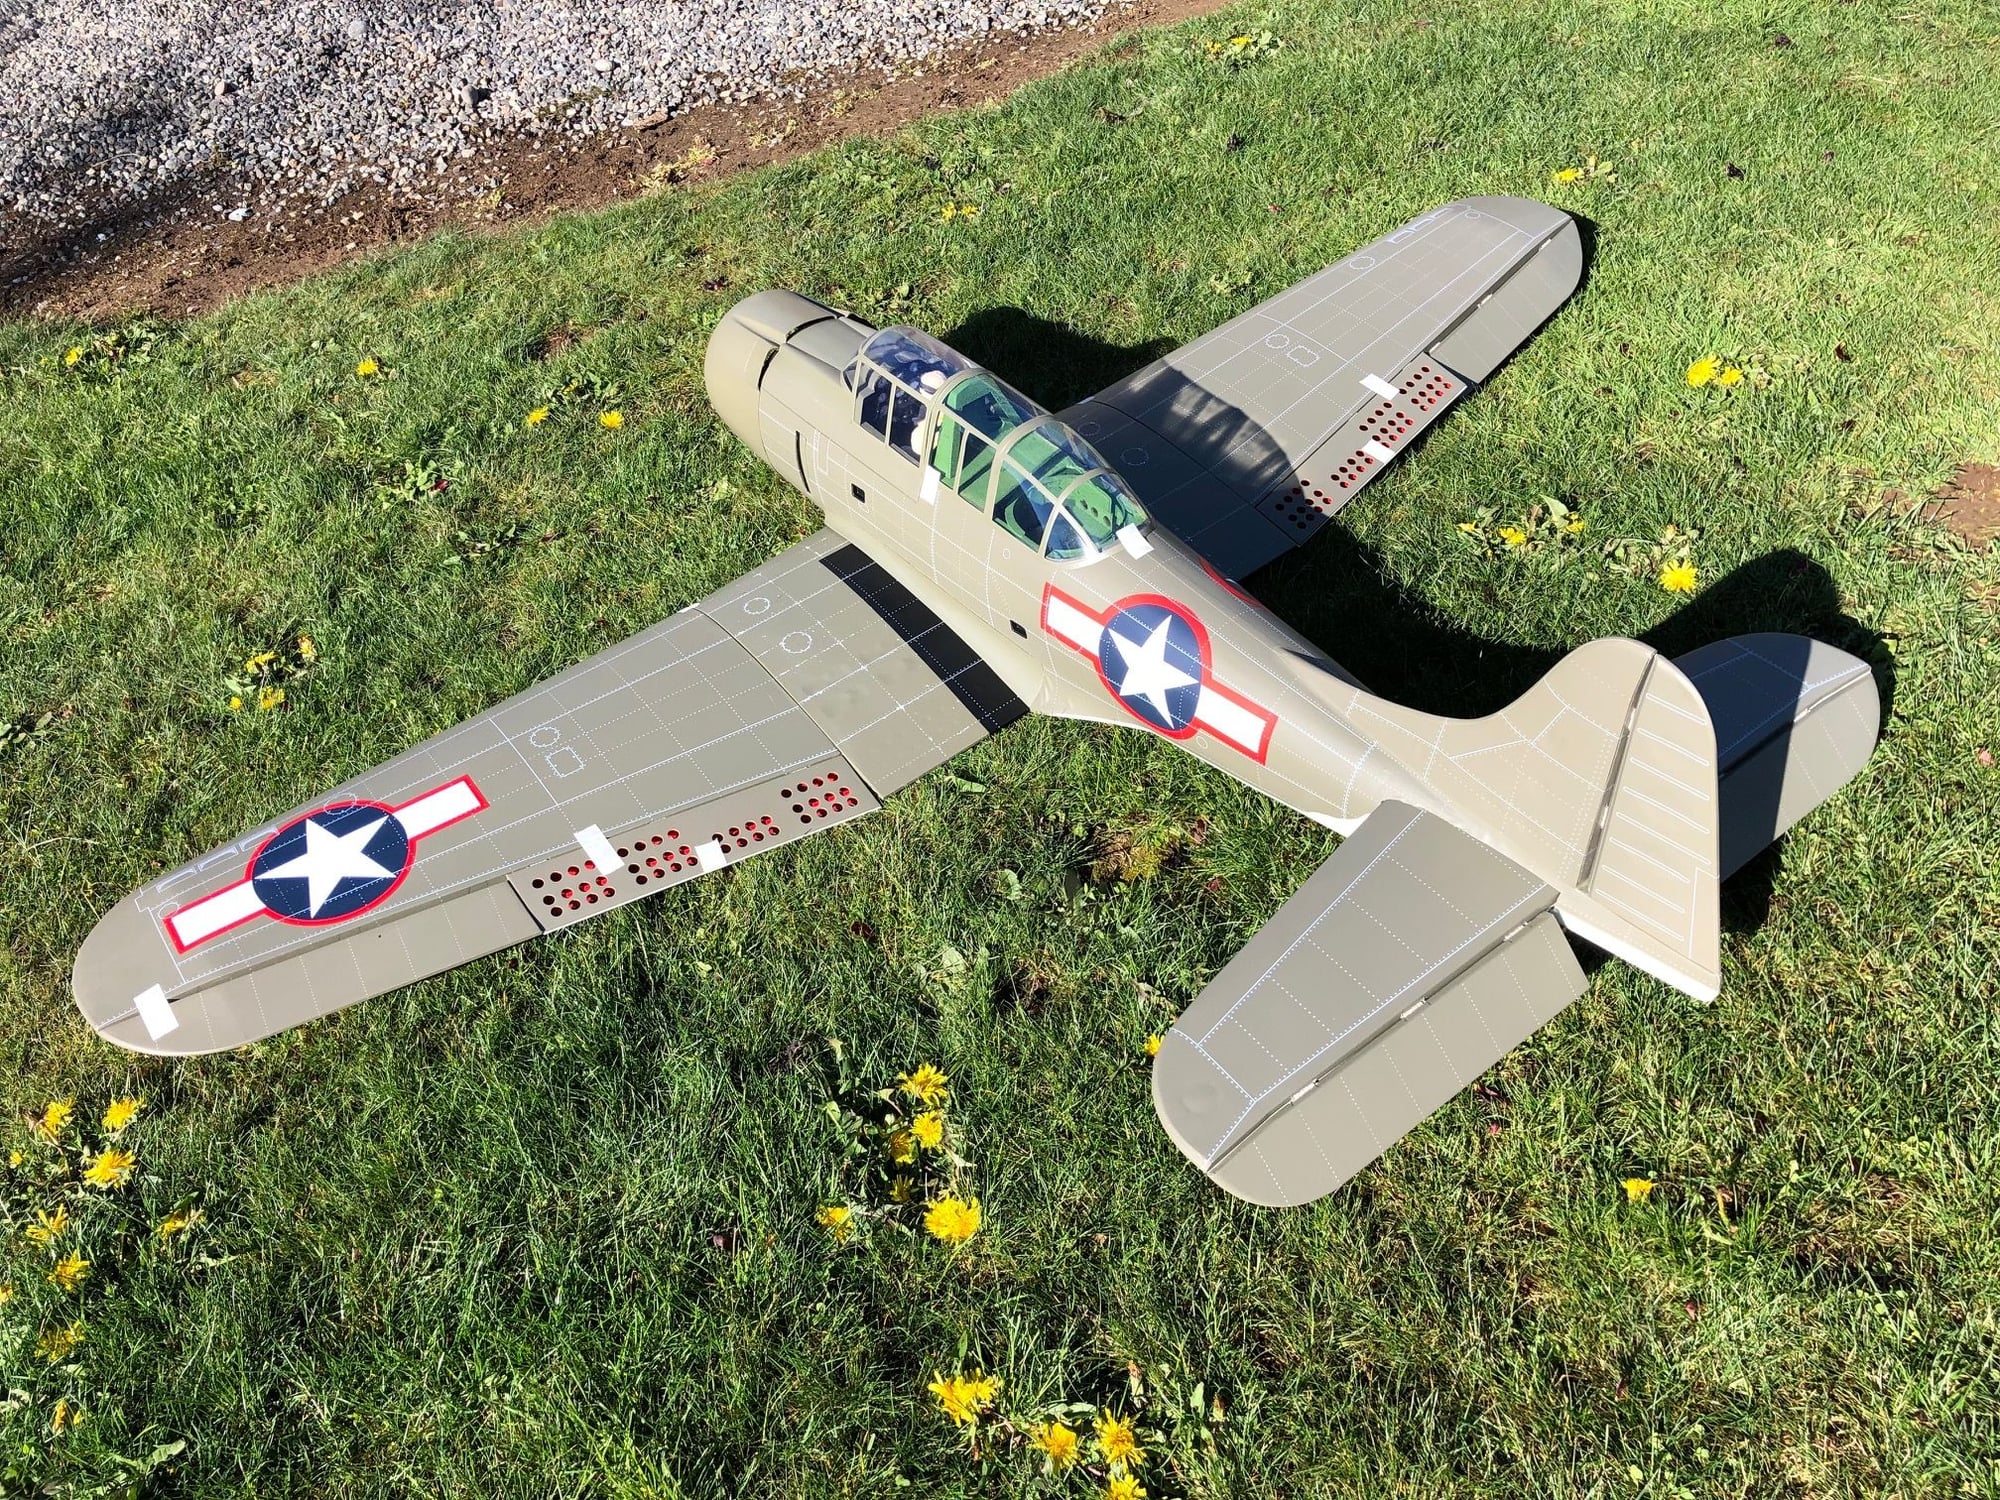
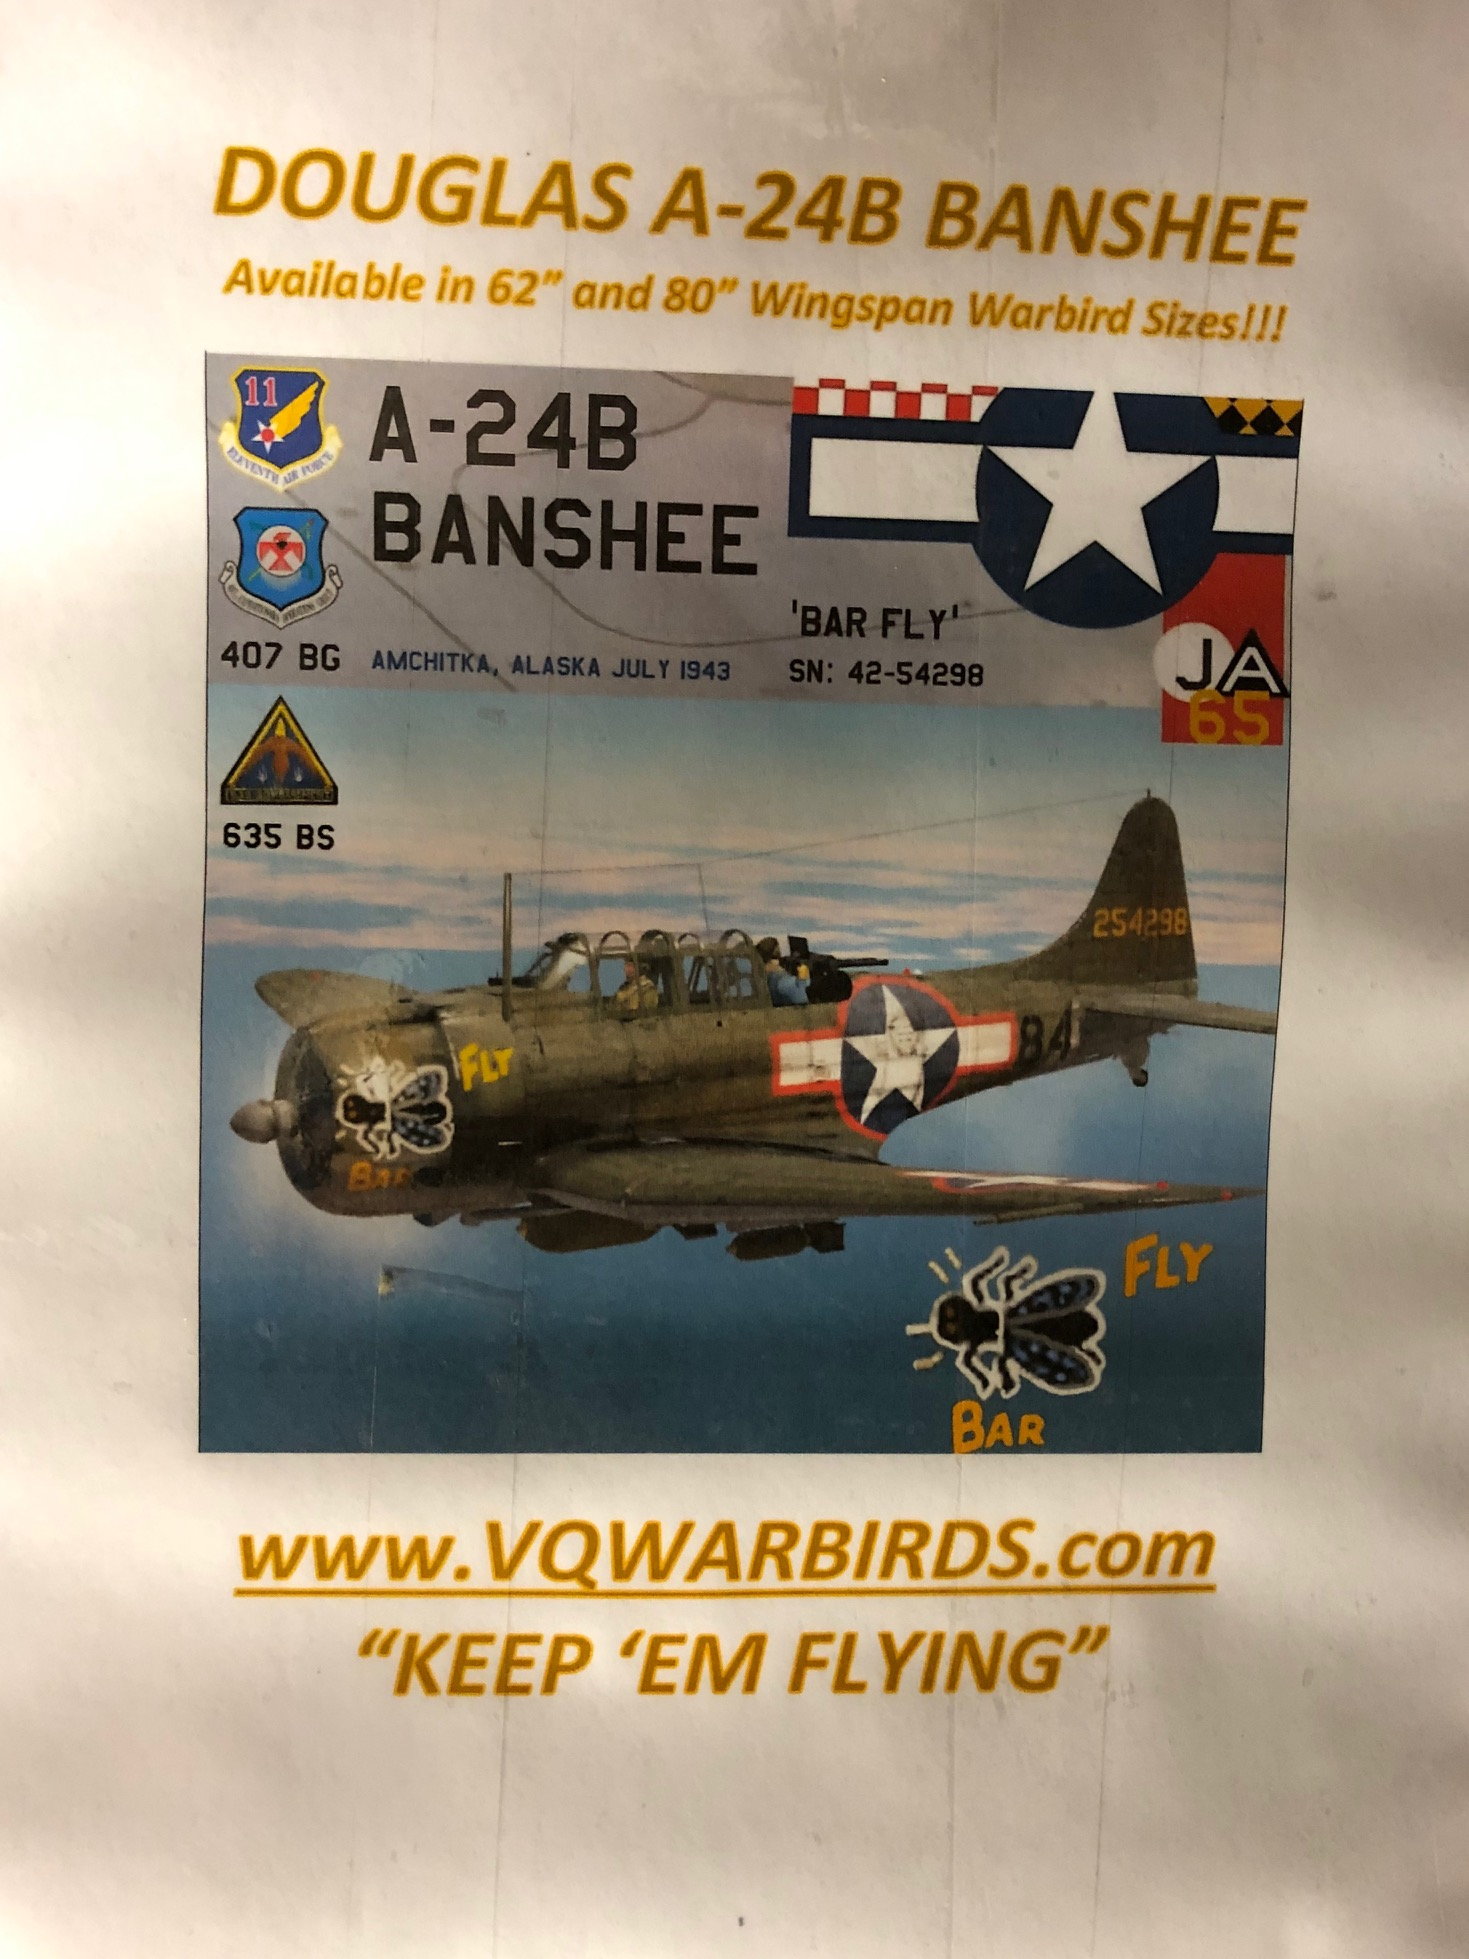
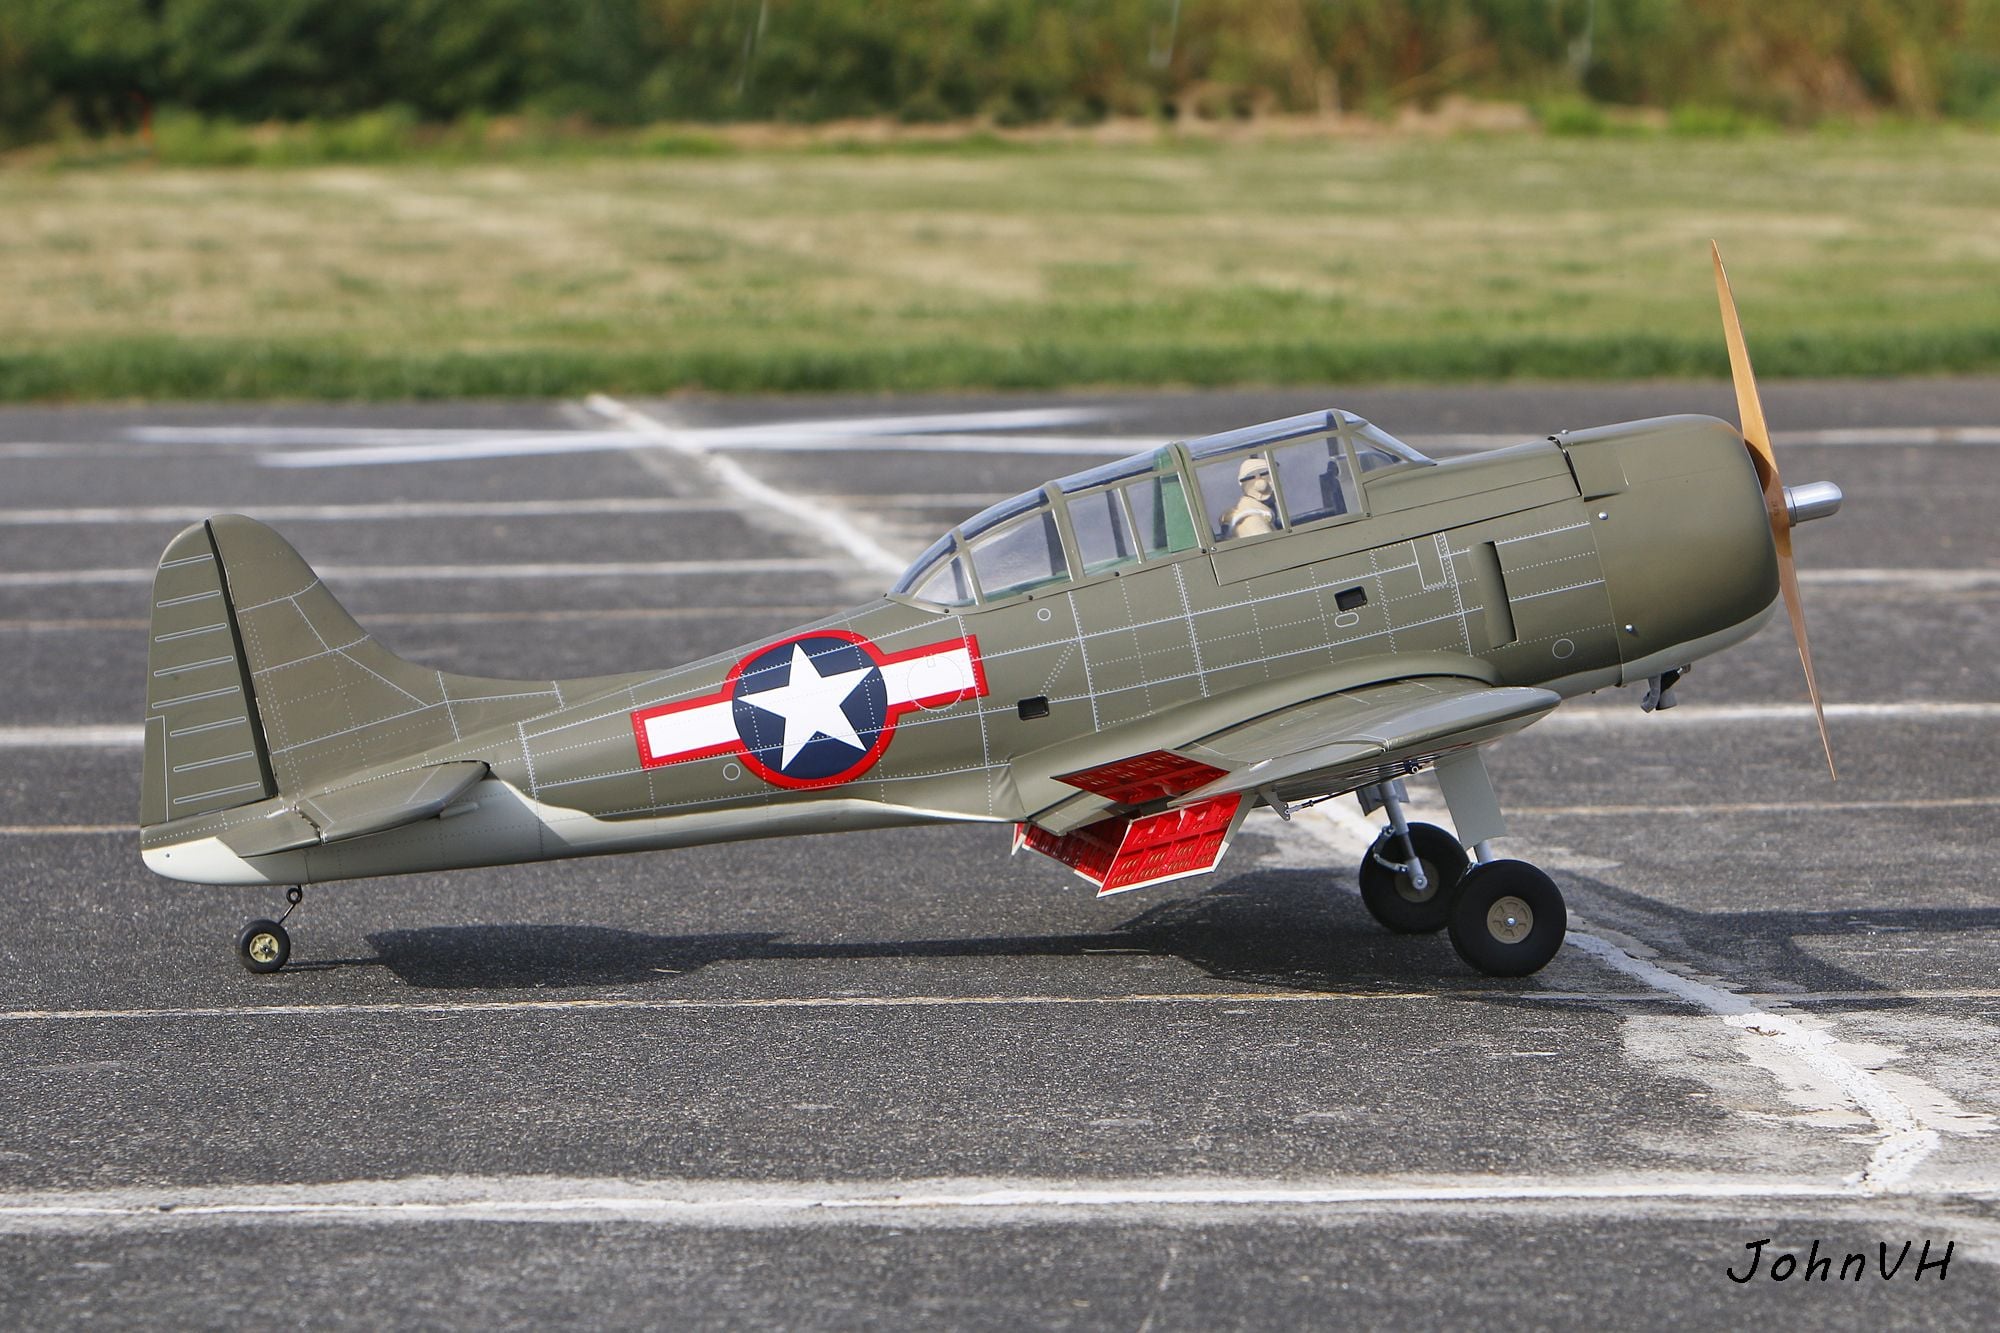
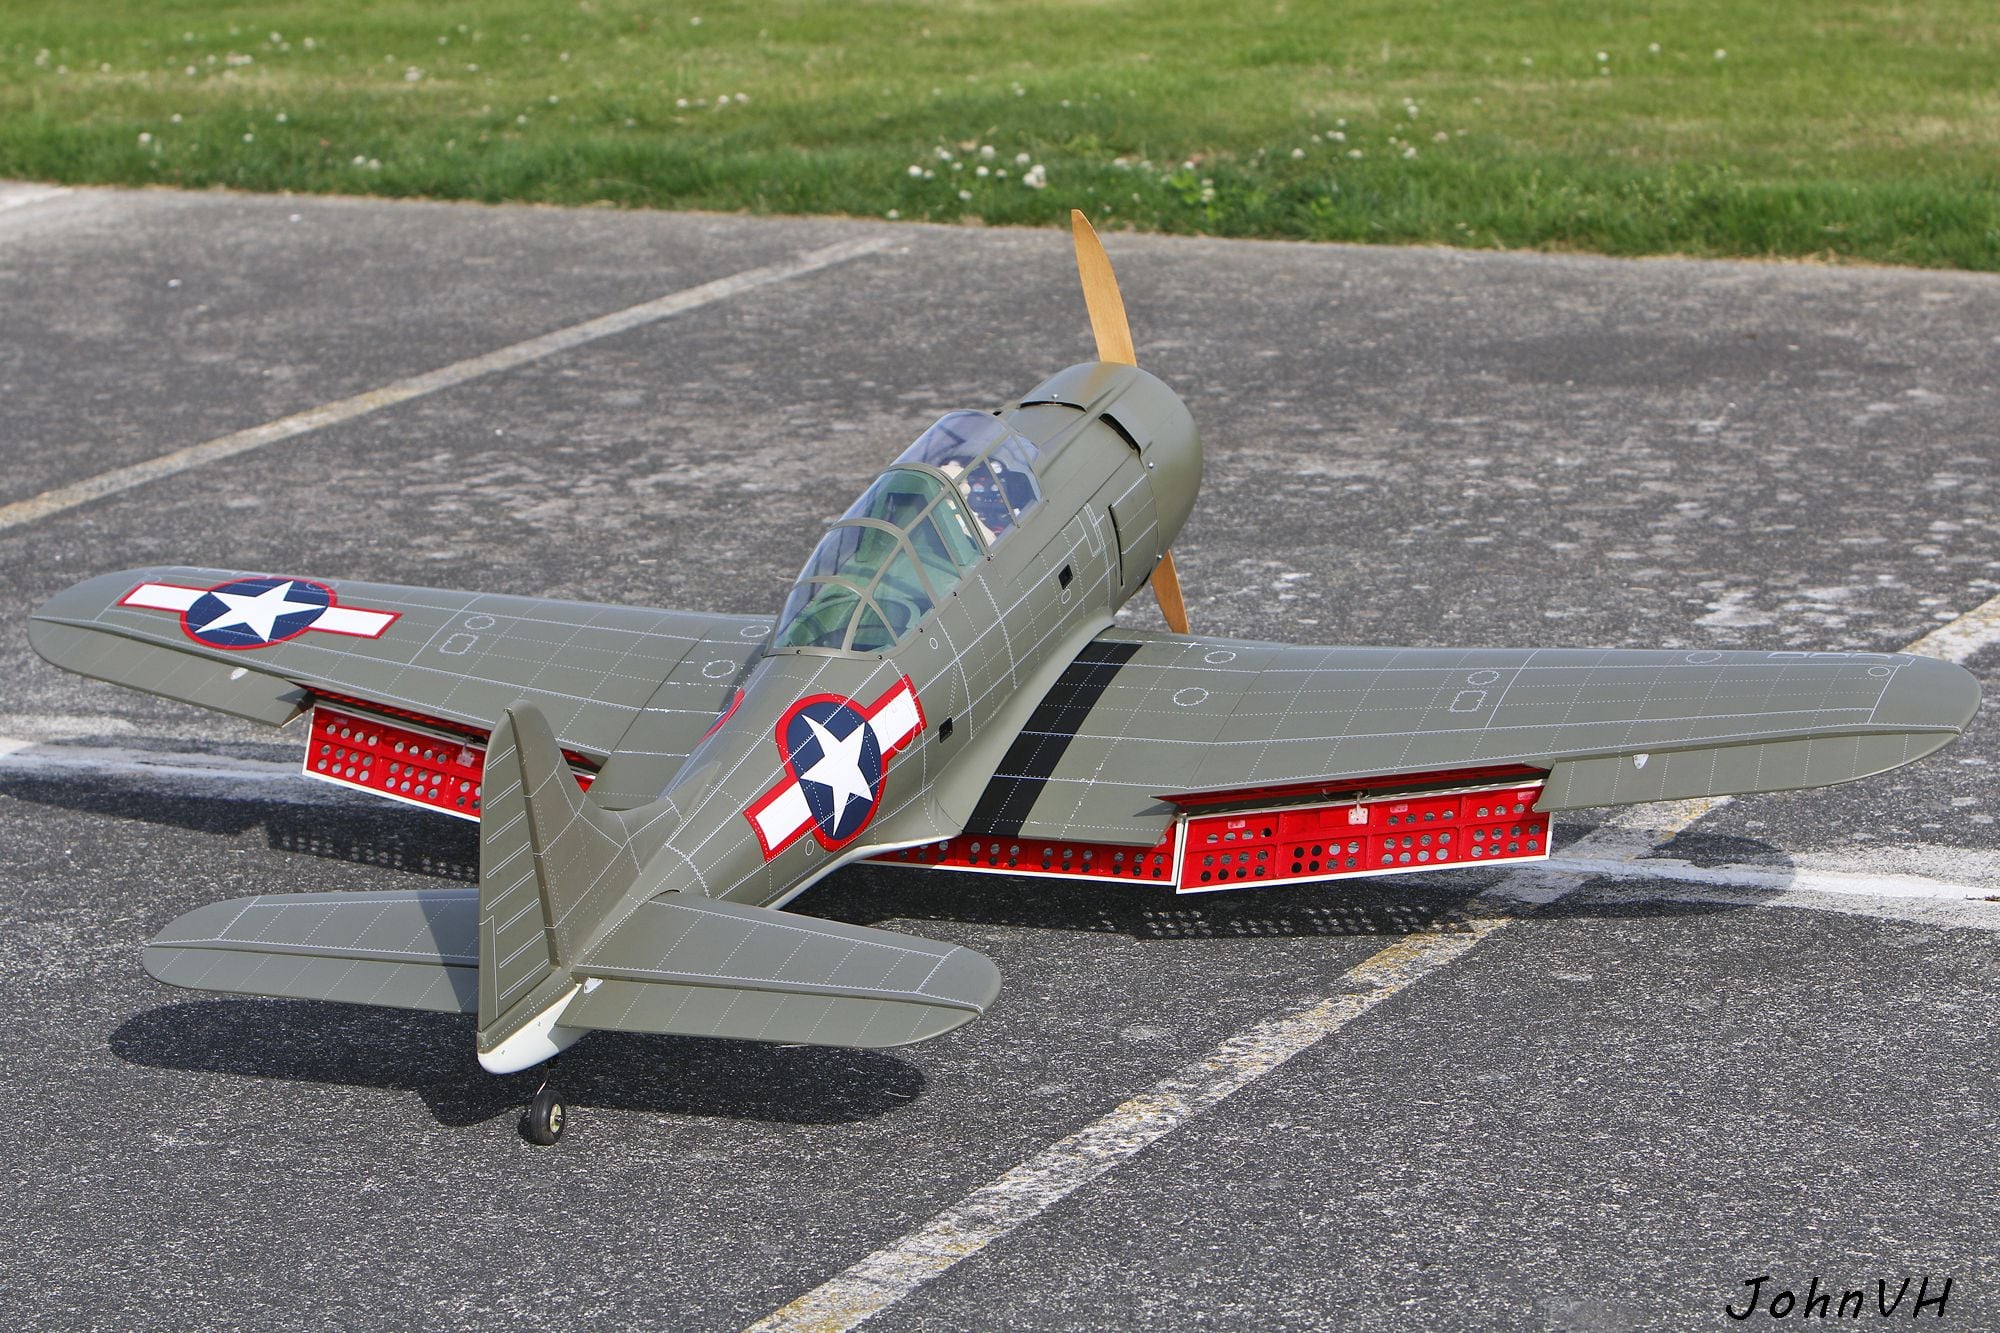
VQ Warbirds A-24 Banshee 80" Build and Fly!
 04-29-2019, 08:30 AM
#1


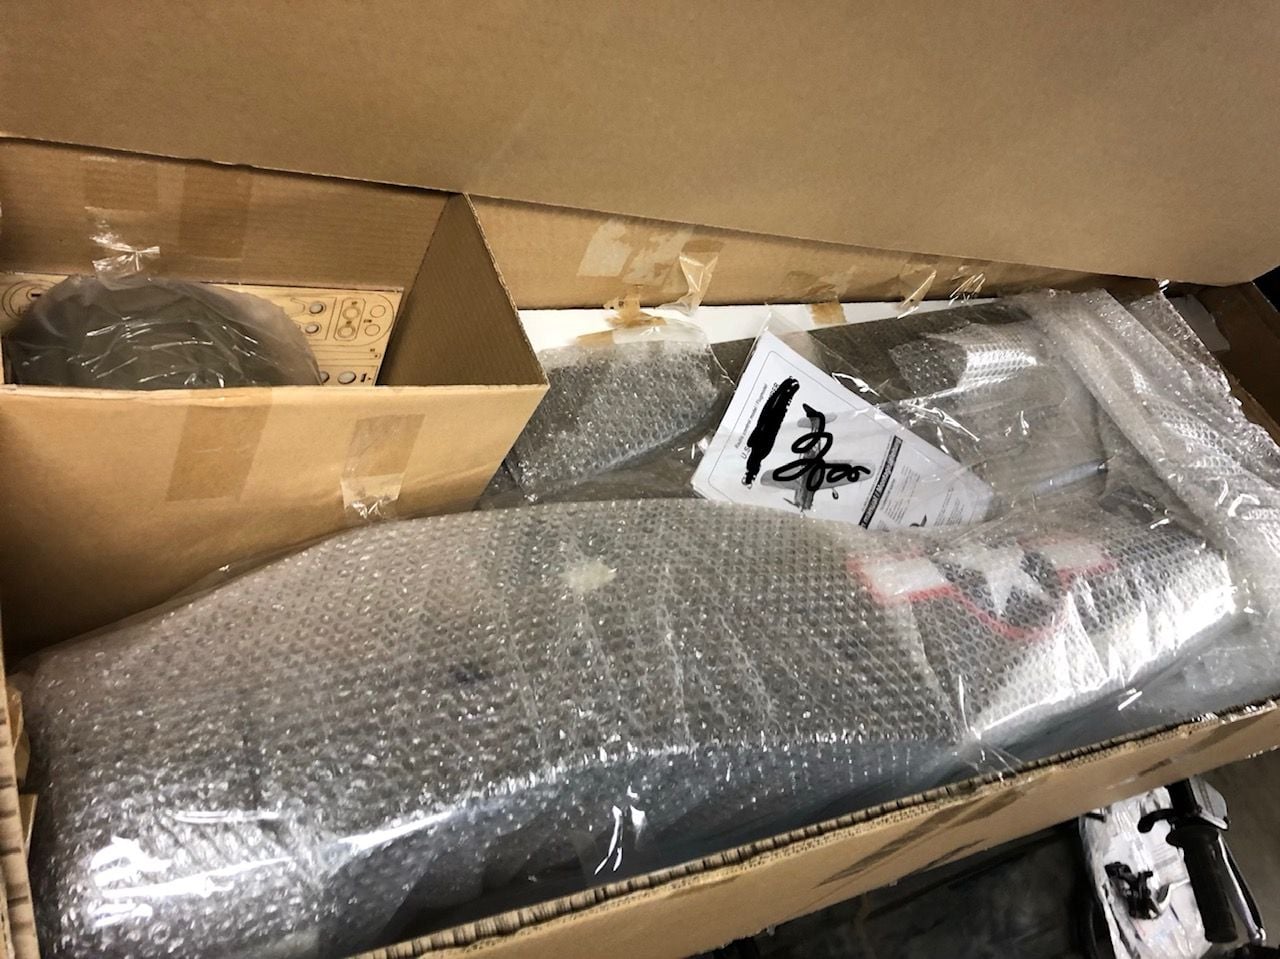
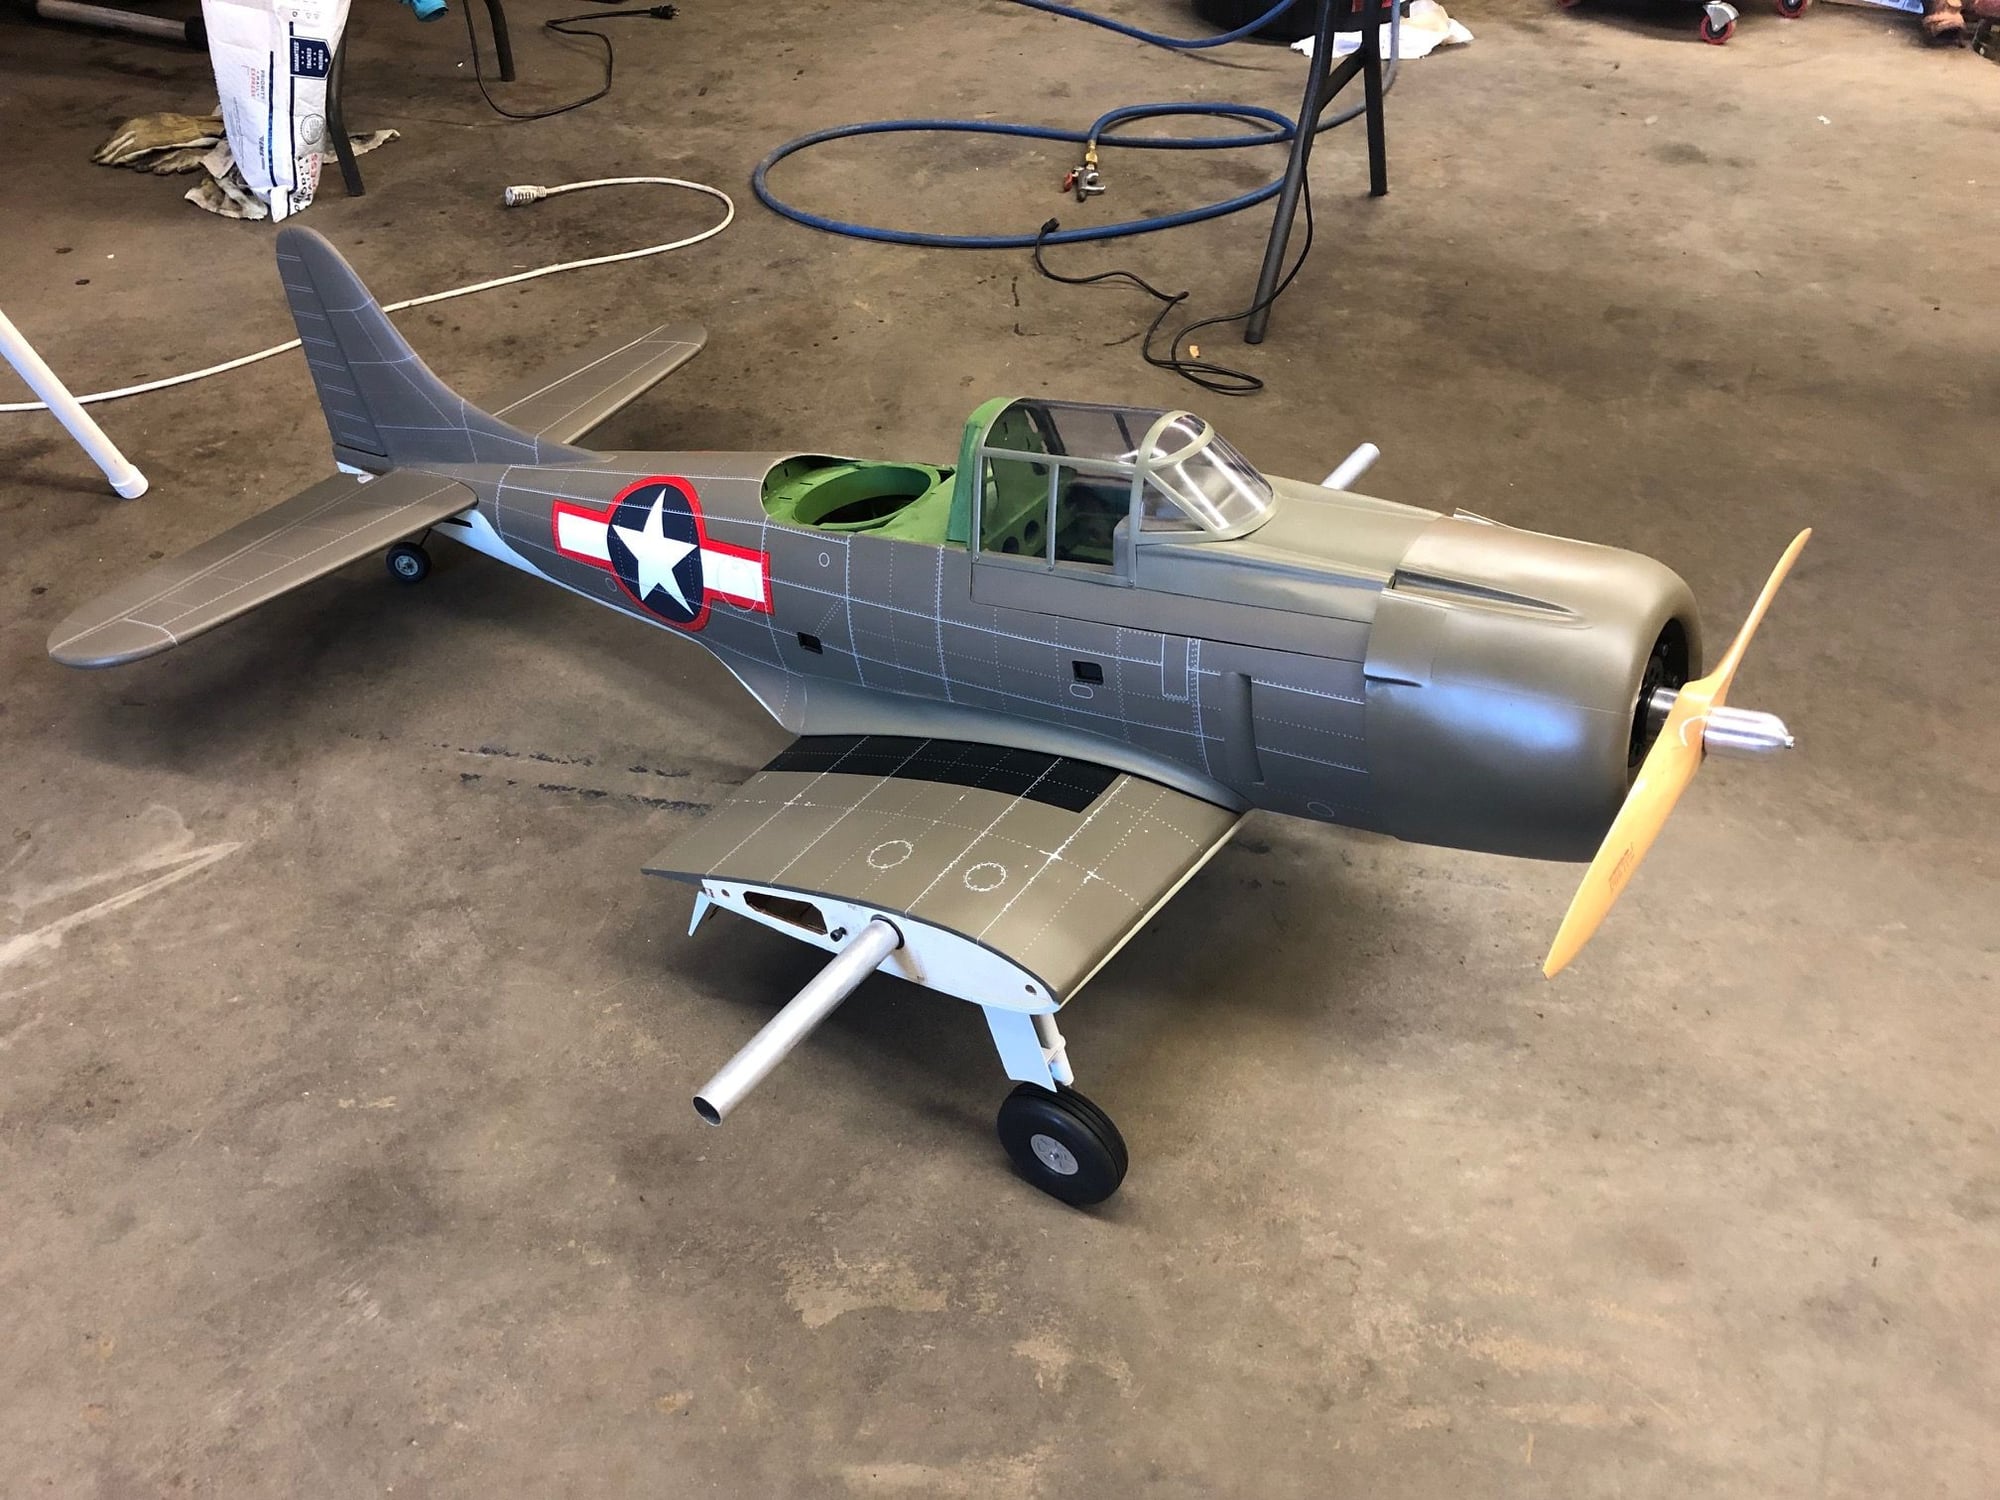
Anyone else have one? I just received it last week, Packaged well, Box was double walled with thick cardboard, so zero shipping damage! It builds just like the Dauntless so there is alot of info out there on how it assembles, but Ill be doing my spin on it, with some tips or tricks.
https://vqwarbirds.com/product/vq-80...ep-gp-warbird/
I have a project tieing up my shop floor, but hope to have that completed this coming weekend, then it will be Banshee time! Im going with the EME35 Auto Start too! Pretty excited!
Specs from VQ's site:
Specifications:
Material: Laser cut balsa and ply
Wingspan: 80.7″ (2050 mm)
Length: 55.5″ (1410mm)
Weight: 15.0 � 15.5 lbs (6.8 � 7.0Kg)
Radio: 8 channel, 10 servos +1 for throttle (***see specs below)
Engine: 30cc gas or 1.60 glow ***
Electric: 3000 Watt brushless DC motor. (***see below)
Optional VQ Electric Retracts and Scale Struts available ***
Features:
Pre-painted pilot and rear gunner
Covered with pre-printed PVC film
Factory Painted fiberglass cowl
Fixed landing gear included
Functional dive brakes and flaps
Radial engine replica cover
WWII Bomb (fixed)
Cowl hatch for fuel tank/electronics/battery access
Recommended Electric Setup (Not Included):
Dualsky XM6360EA-10 218Kv motor (3081 Watt peak rating, 1694 Watts continuous)
Dualsky XC10036HV 100A HV ESC (130A peak)
Battery: 2 x 5S 35C 5000mAh lipos in series (10S)
2-blade Prop: 18 x 12
Scale 3-blade Prop: 15.9″ to 17.9″ blades on 16D size Ramoser VarioProp hub (shown in product photos above)
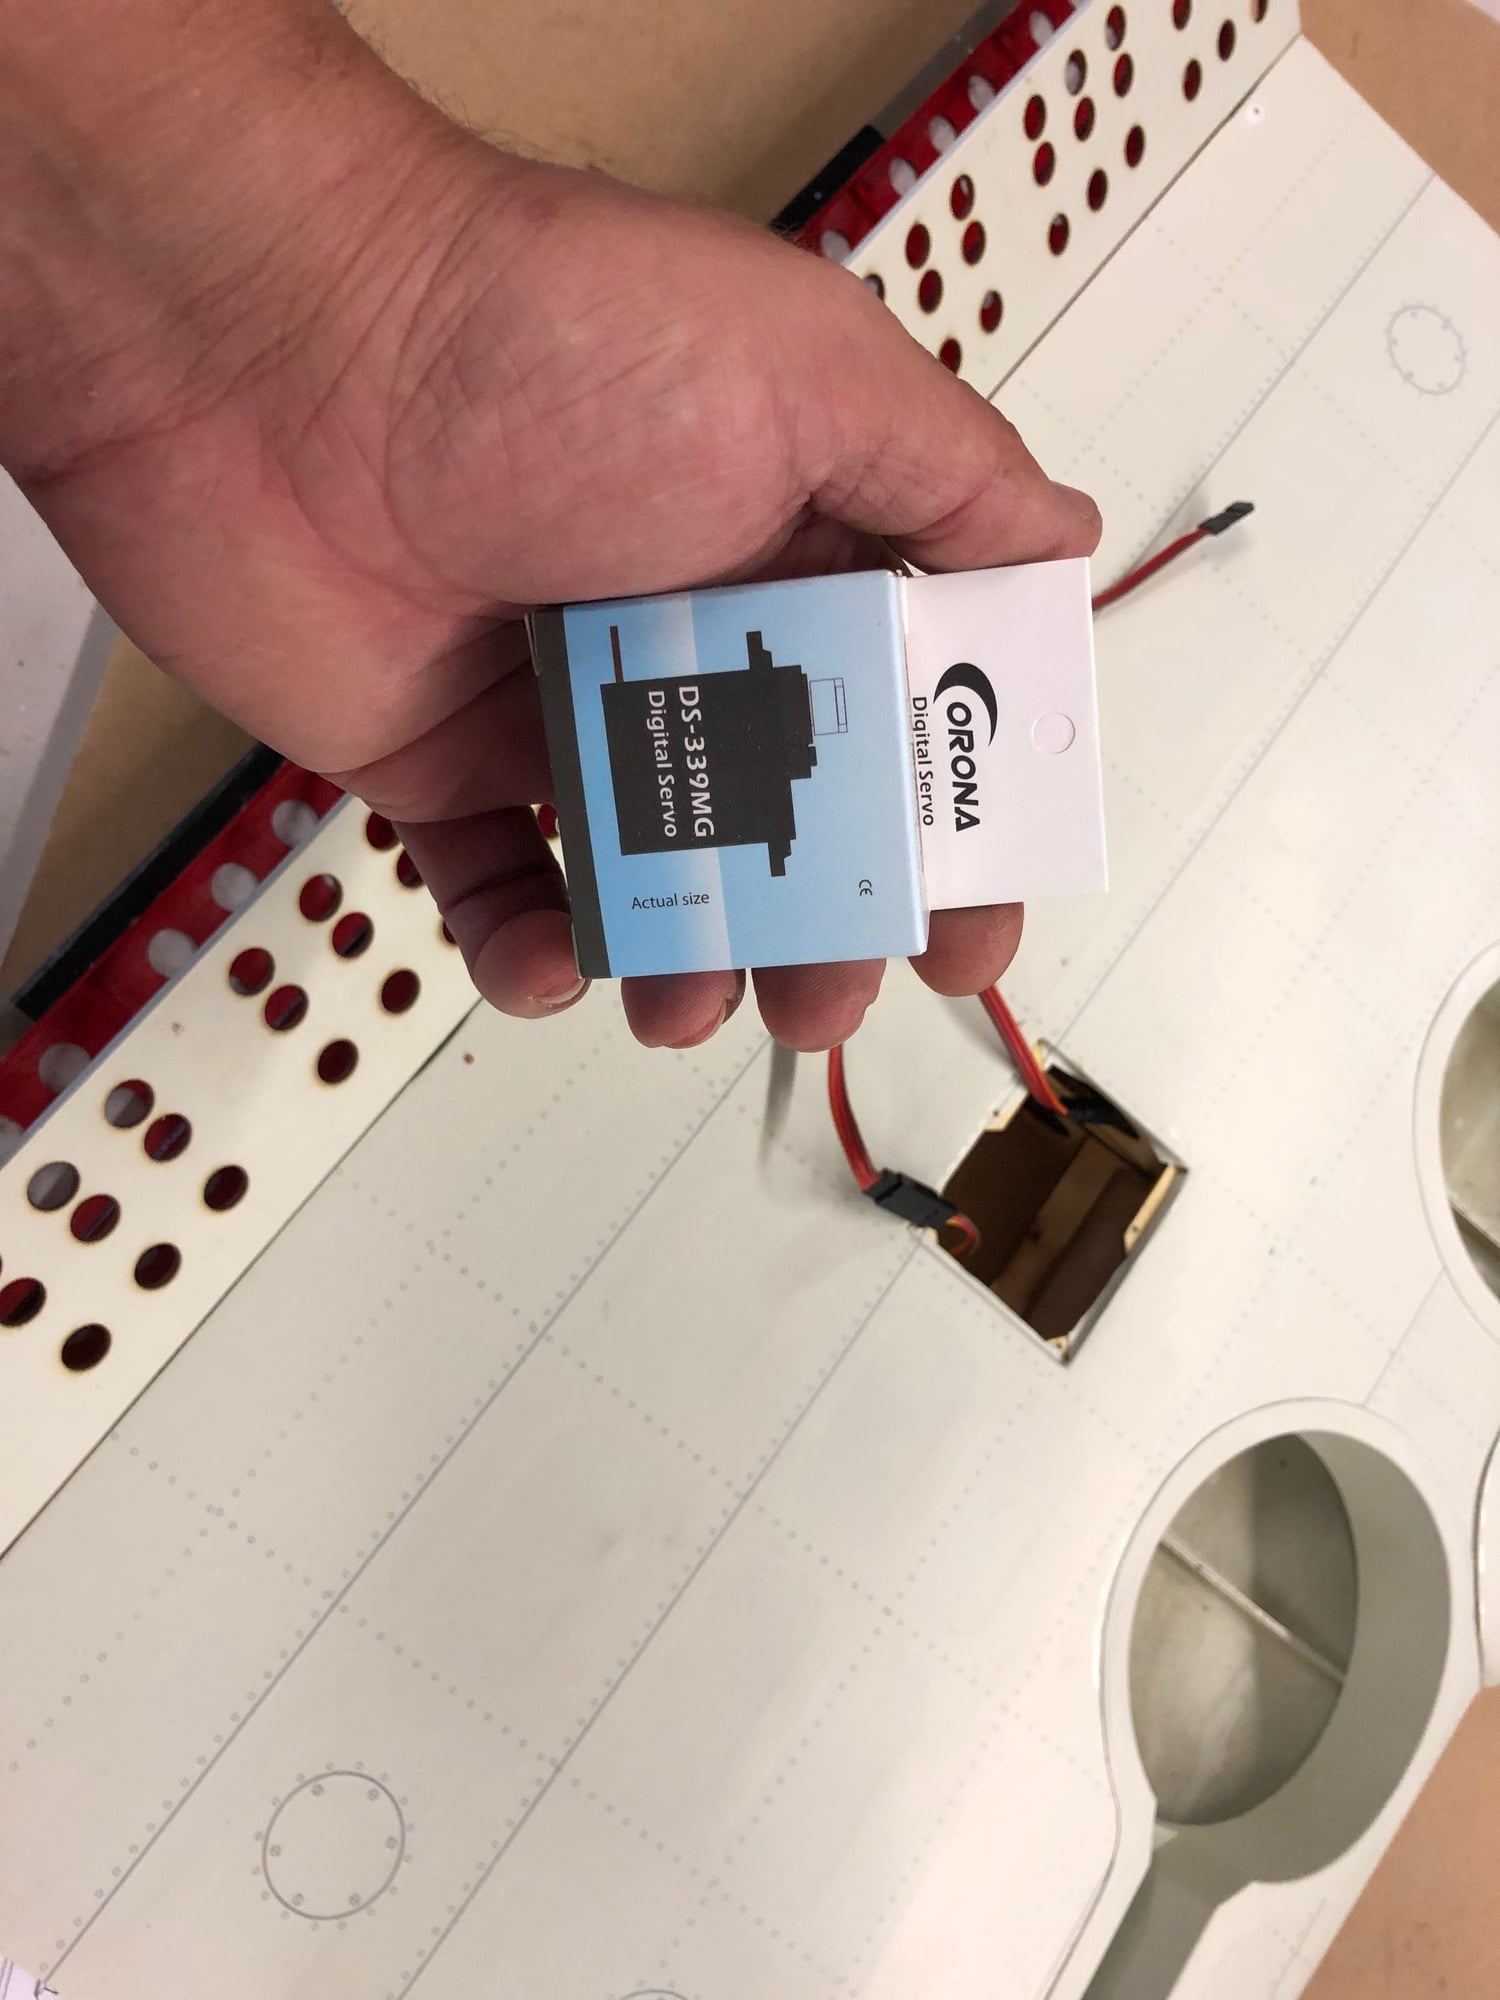
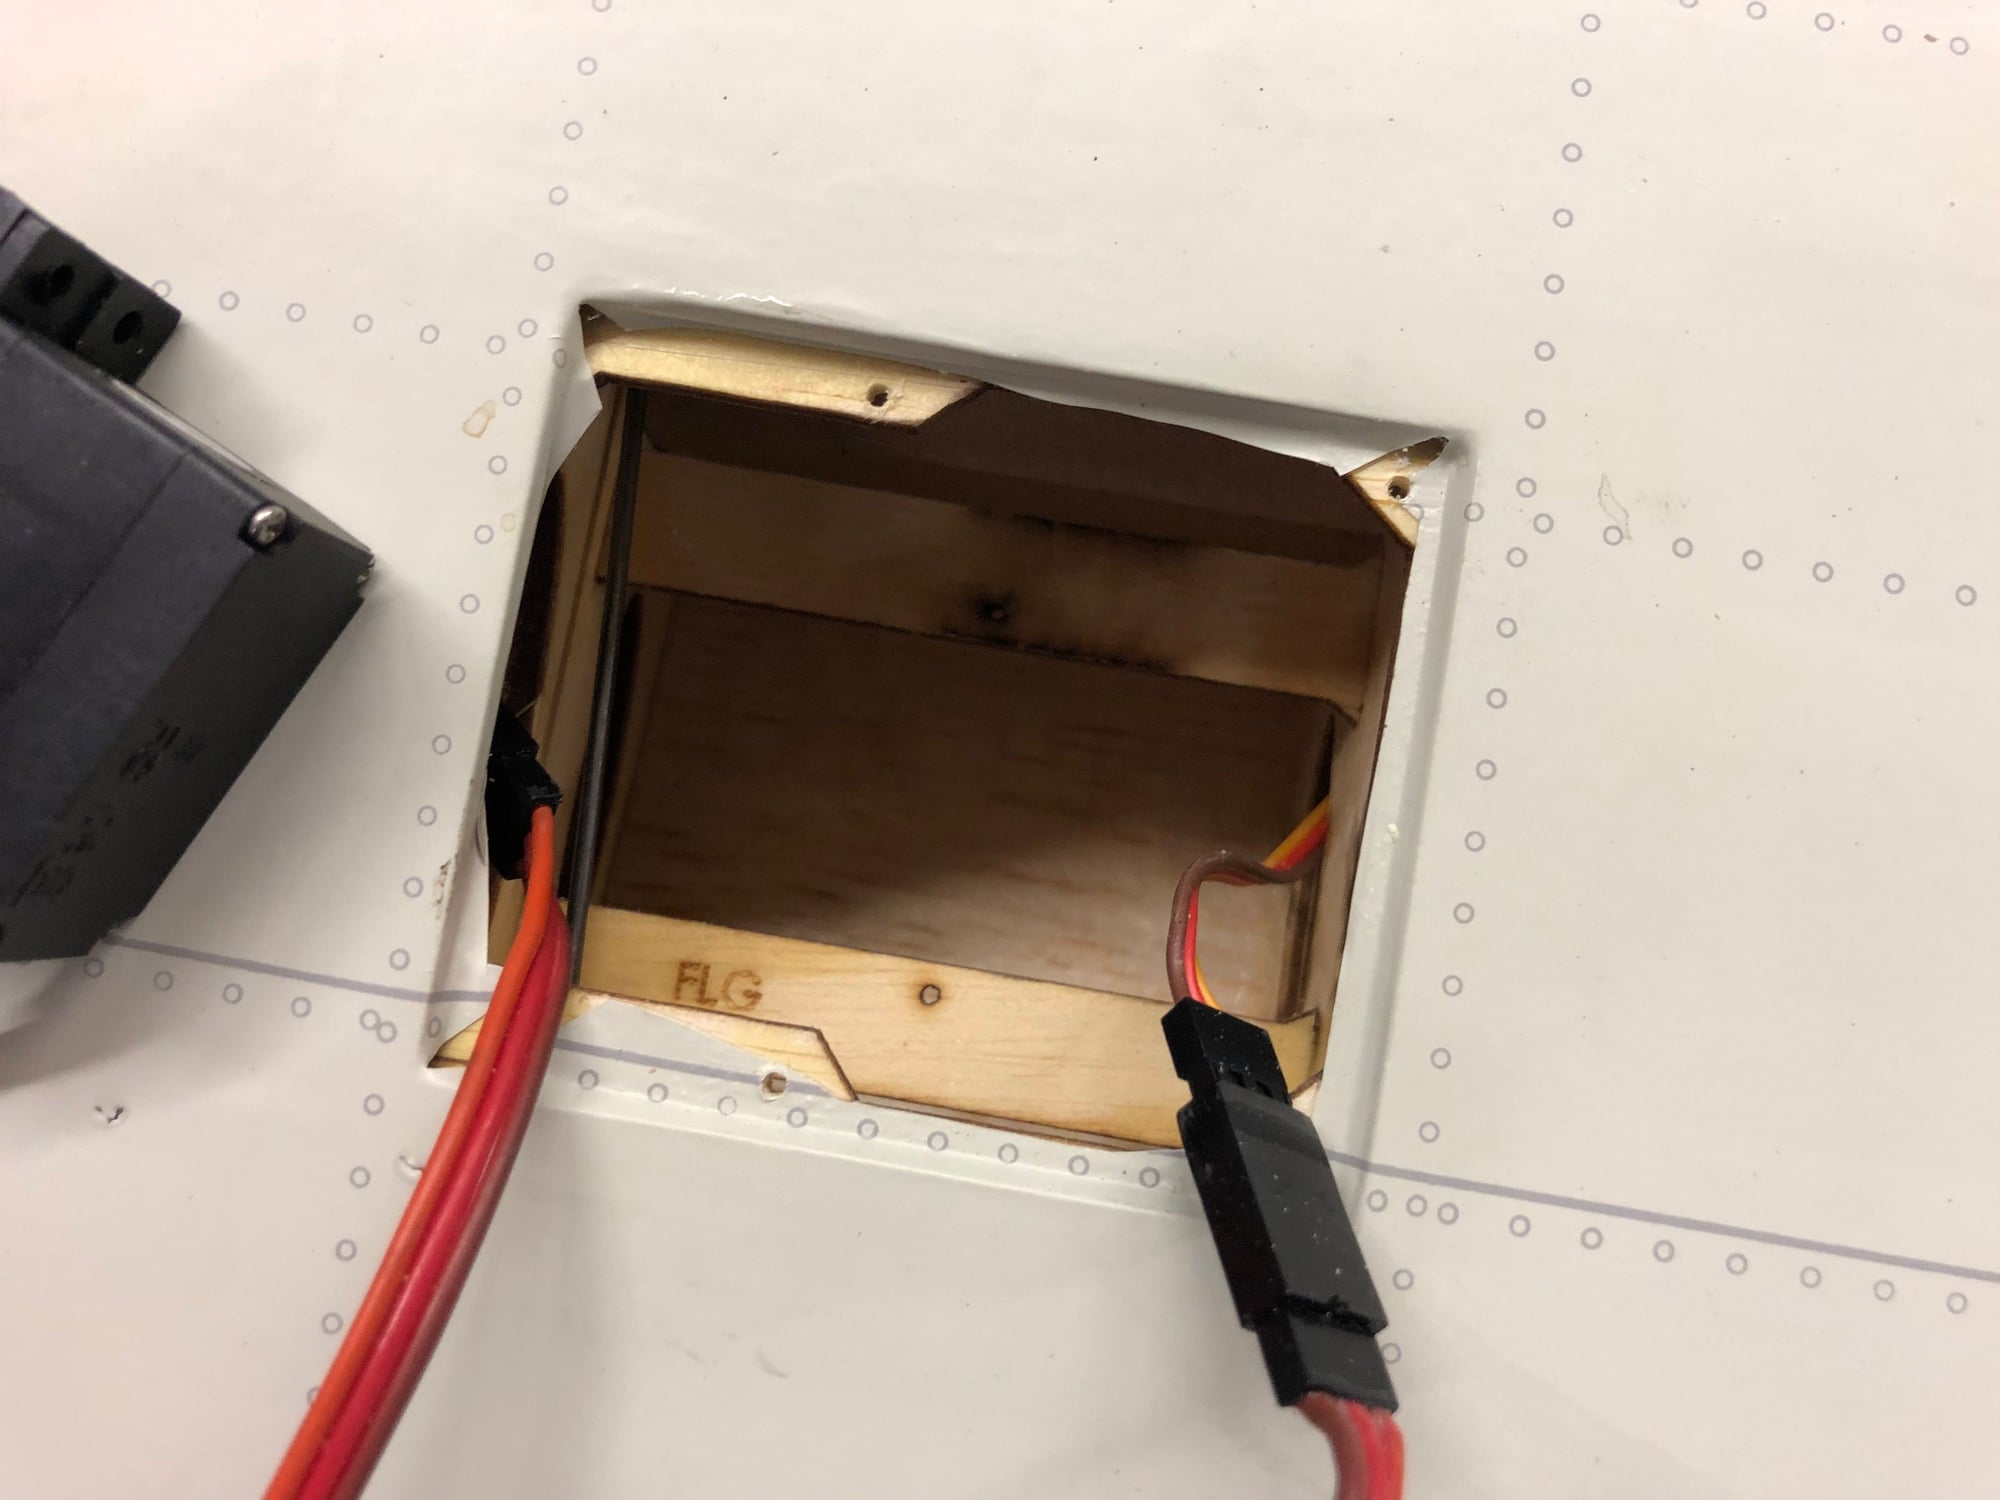
***Servo Specs (Not Included):
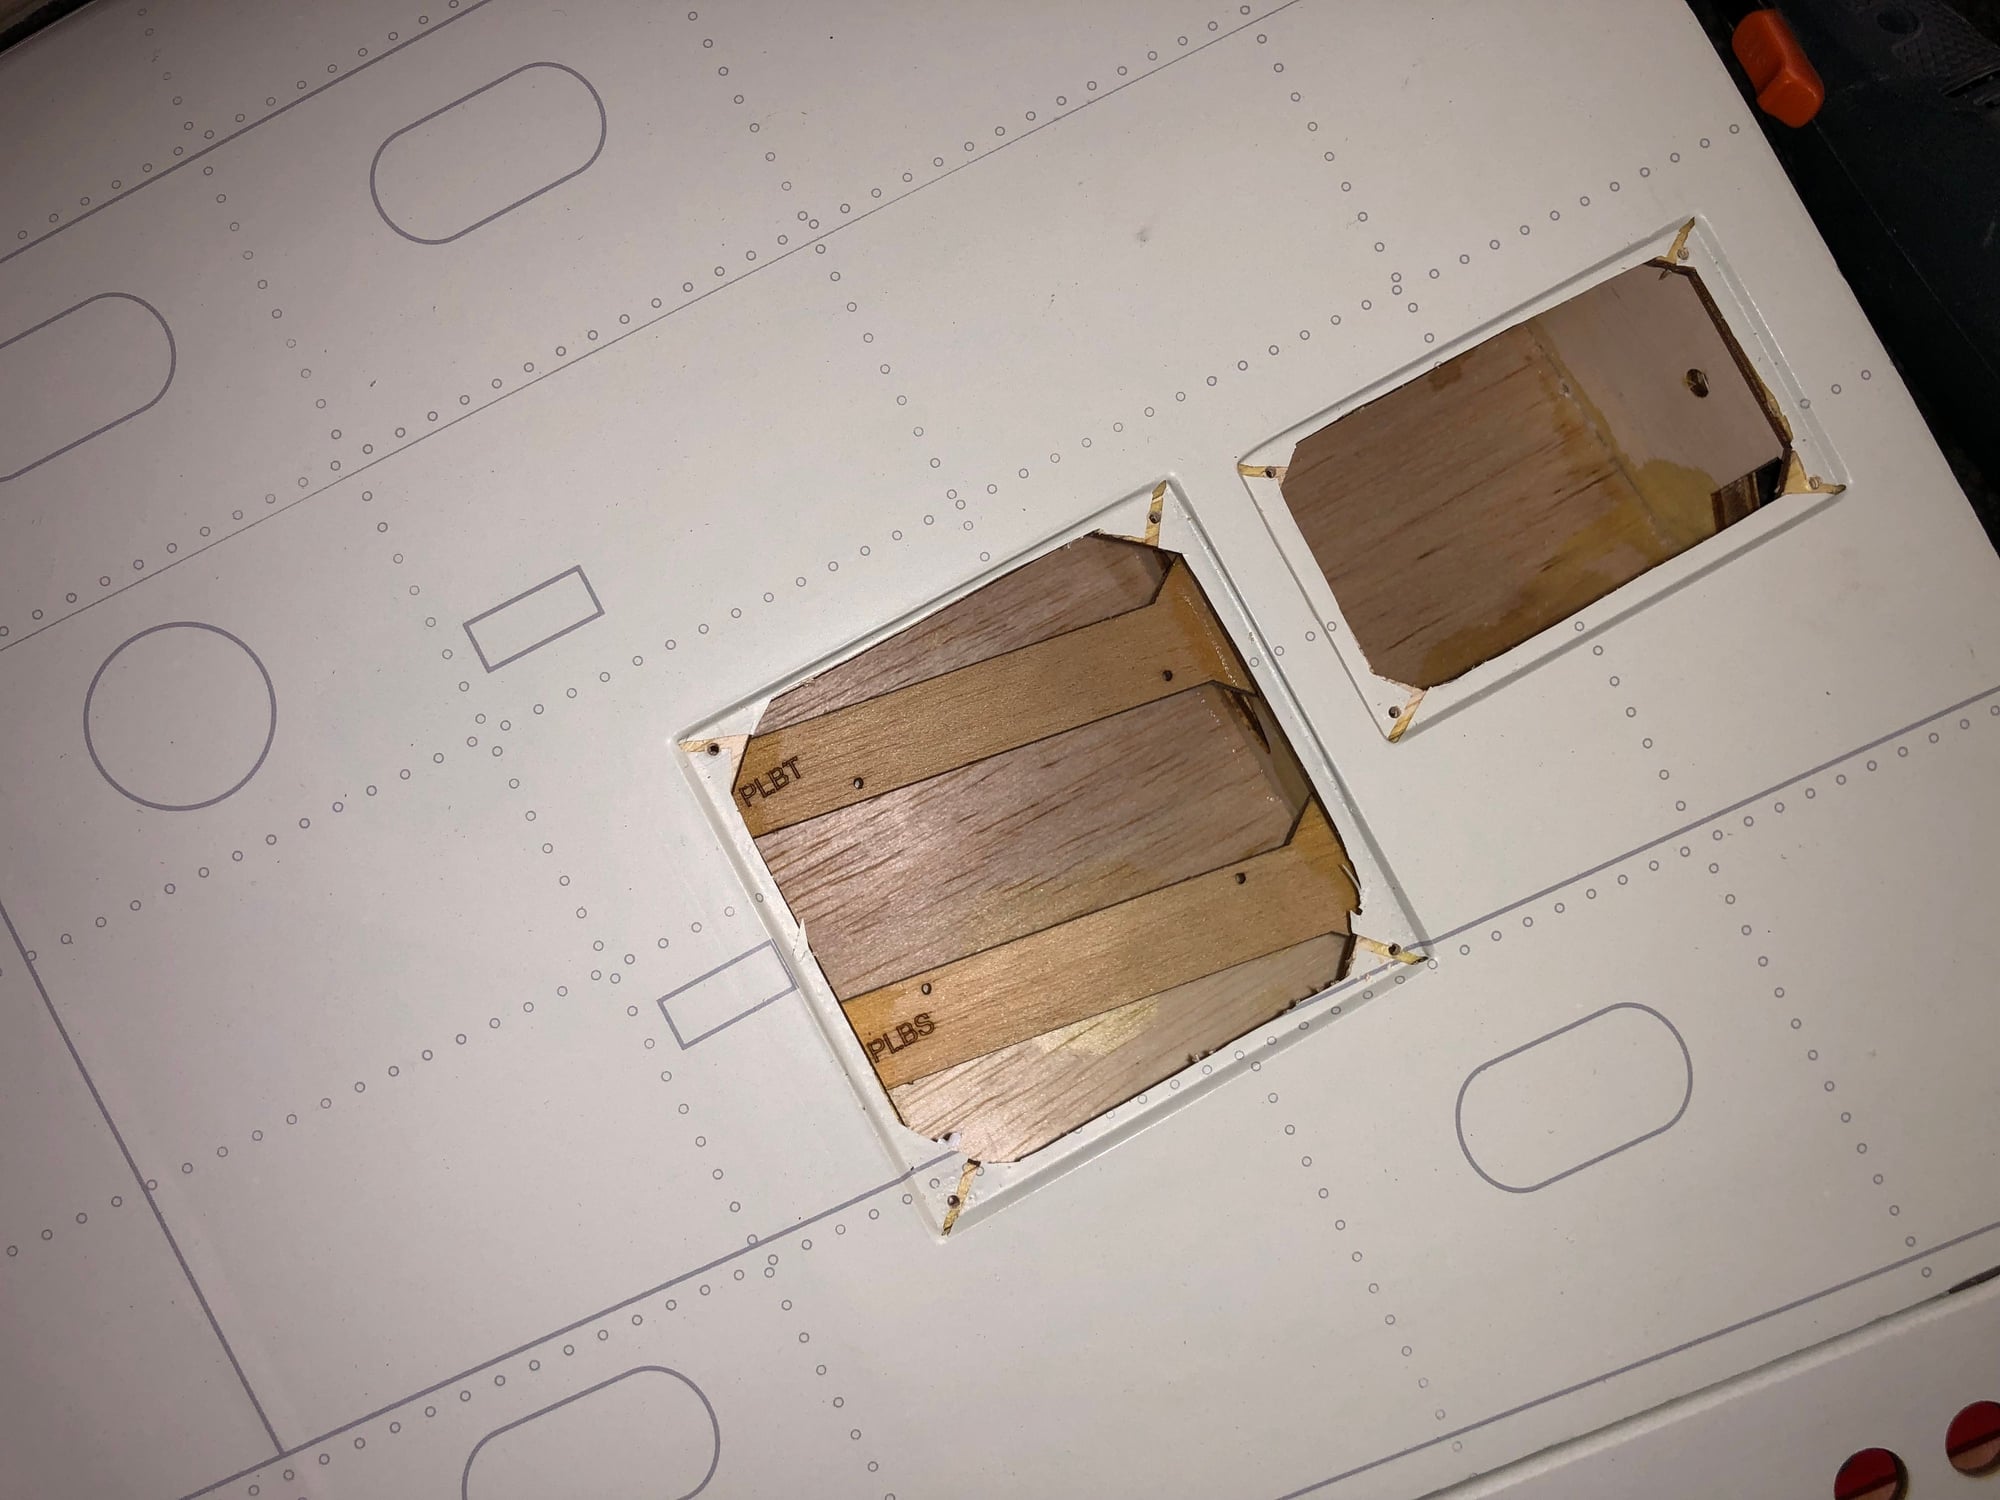
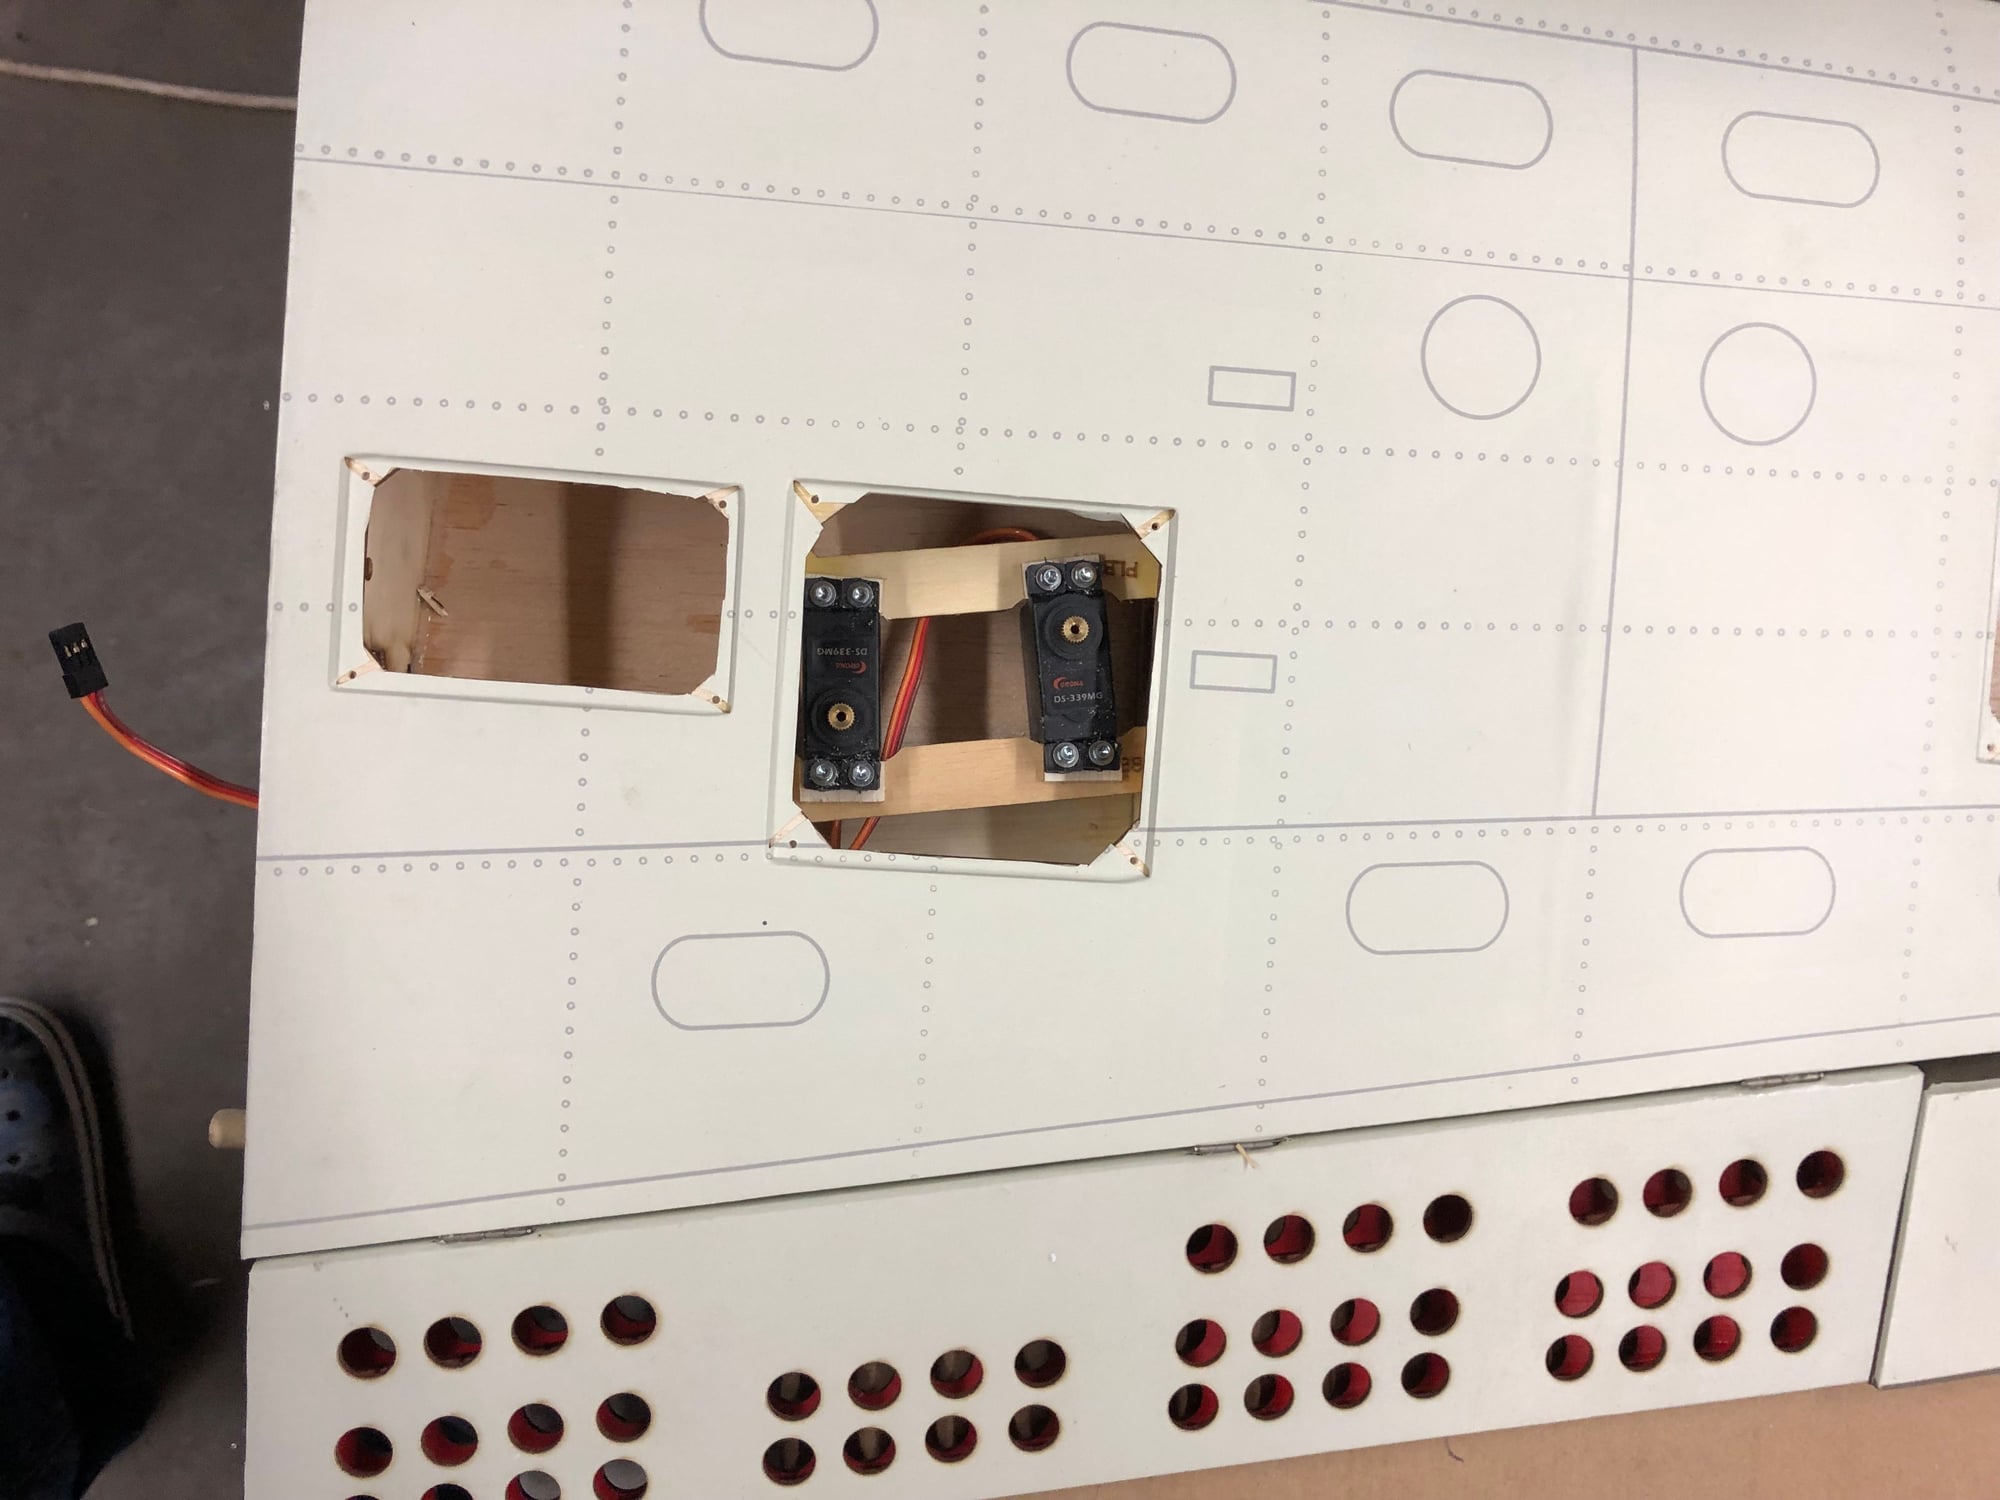
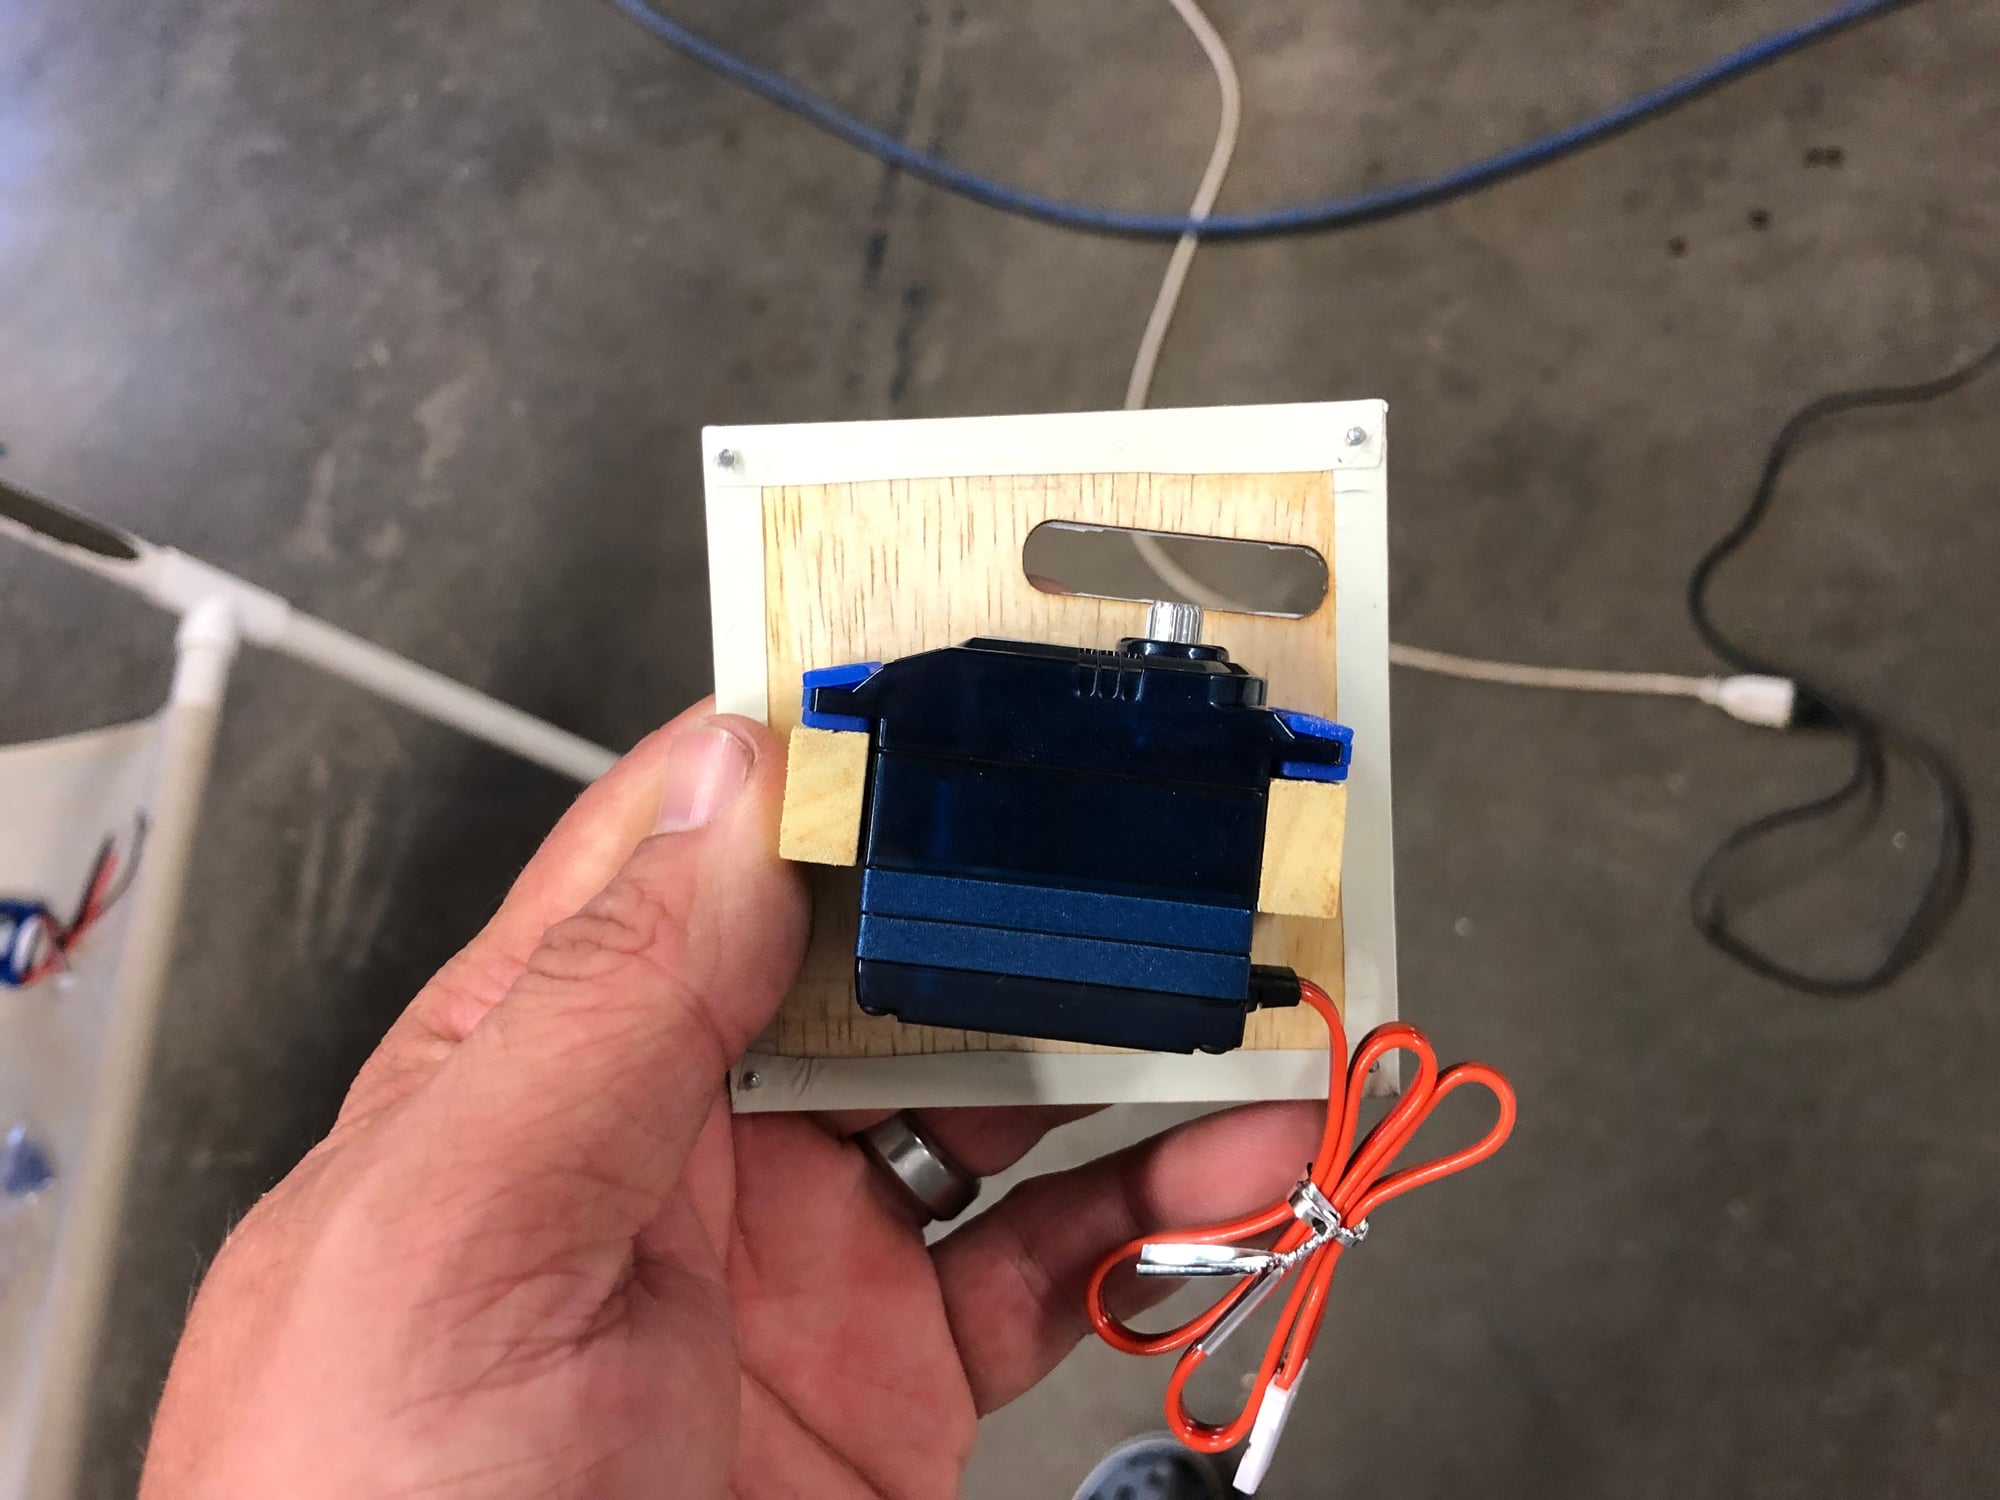
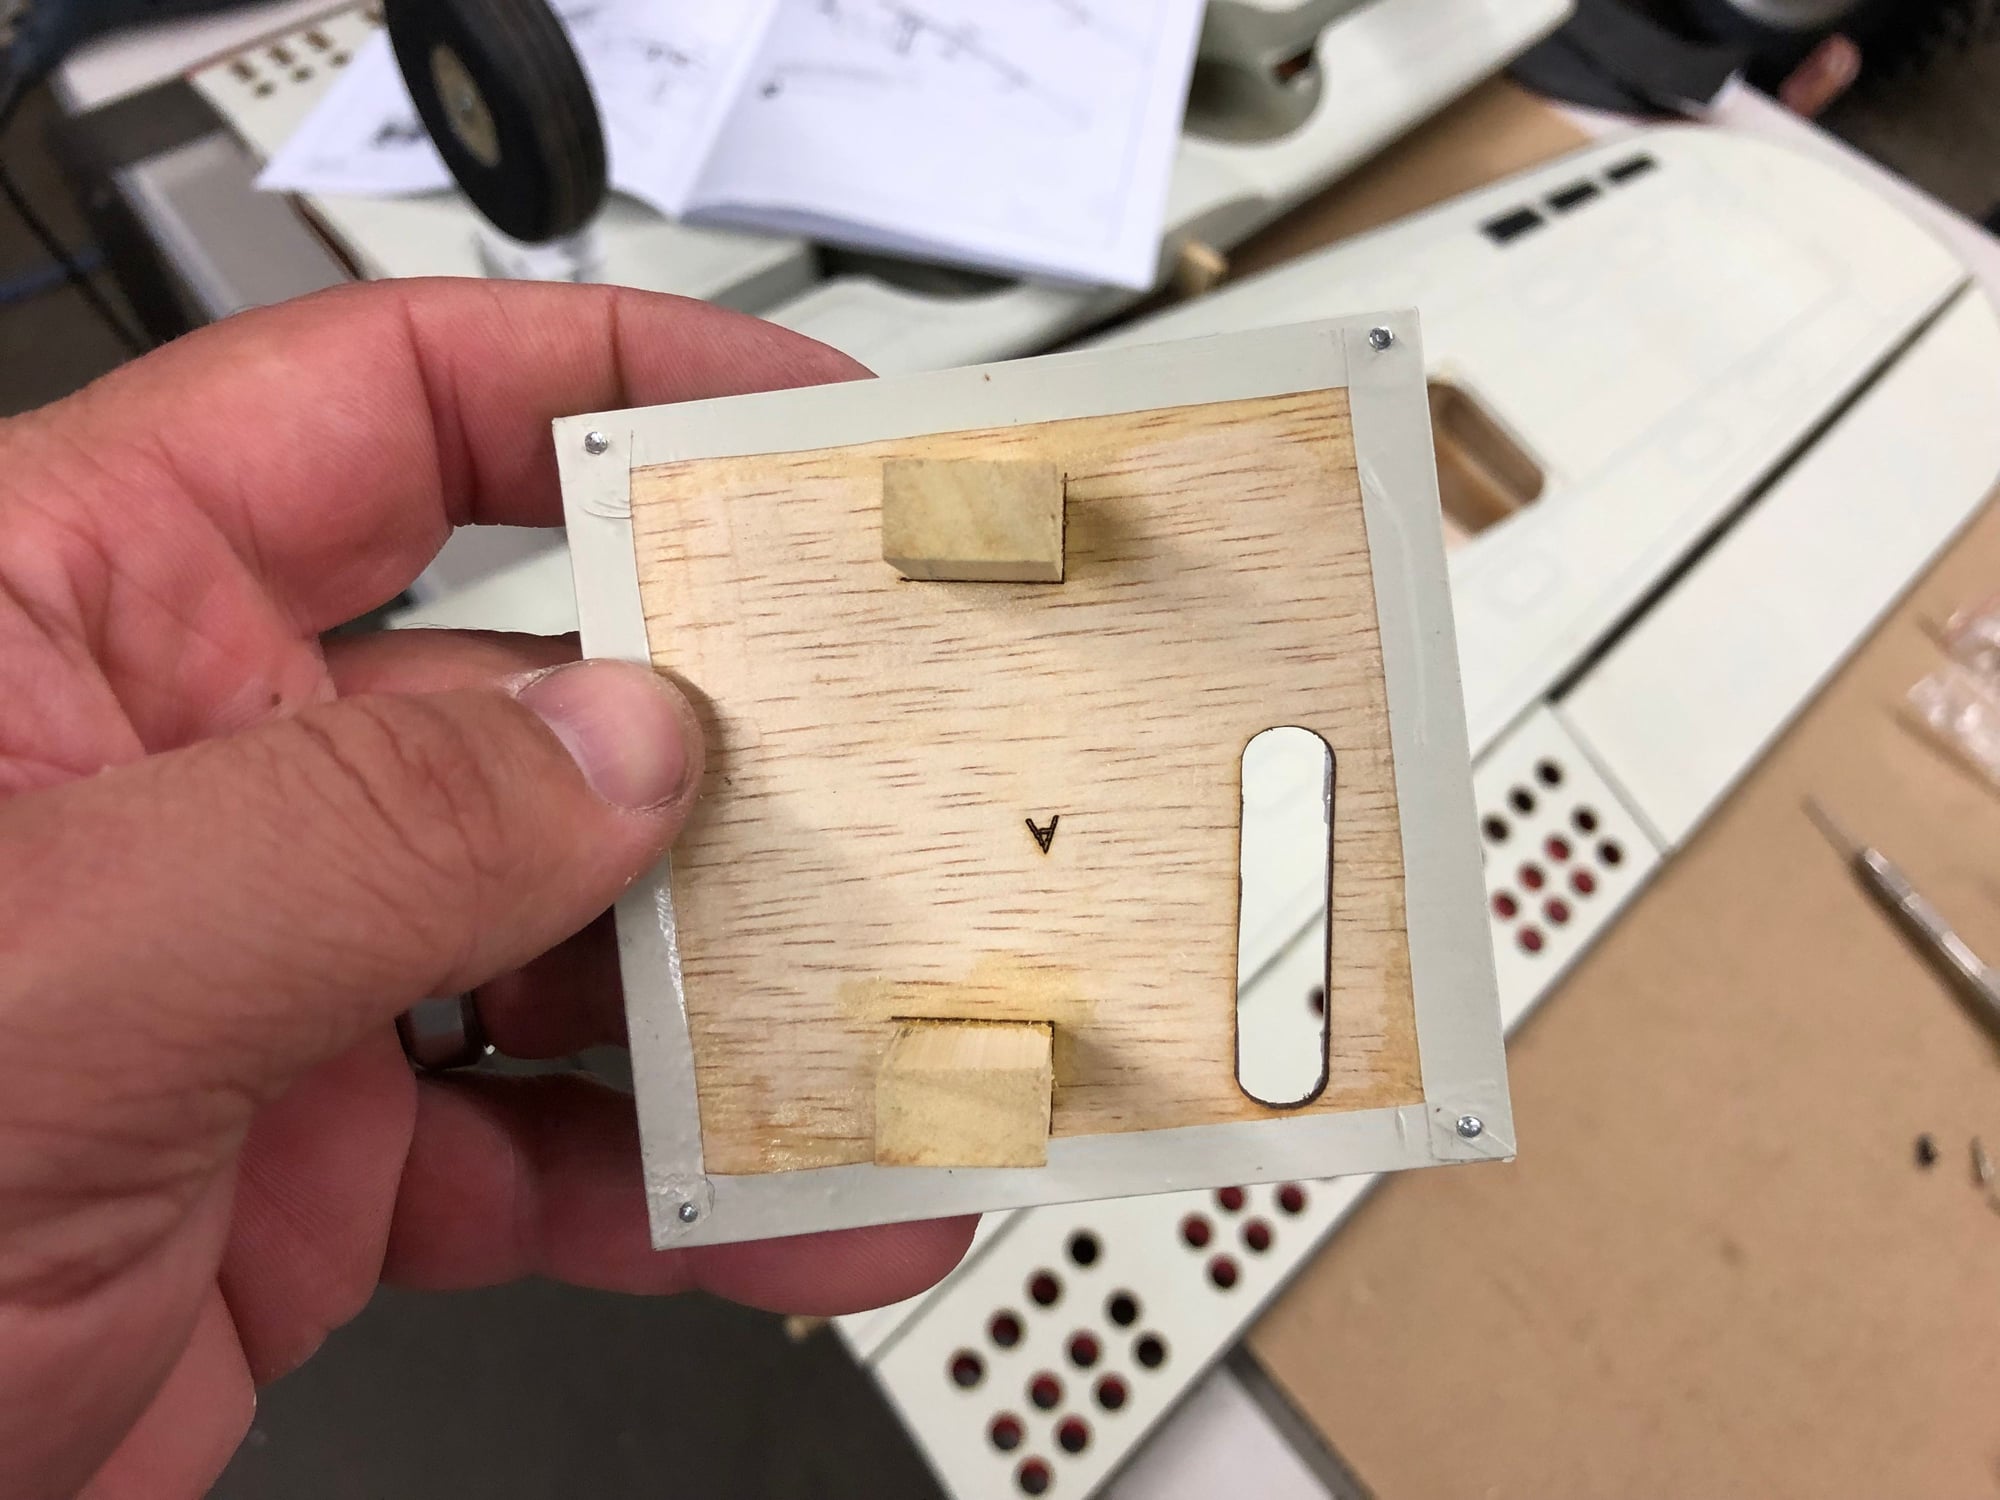
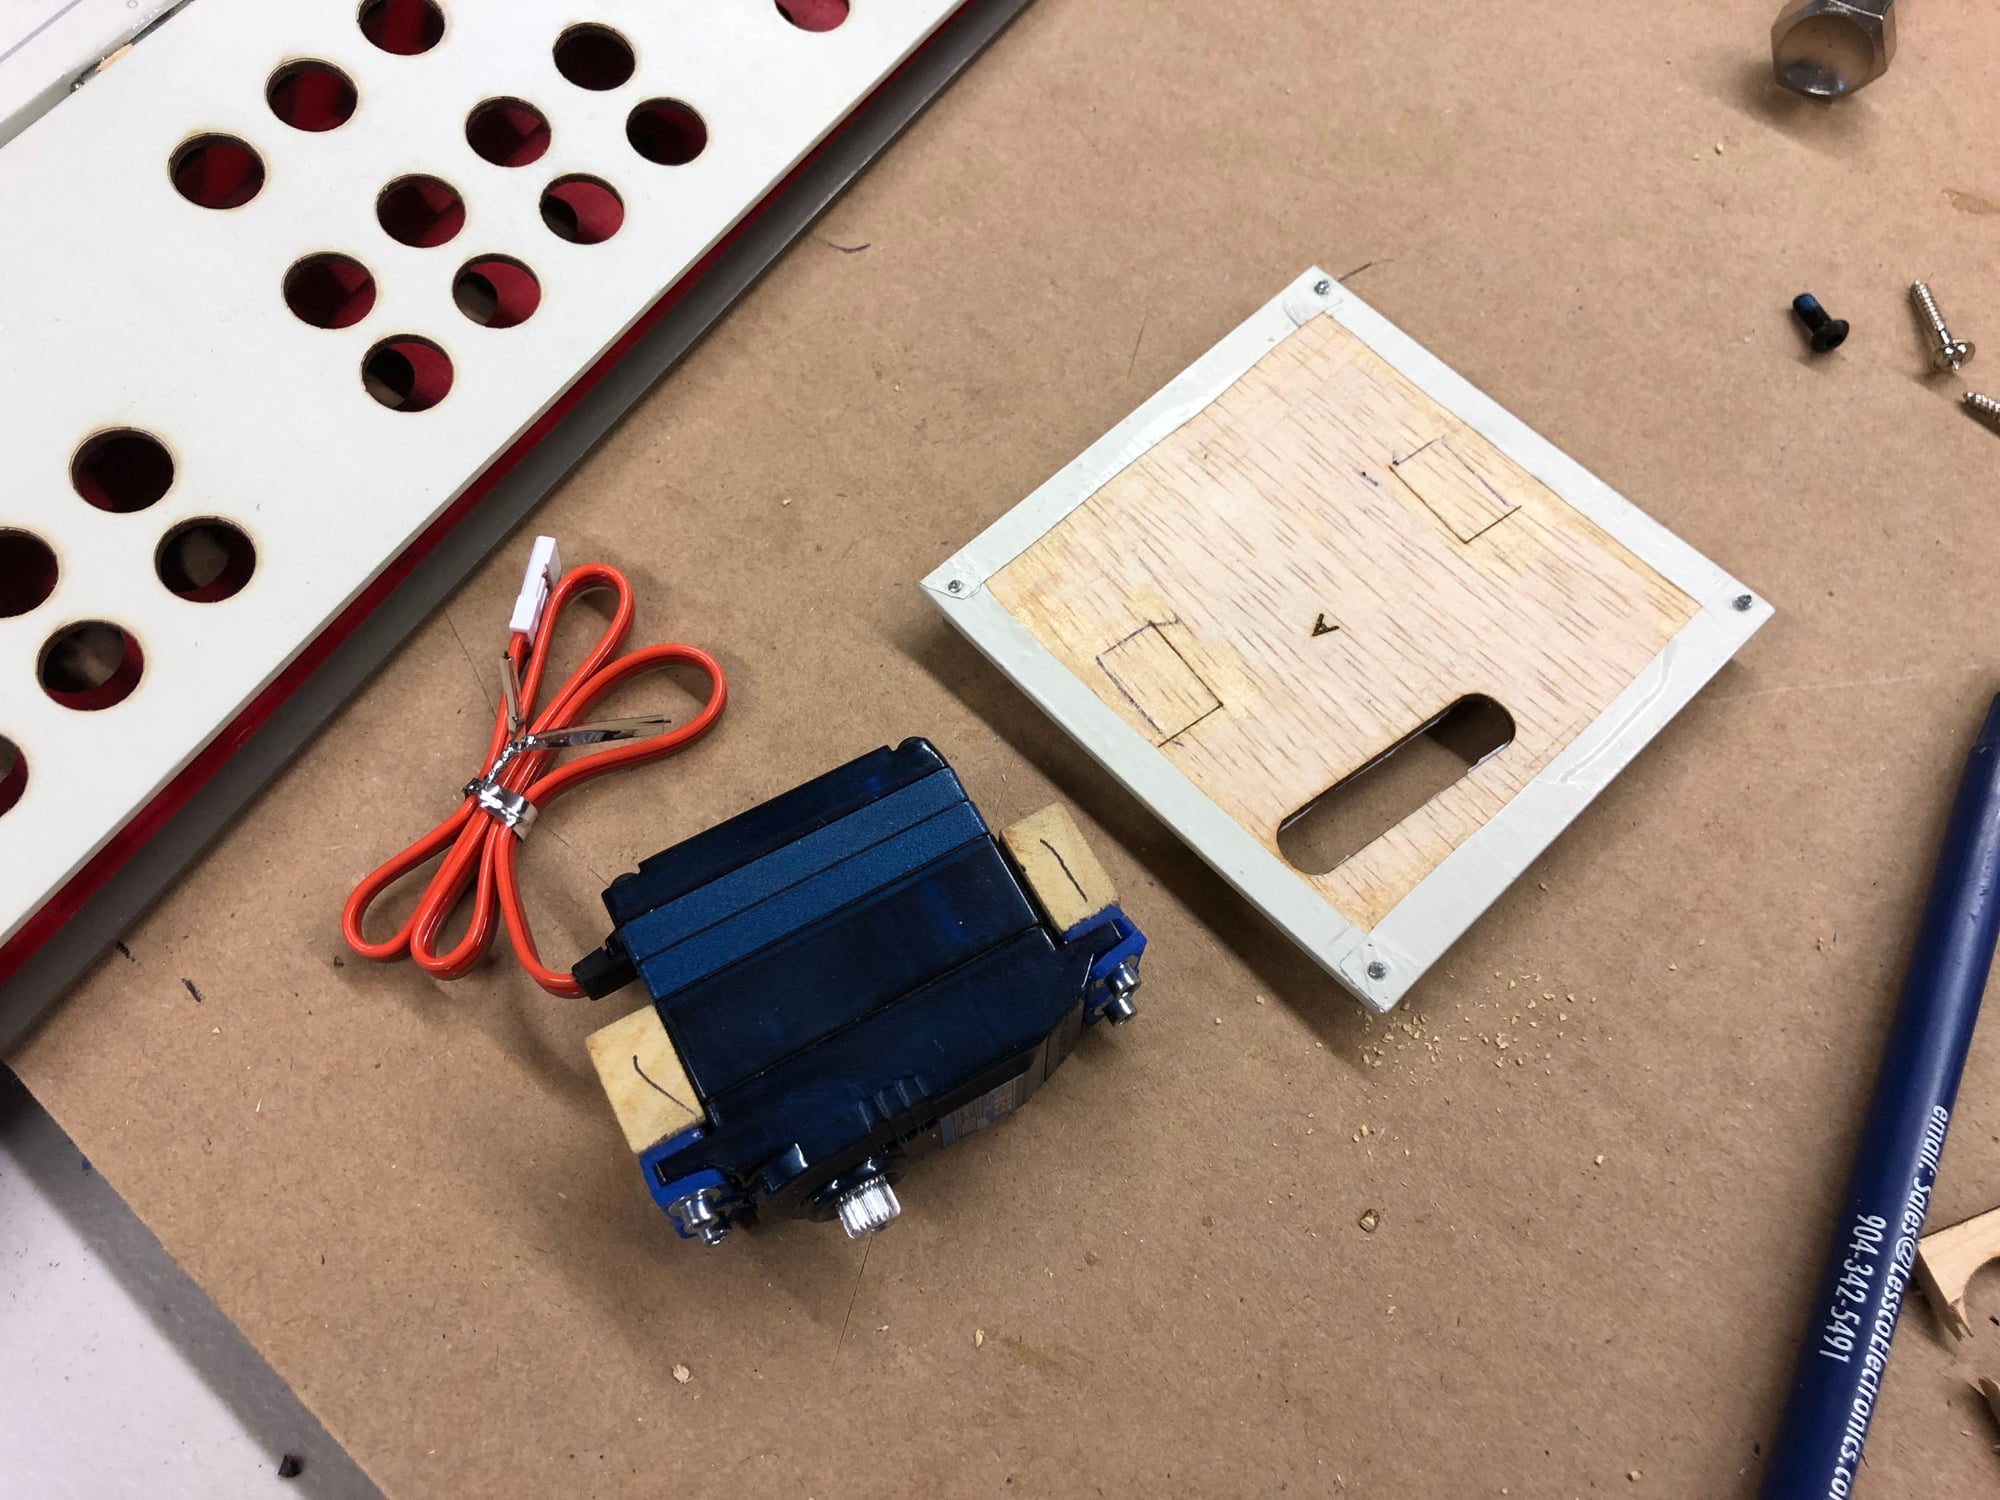
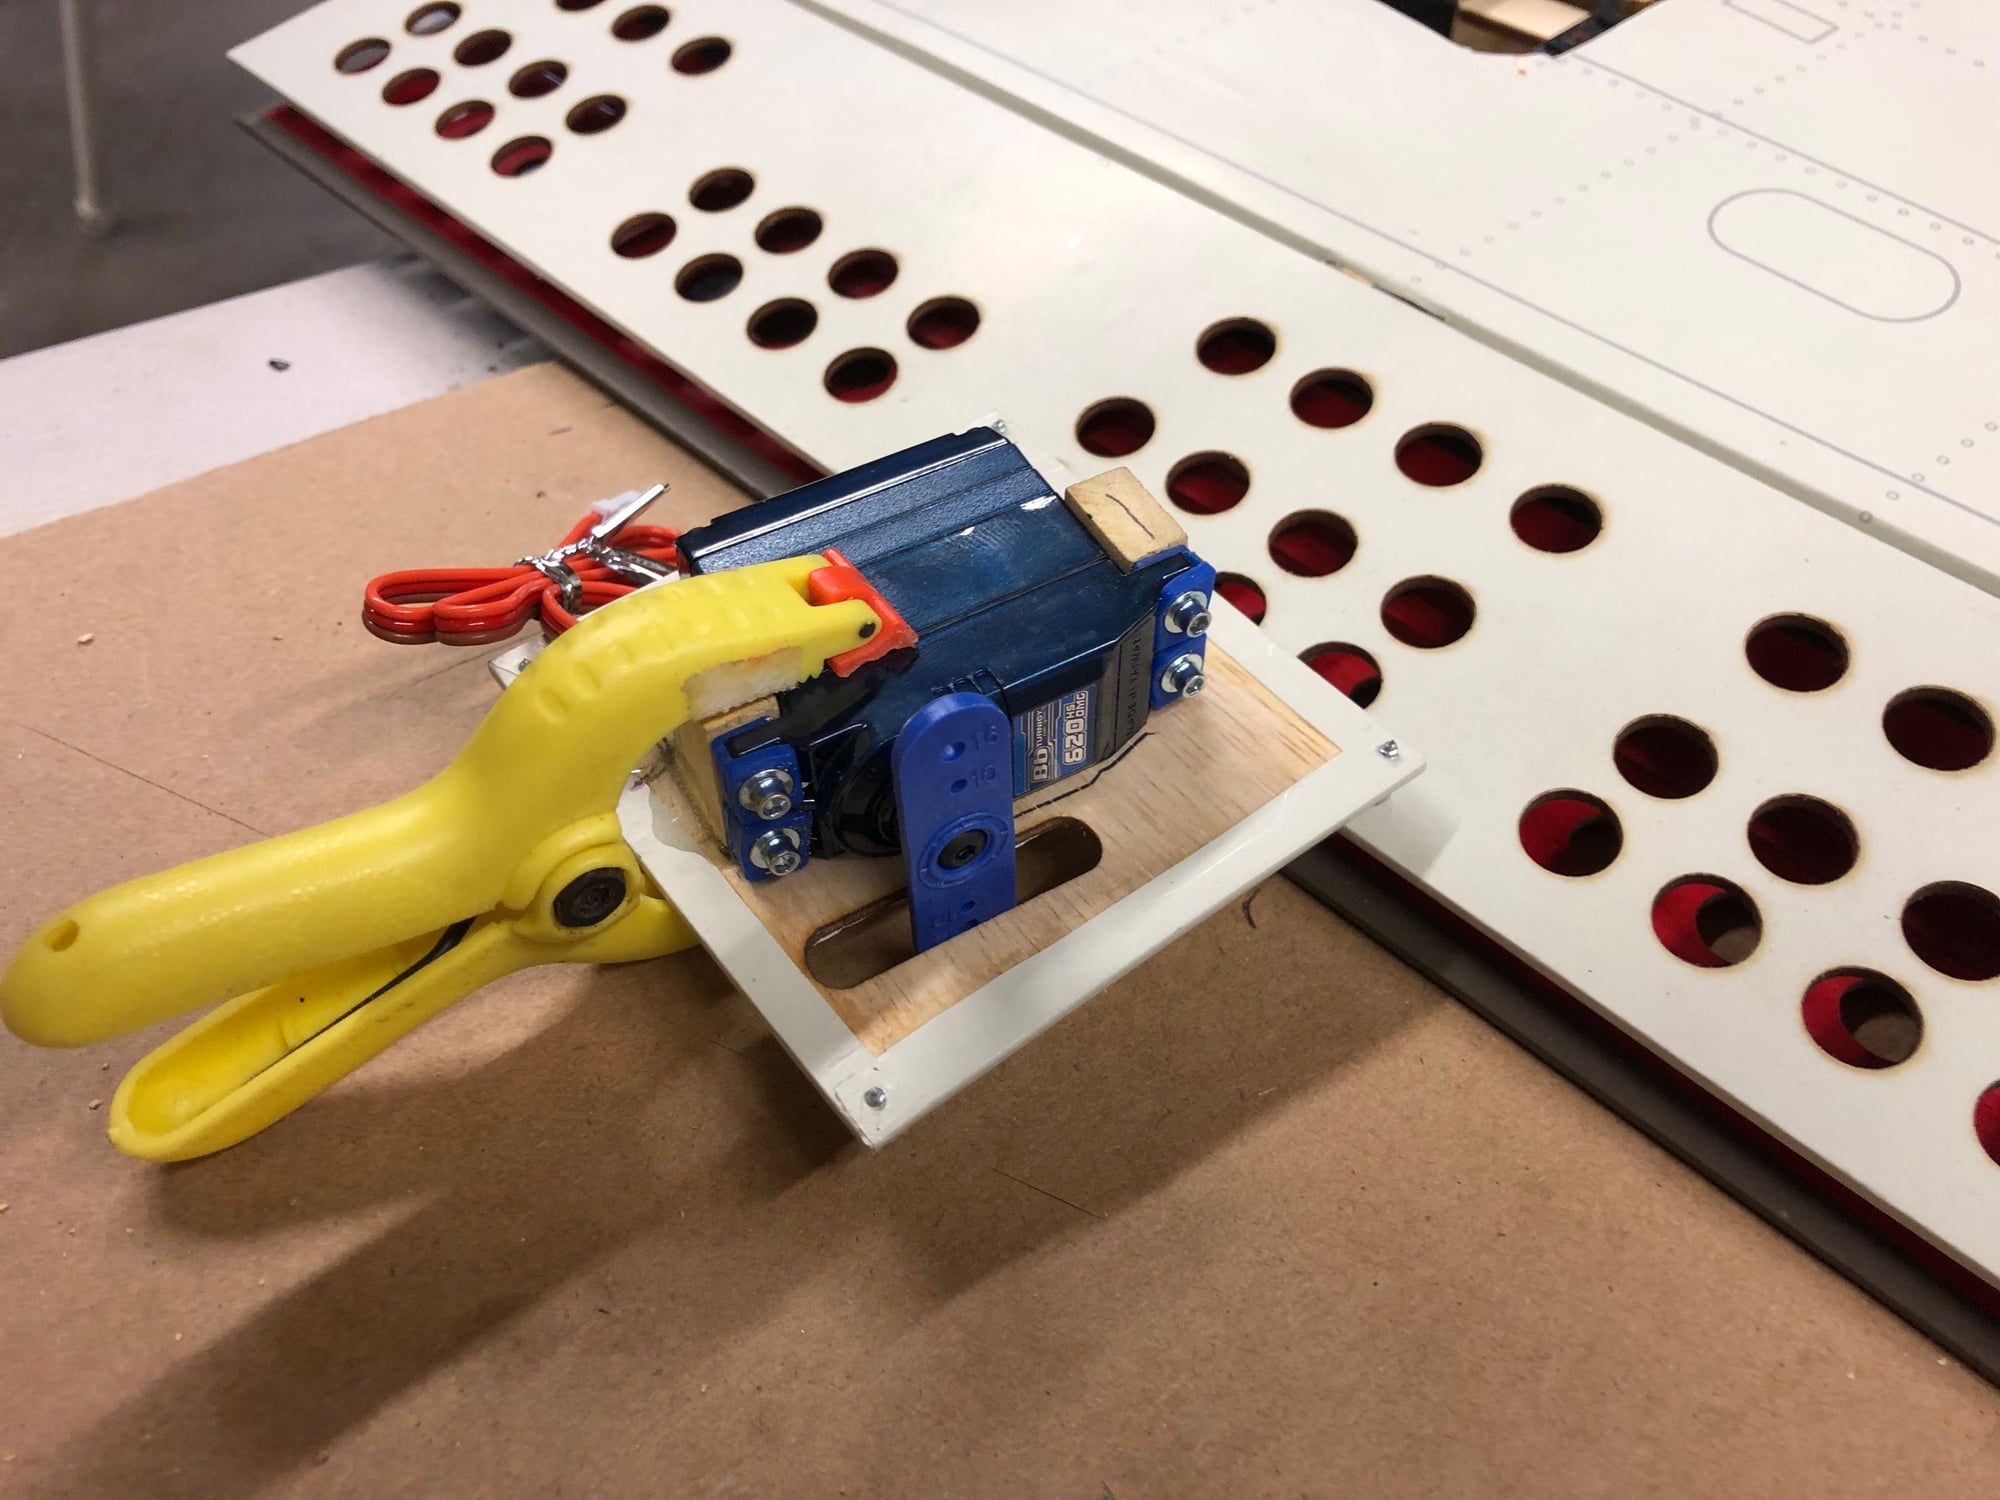
5 Mini servos required for flaps, and dive brakes
Max Length: 28mm / 1.12″
Max Width: 14mm .56″
Max Height: 28mm / 1.12″
Note: It is strongly suggested to run a screw or two through the servo cover into the mounting blocks for reenforecement. Use servos with the highest torque value you can find. Greater than 60 oz-in would be best. It�s possible to fit high torque flat wing servos with simple modifications to the mounting blocks.
4 Standard servos are required for rudder , elevator & ailerons:
Max Length: 40mm / 1.58″
Max Width: 18.9mm / .75″
Max Height: 40mm / 1.67″
Suggested Standard Servo: Hitec 645MG
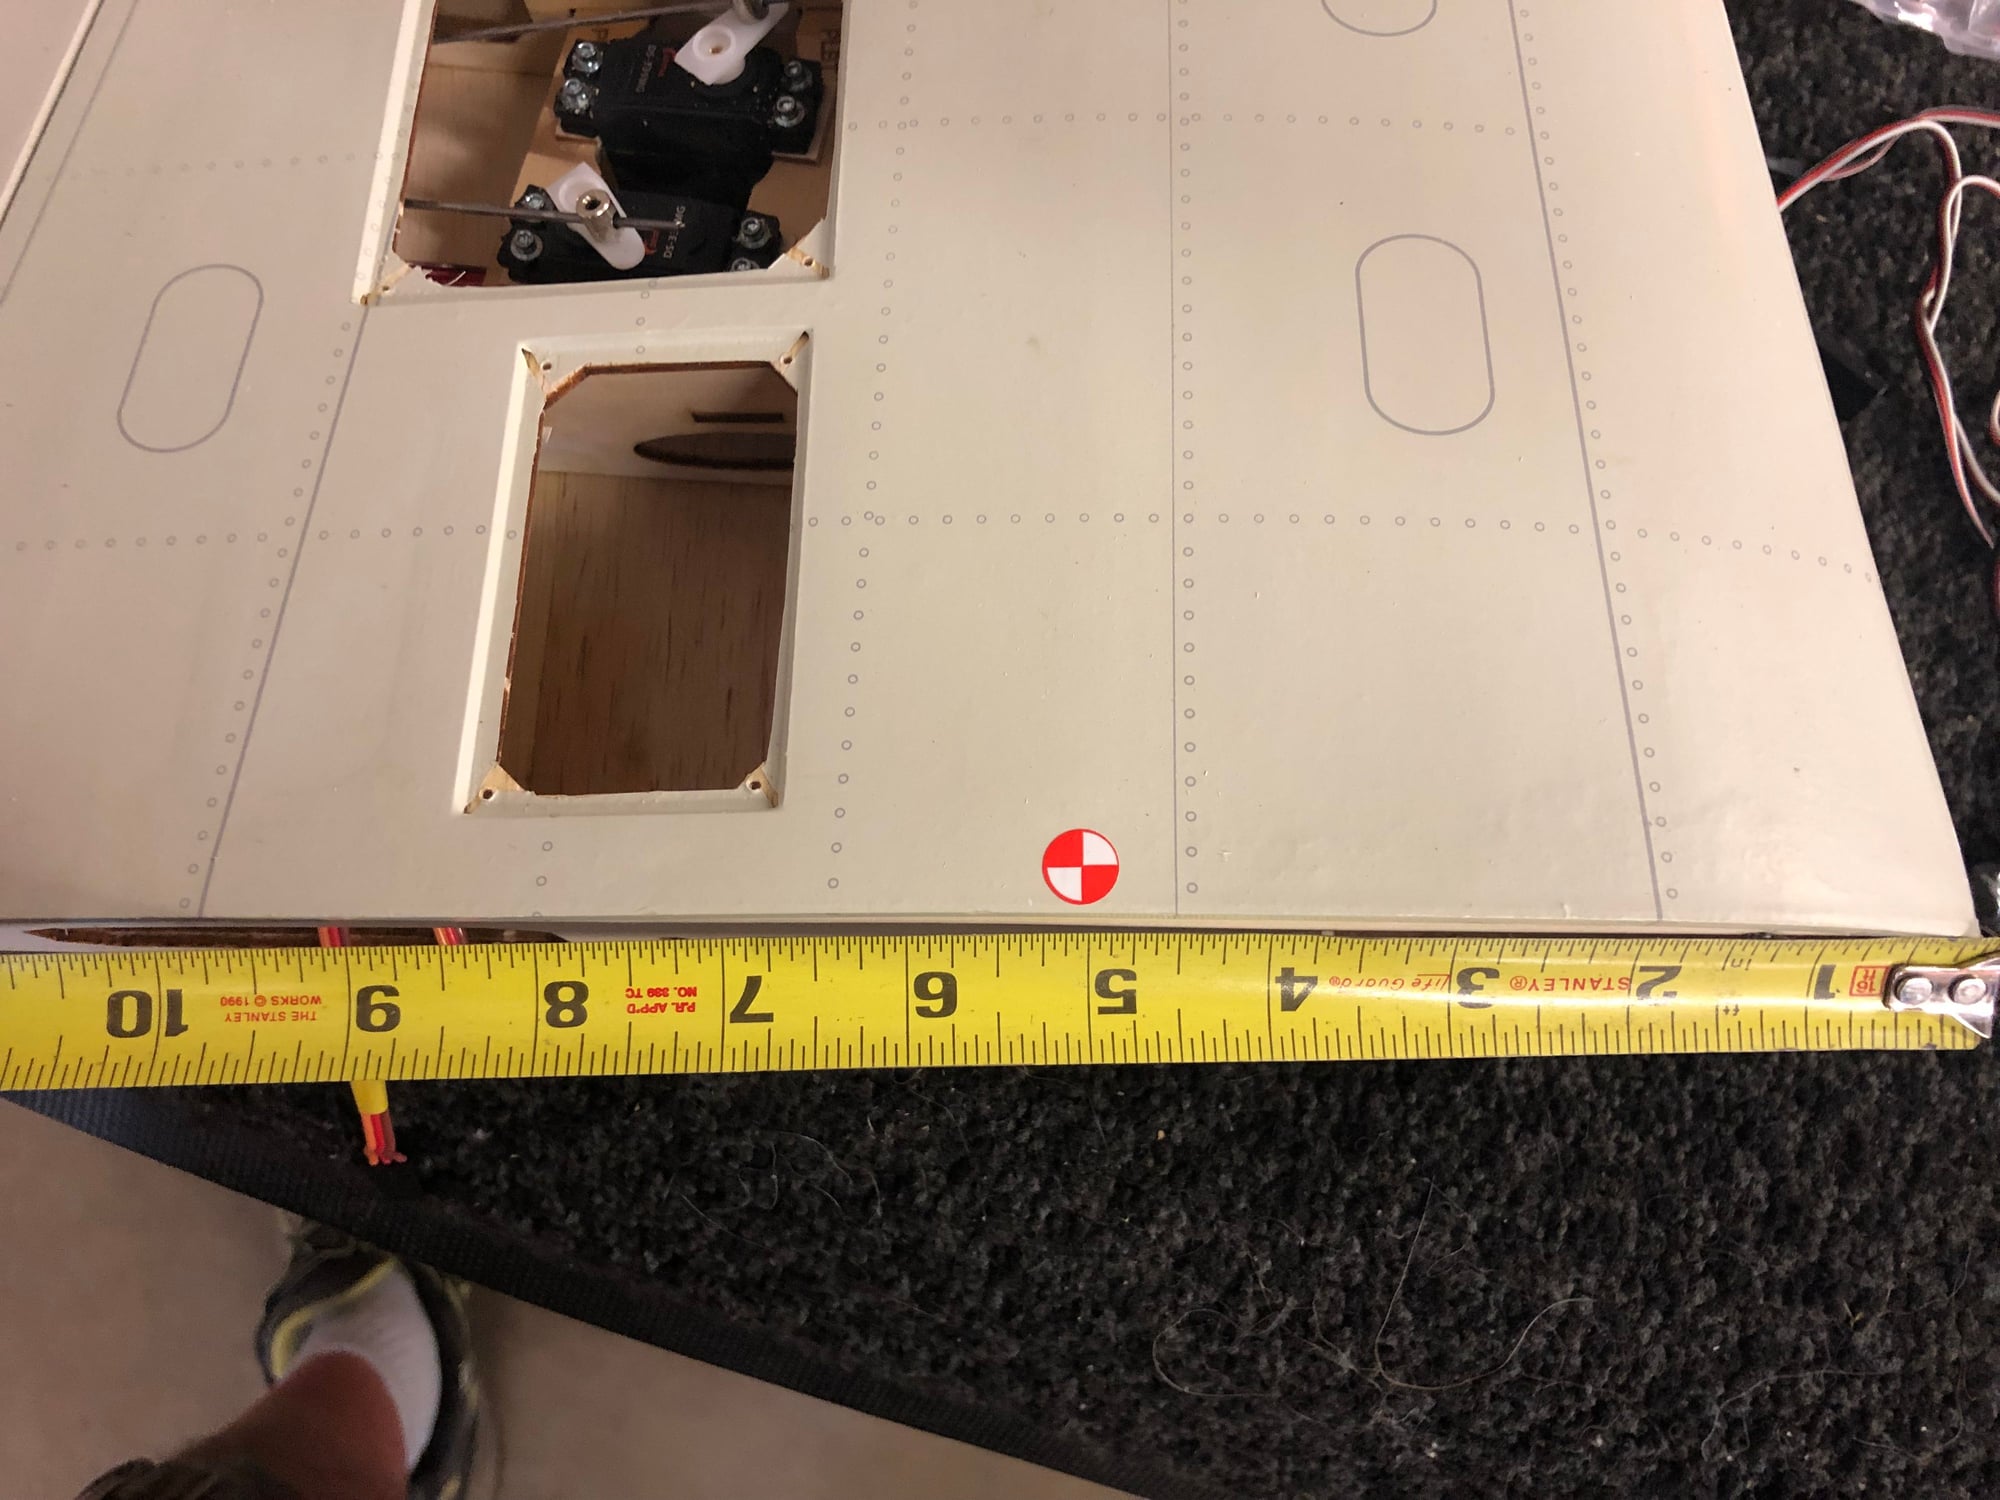
Cowl Dimensions:
At firewall 7-3/4″ wide x 8-1/2″ tall
At front 7-1/2″ wide x 7-3/4″ tall
5-3/8″ Deep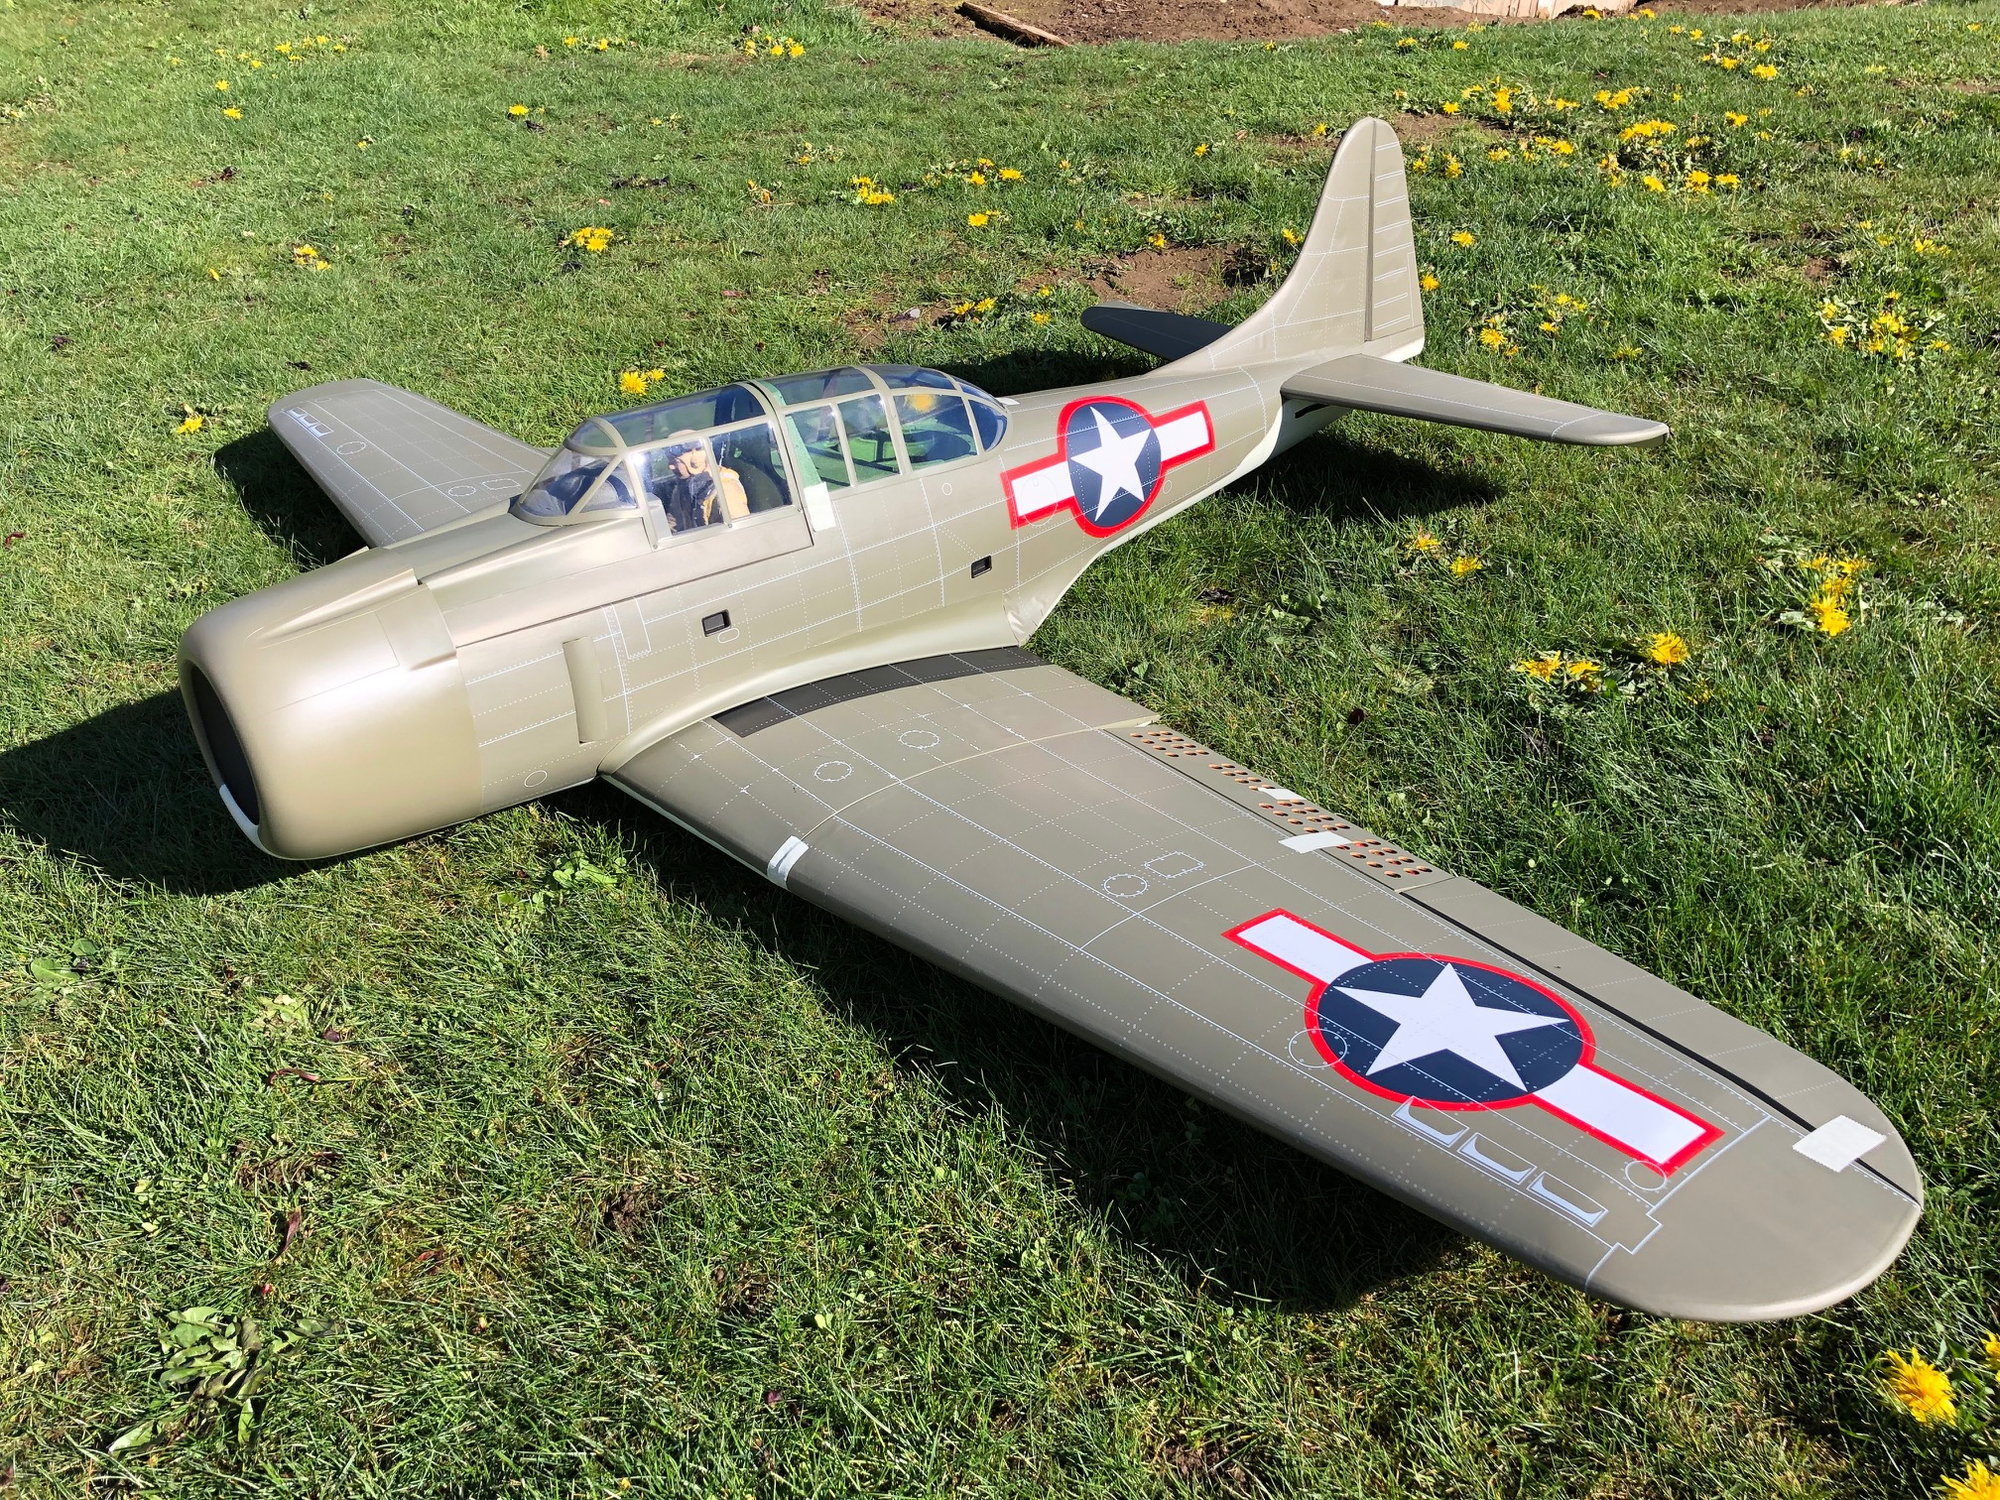

https://vqwarbirds.com/product/vq-80...ep-gp-warbird/
I have a project tieing up my shop floor, but hope to have that completed this coming weekend, then it will be Banshee time! Im going with the EME35 Auto Start too! Pretty excited!
Specs from VQ's site:
Specifications:
Material: Laser cut balsa and ply
Wingspan: 80.7″ (2050 mm)
Length: 55.5″ (1410mm)
Weight: 15.0 � 15.5 lbs (6.8 � 7.0Kg)
Radio: 8 channel, 10 servos +1 for throttle (***see specs below)
Engine: 30cc gas or 1.60 glow ***
Electric: 3000 Watt brushless DC motor. (***see below)
Optional VQ Electric Retracts and Scale Struts available ***
Features:
Pre-painted pilot and rear gunner
Covered with pre-printed PVC film
Factory Painted fiberglass cowl
Fixed landing gear included
Functional dive brakes and flaps
Radial engine replica cover
WWII Bomb (fixed)
Cowl hatch for fuel tank/electronics/battery access
Recommended Electric Setup (Not Included):
Dualsky XM6360EA-10 218Kv motor (3081 Watt peak rating, 1694 Watts continuous)
Dualsky XC10036HV 100A HV ESC (130A peak)
Battery: 2 x 5S 35C 5000mAh lipos in series (10S)
2-blade Prop: 18 x 12
Scale 3-blade Prop: 15.9″ to 17.9″ blades on 16D size Ramoser VarioProp hub (shown in product photos above)
***Servo Specs (Not Included):
5 Mini servos required for flaps, and dive brakes
Max Length: 28mm / 1.12″
Max Width: 14mm .56″
Max Height: 28mm / 1.12″
Note: It is strongly suggested to run a screw or two through the servo cover into the mounting blocks for reenforecement. Use servos with the highest torque value you can find. Greater than 60 oz-in would be best. It�s possible to fit high torque flat wing servos with simple modifications to the mounting blocks.
4 Standard servos are required for rudder , elevator & ailerons:
Max Length: 40mm / 1.58″
Max Width: 18.9mm / .75″
Max Height: 40mm / 1.67″
Suggested Standard Servo: Hitec 645MG
Cowl Dimensions:
At firewall 7-3/4″ wide x 8-1/2″ tall
At front 7-1/2″ wide x 7-3/4″ tall
5-3/8″ Deep
 05-15-2019, 07:40 AM
#3
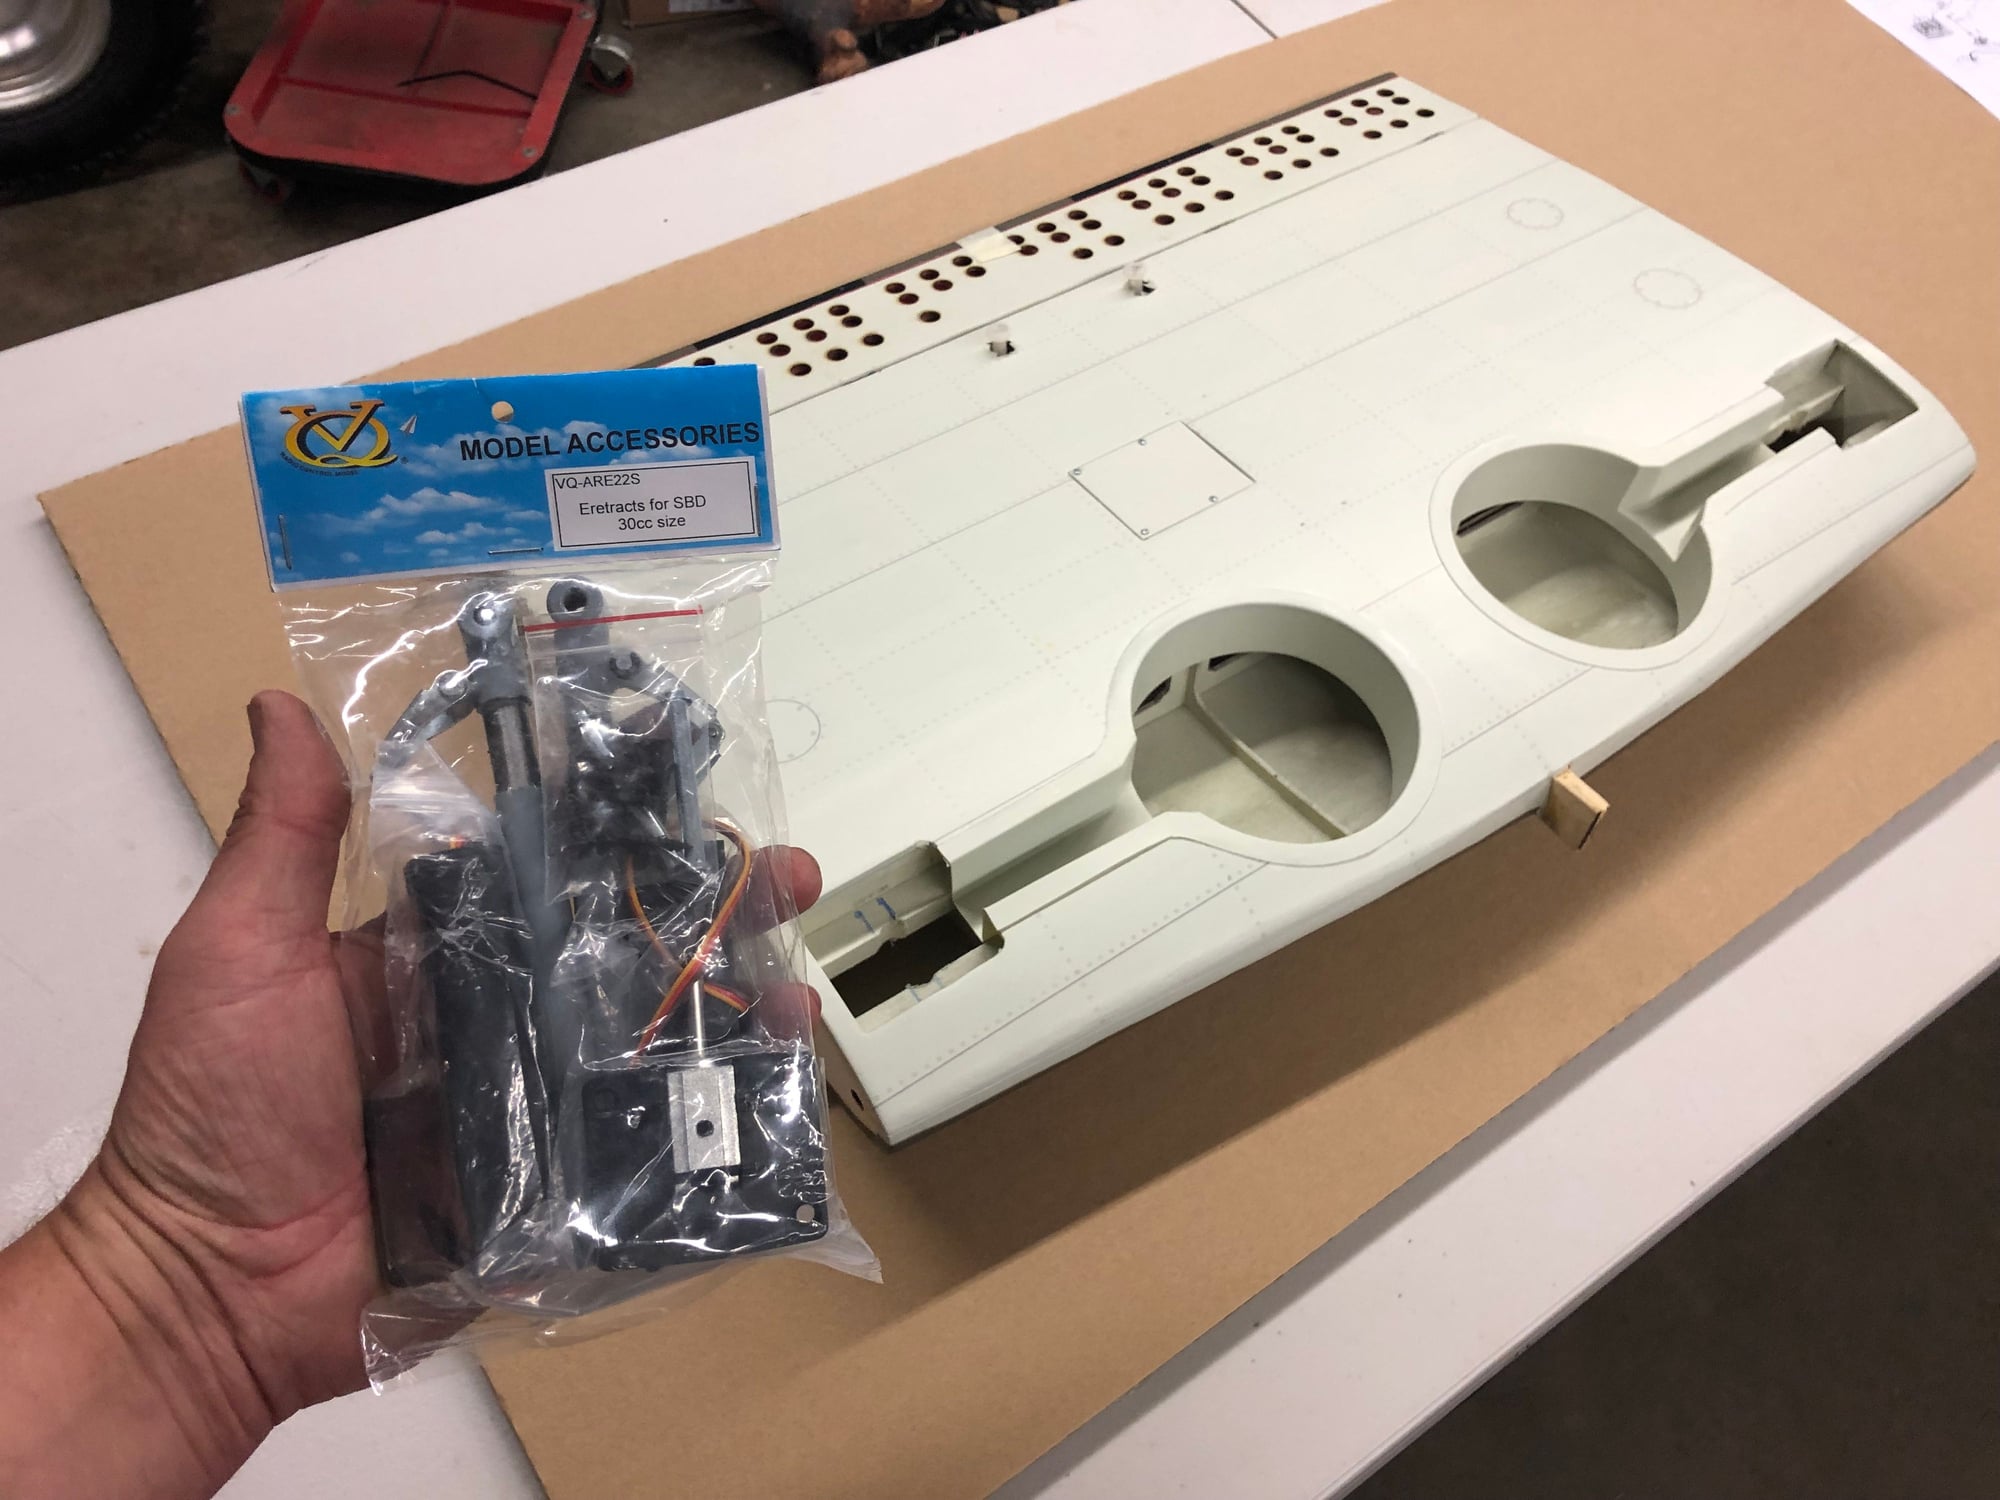
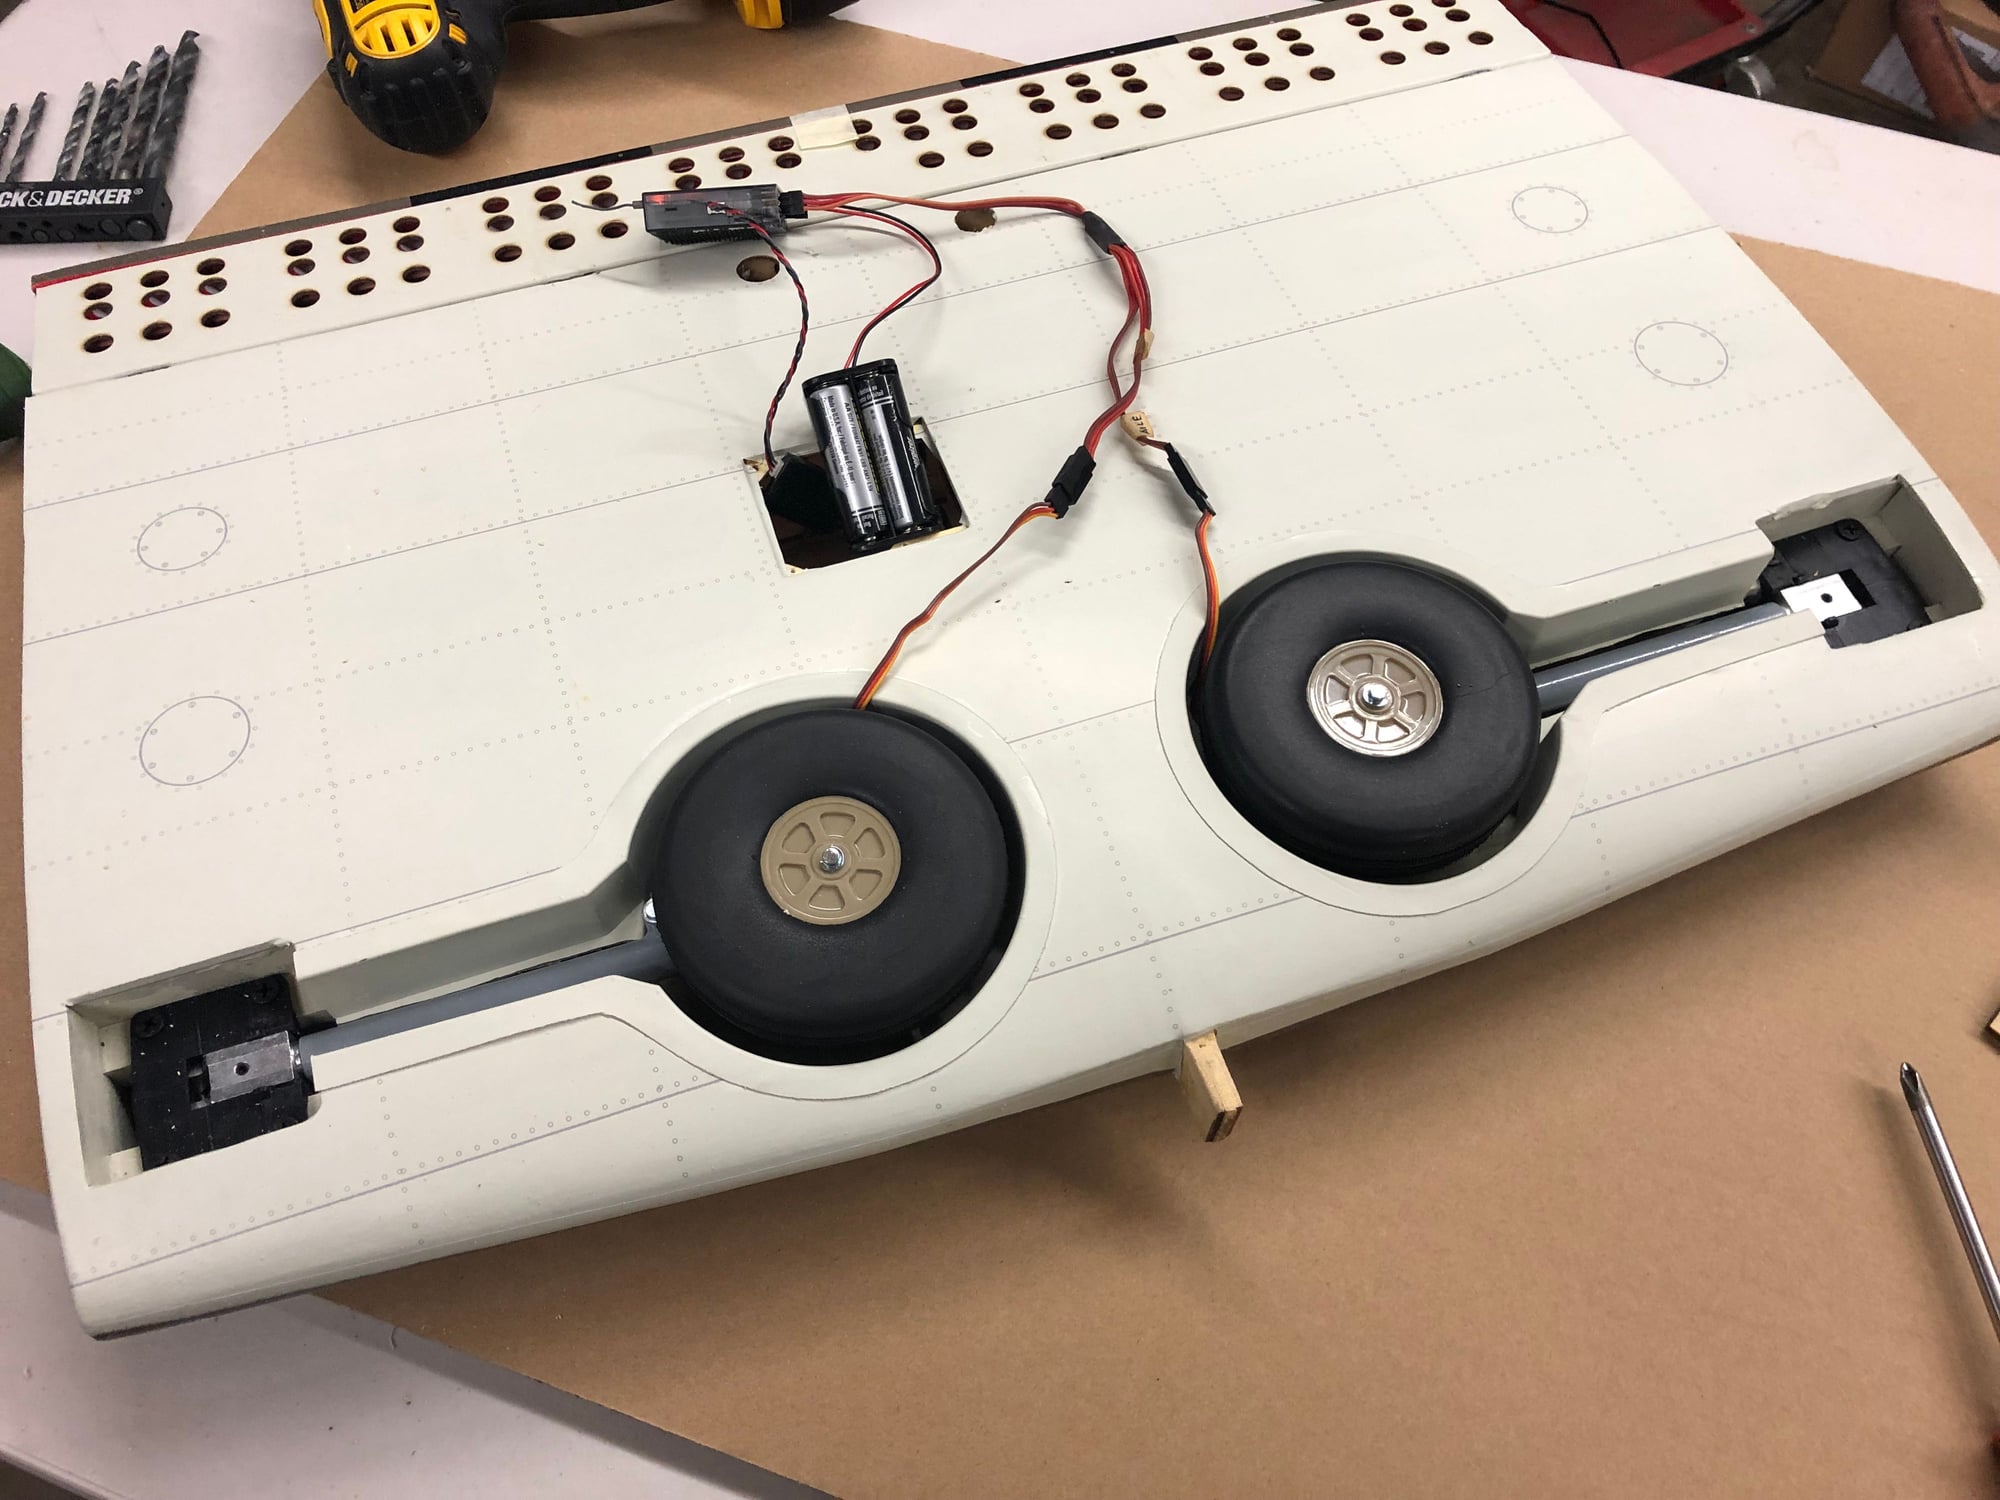
Ok, started on the wing/retracts, still waiting for the servos to get here. So doing what I can until then. I did get the EME35 Auto Start, cant wait to mount that up too!
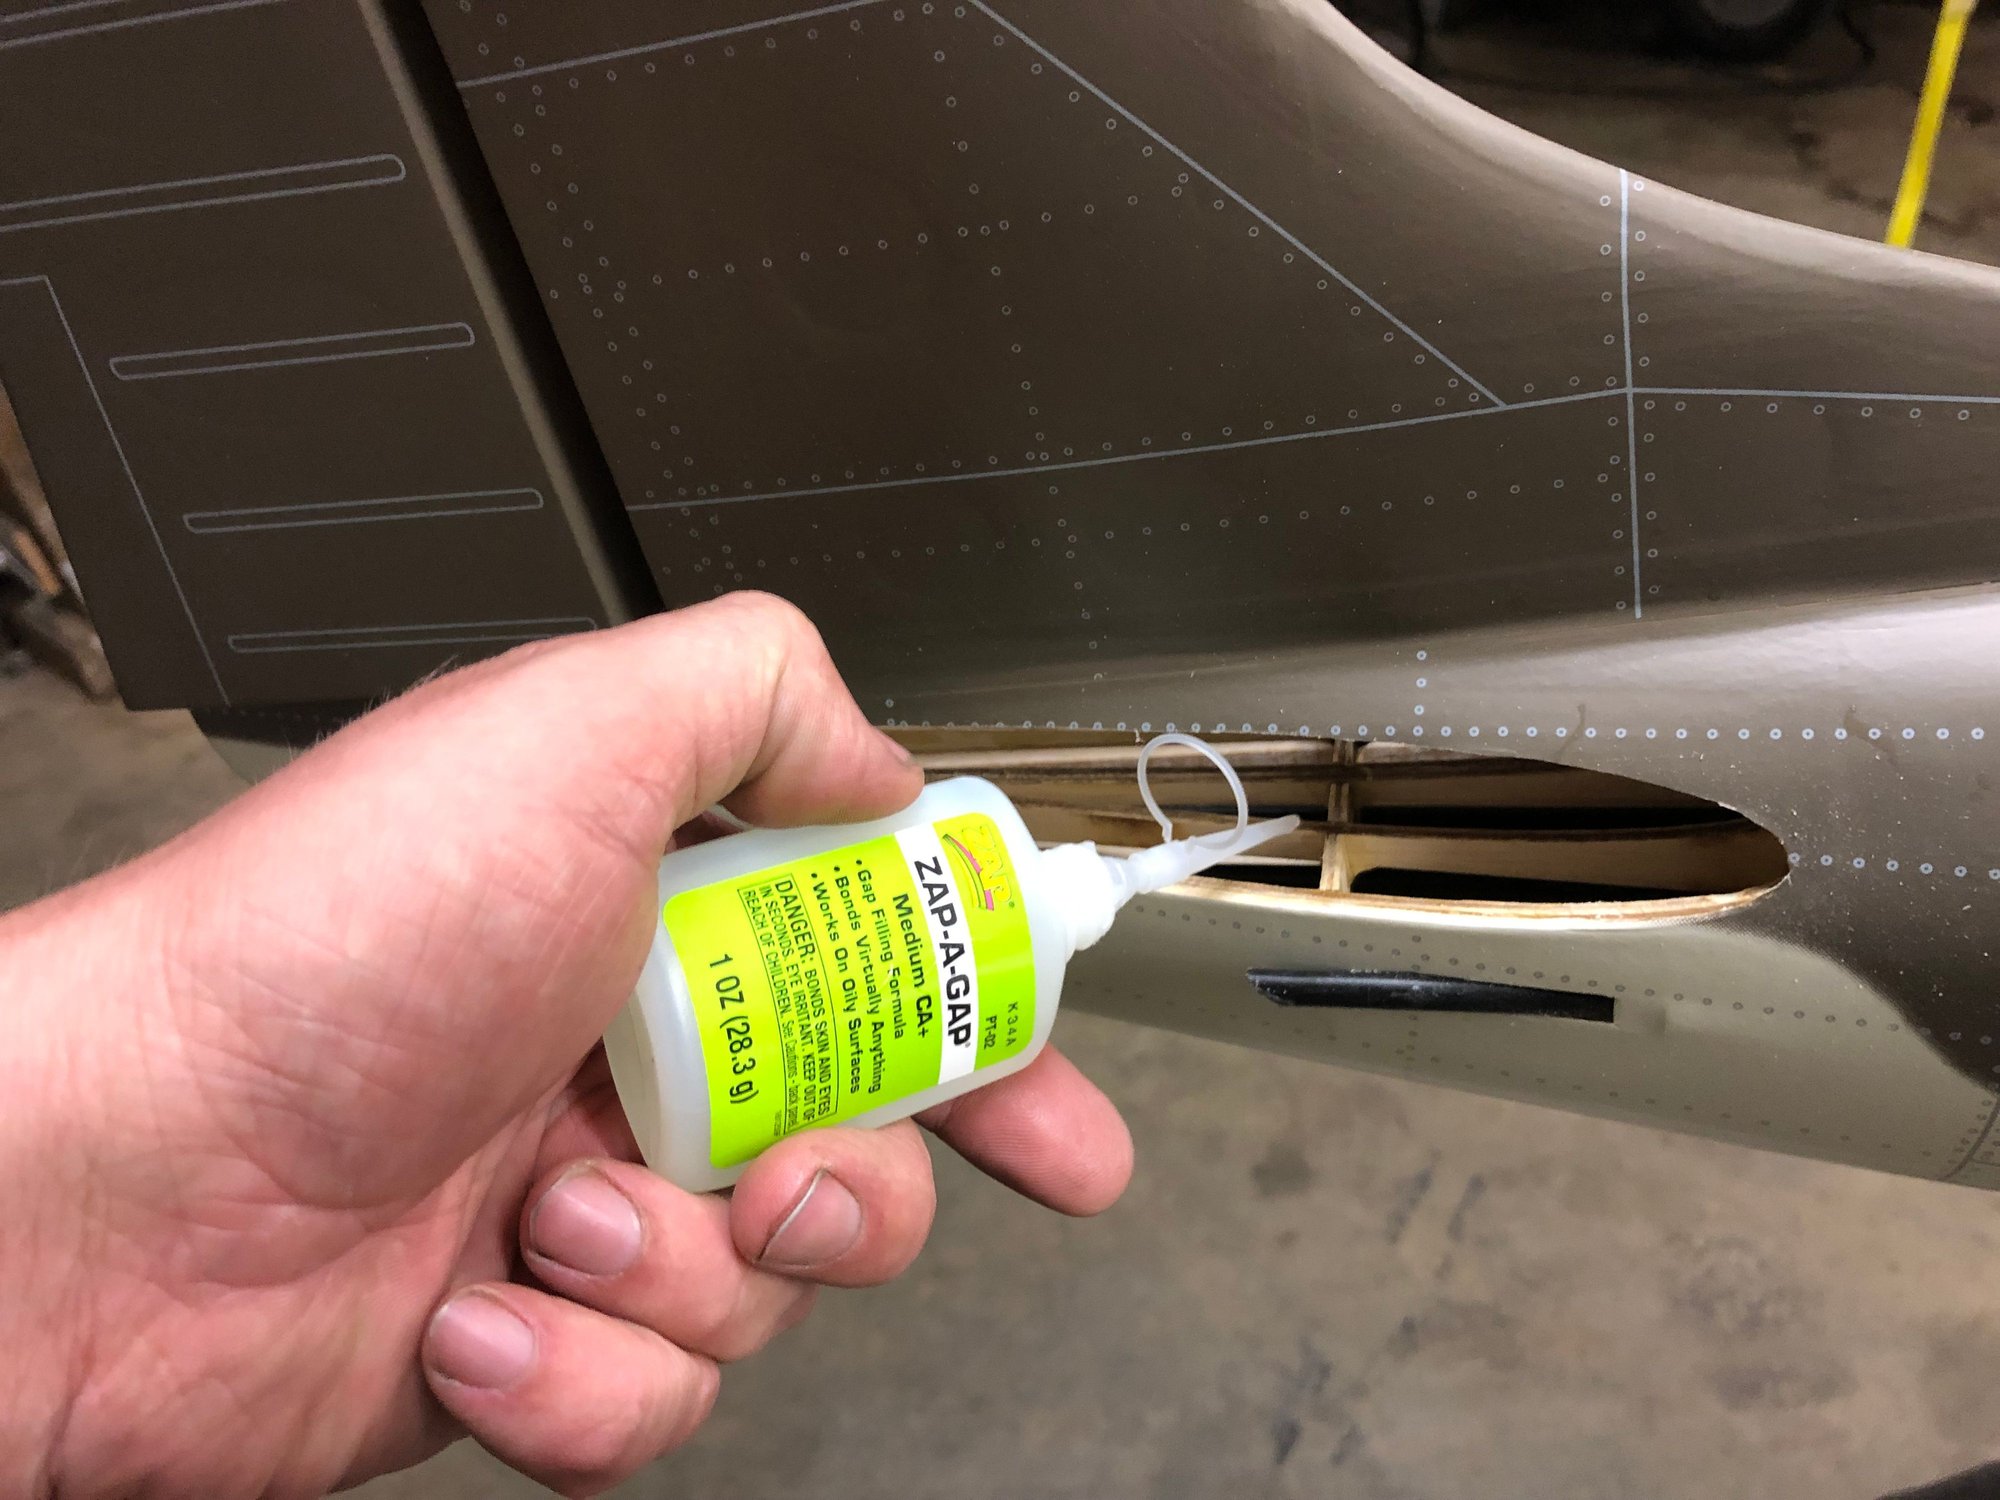
First thing, take THIN CA and run around everything you can reach, just something I do that doesnt hurt.
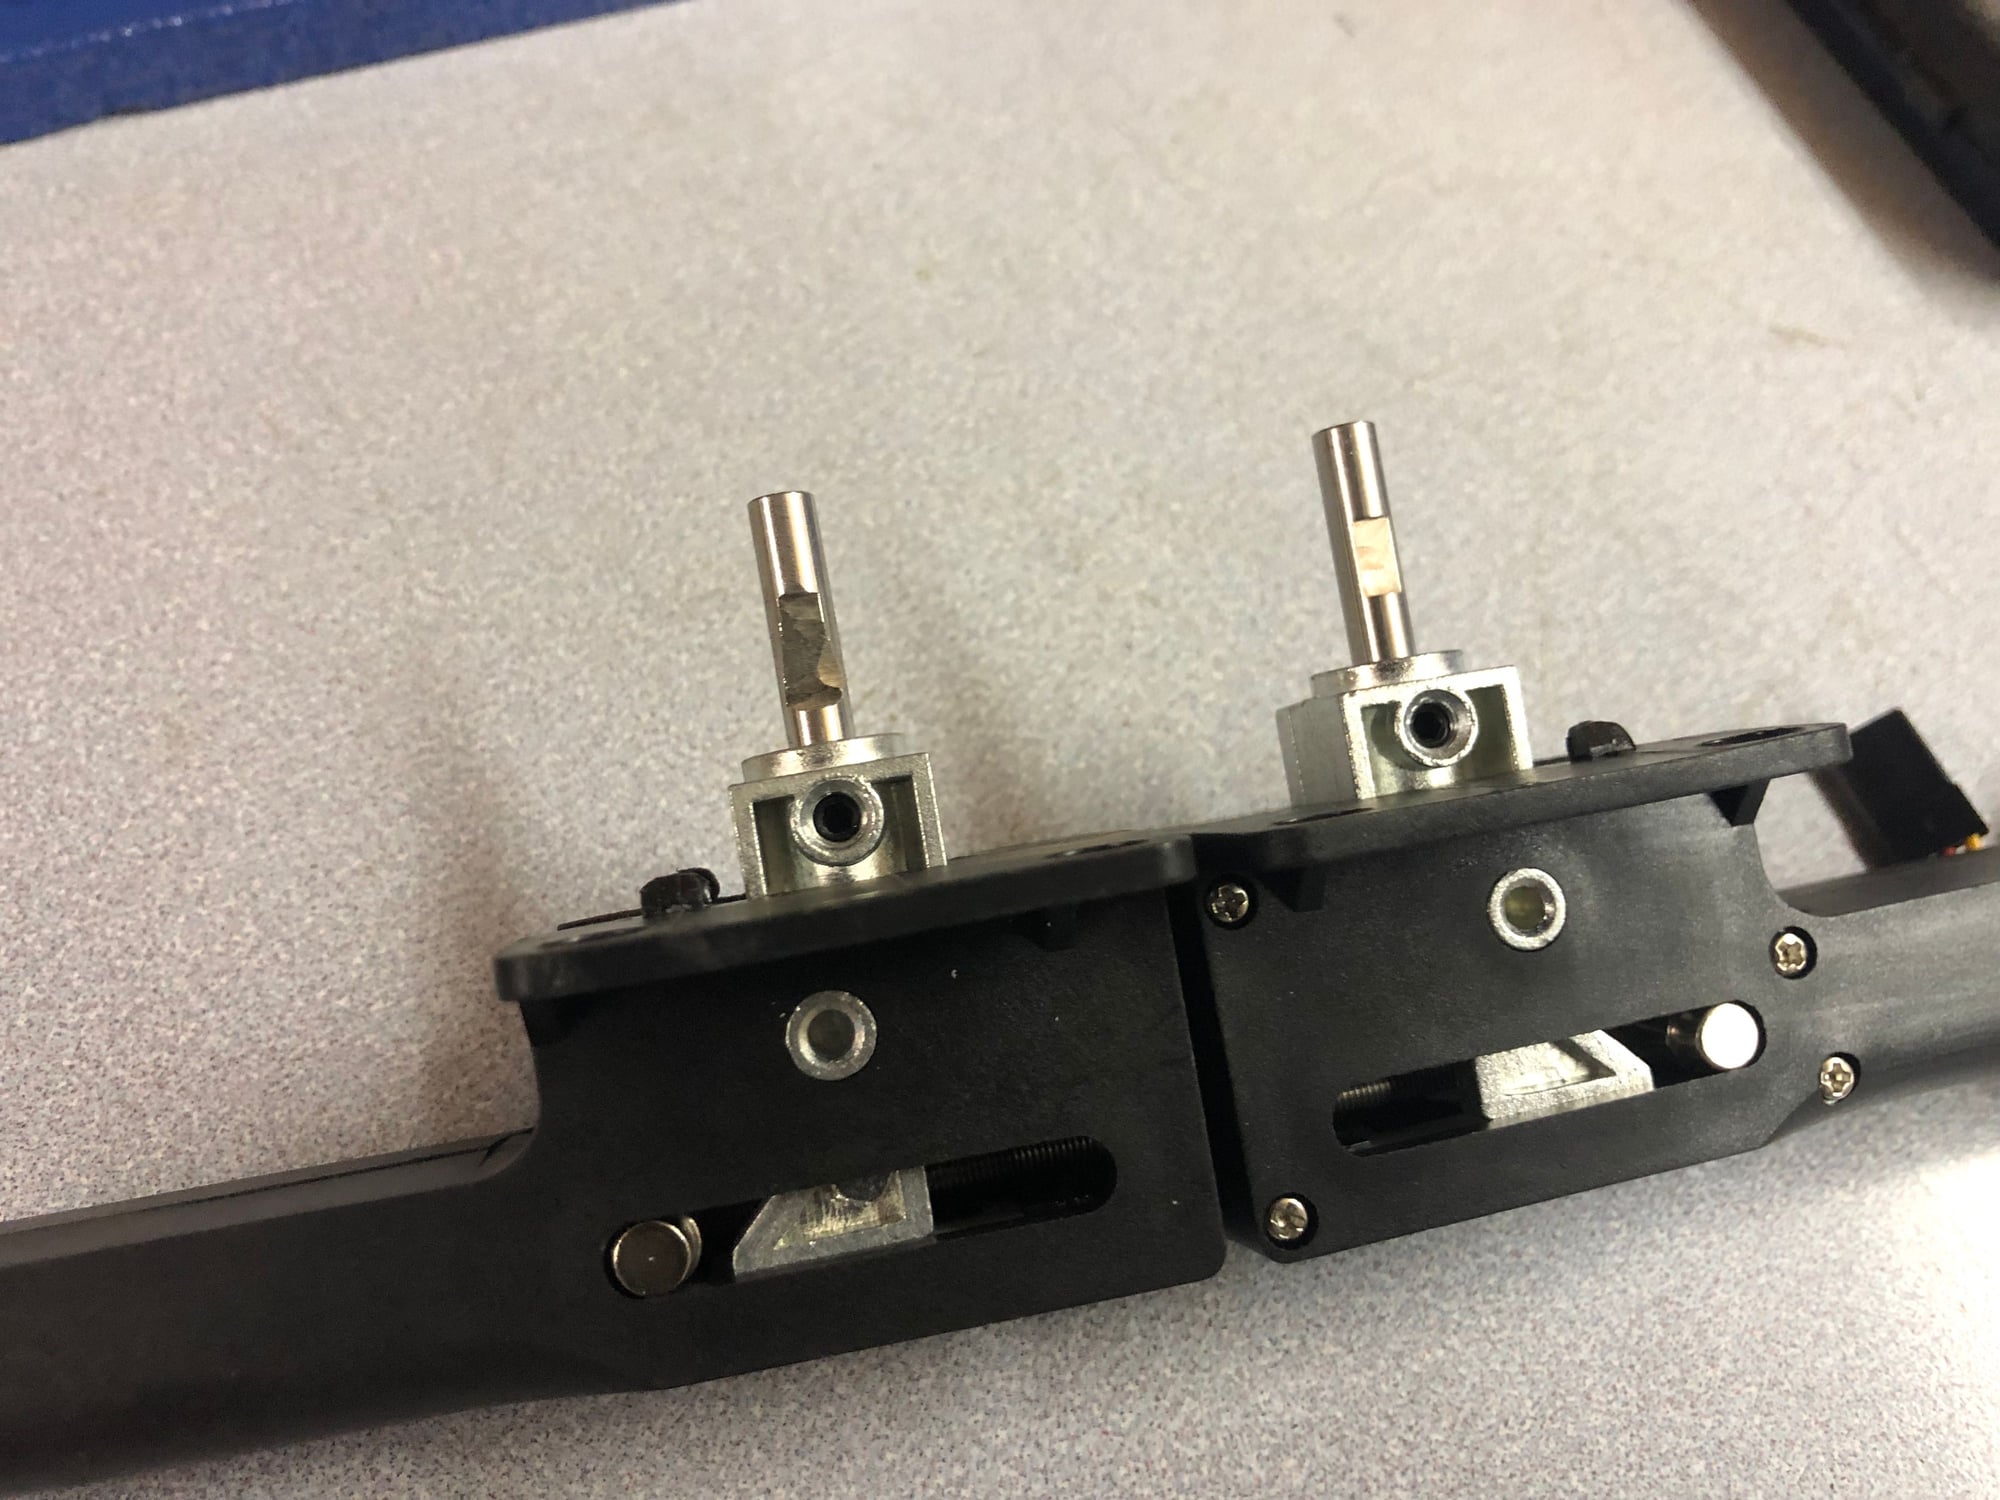
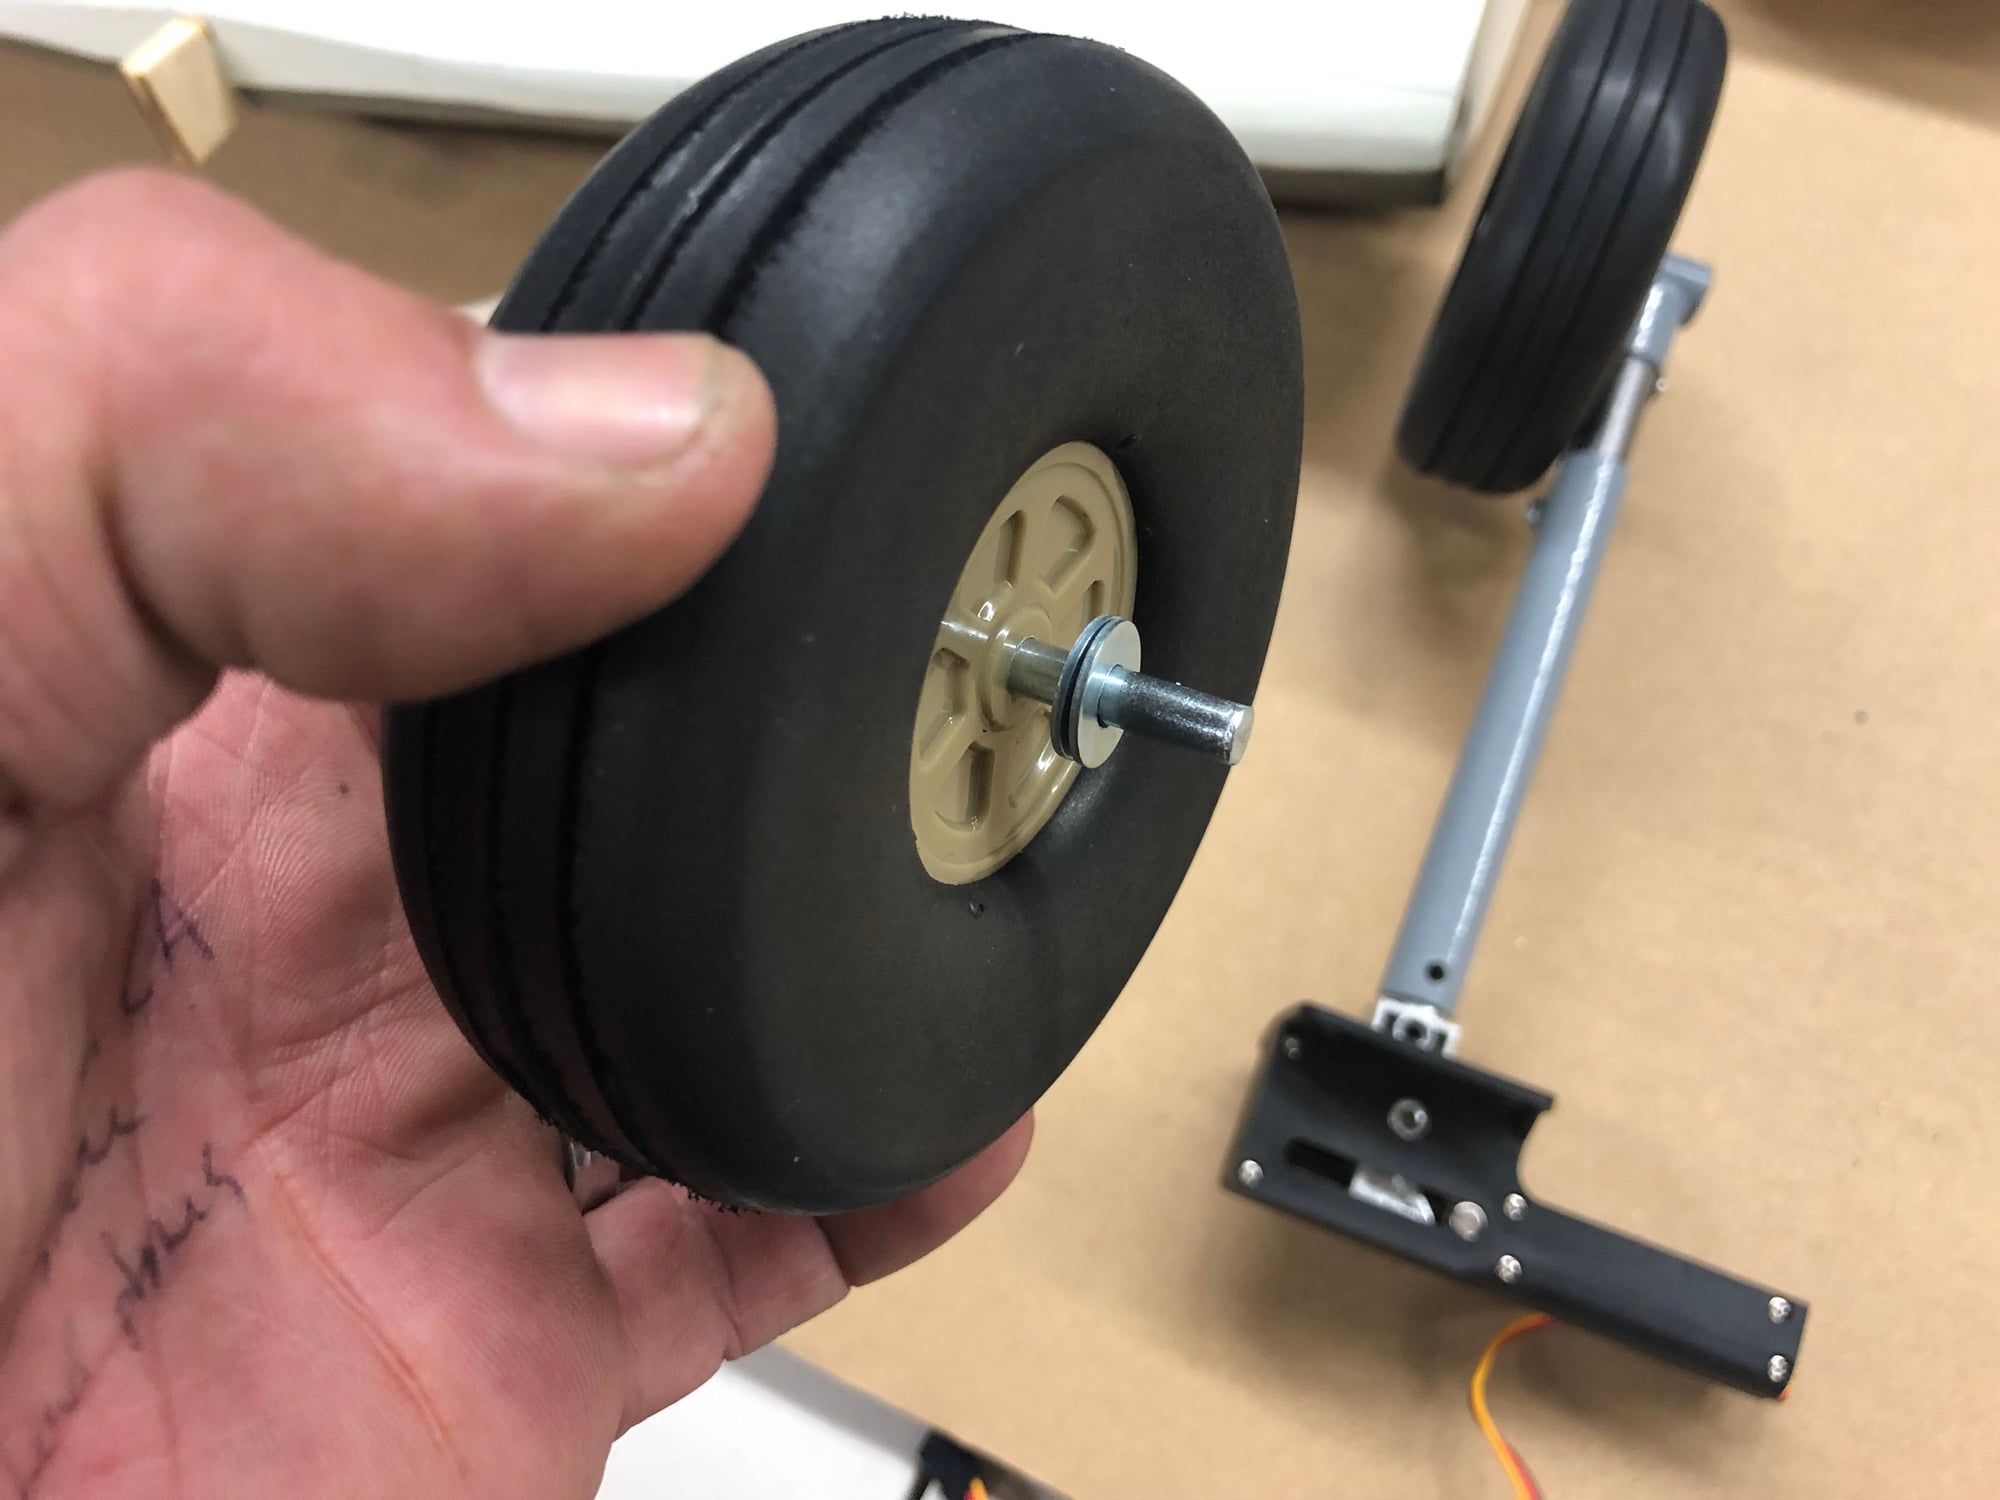
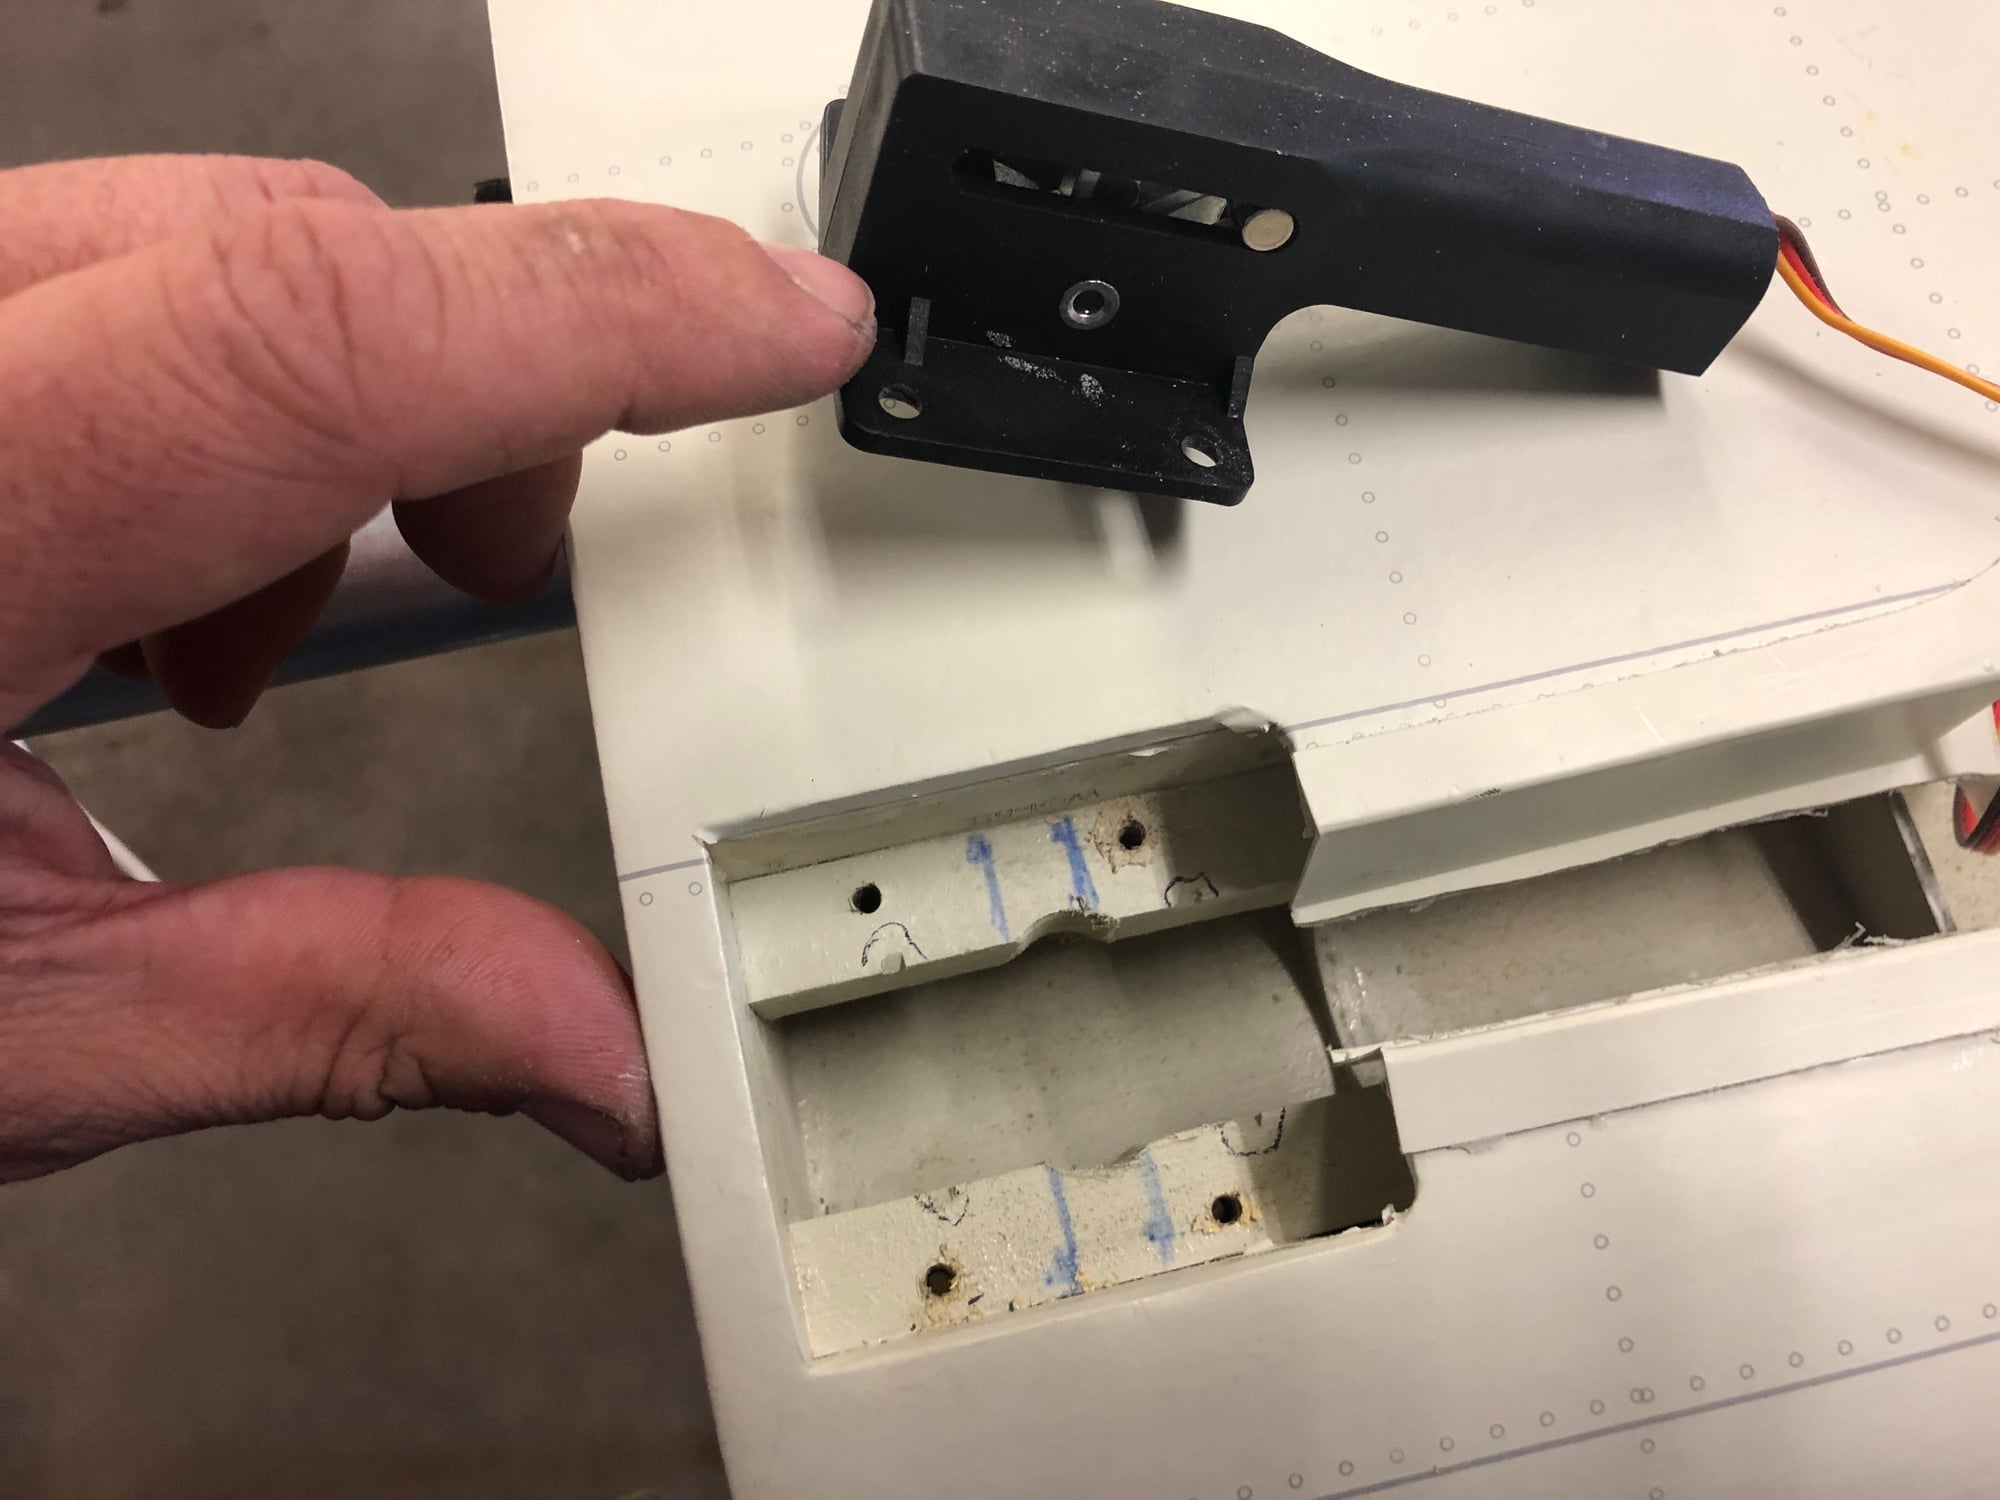
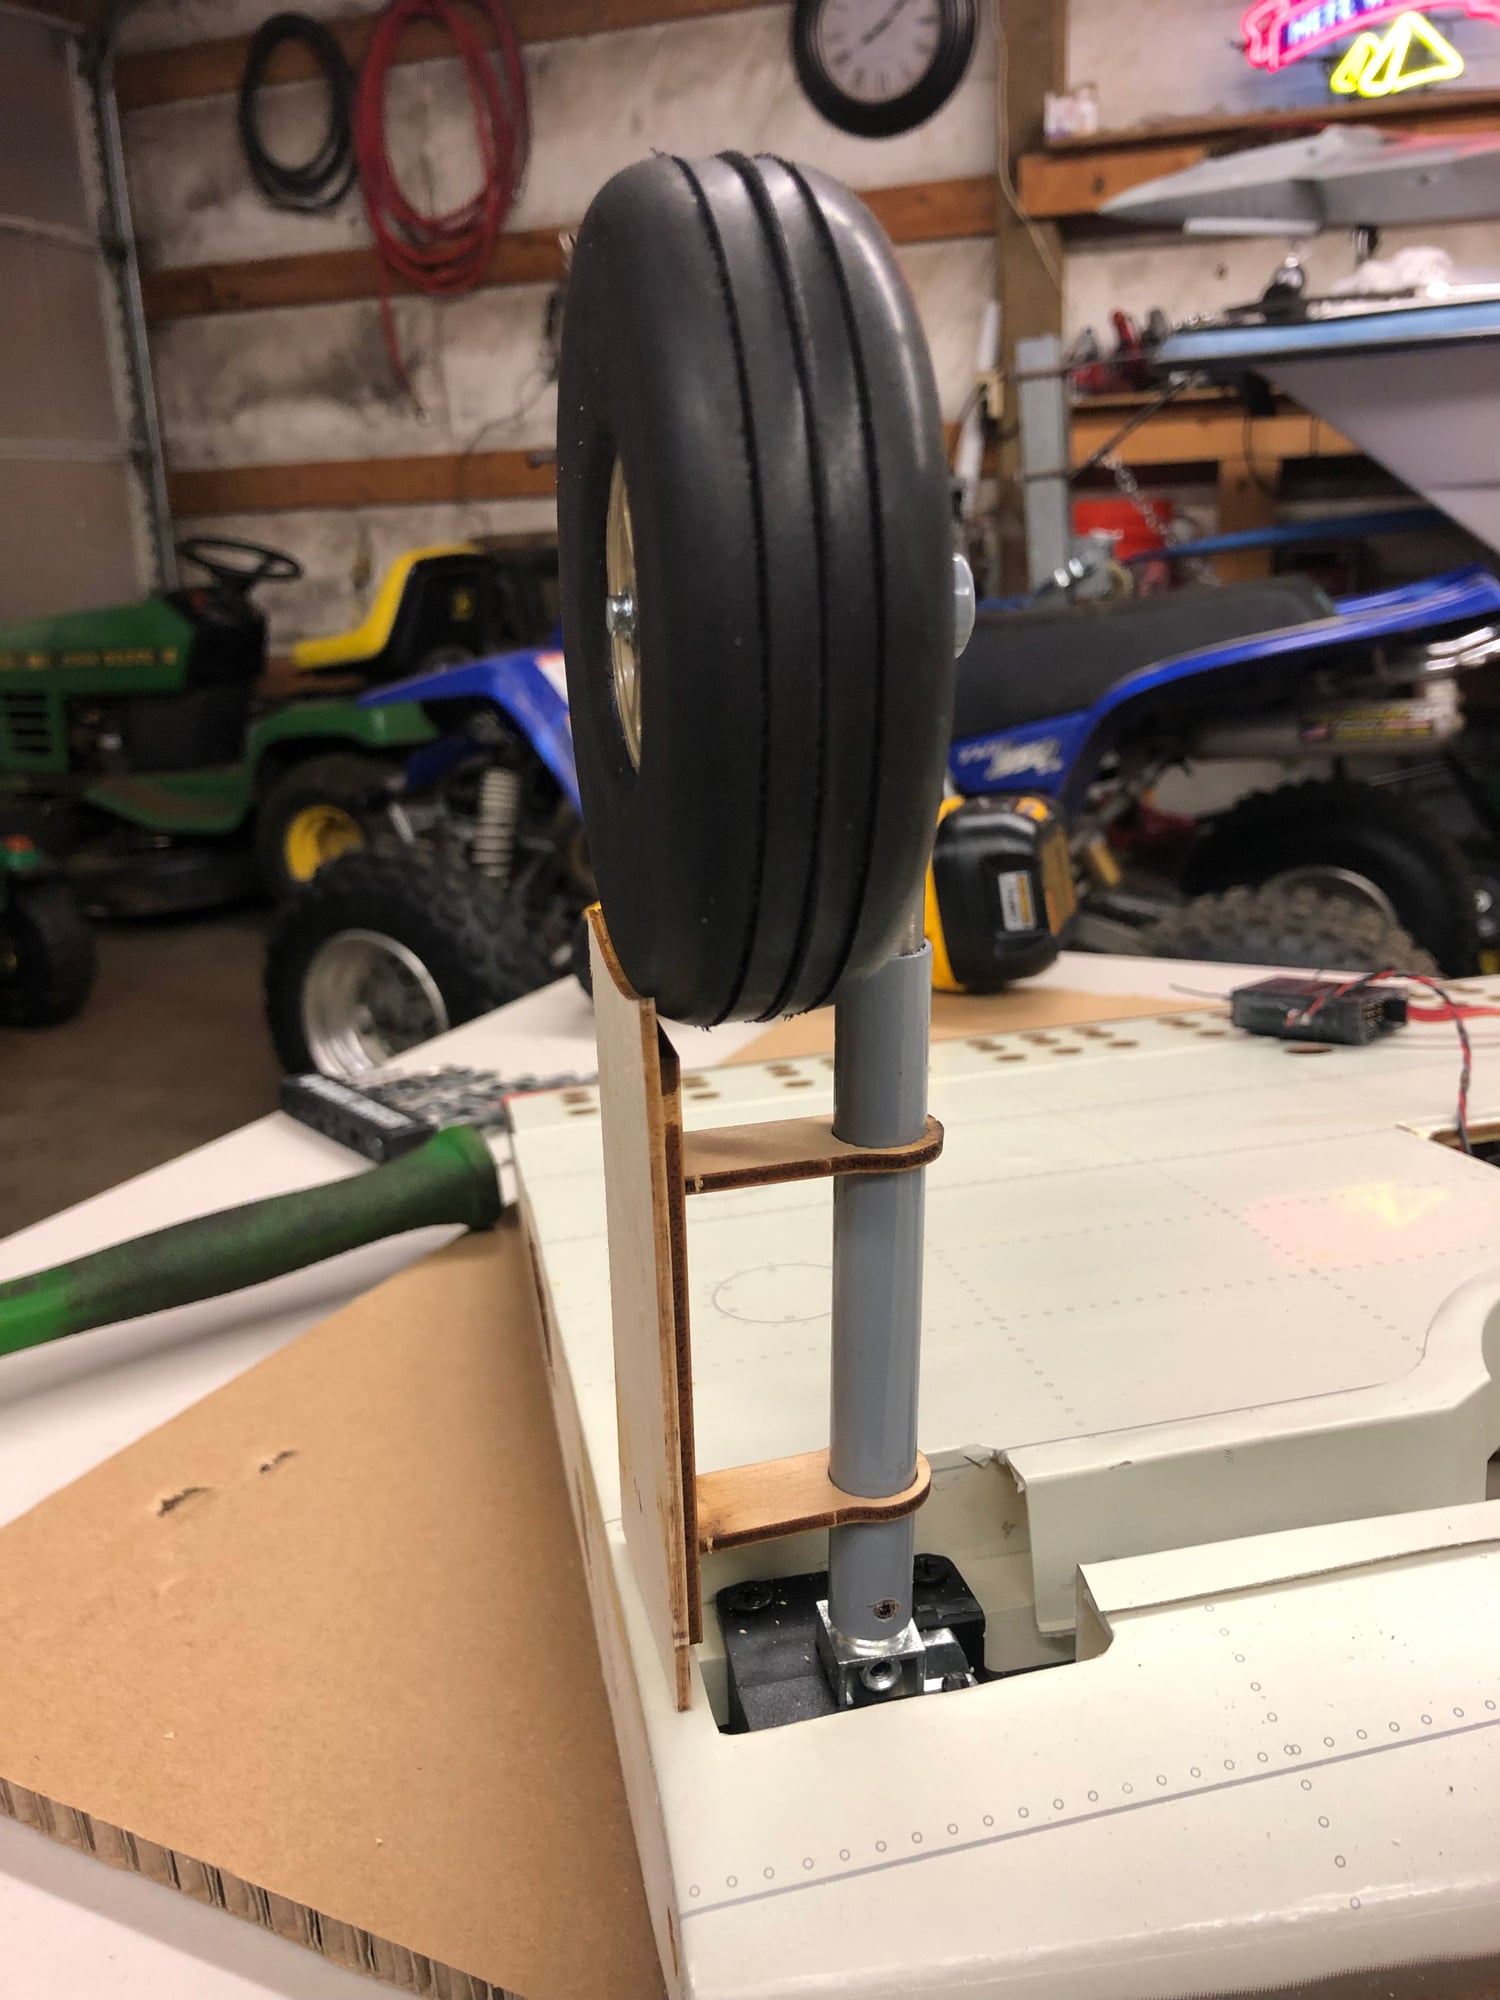
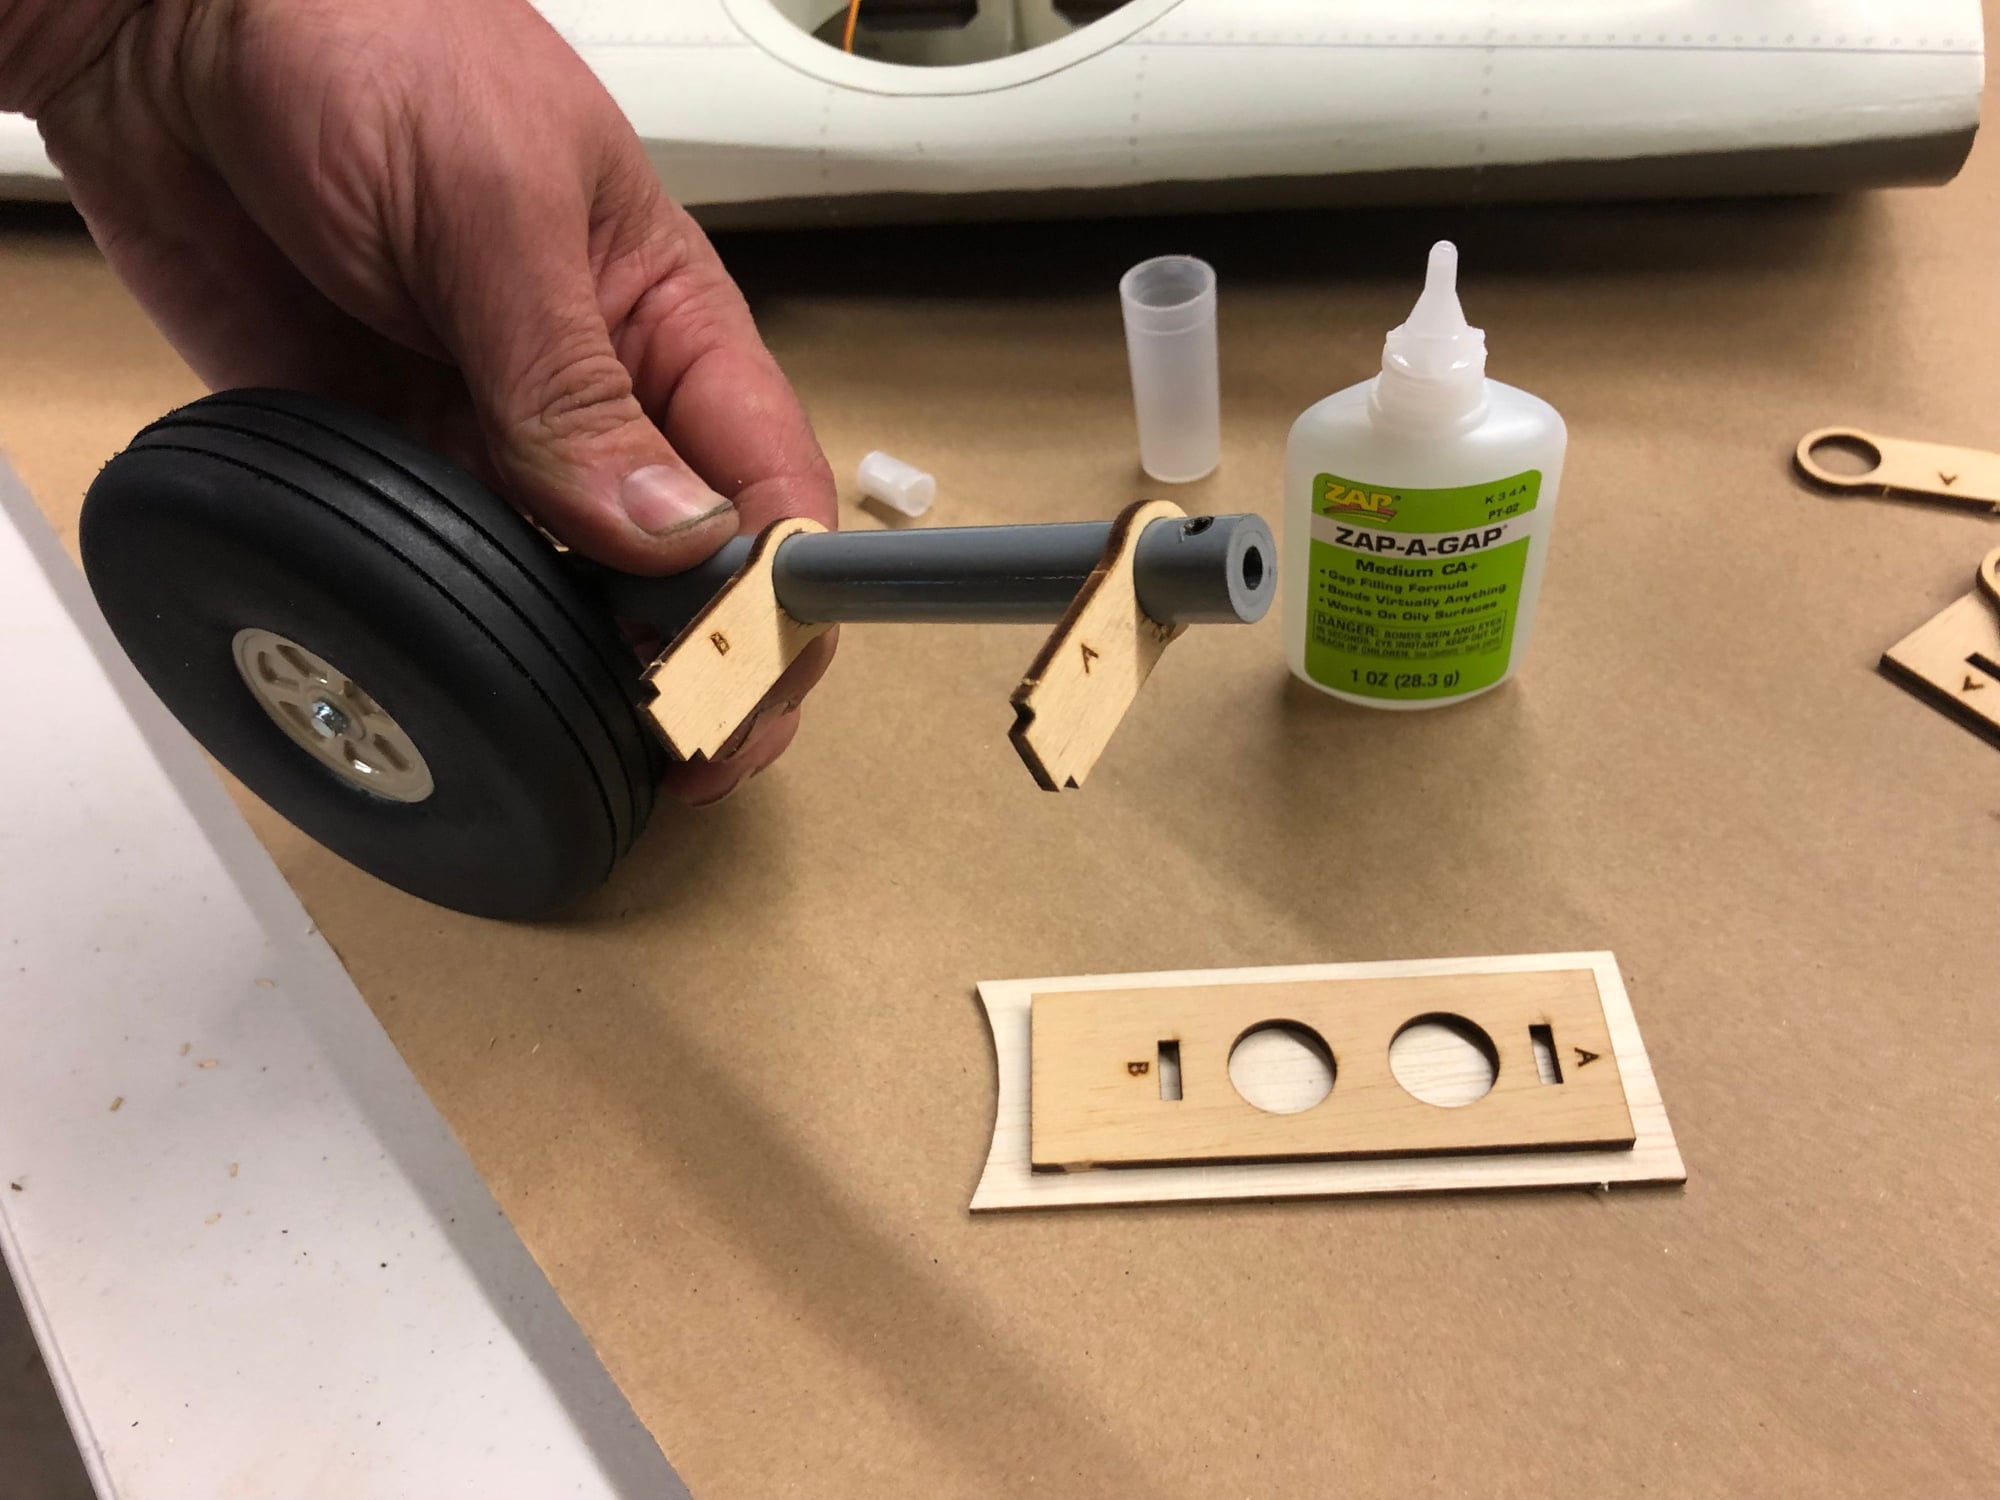
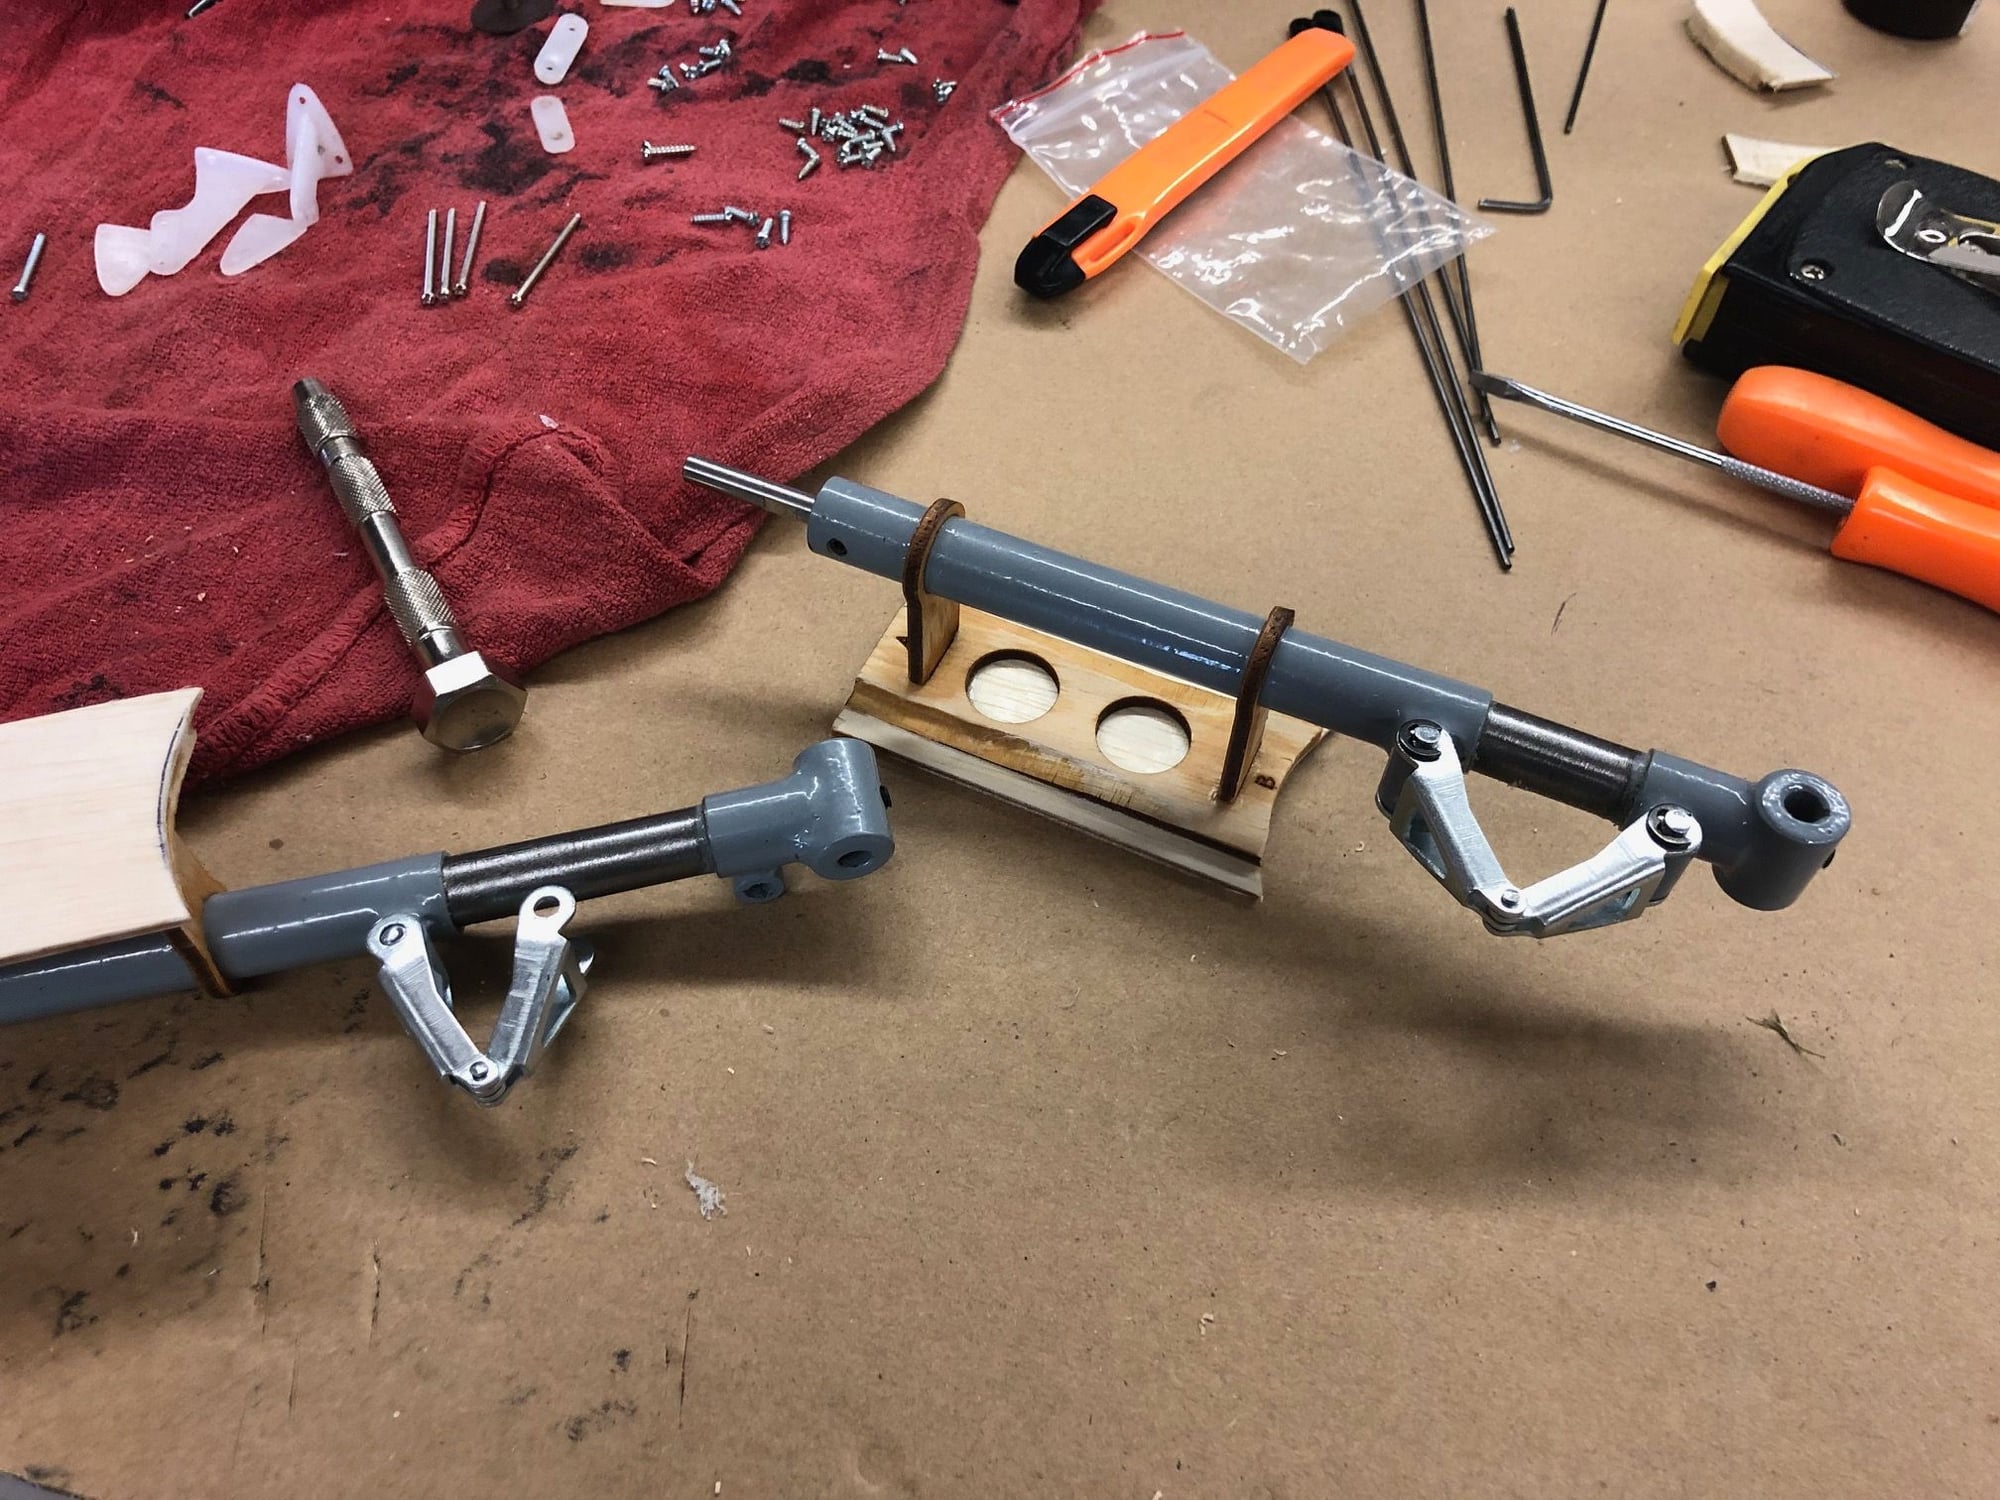
Then, I put the struts on the retracts, hook the retracts to a rx, cycle them, get the gear legs up, I had to file the slot for the set screws down closer to the retract, *you must have the struts touching the retract! Otherwise the rod will bend with any load on it.
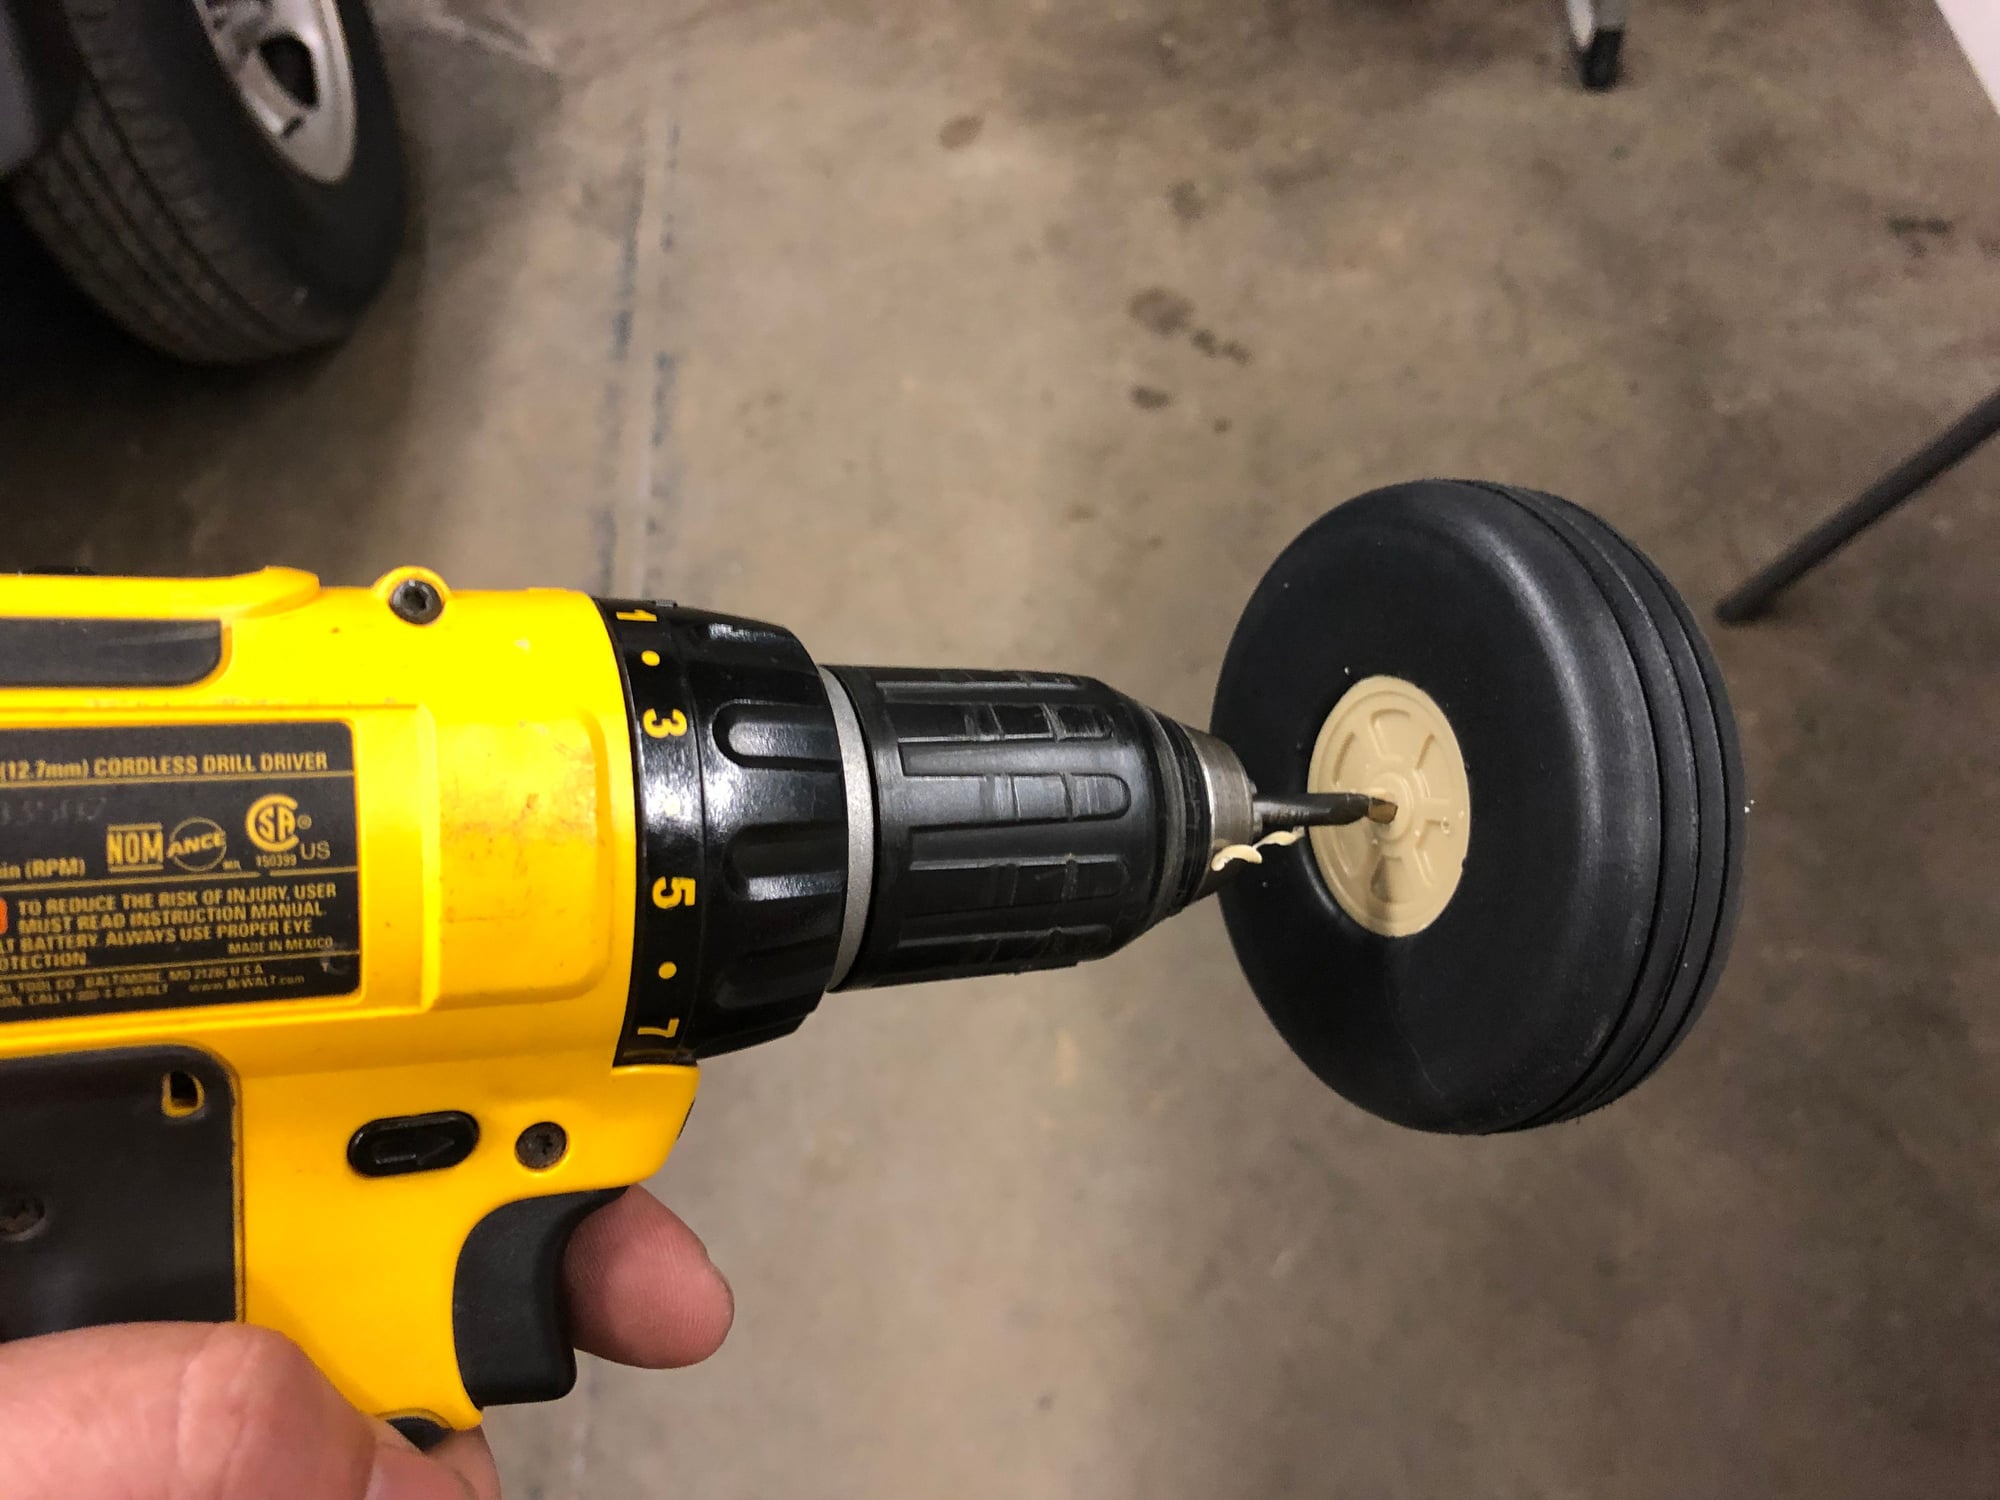
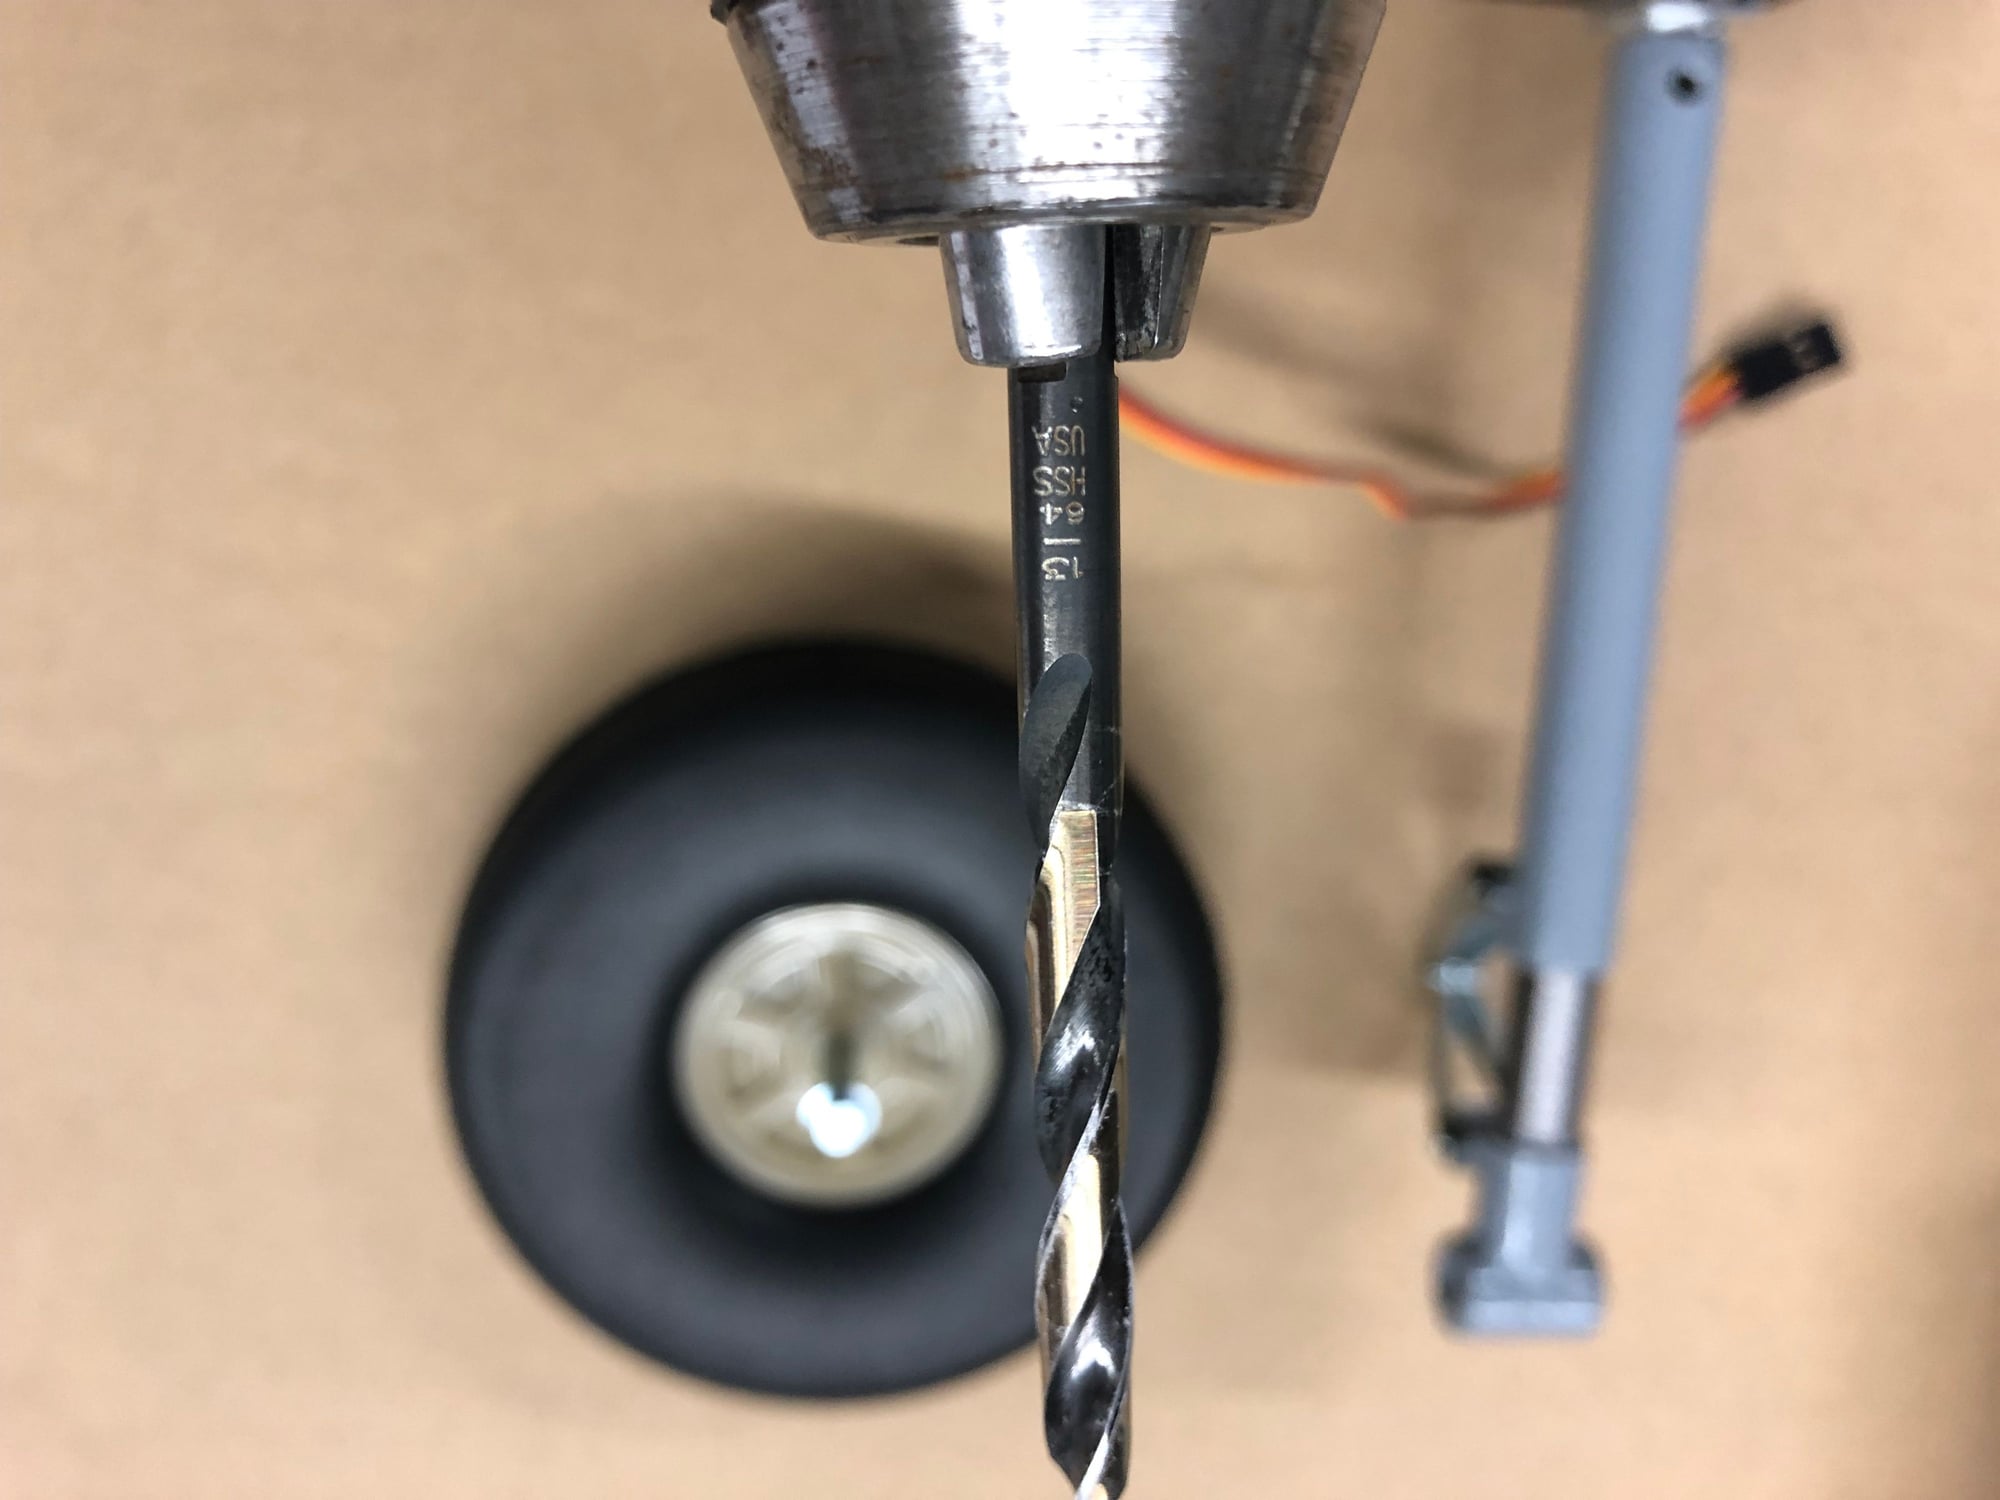
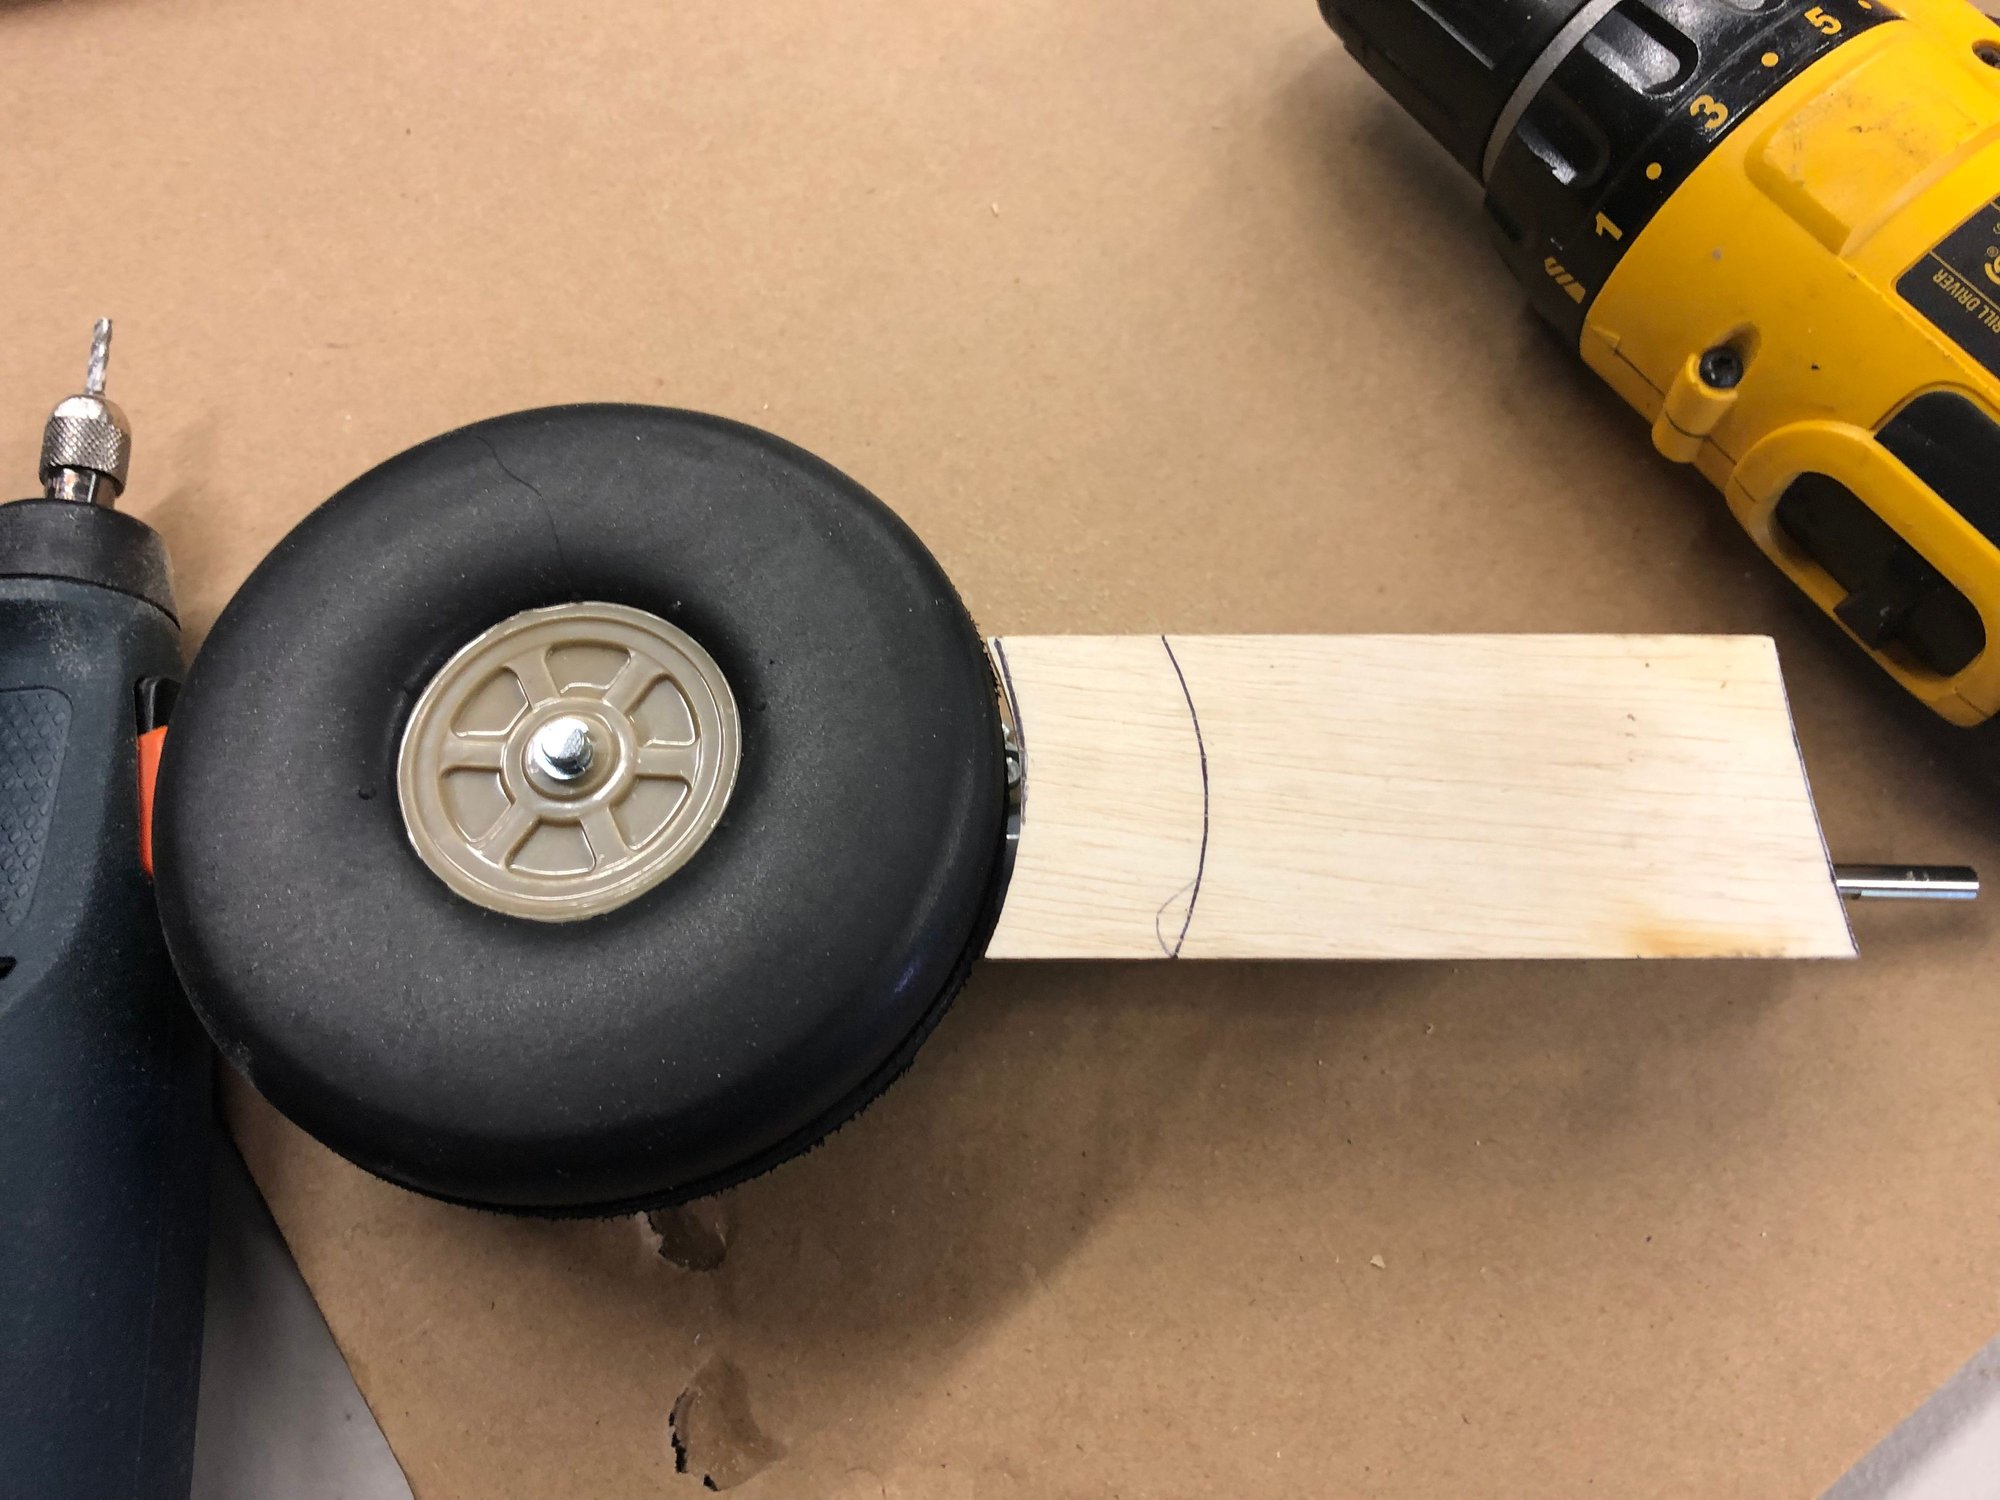
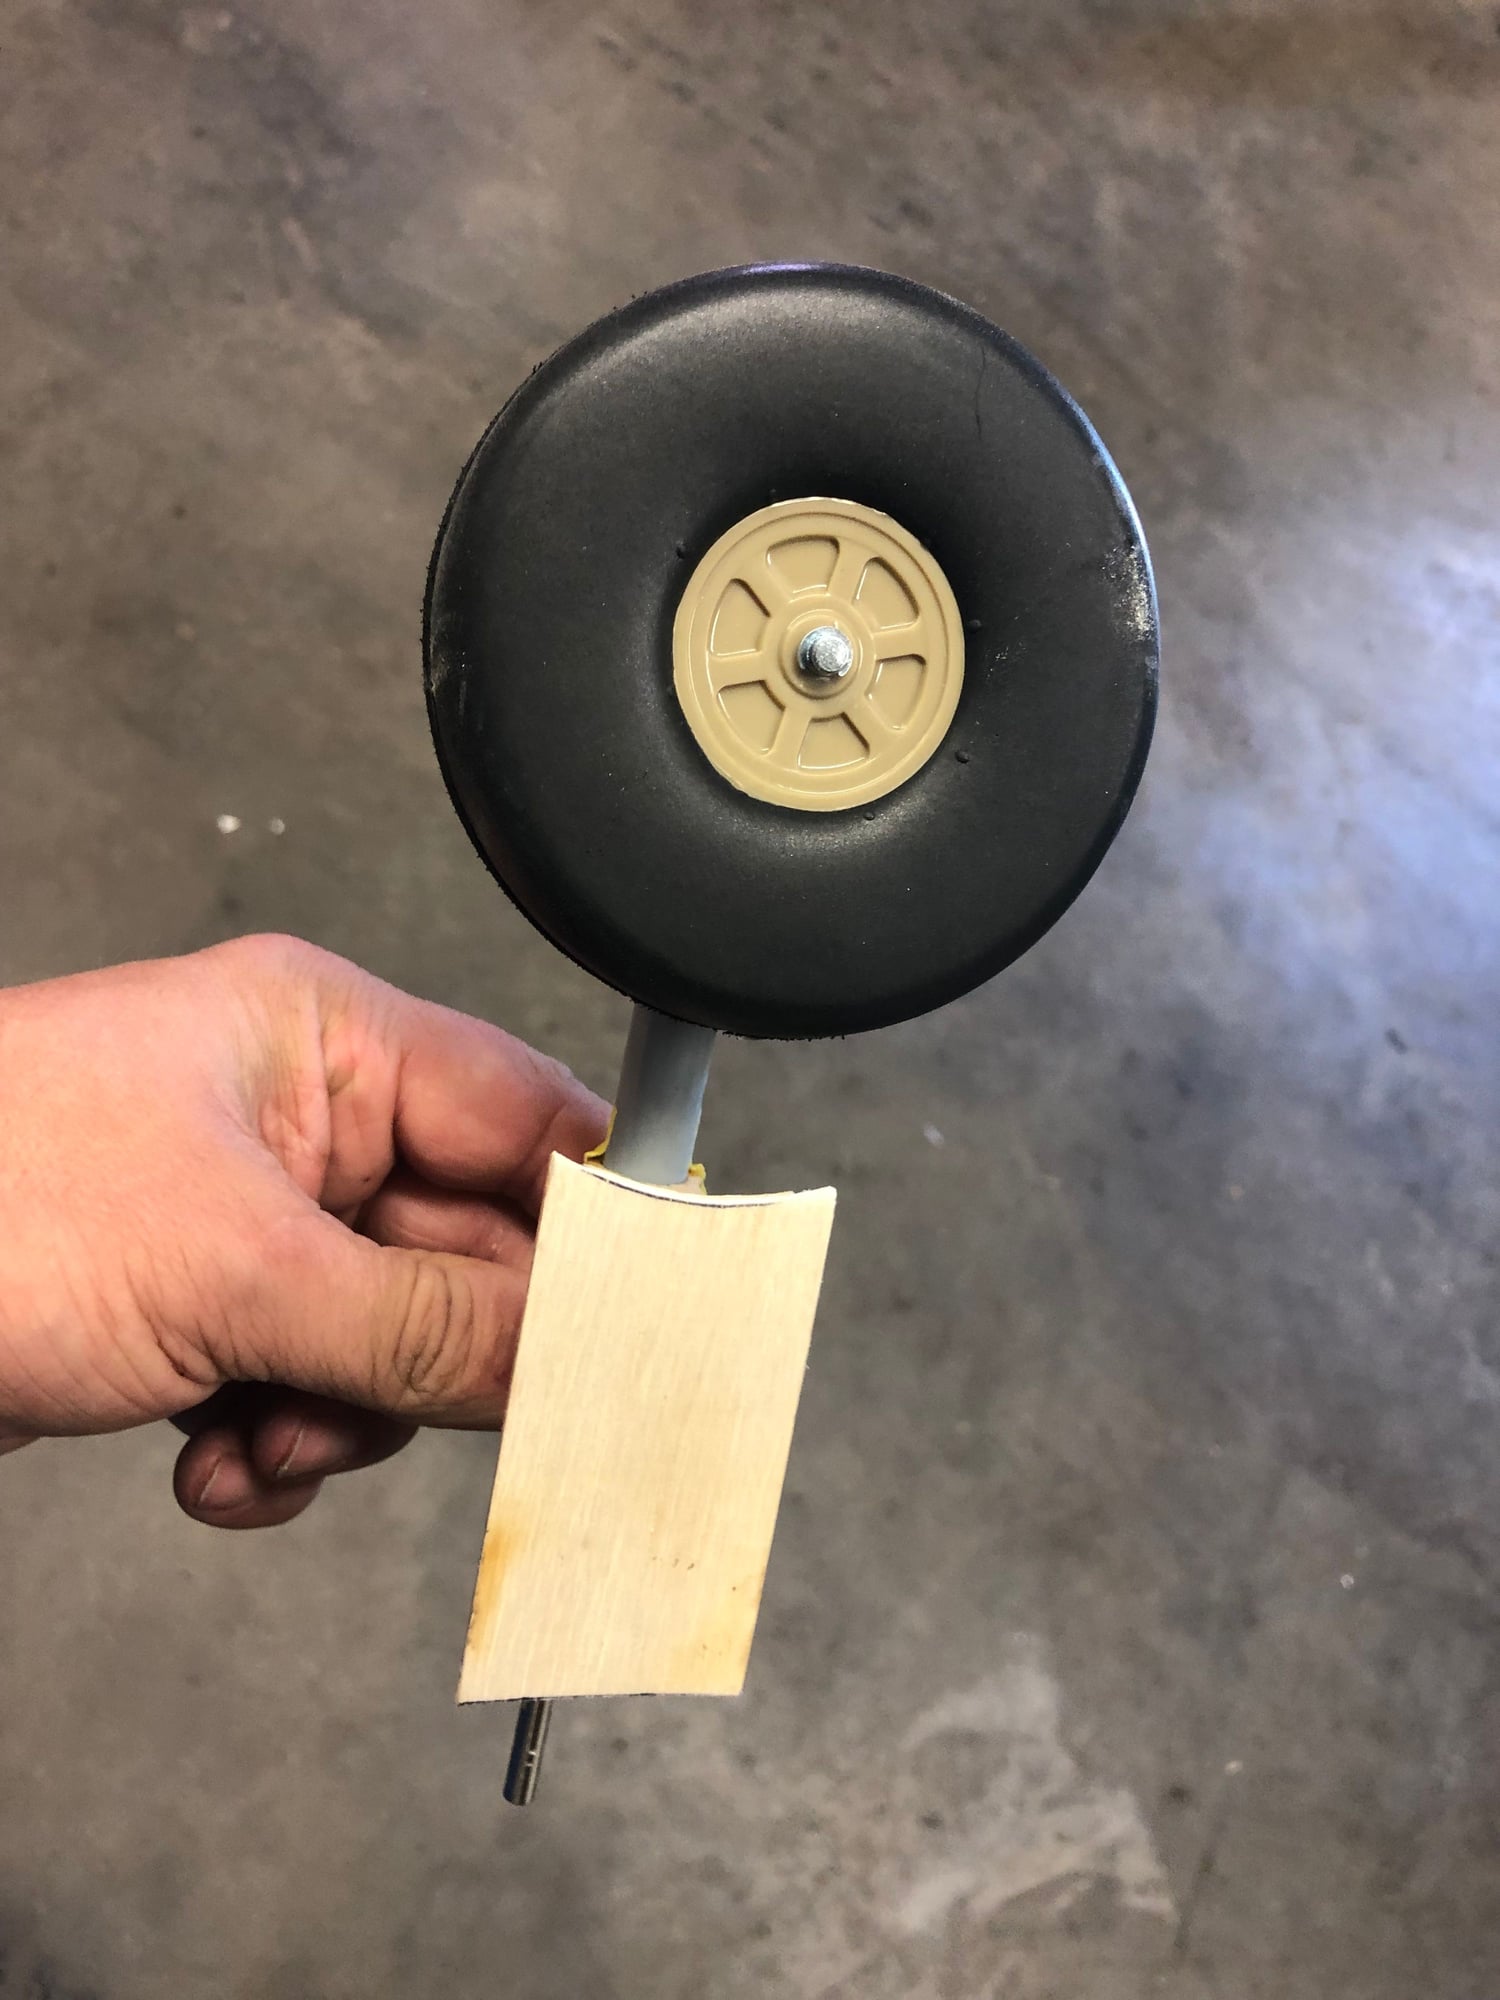
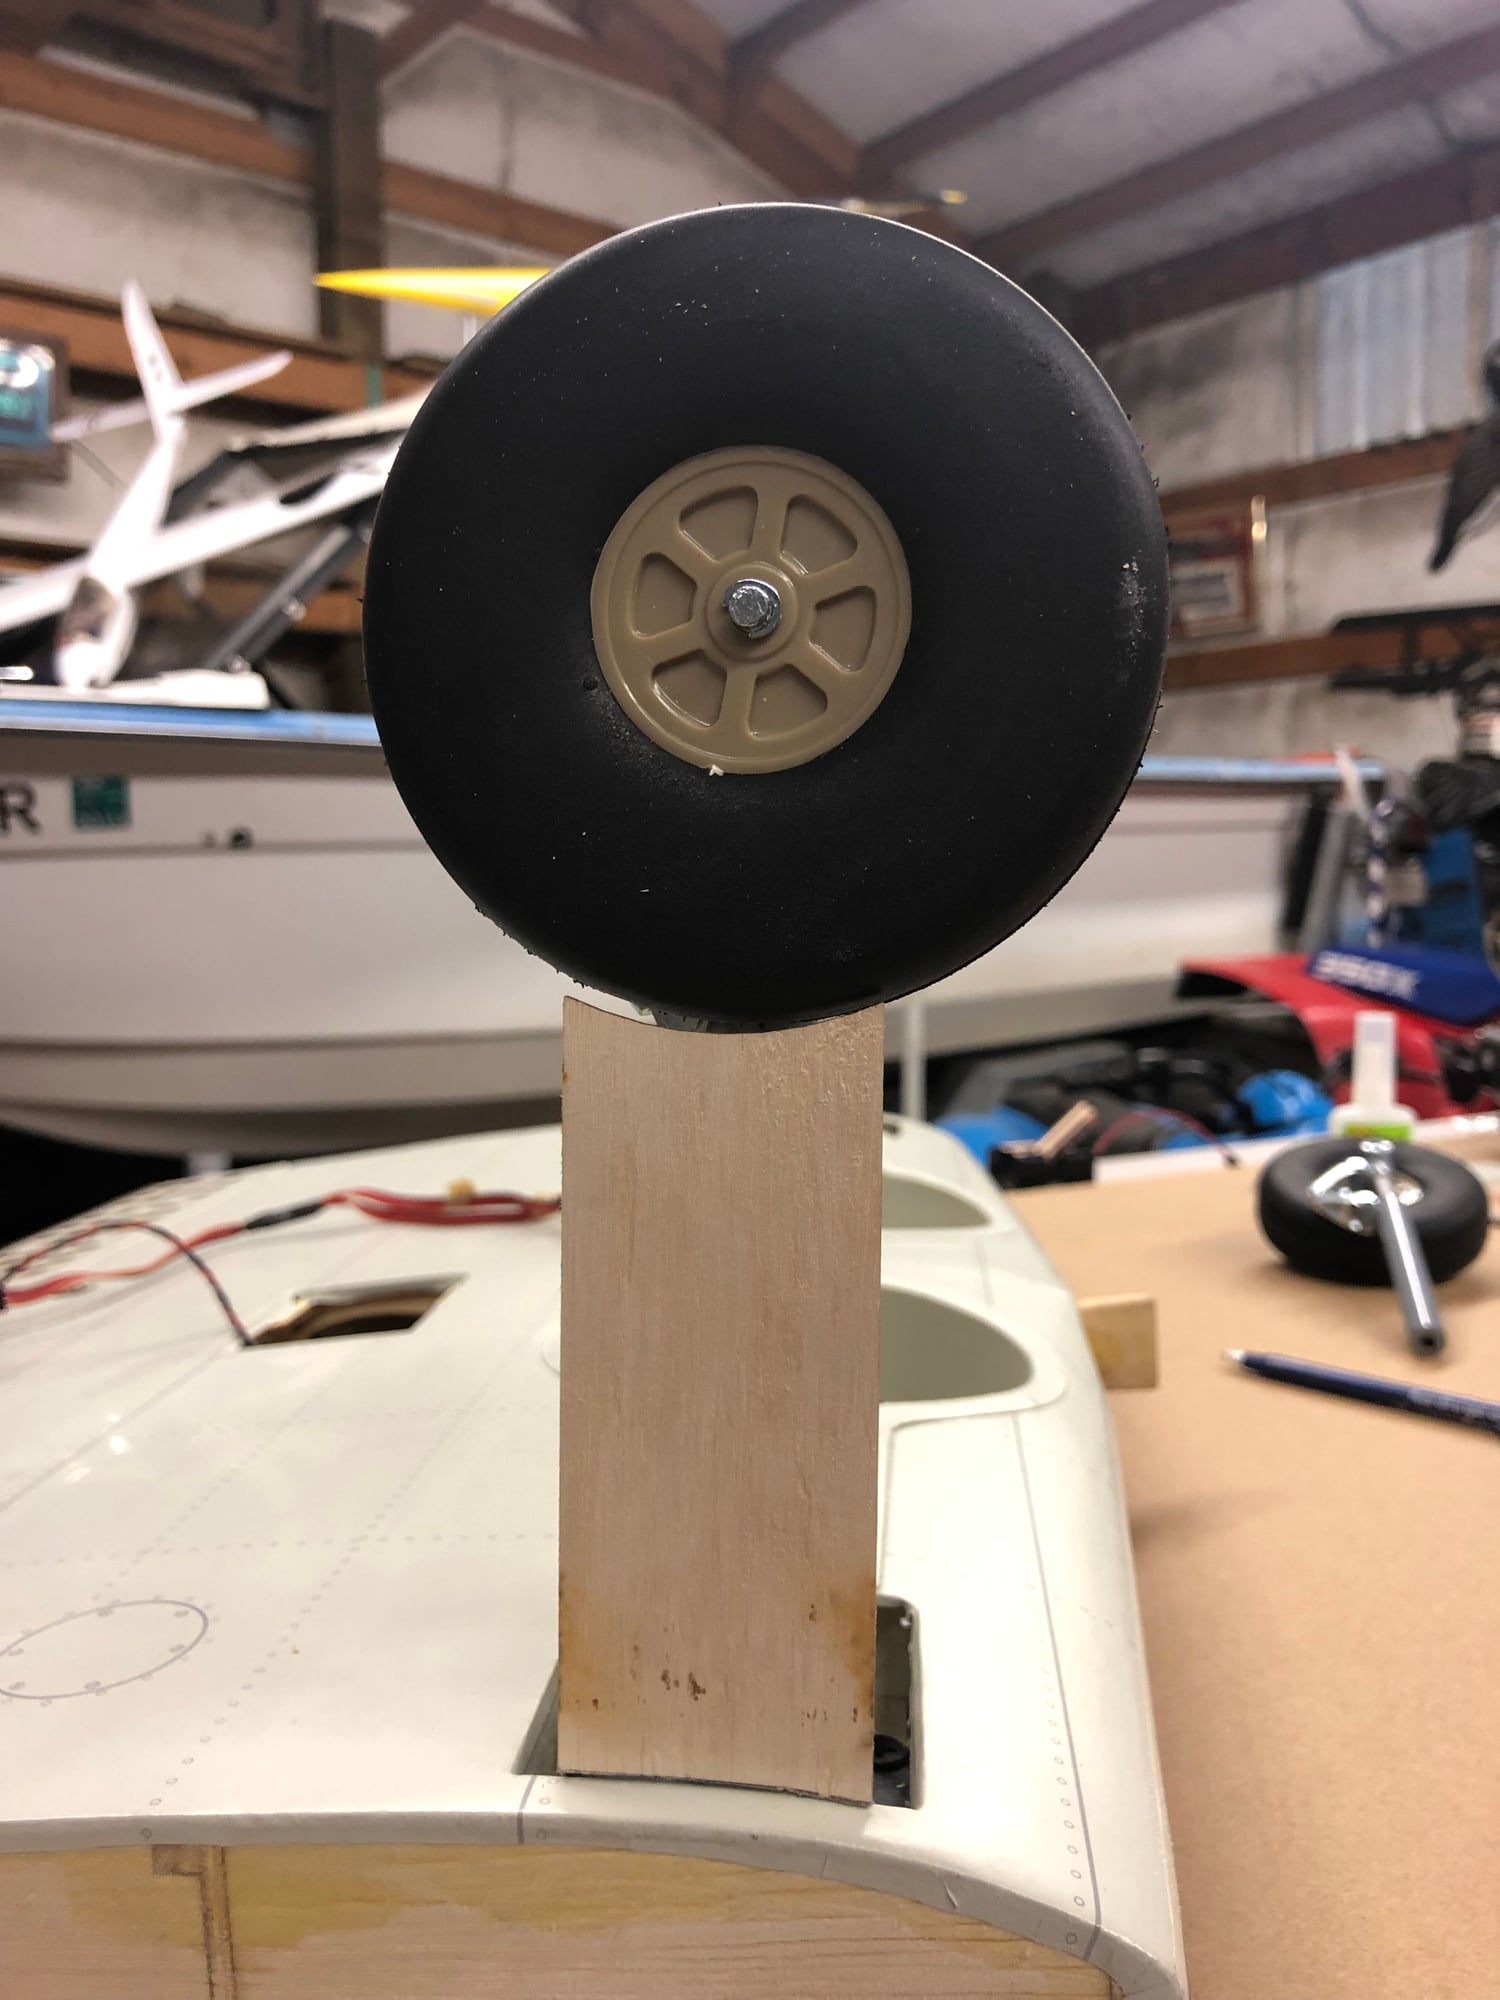
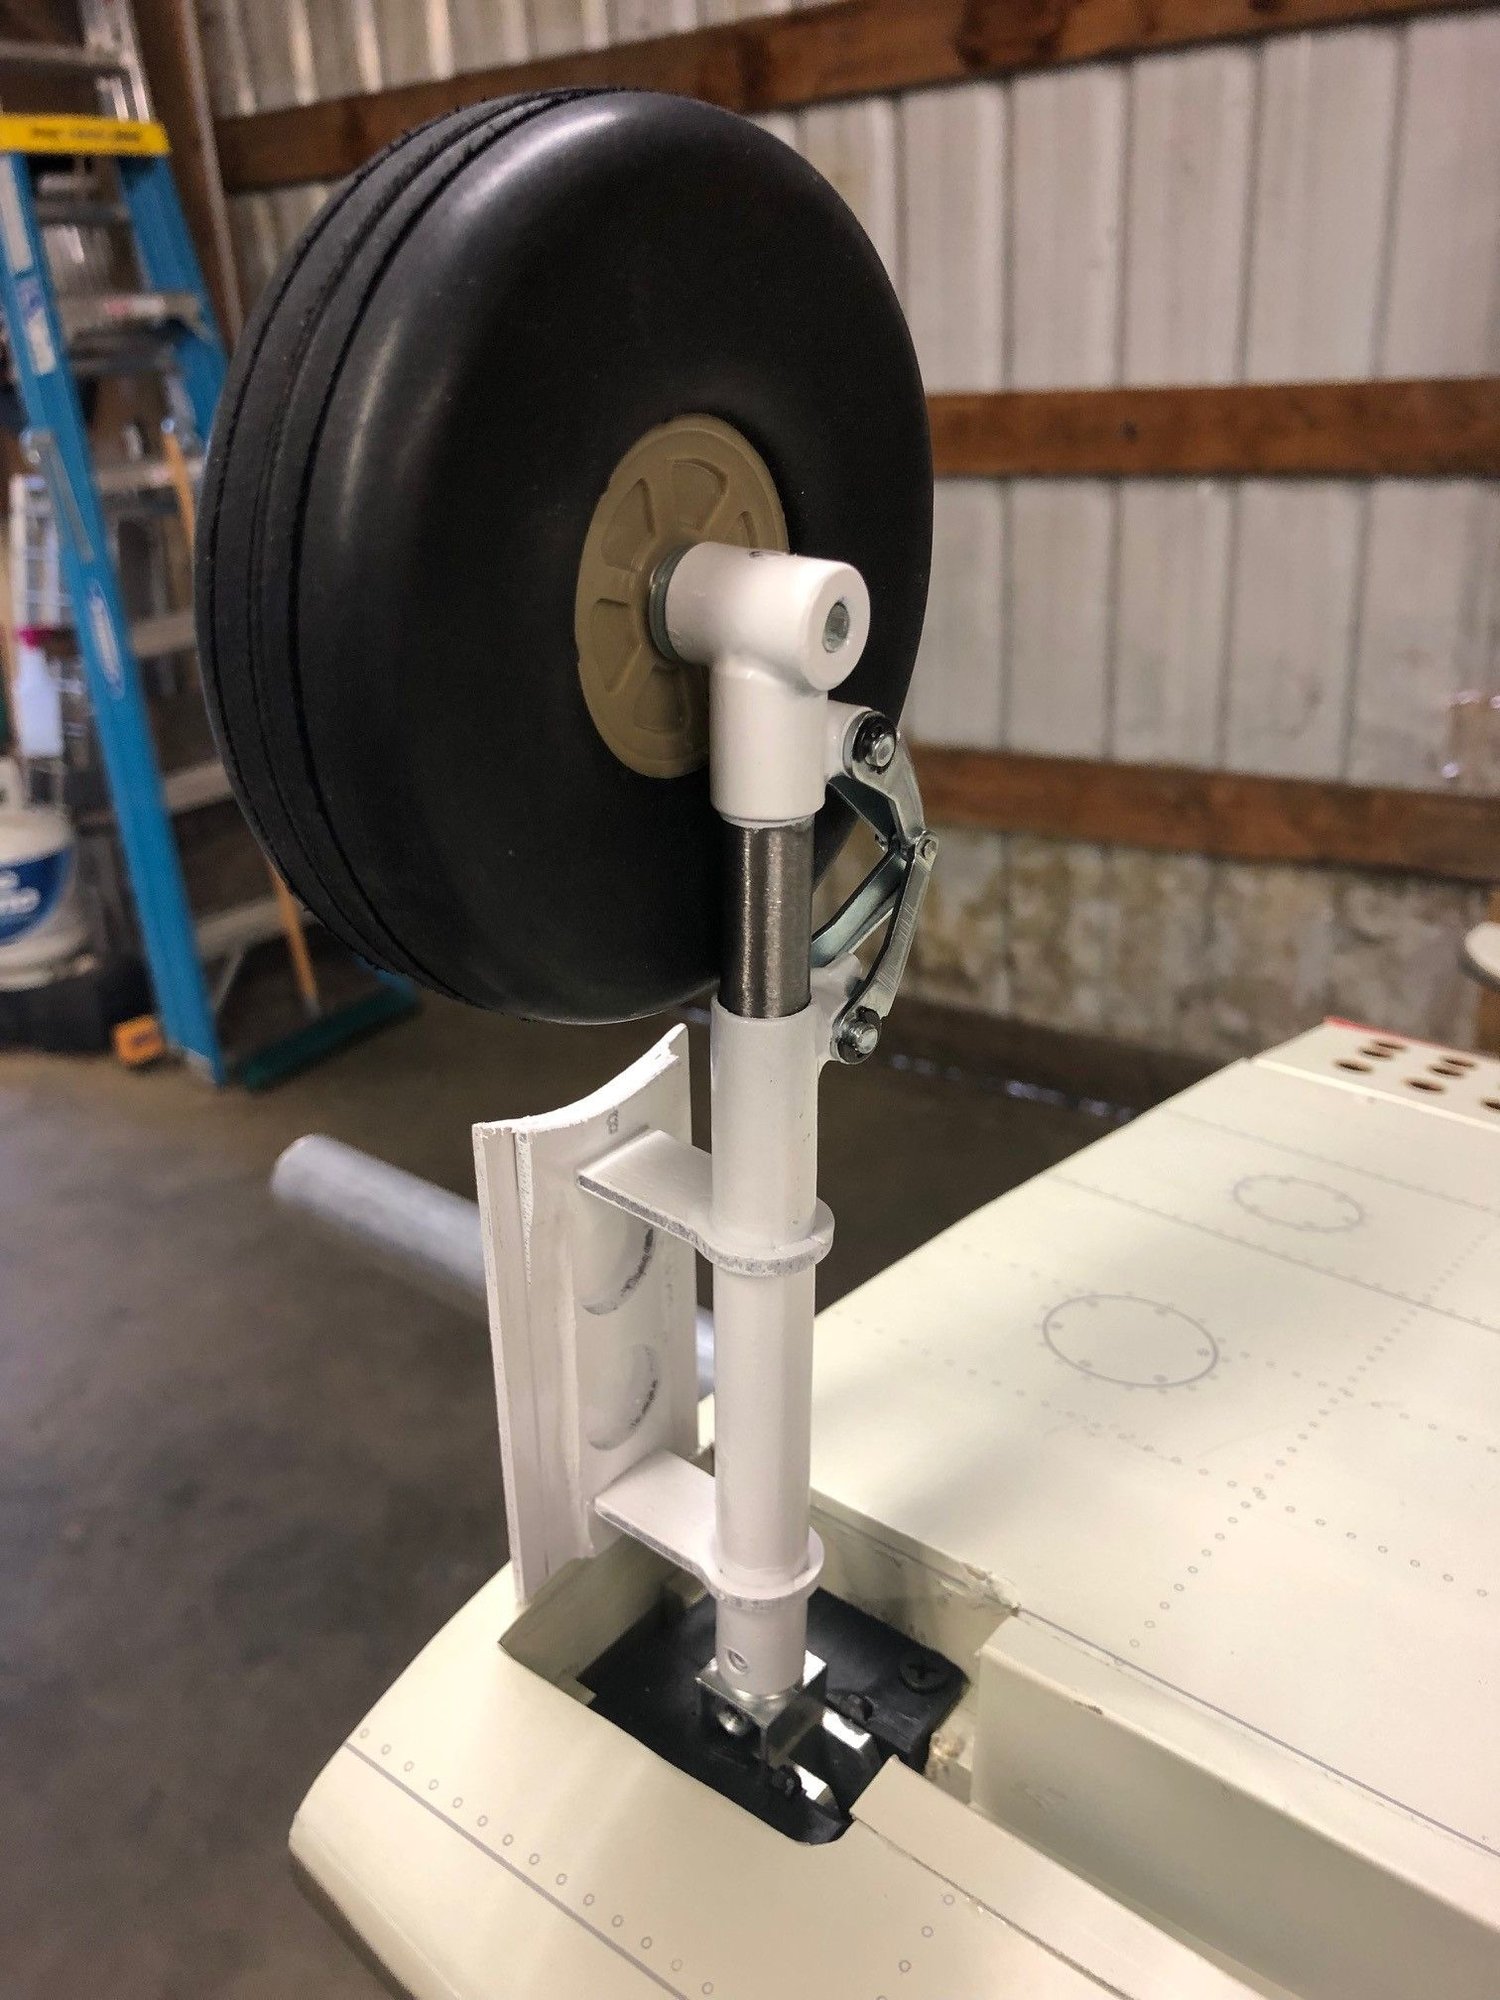
Drill out the wheels to accept the axles, I used a 13/64" bit, and had to put two washers between the wheels and the strut for clearance of the tire to the strut.
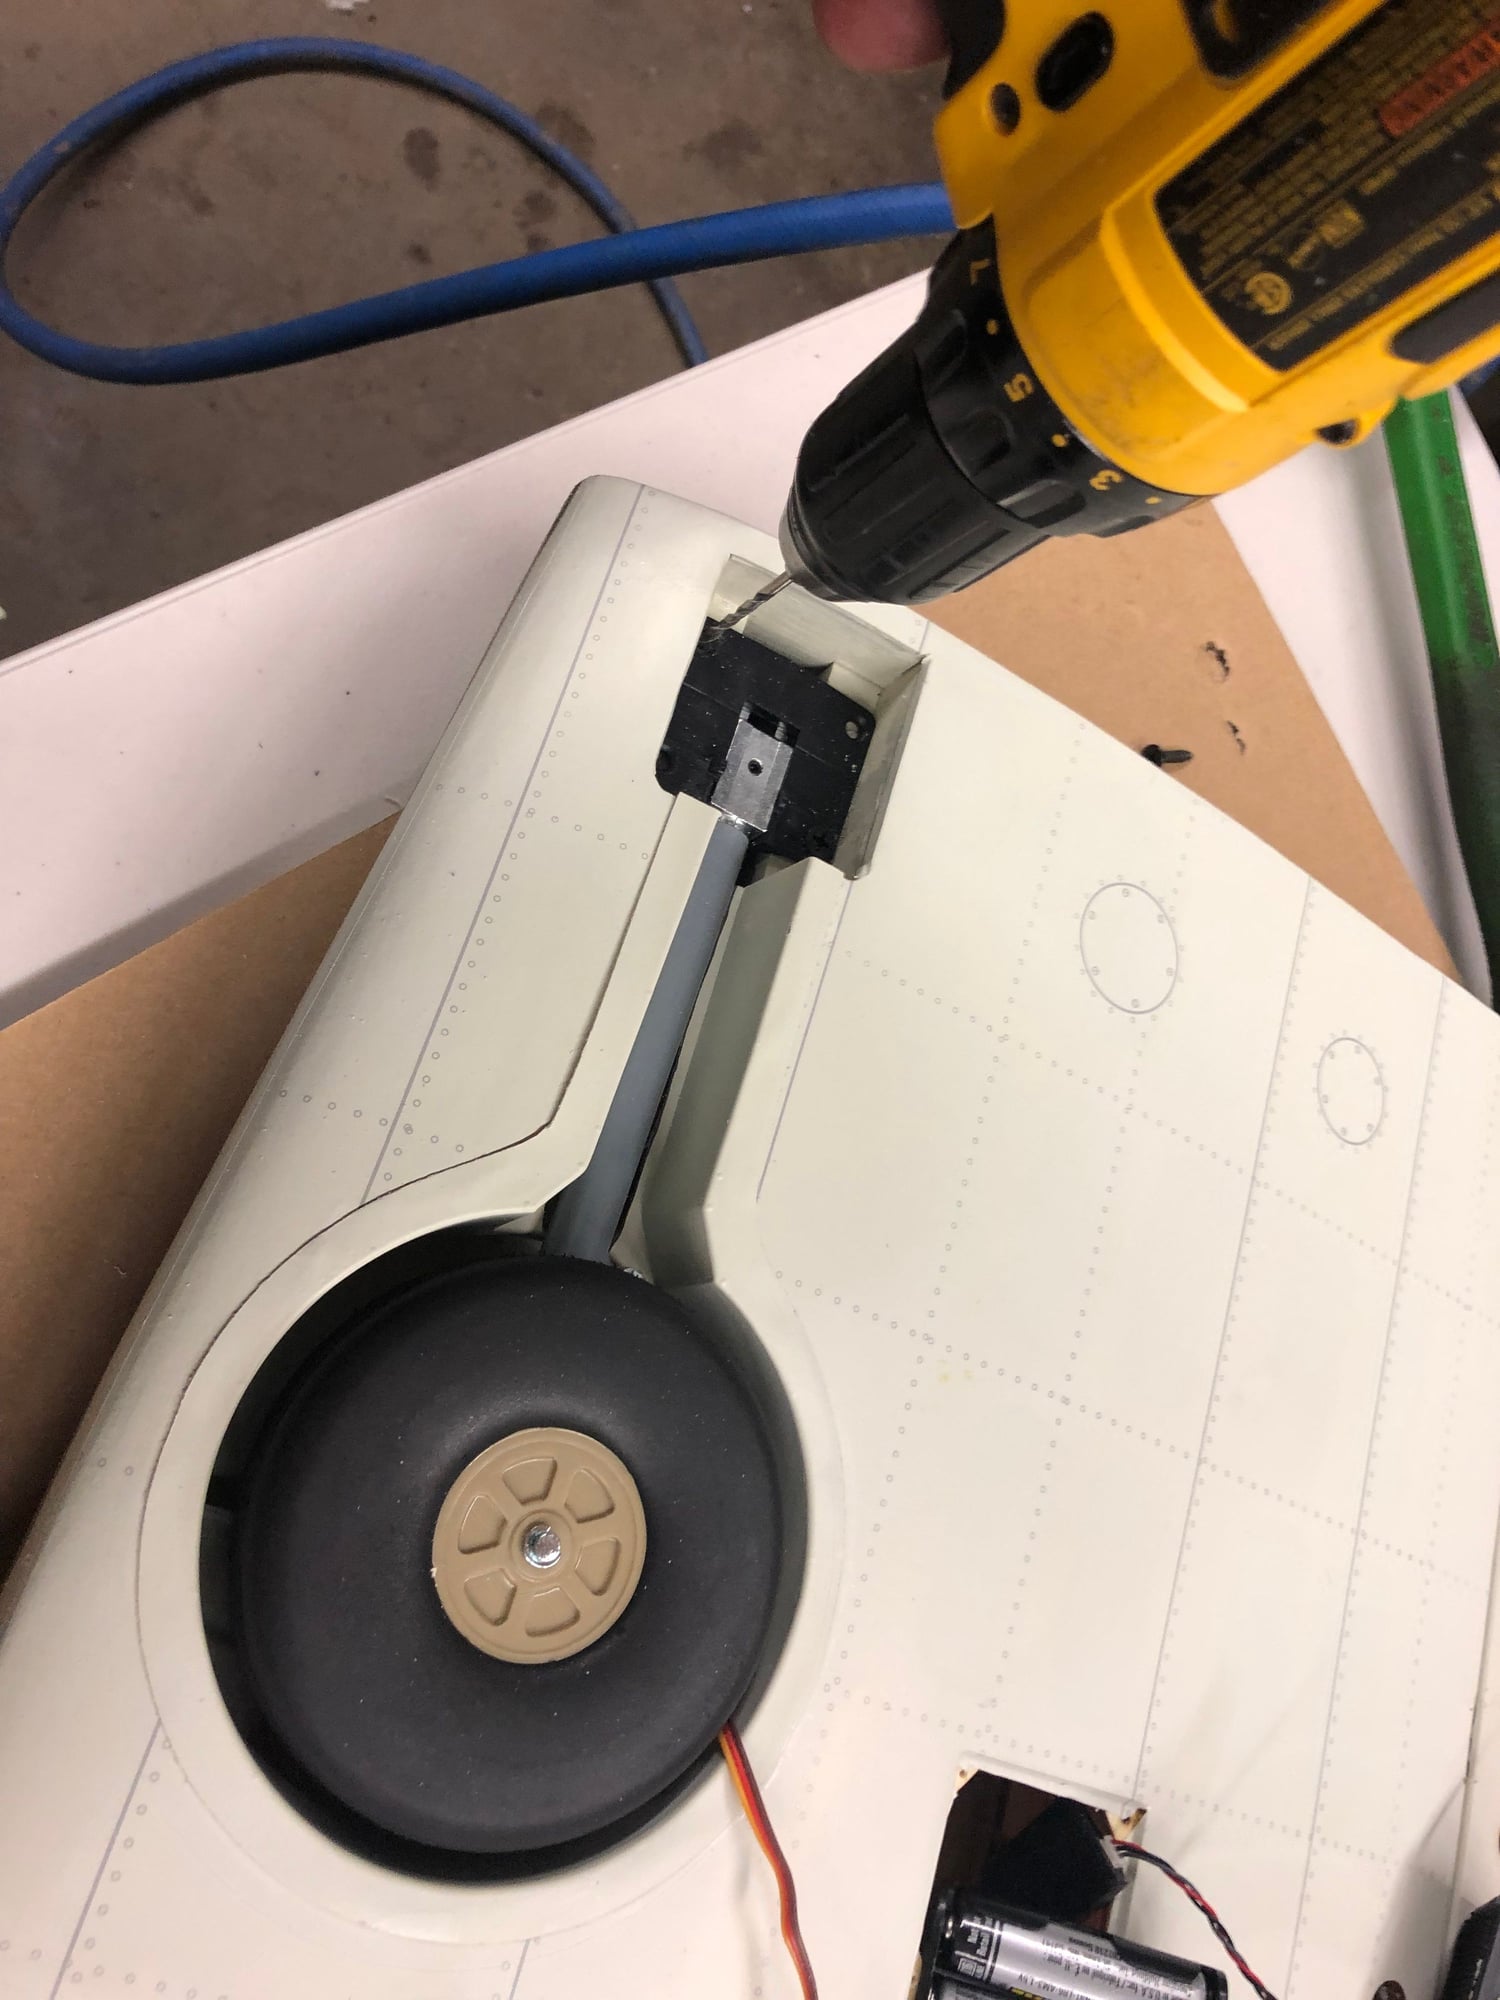
I used my dremel to sand a groove in the wing opening for the strut to fit in, Ill have to clearance it a big more when I get the doors mounted to the struts.
Thats it for last night, these are big beefy retracts, felt like they had alot of power. * Be sure to drill a pilot hole for each of the retract screws, otherwise youll split the wood.

Slot needs to be filed closer to strut
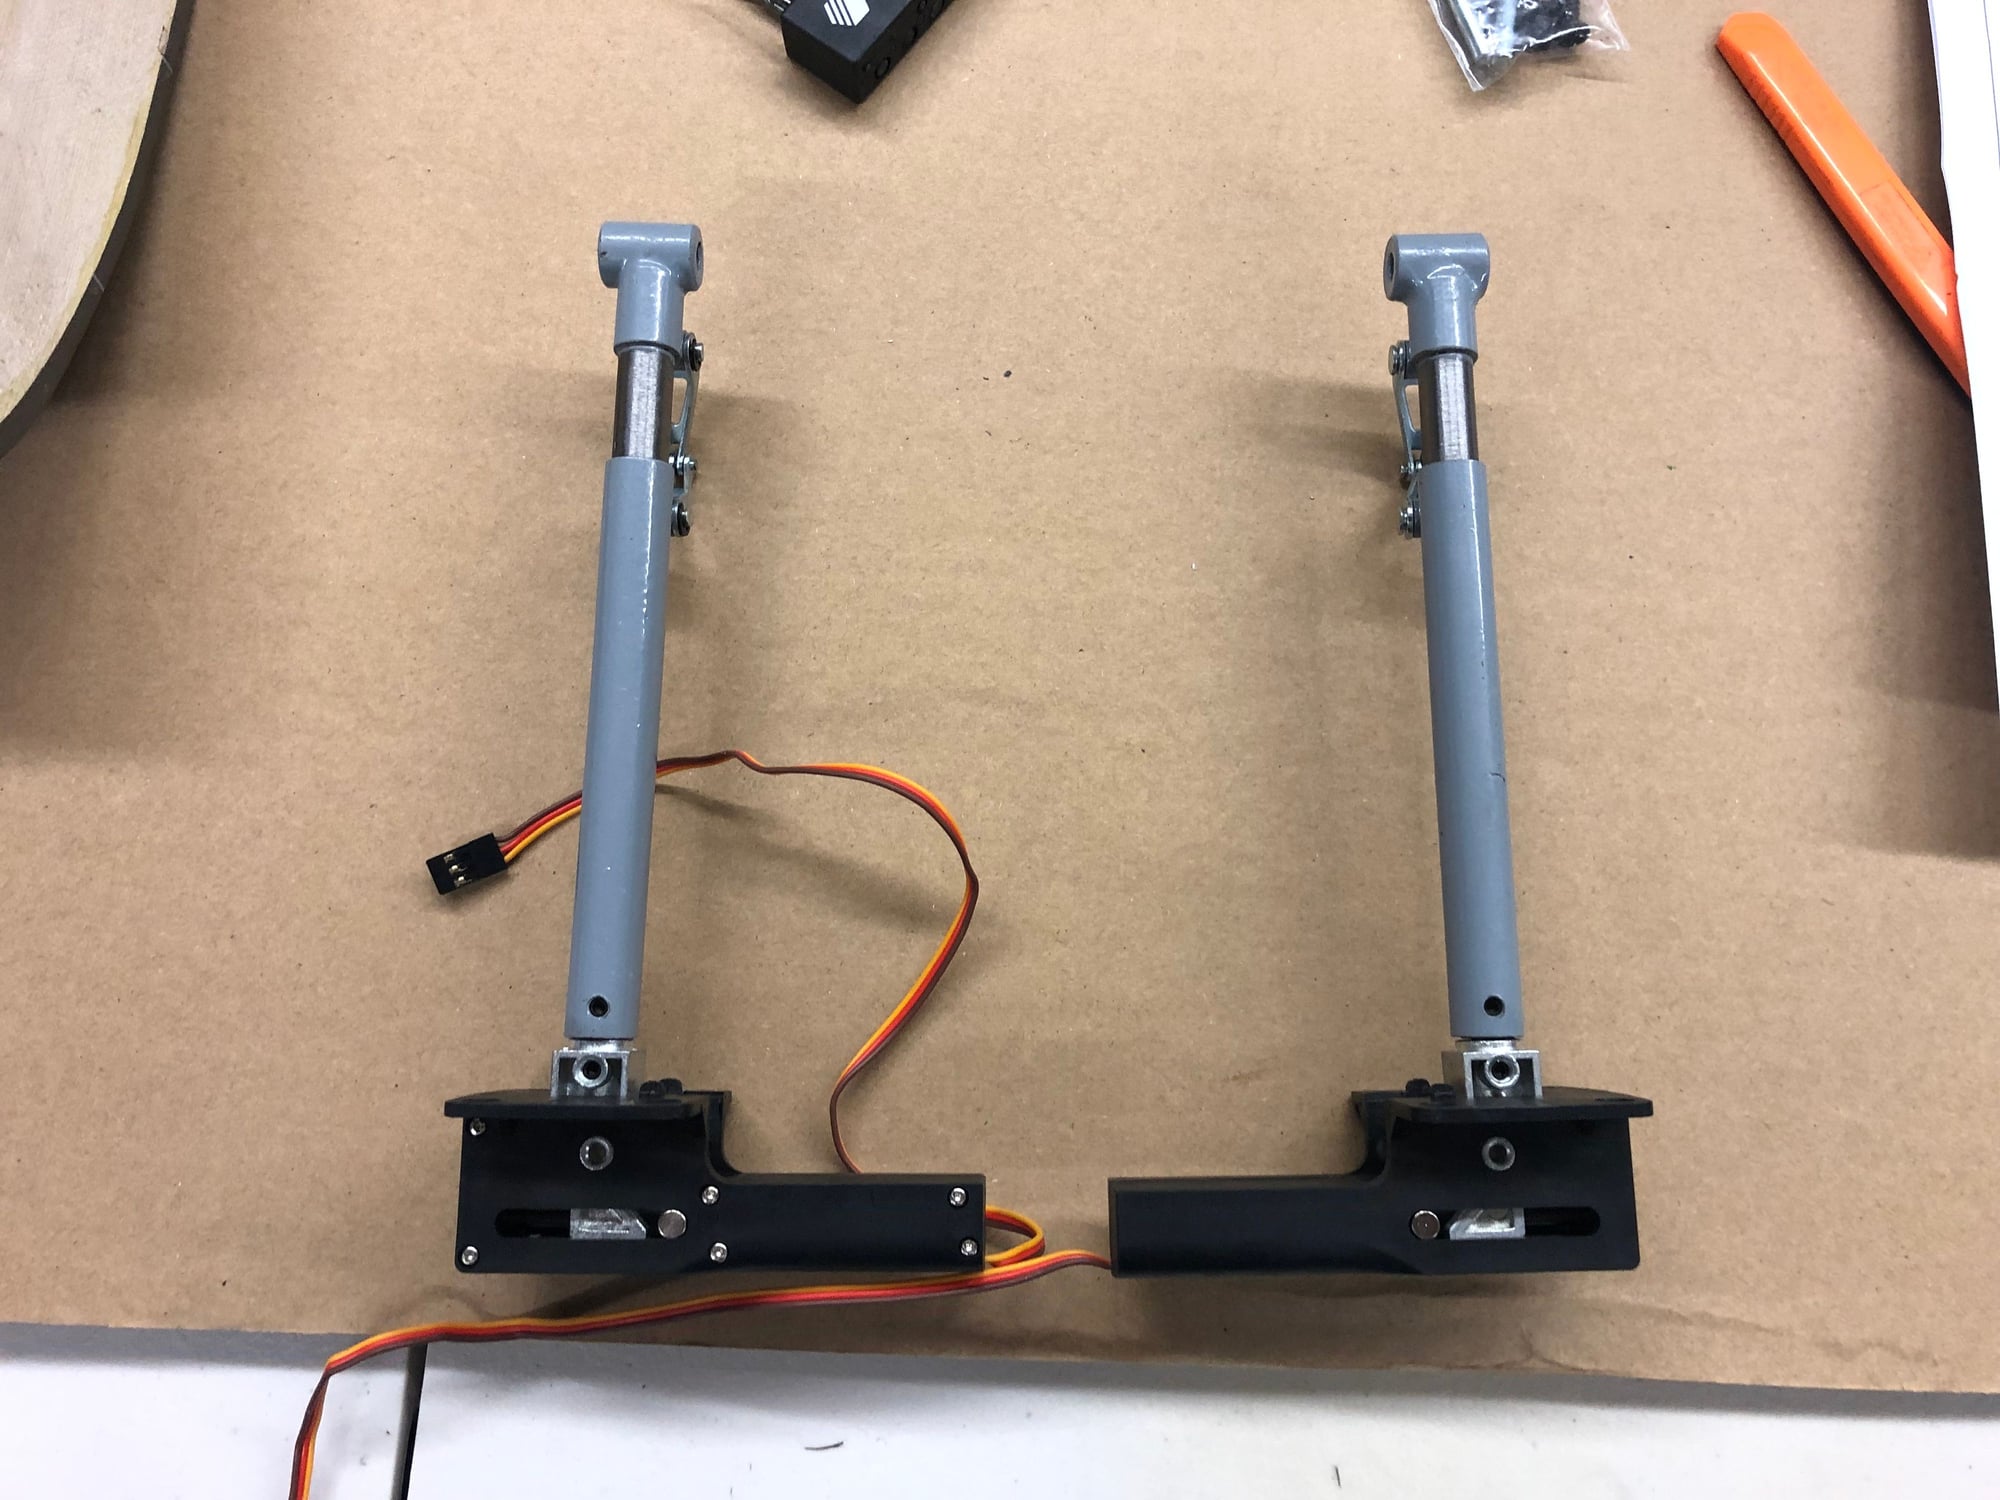

Sand the slots for the struts to fit into
First thing, take THIN CA and run around everything you can reach, just something I do that doesnt hurt.
Then, I put the struts on the retracts, hook the retracts to a rx, cycle them, get the gear legs up, I had to file the slot for the set screws down closer to the retract, *you must have the struts touching the retract! Otherwise the rod will bend with any load on it.
Drill out the wheels to accept the axles, I used a 13/64" bit, and had to put two washers between the wheels and the strut for clearance of the tire to the strut.
I used my dremel to sand a groove in the wing opening for the strut to fit in, Ill have to clearance it a big more when I get the doors mounted to the struts.
Thats it for last night, these are big beefy retracts, felt like they had alot of power. * Be sure to drill a pilot hole for each of the retract screws, otherwise youll split the wood.
Slot needs to be filed closer to strut
Sand the slots for the struts to fit into
05-20-2019, 09:28 AM
#4
Busy weekend, still waiting for my servos to get here, hopefully today.
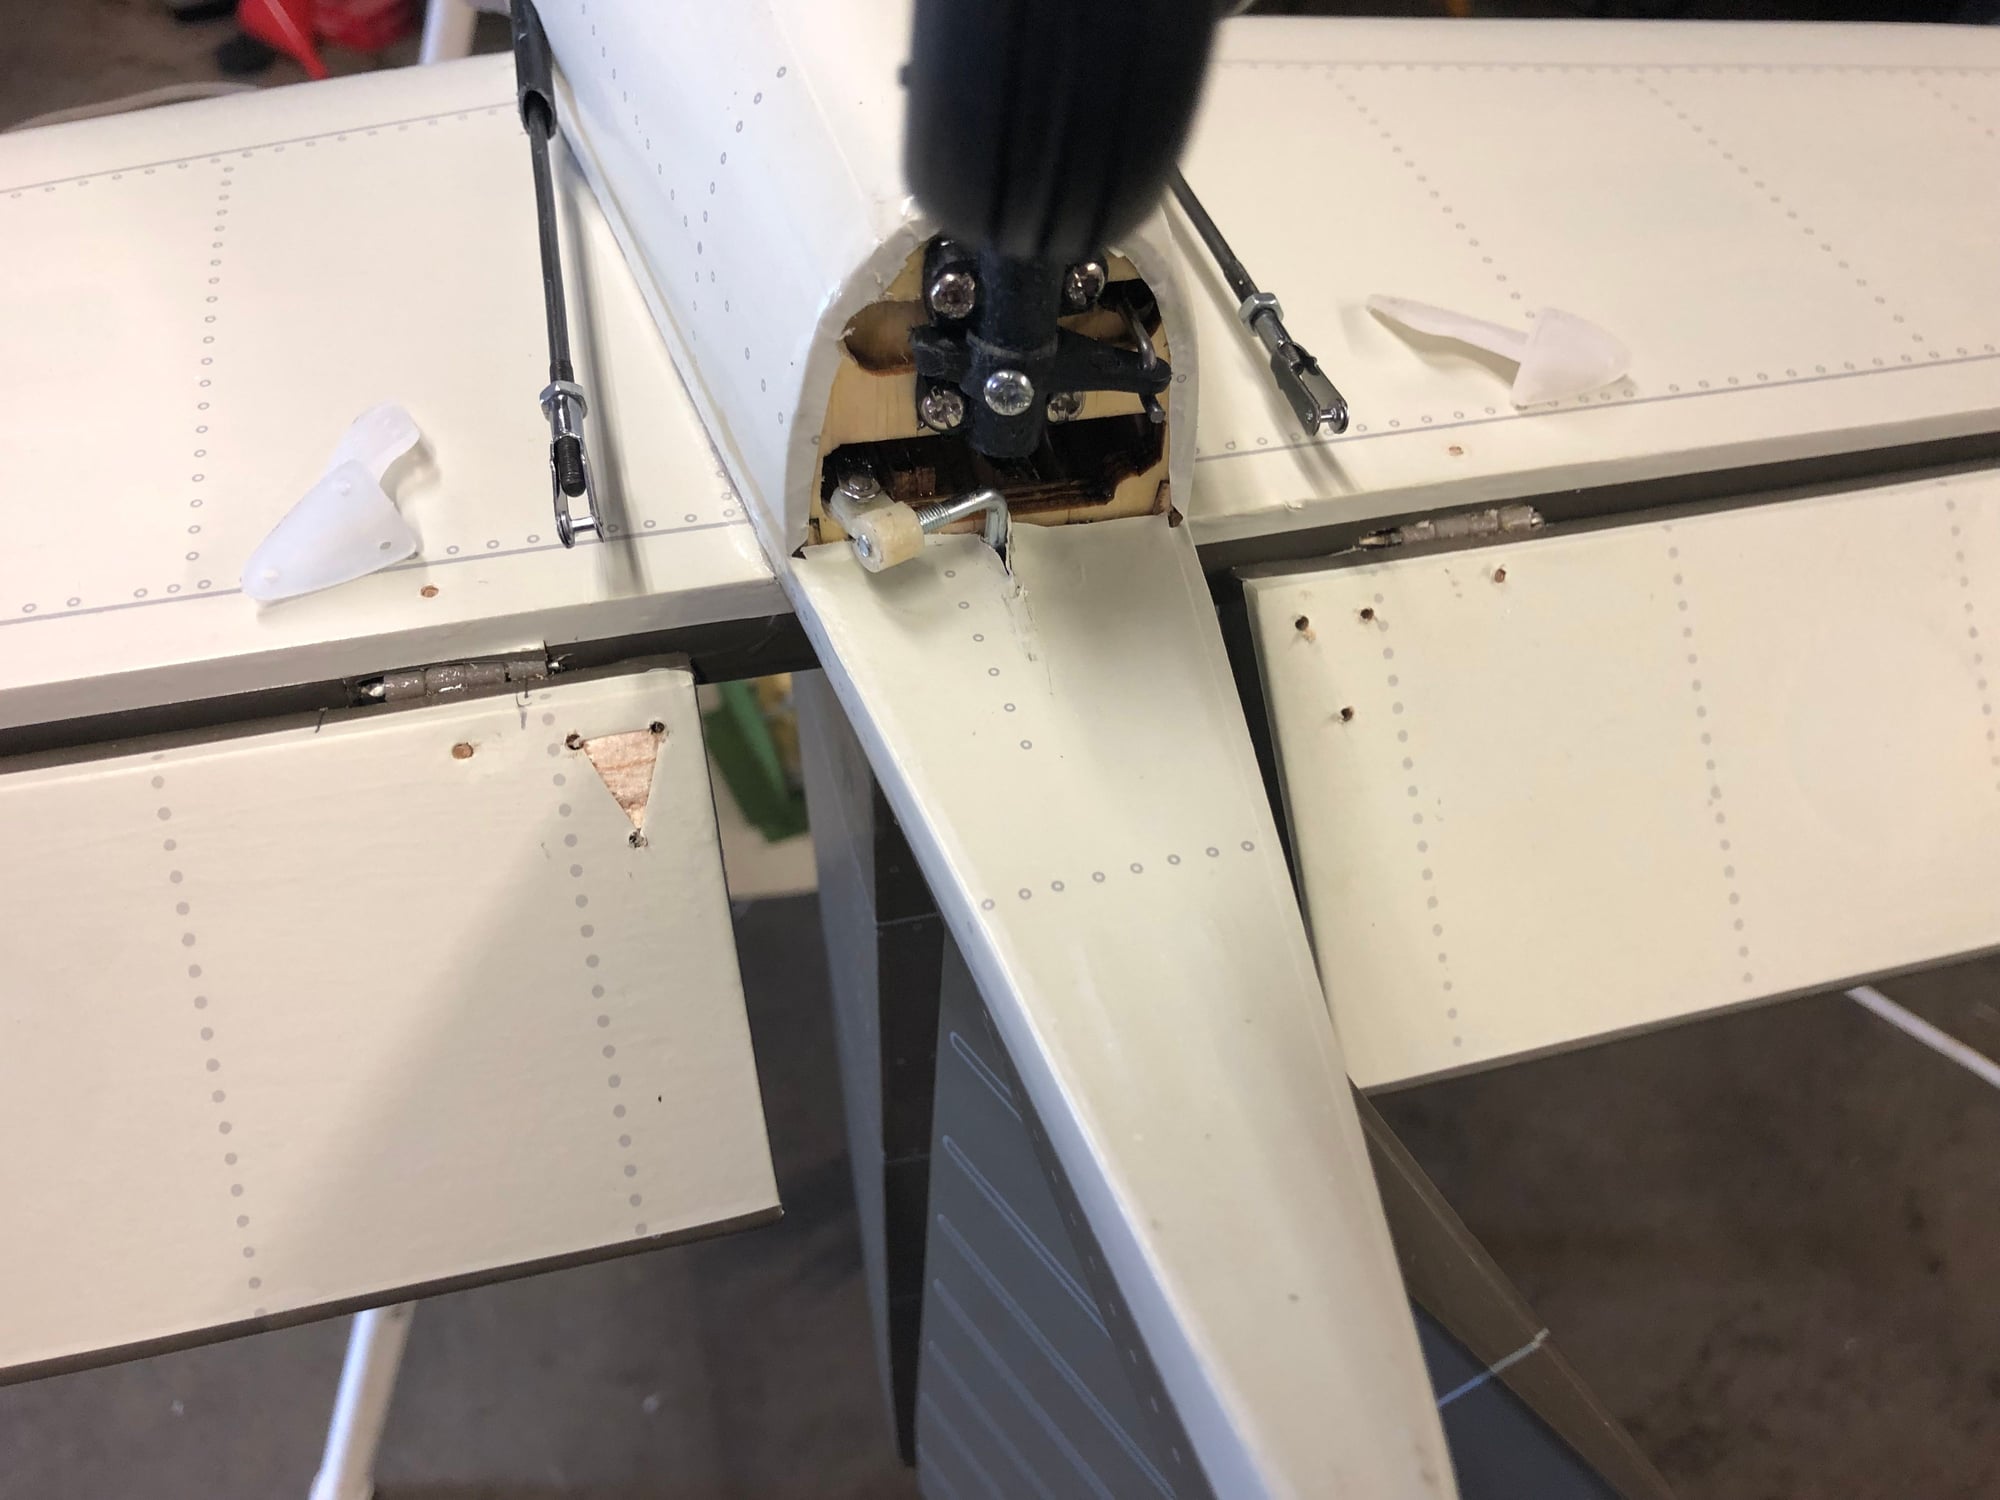
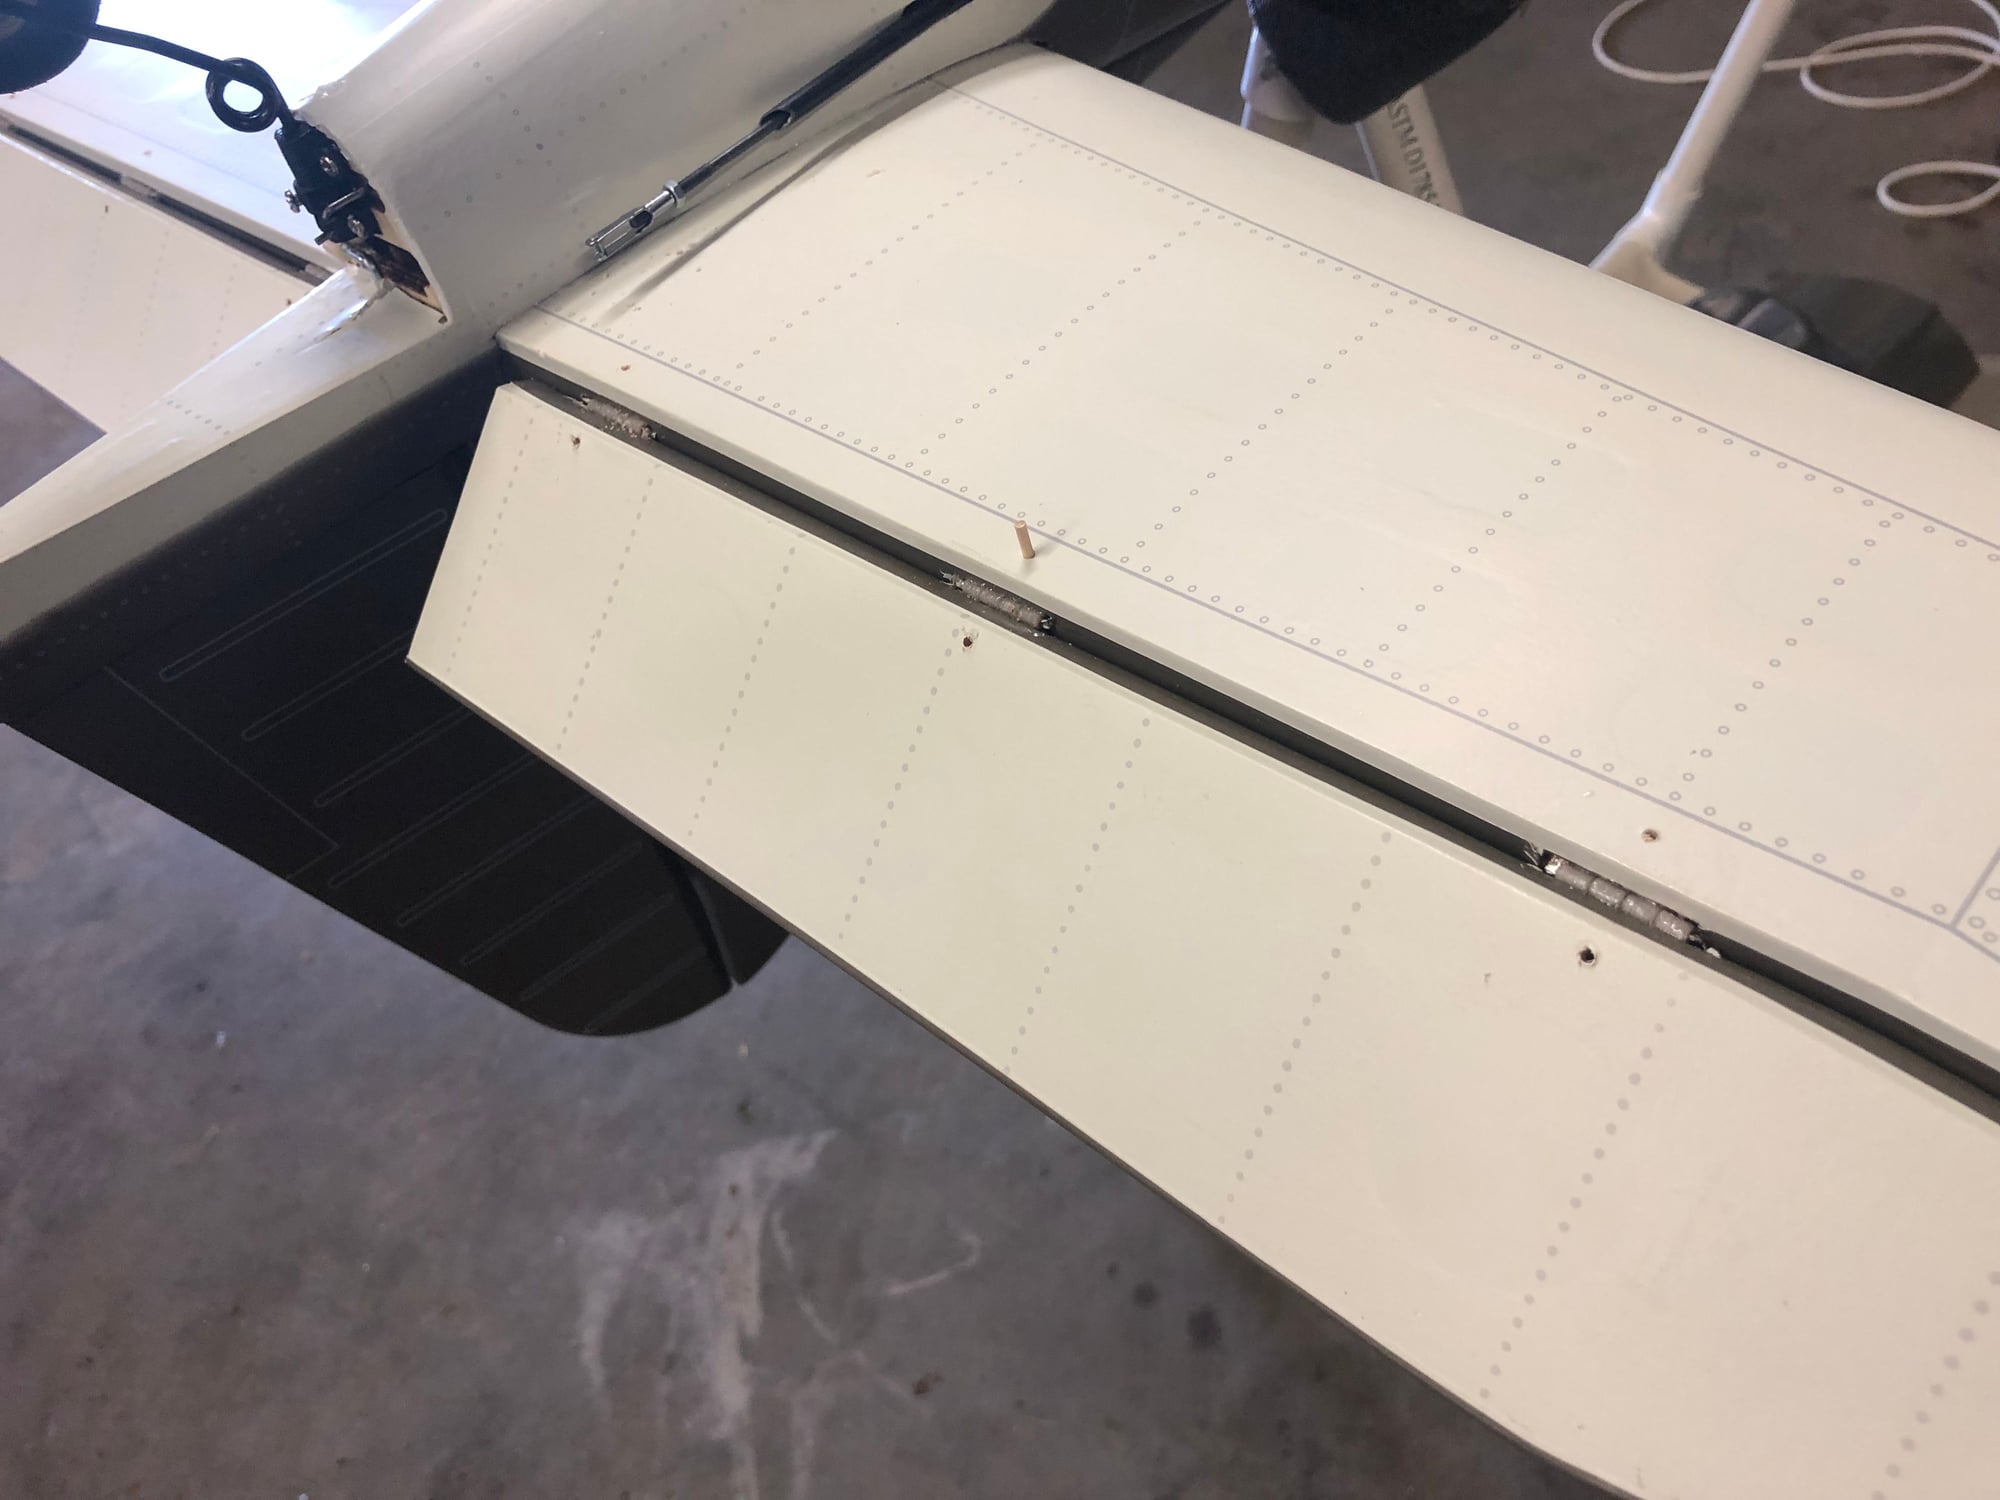
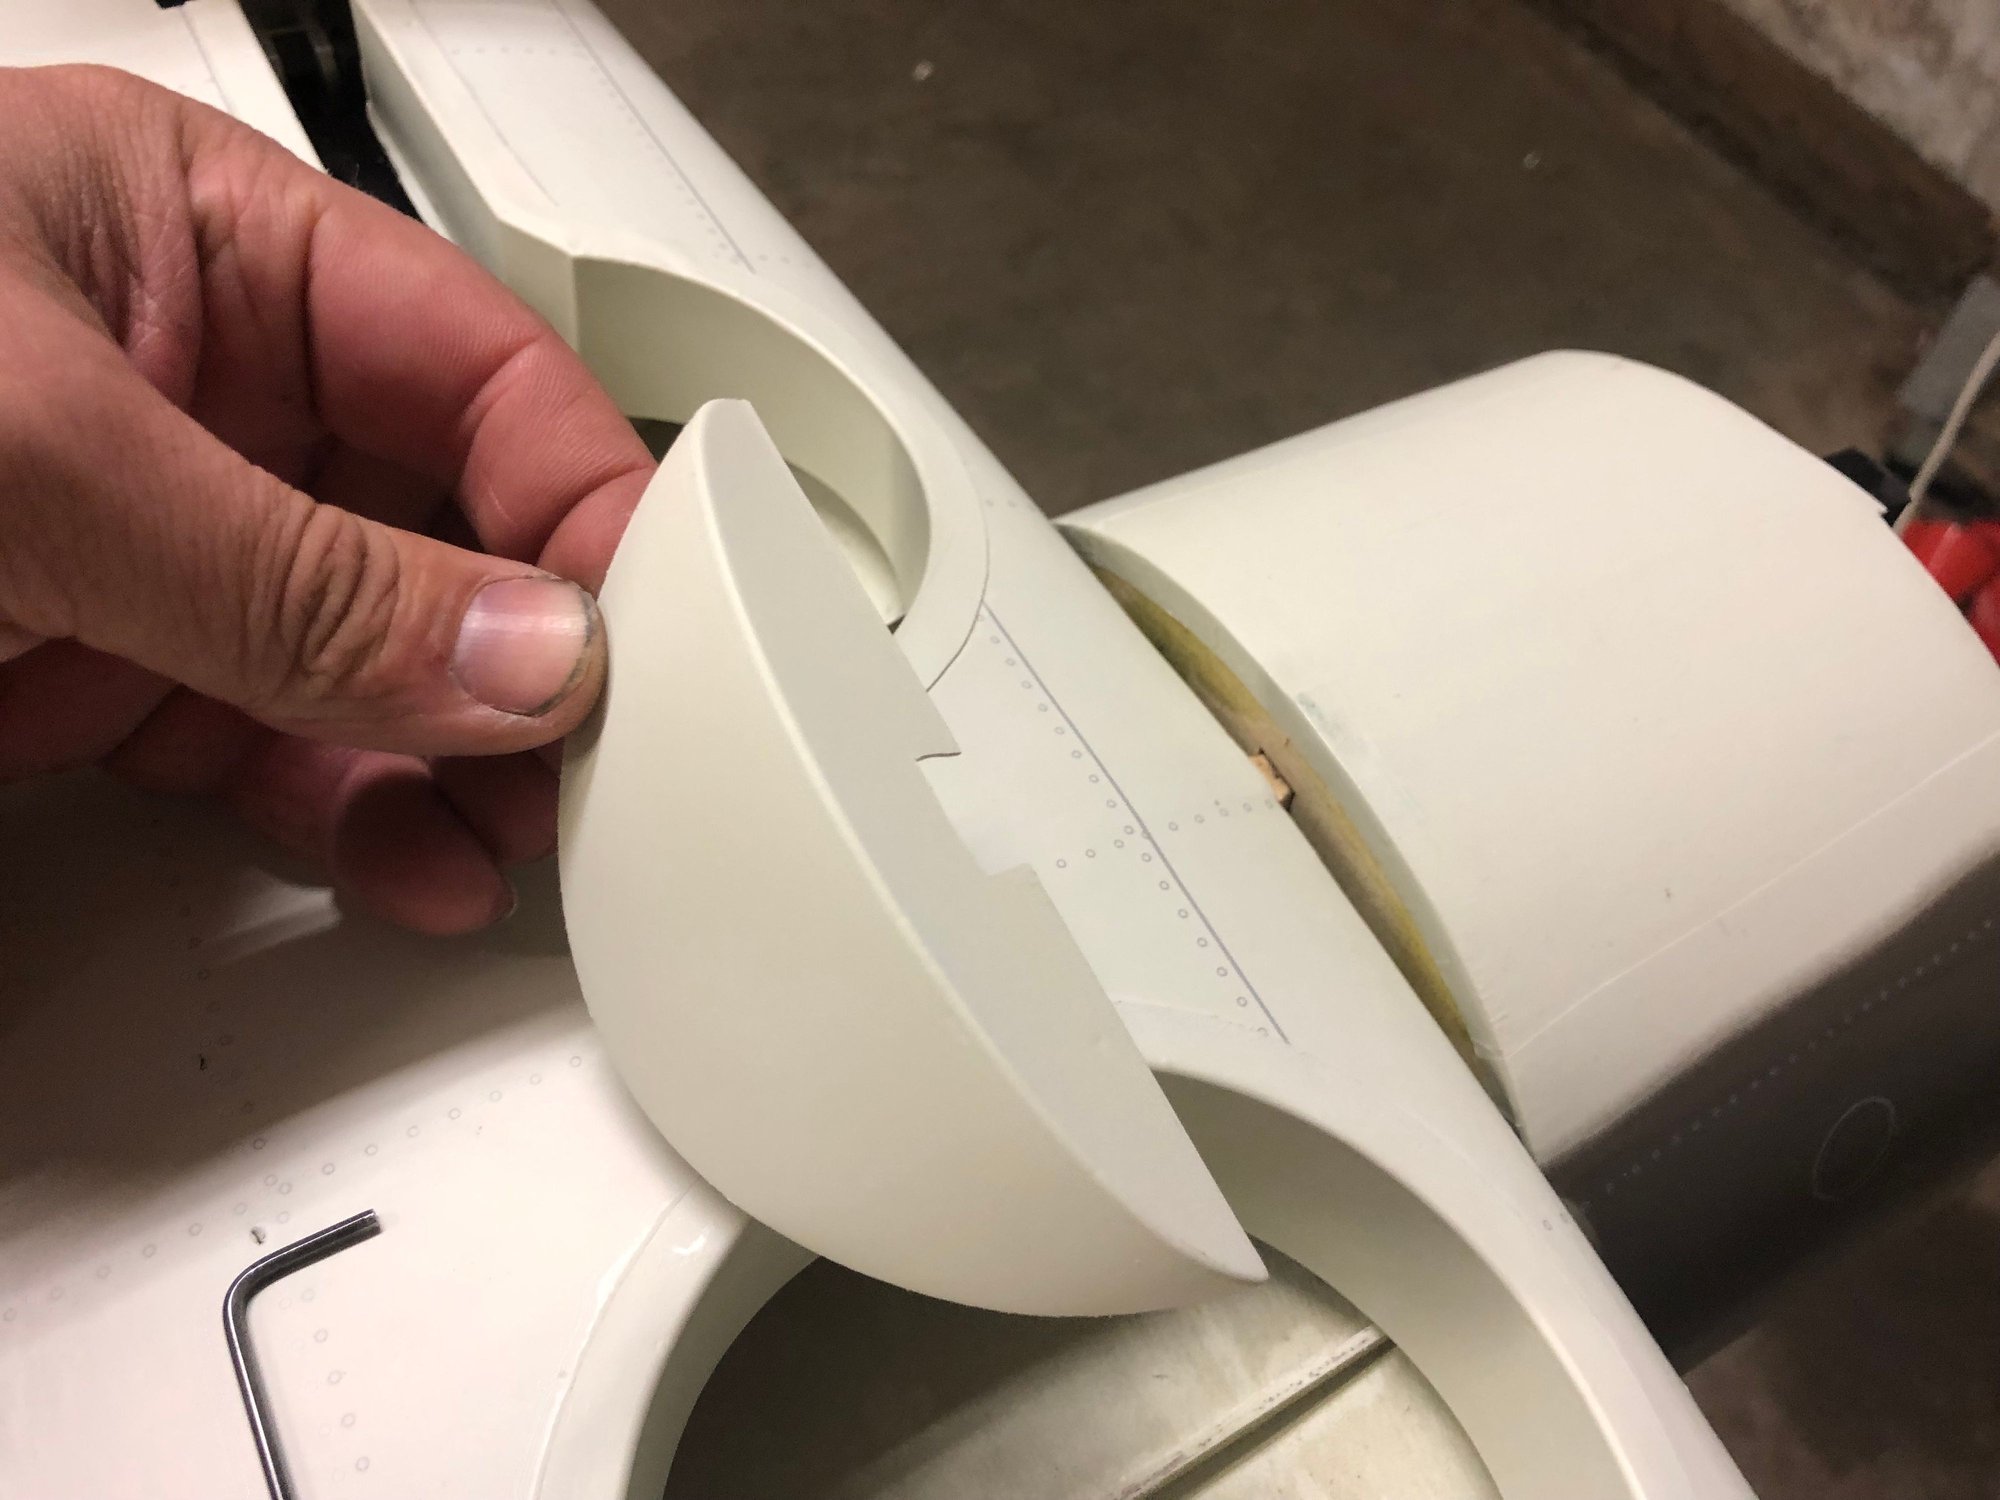
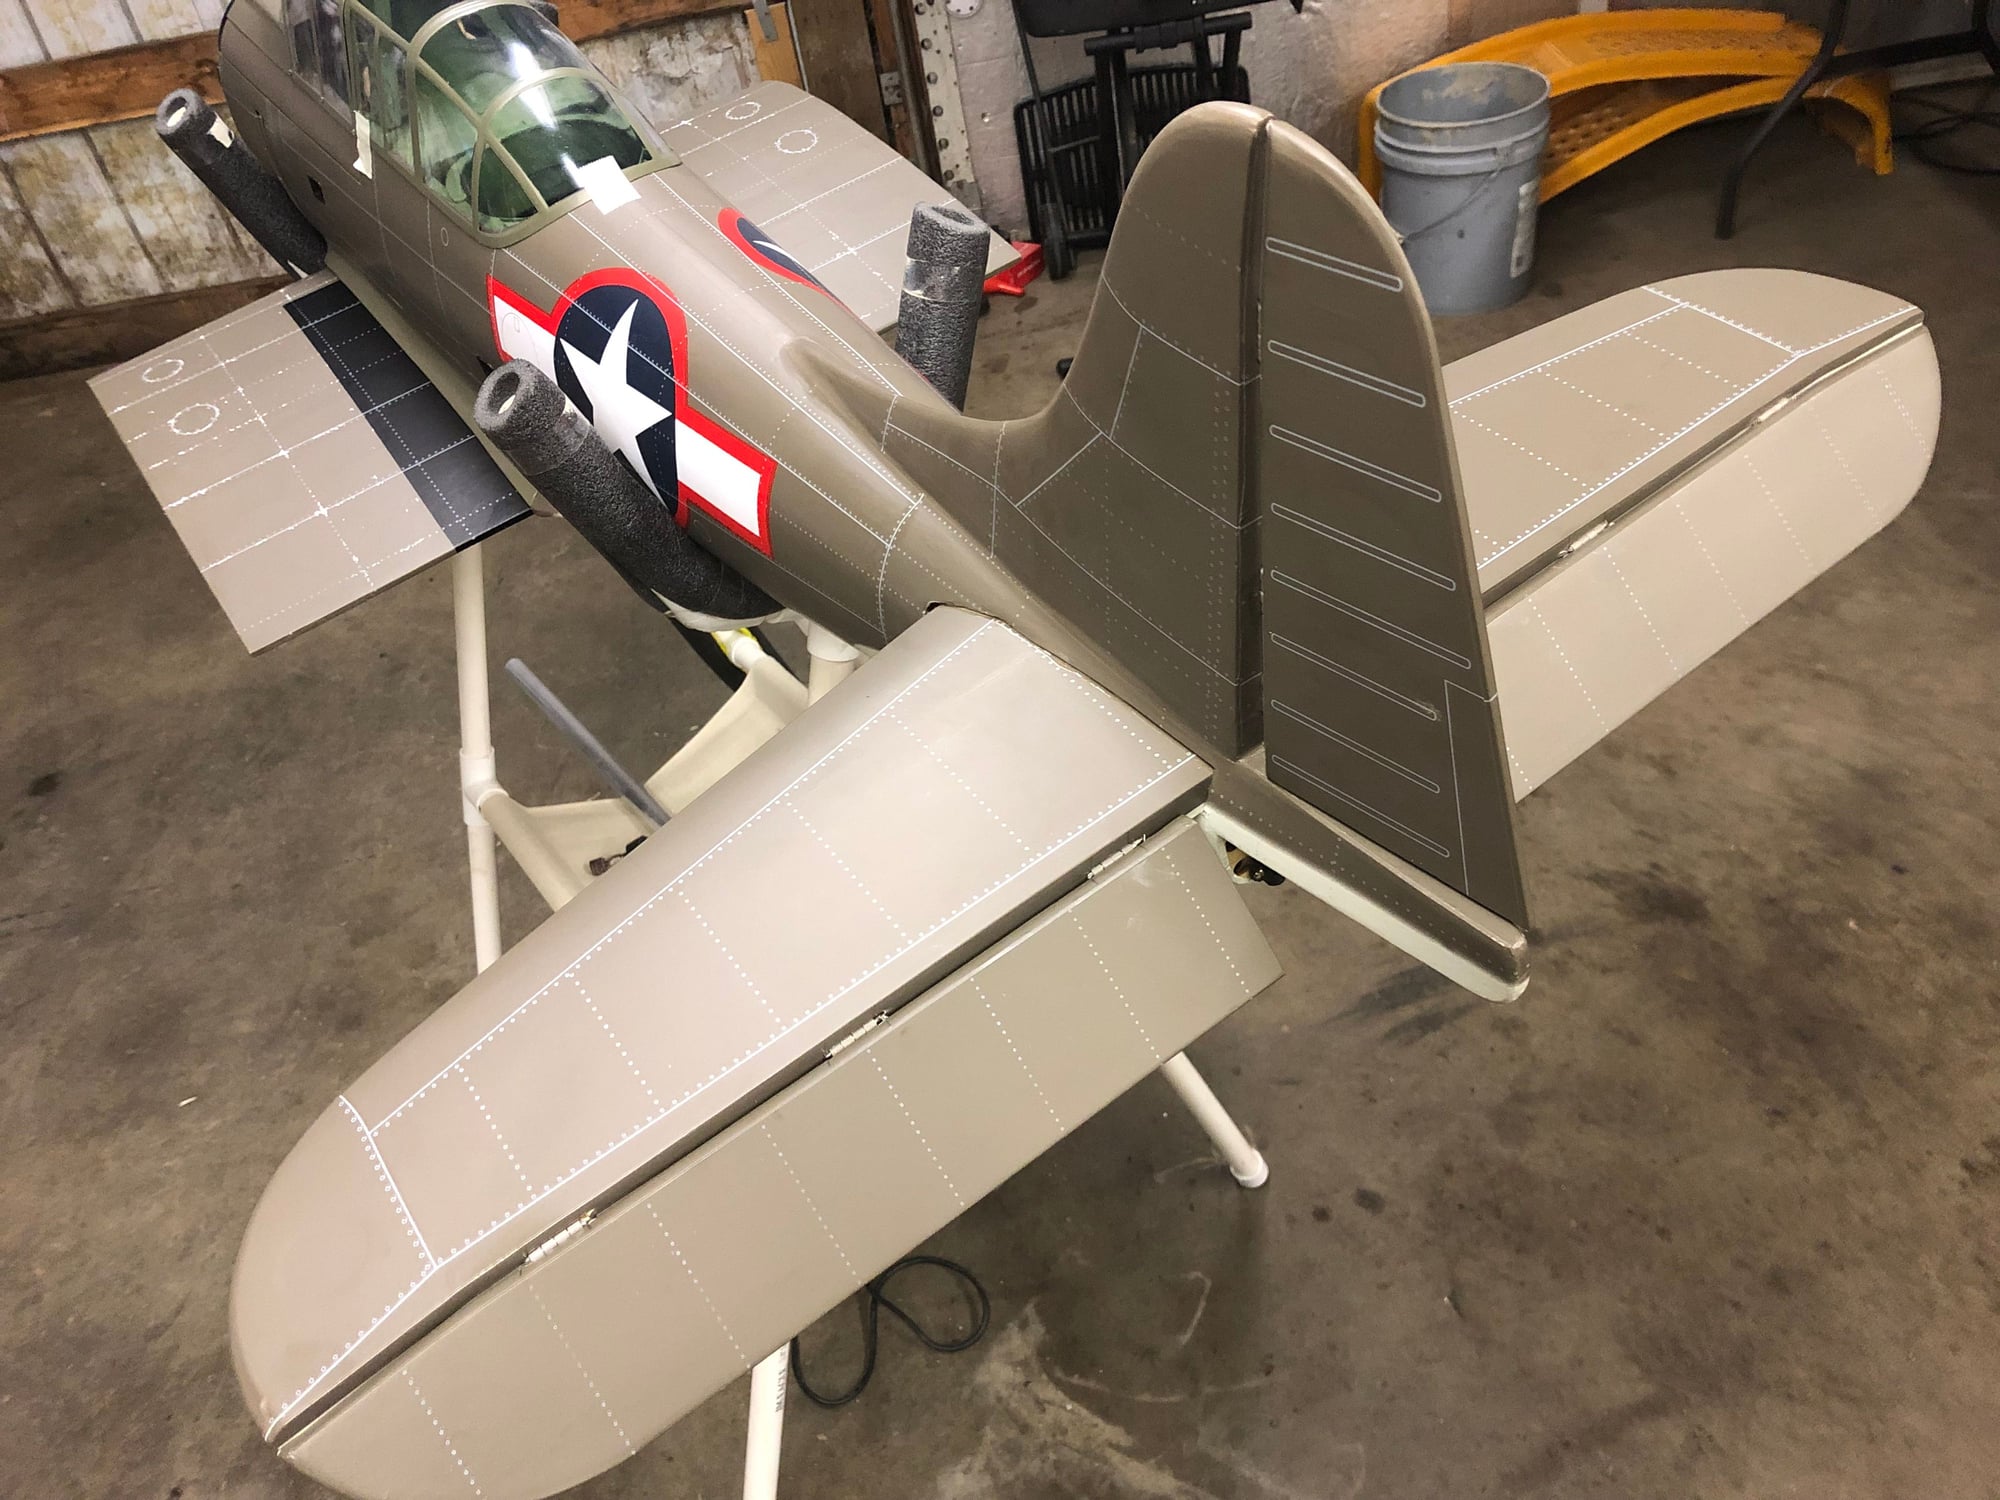
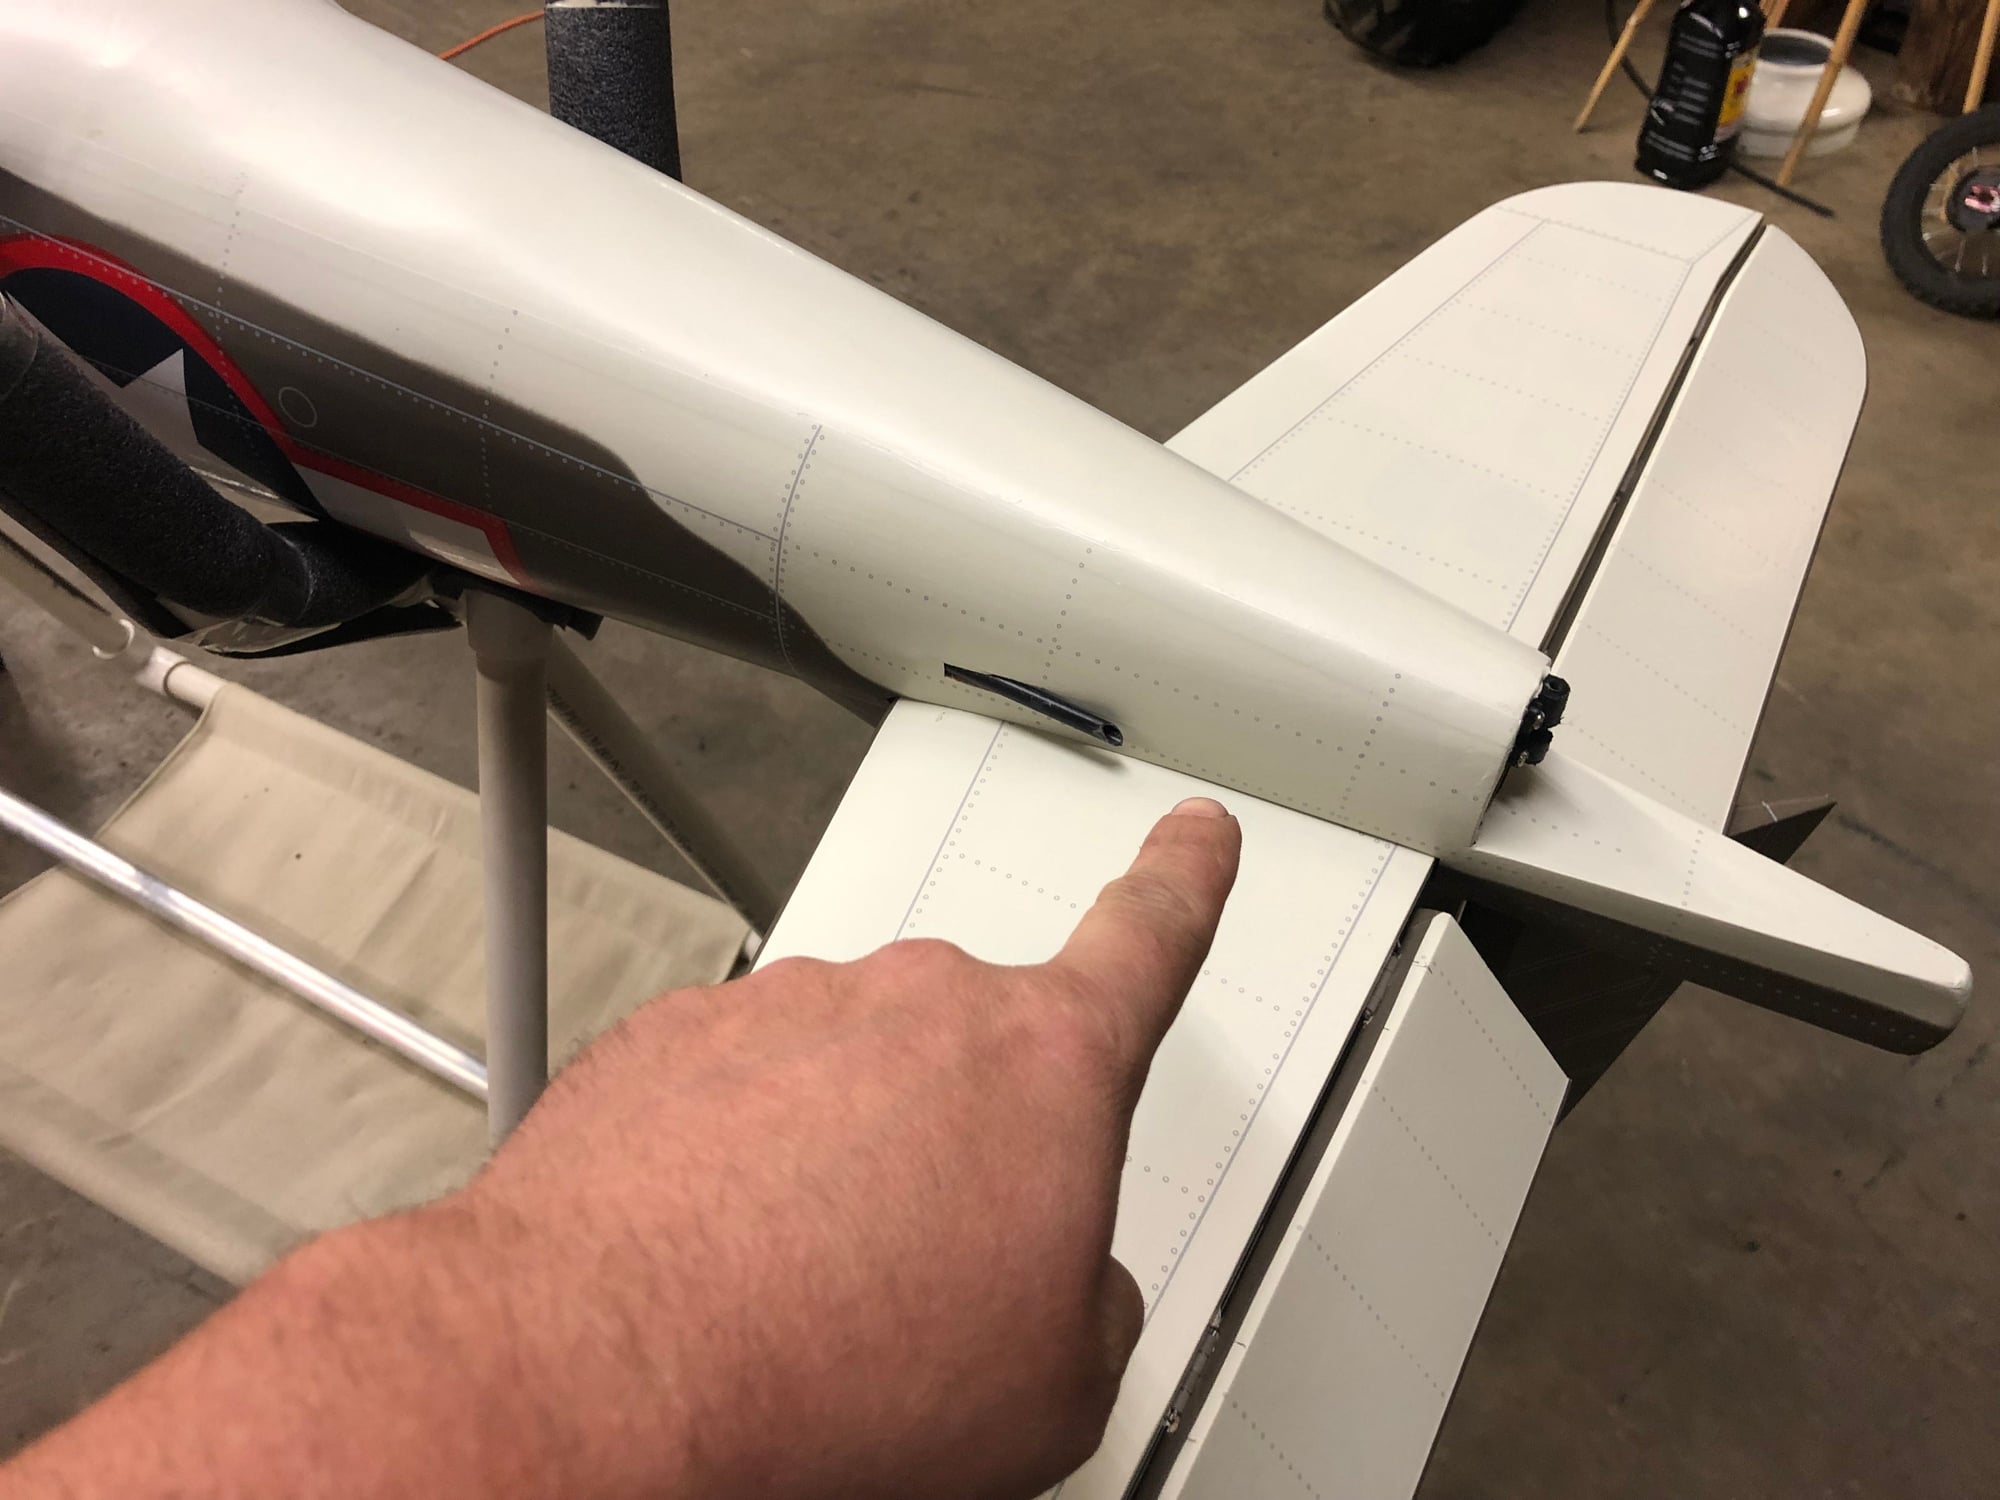
Elevator is glued on, I had to do a little shaving in the fuse to get it square to the wing, but it all went well. I had to do the same to the bearcat. Once its all glued in you can go in the back bottom of the fuse and drop some glue in there too.
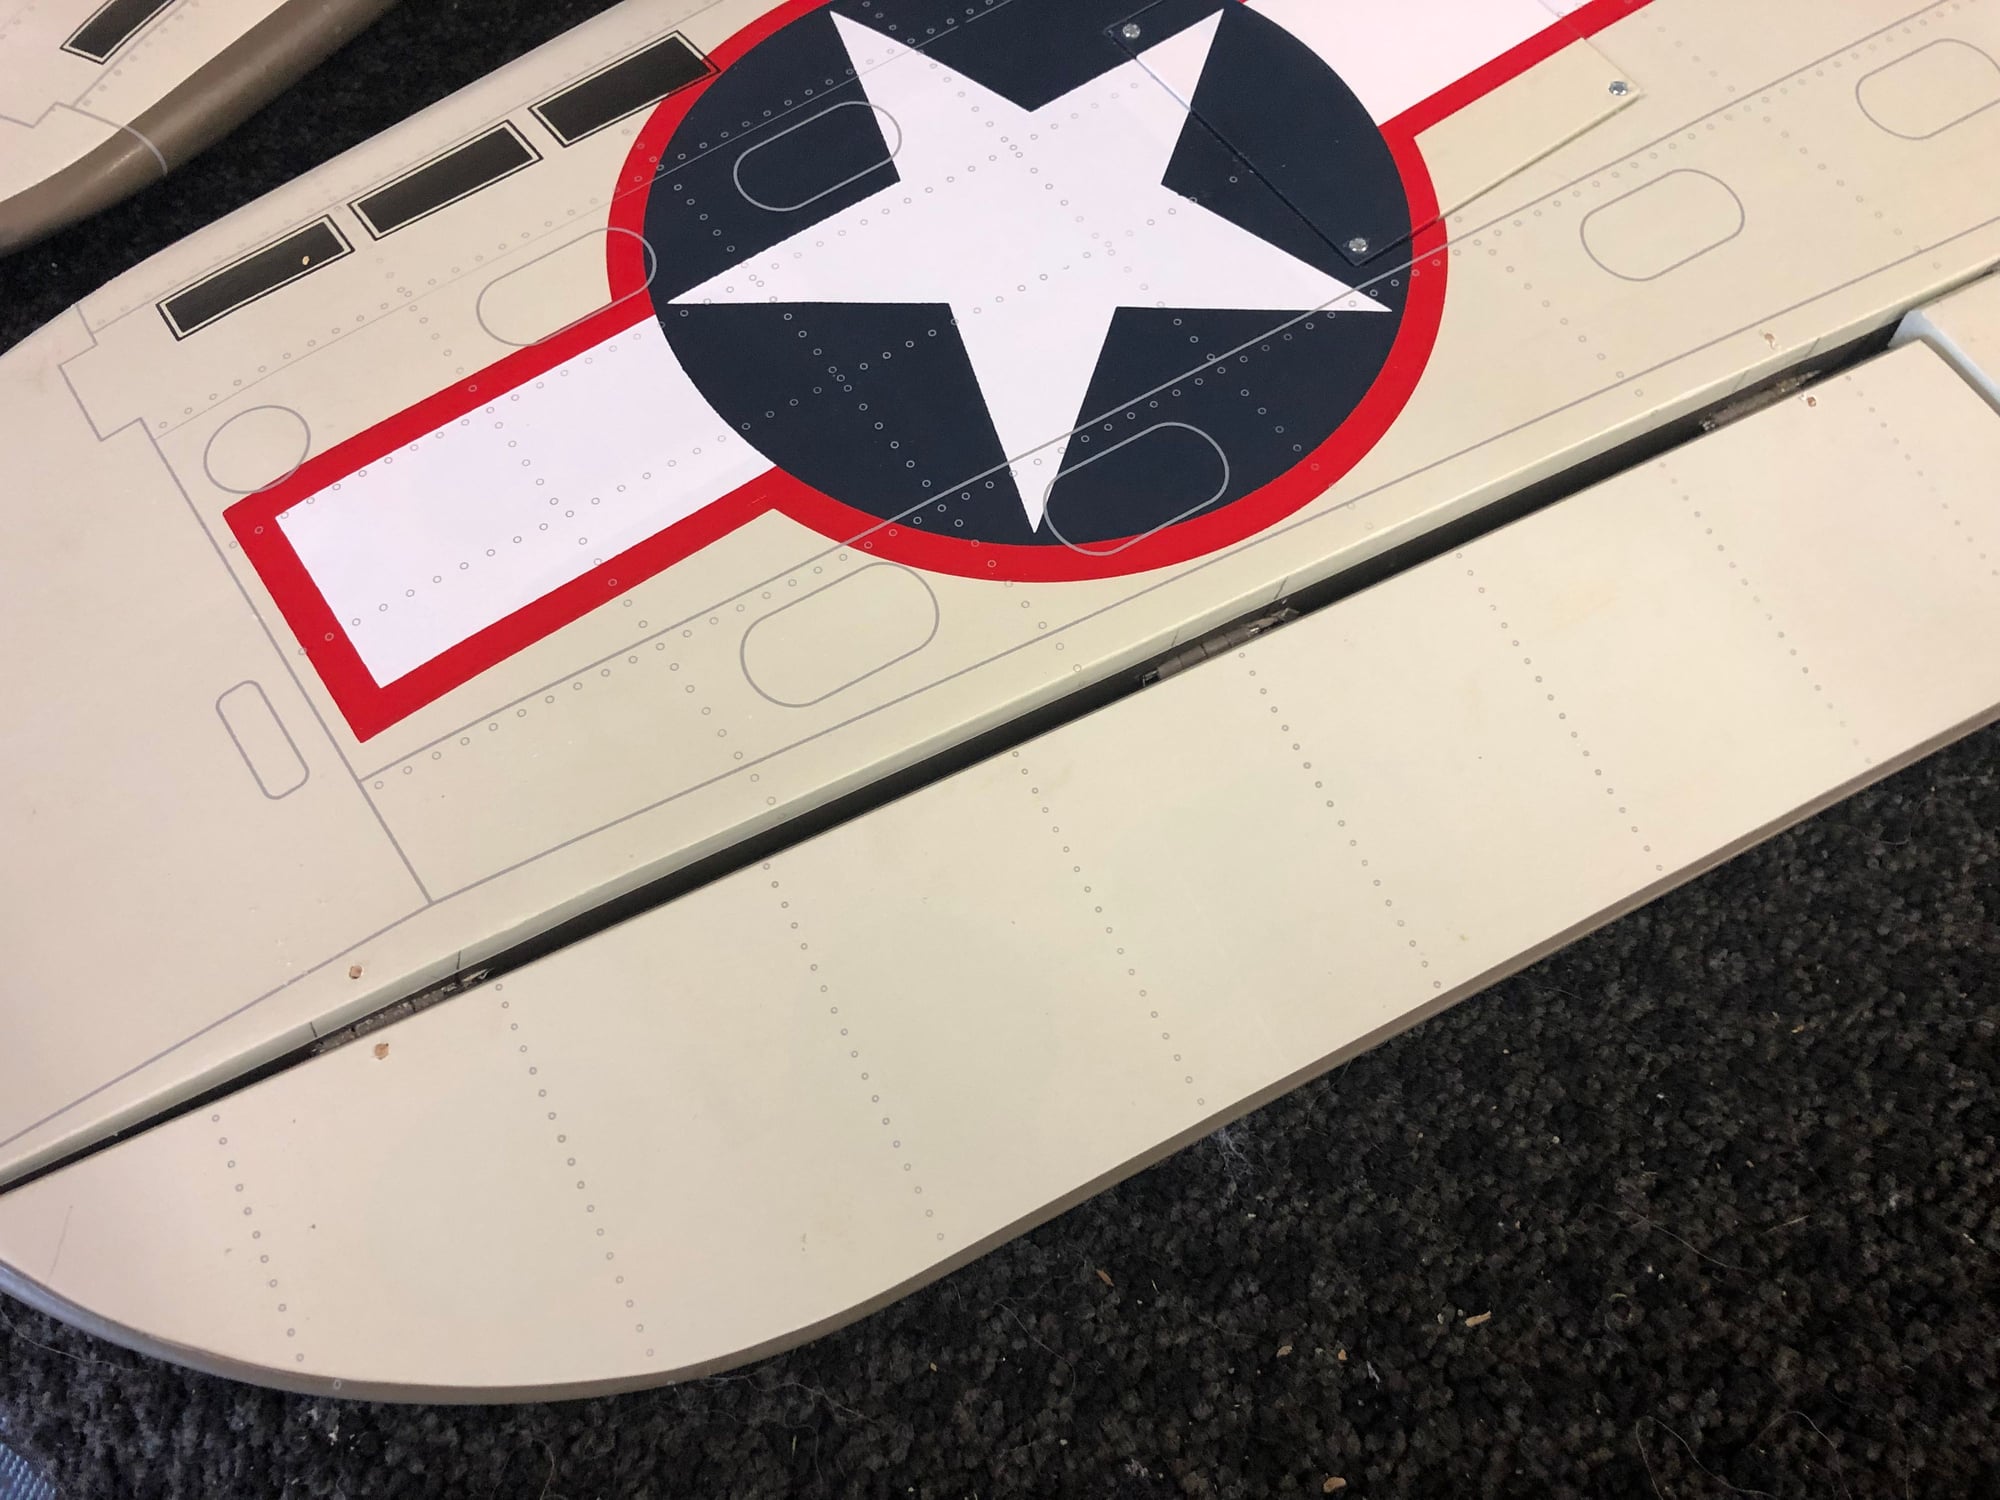
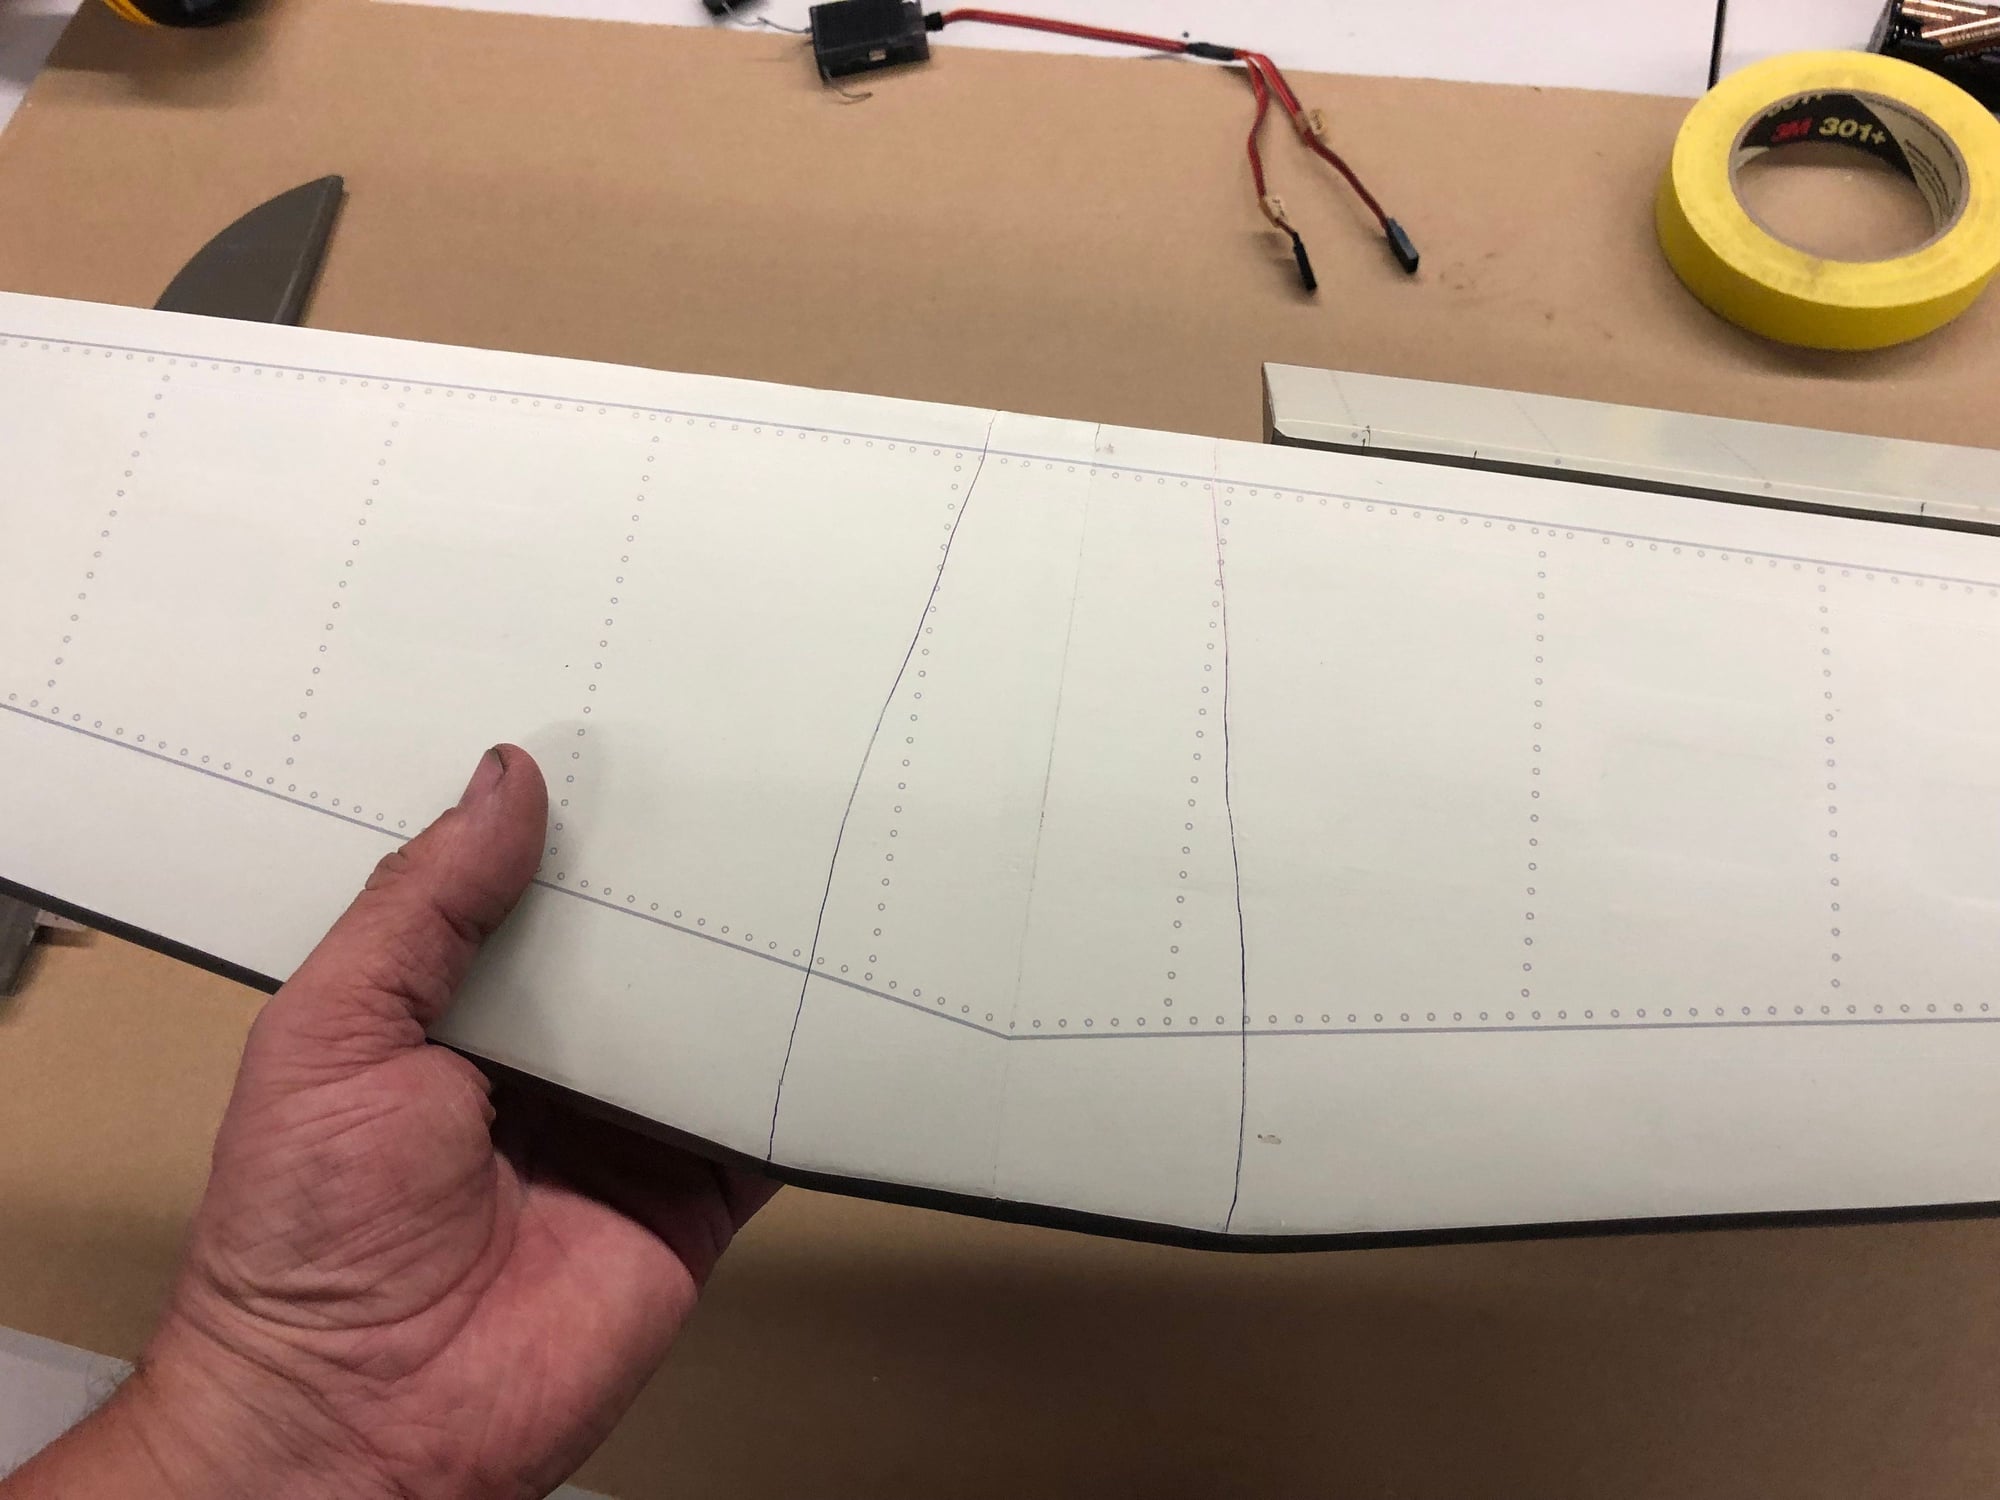
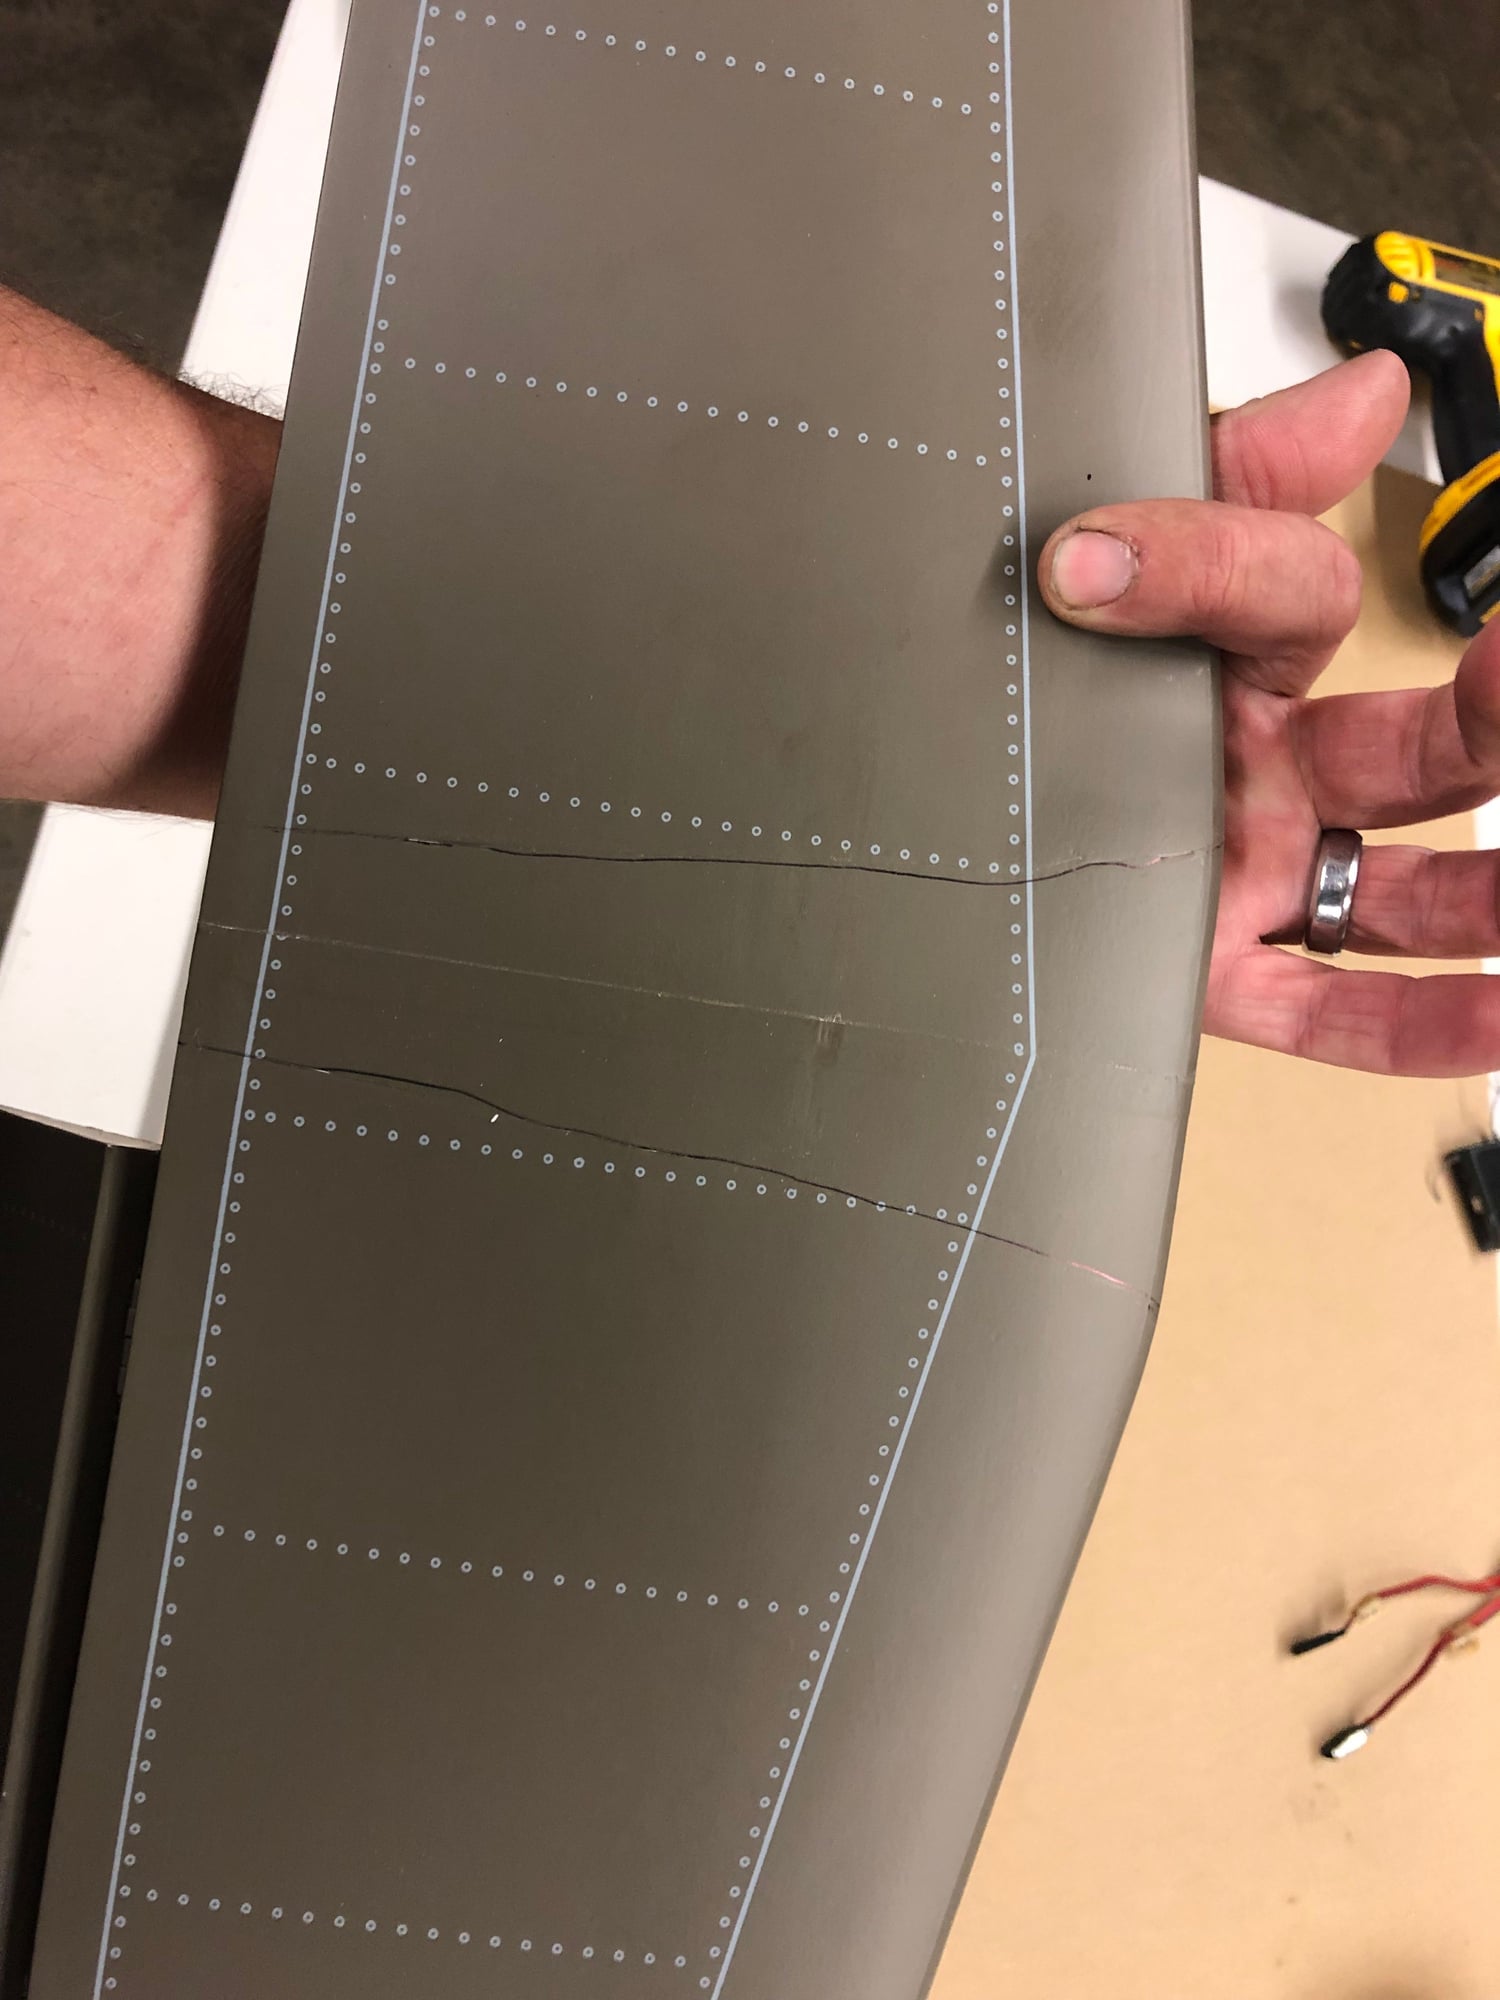
The wing center section, I took a pen and marked on the fuse where the colors line up, to help with lining it up in the future.
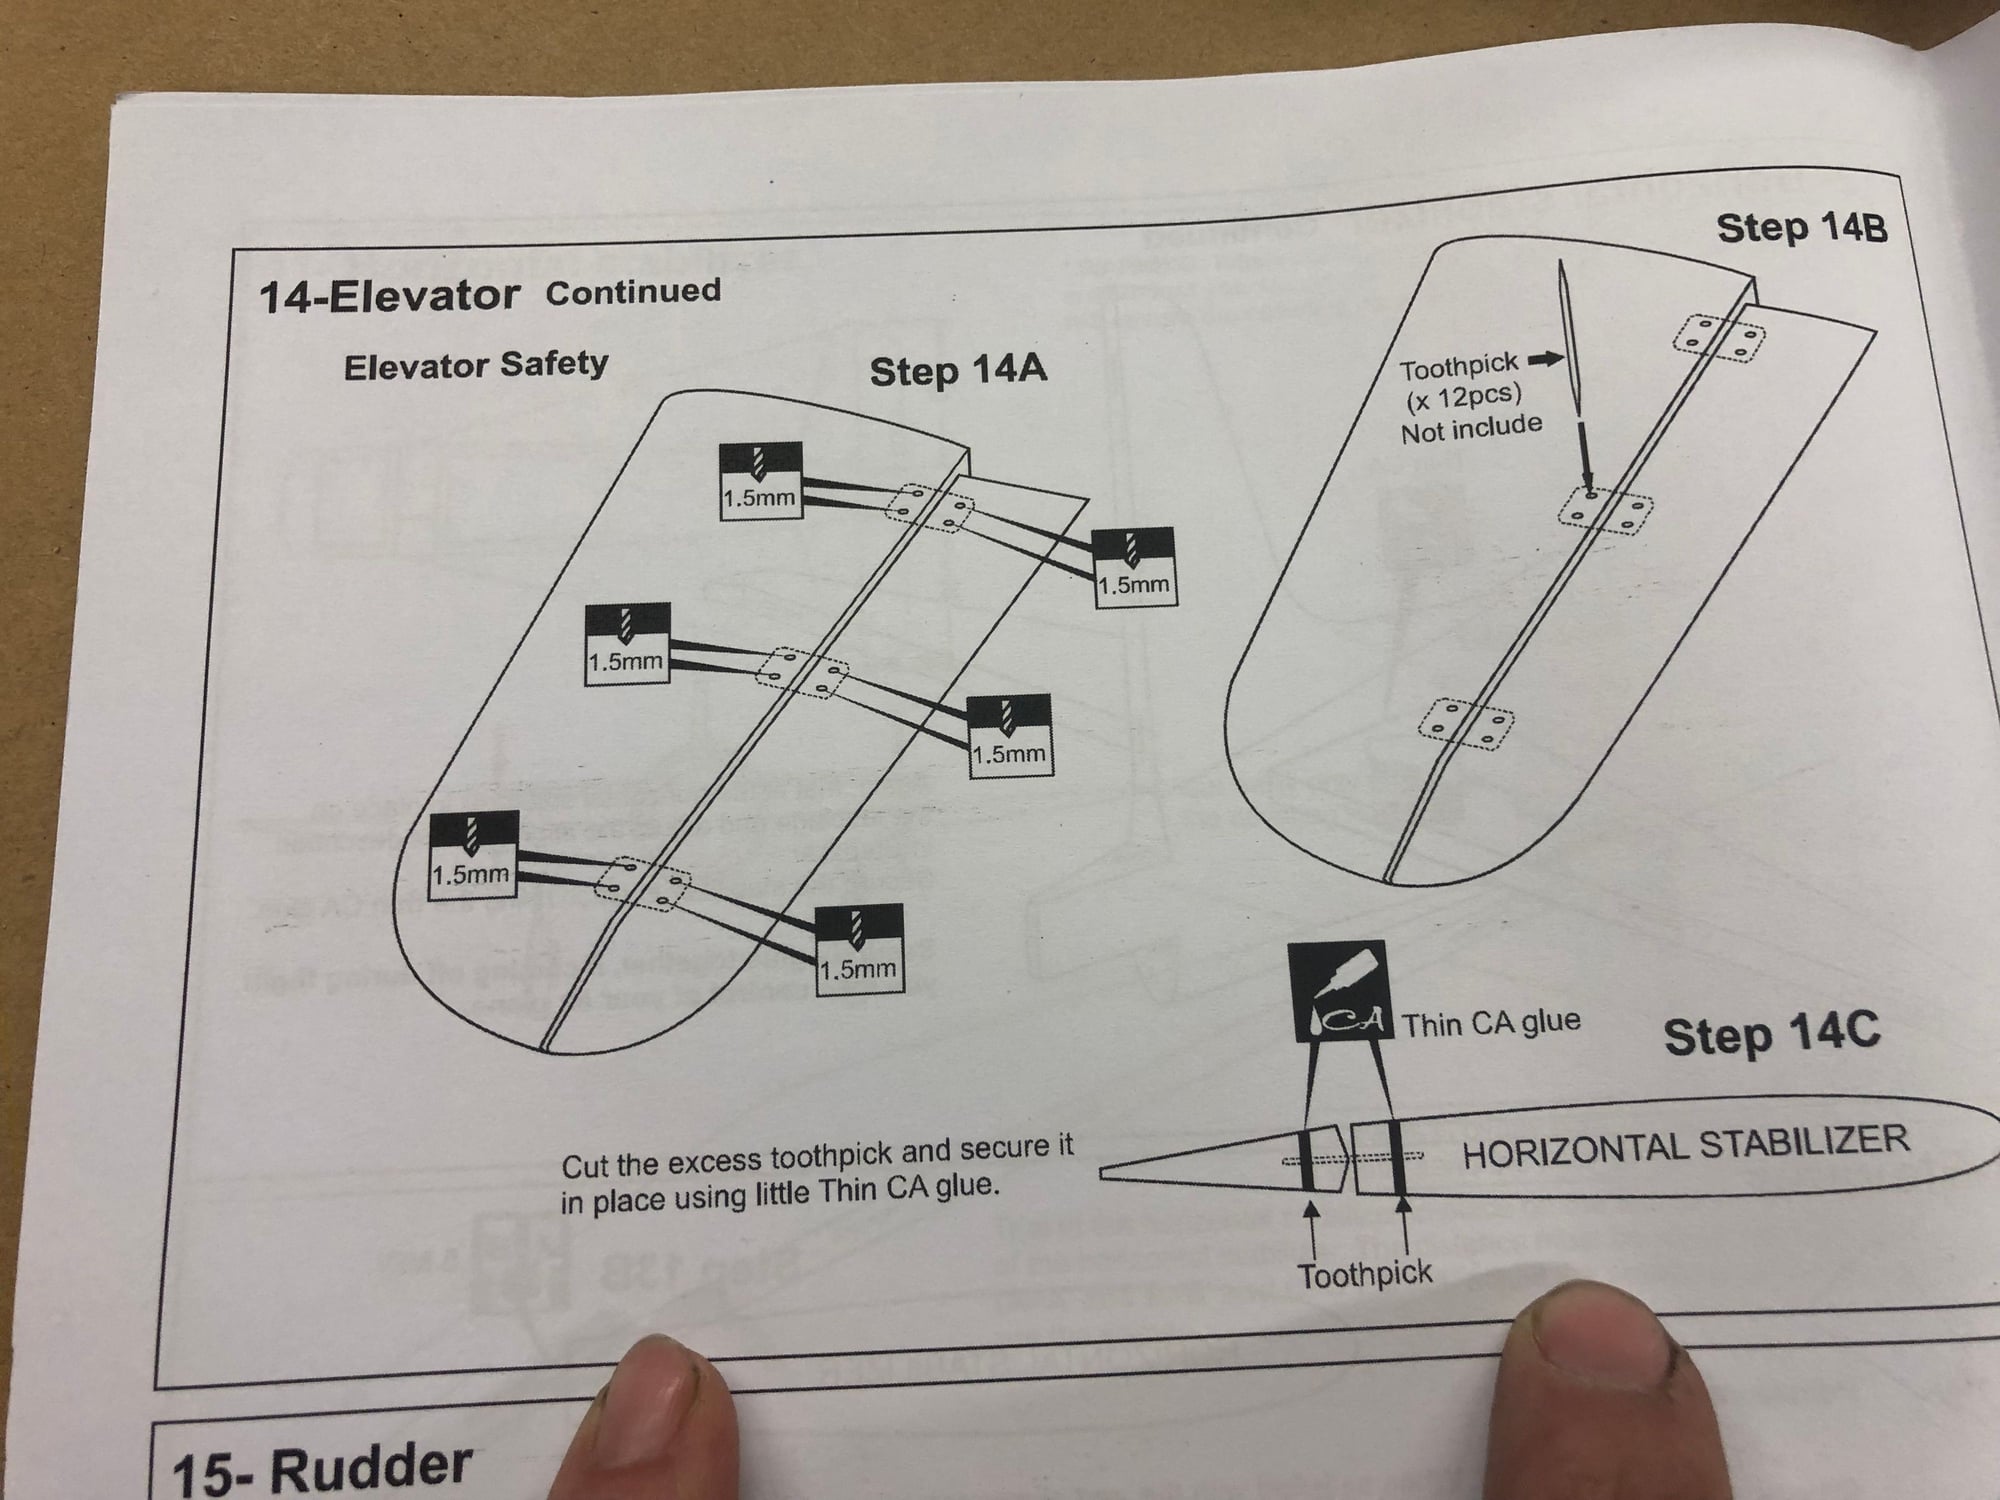
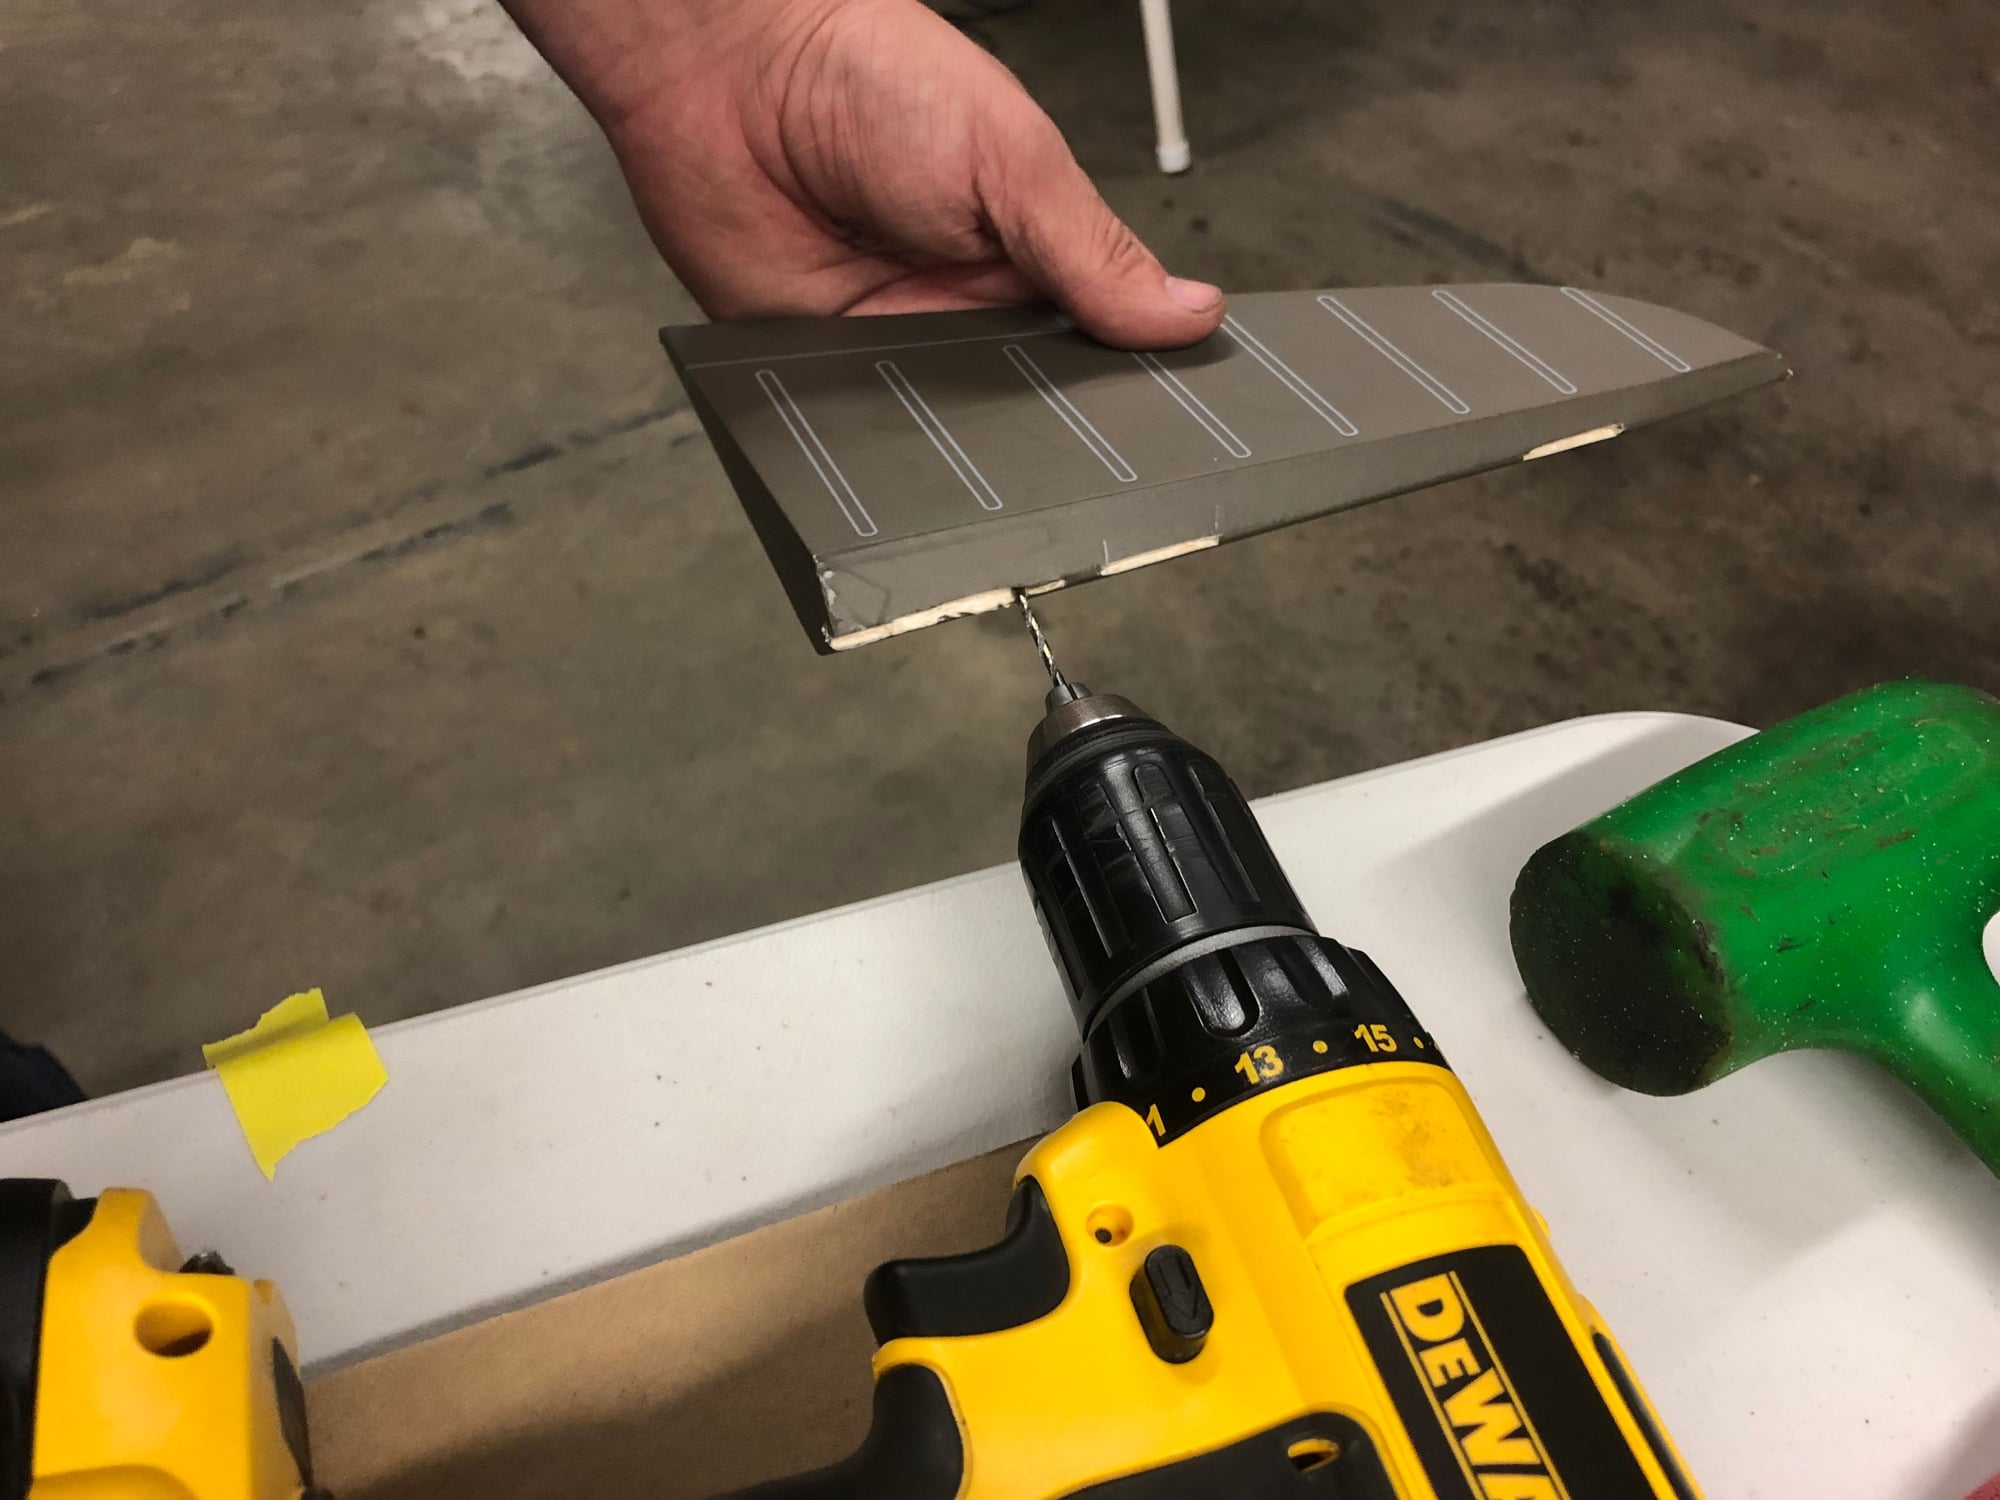
I got everything hinged, they call for epoxy so I did that, and they say to pin the elevator hinges with tooth picks, I did that and the ailerons too, for fun.
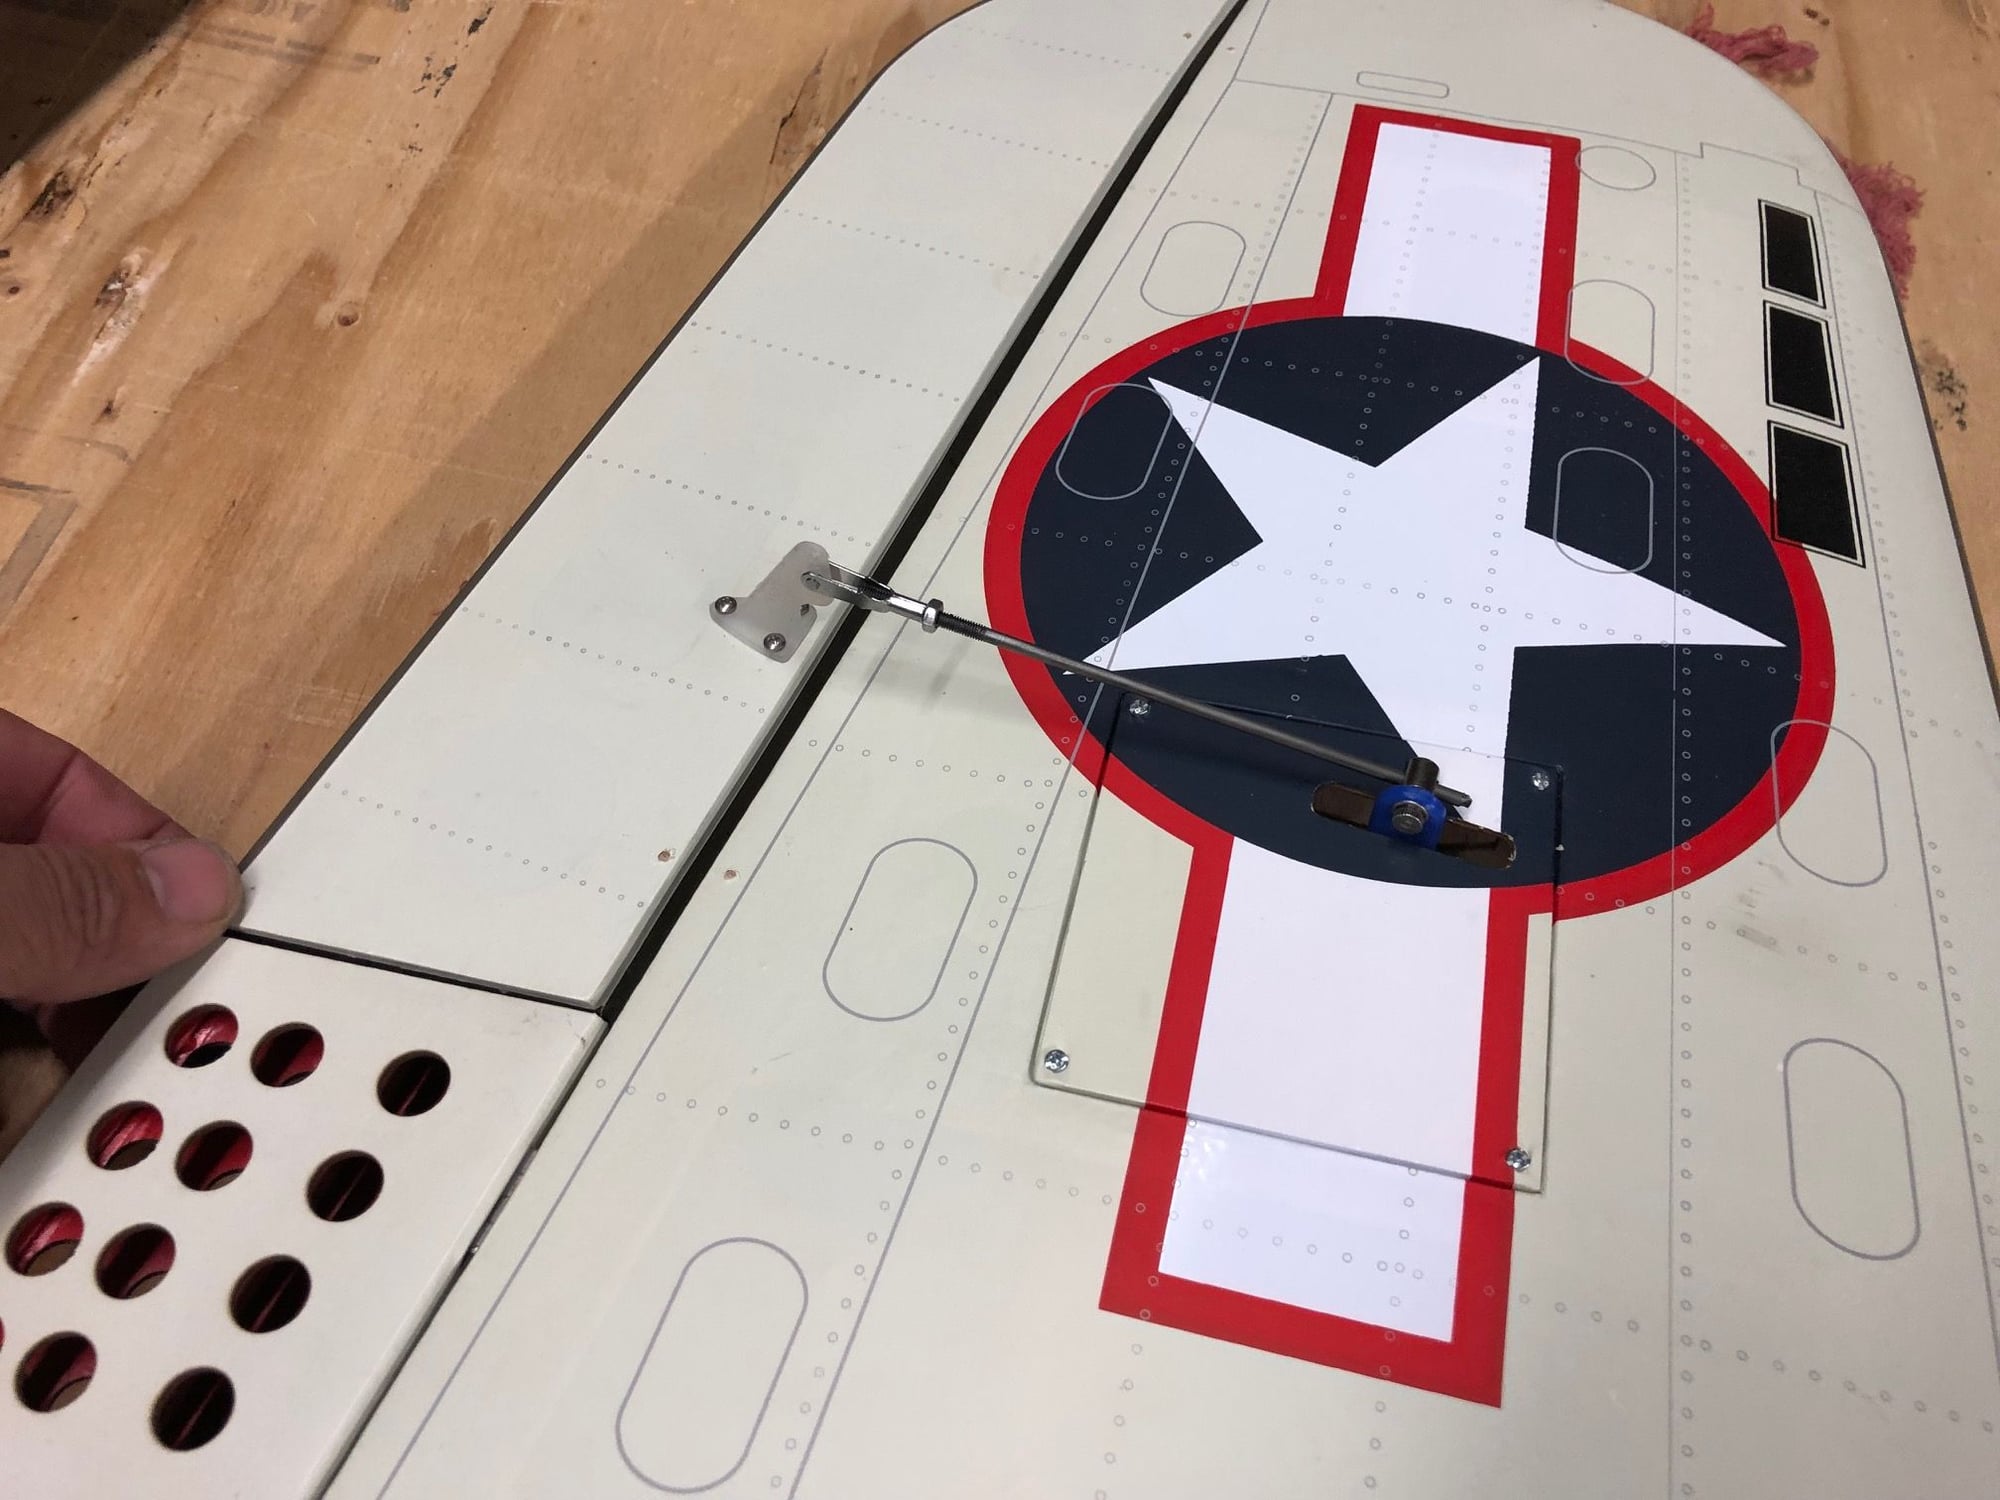
I always cut the covering out of the way under the control horns, and glue the horns as well as screwing them on.
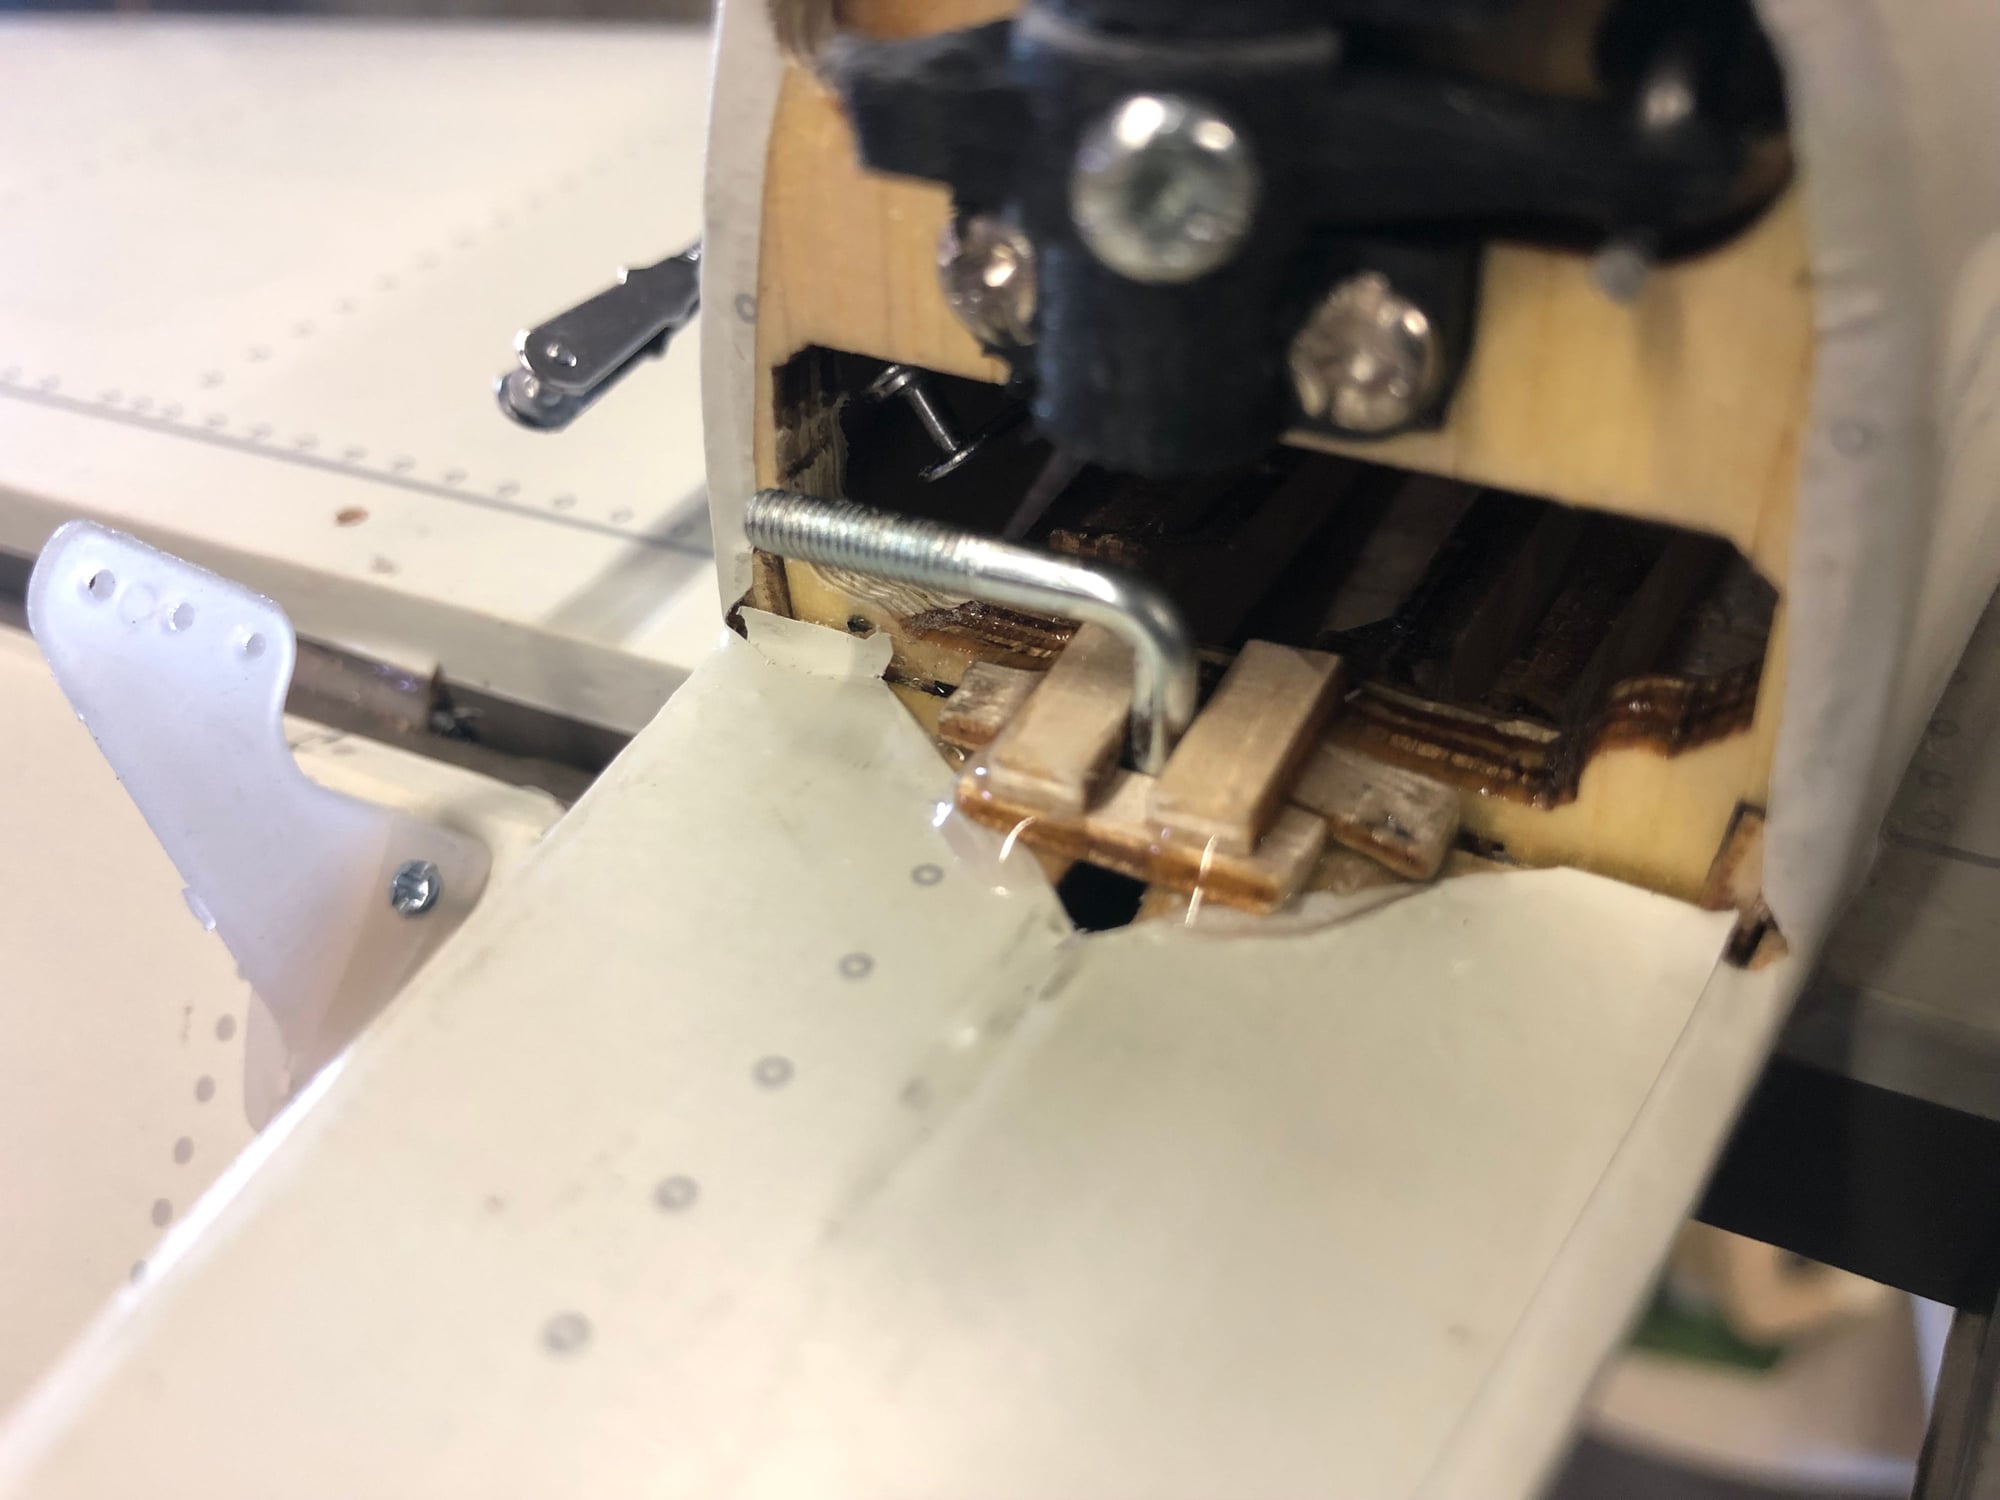
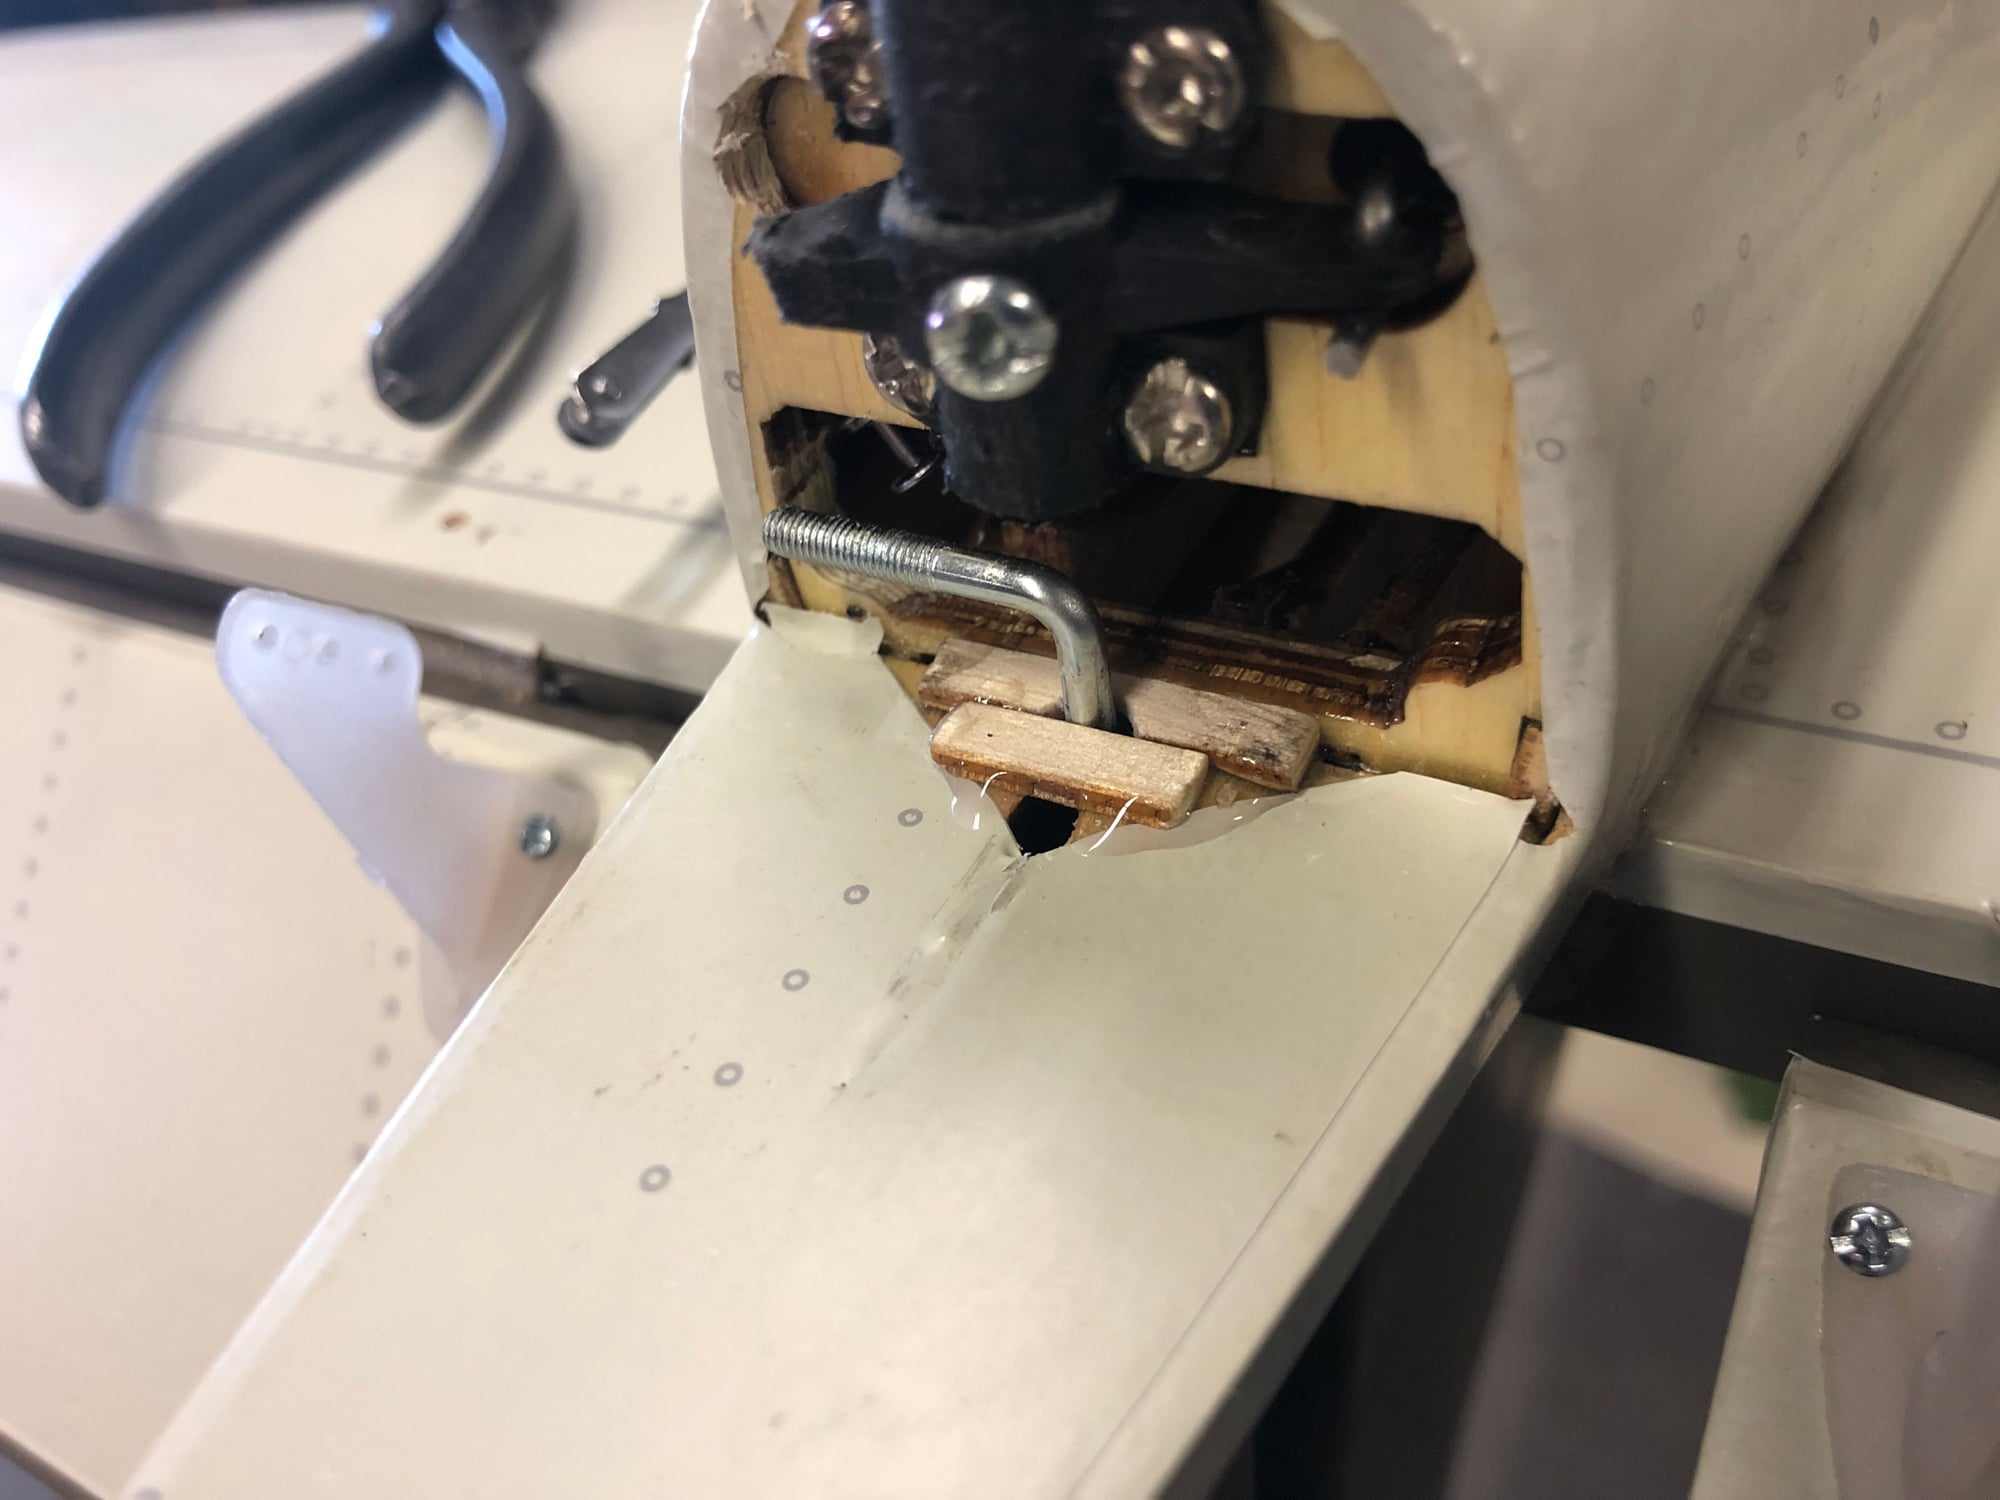
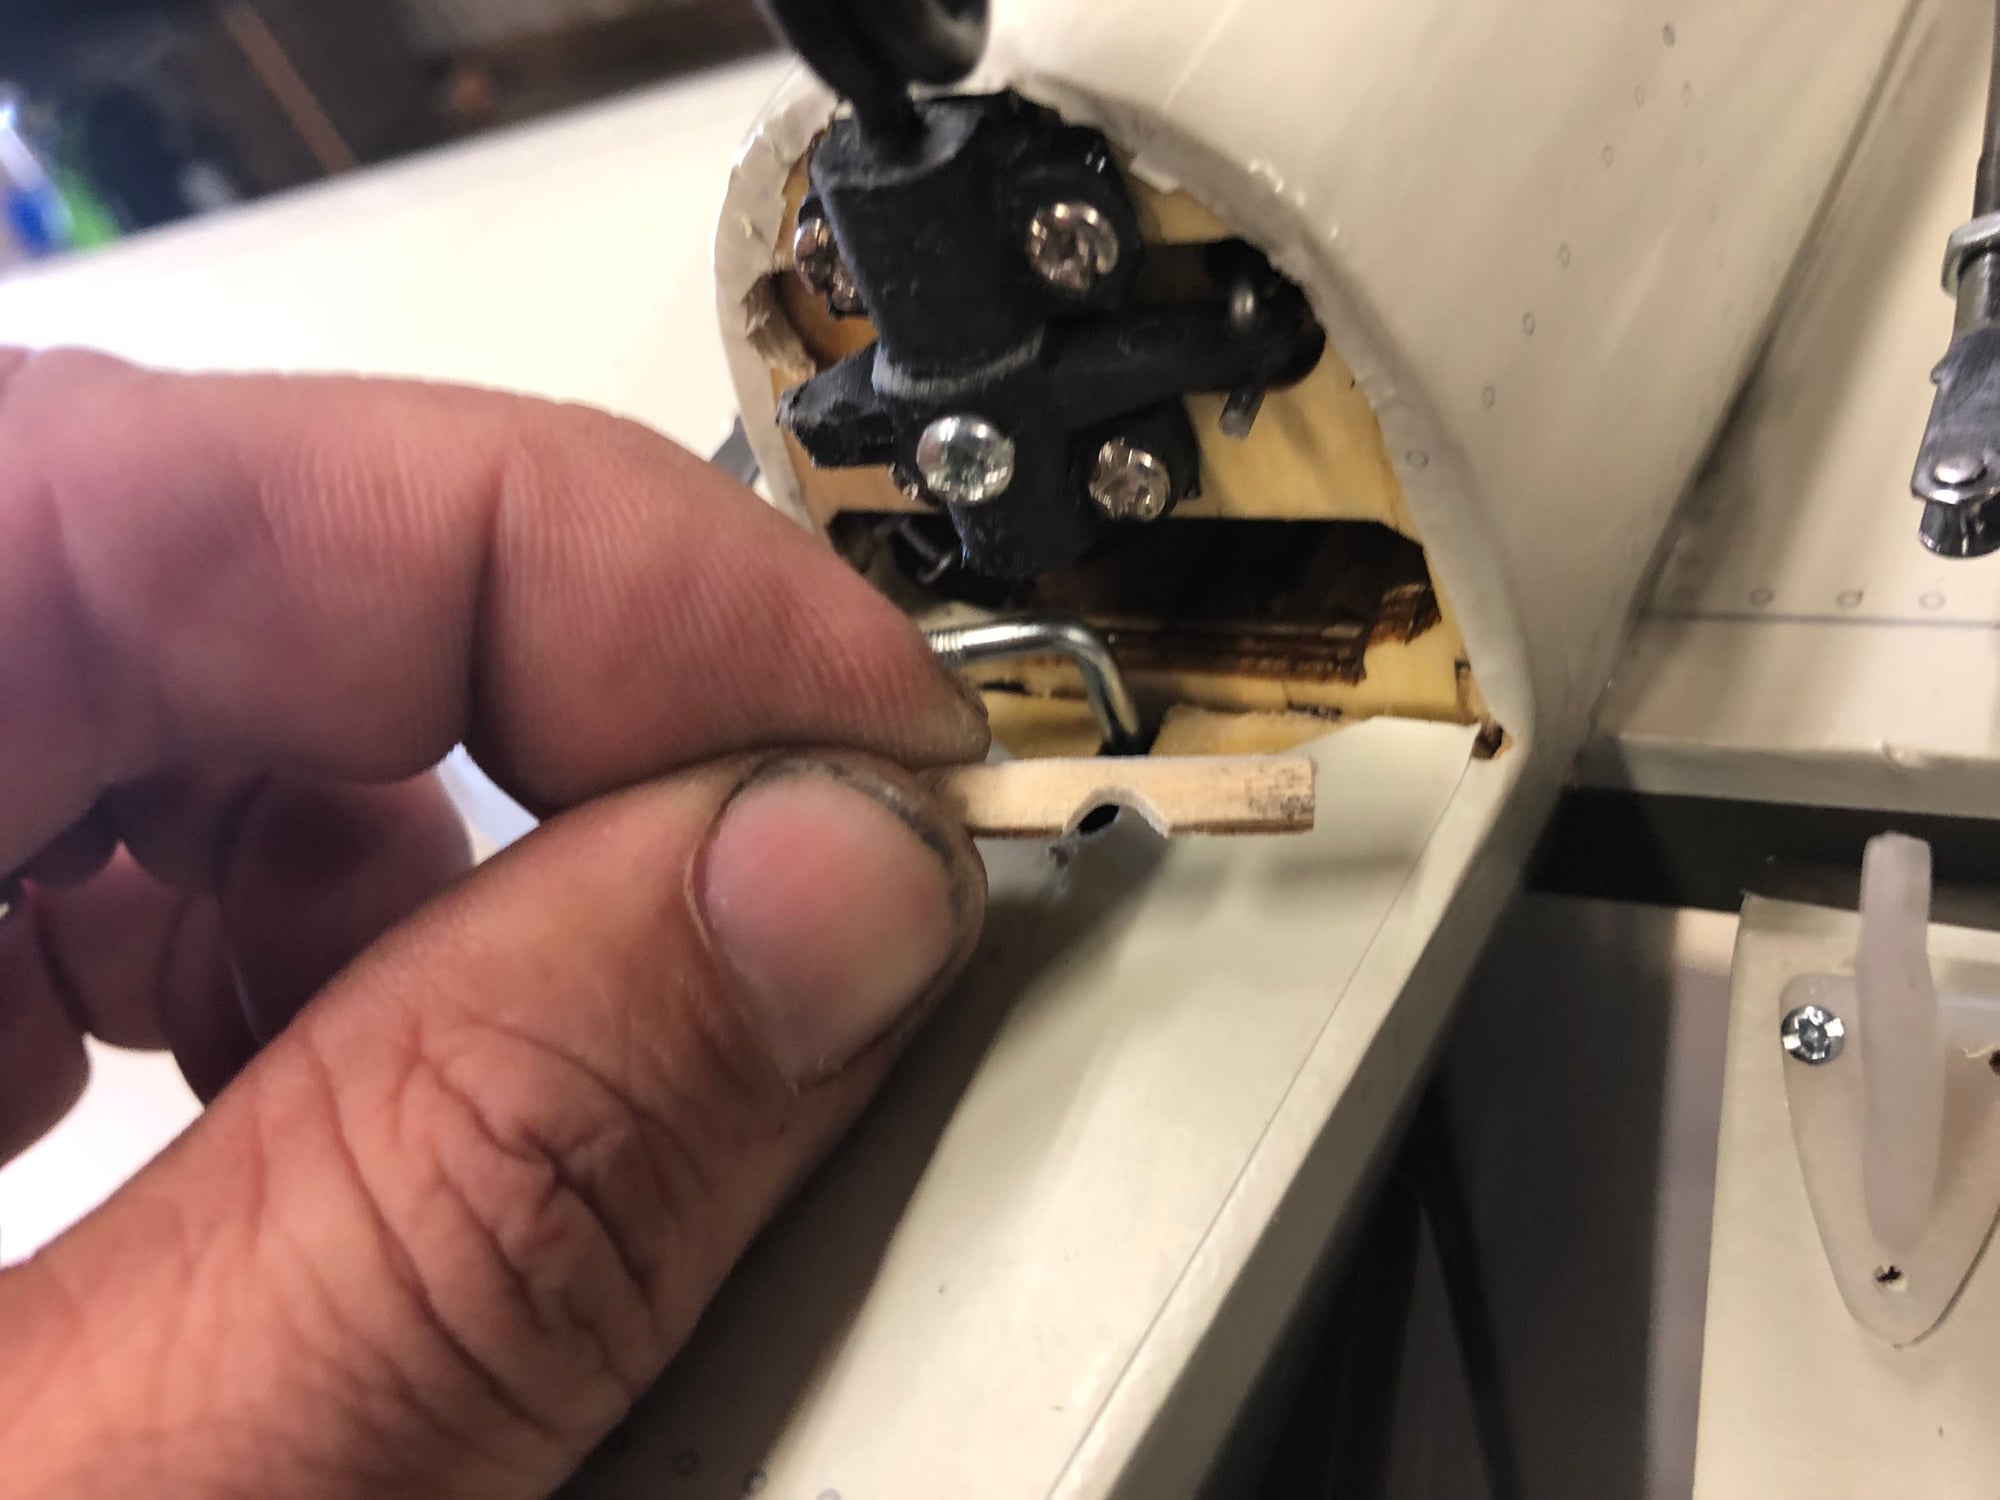
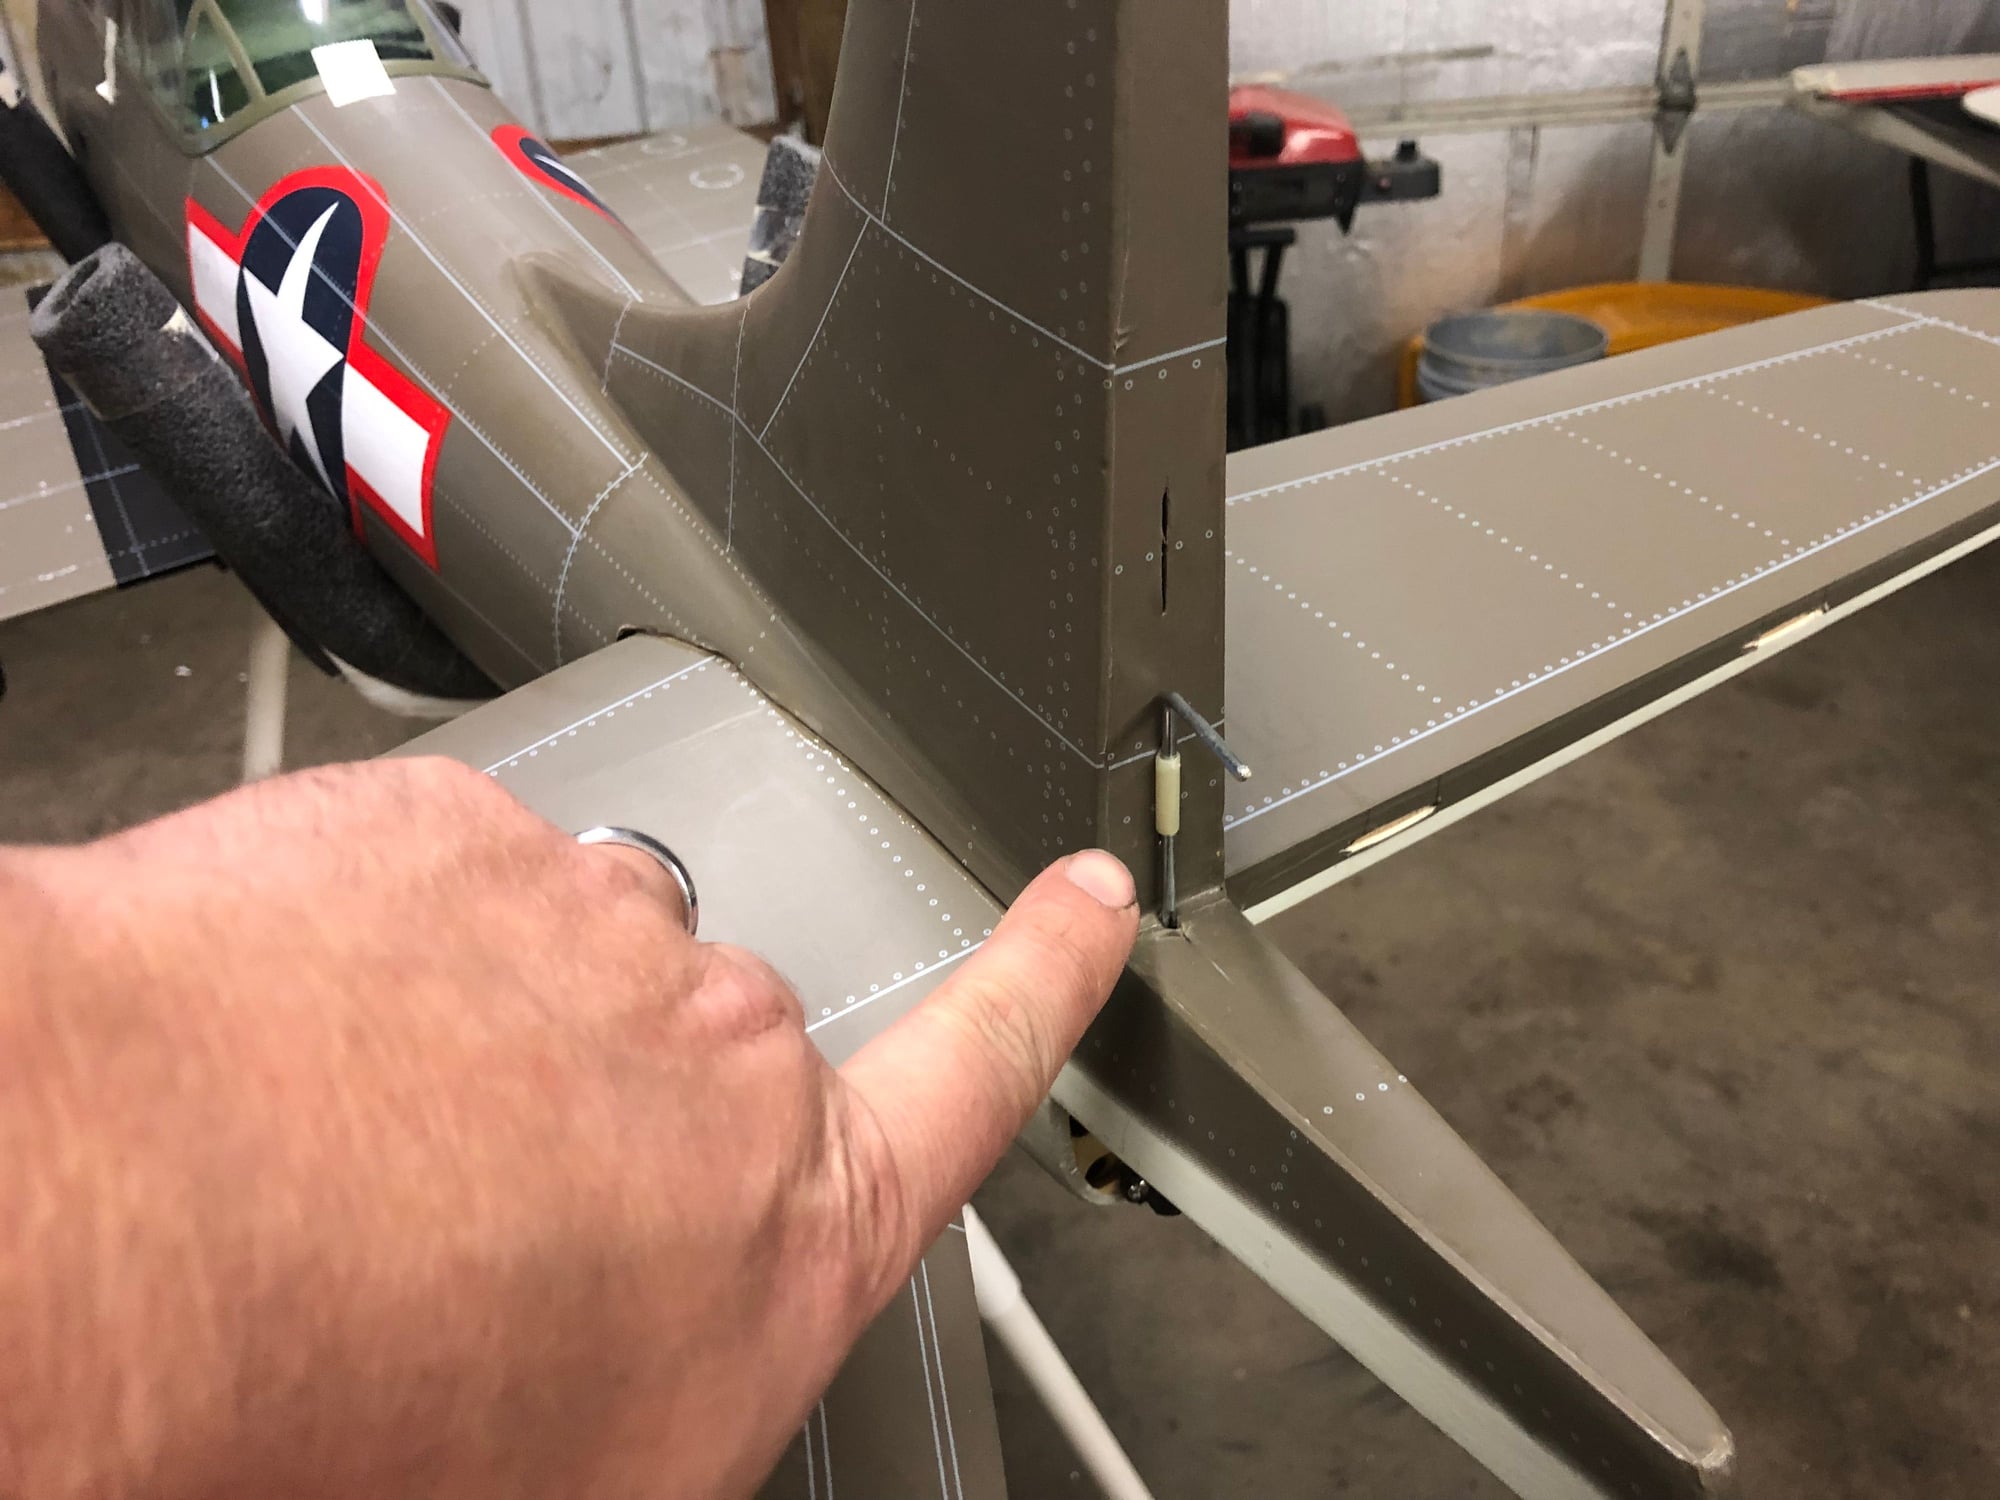
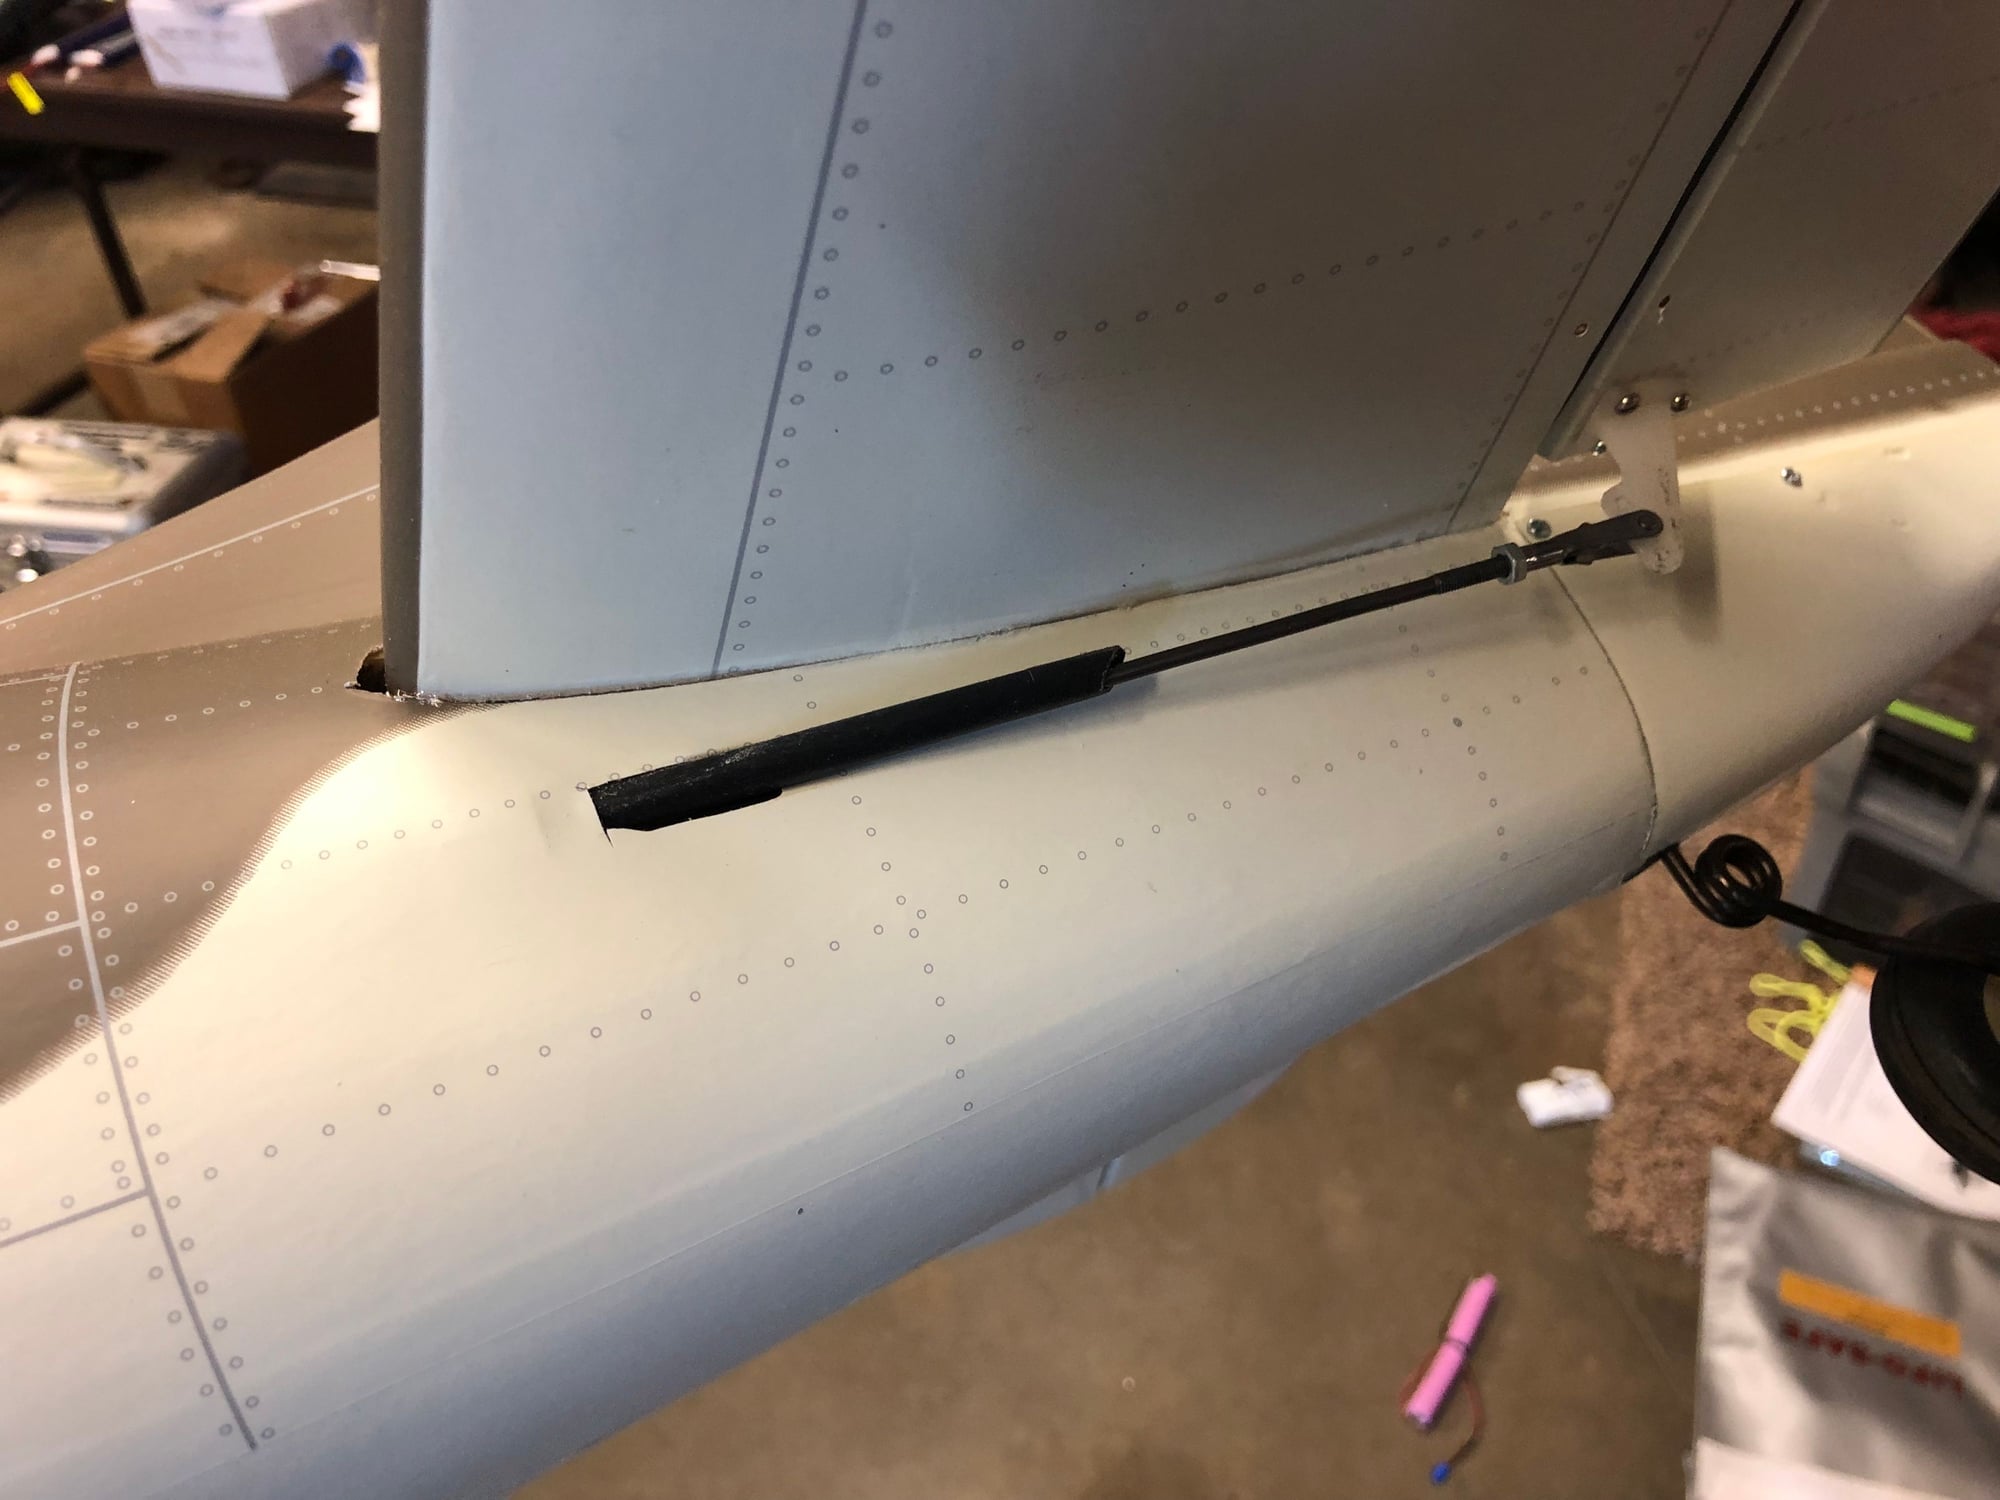
The rudder control rod, just like I did with the bearcat build, I added some ply pieces to take the slop out of the bottom. Also, the little eye you thread onto the rod for the rudder control linkage to hook to, drill it out, mine split..
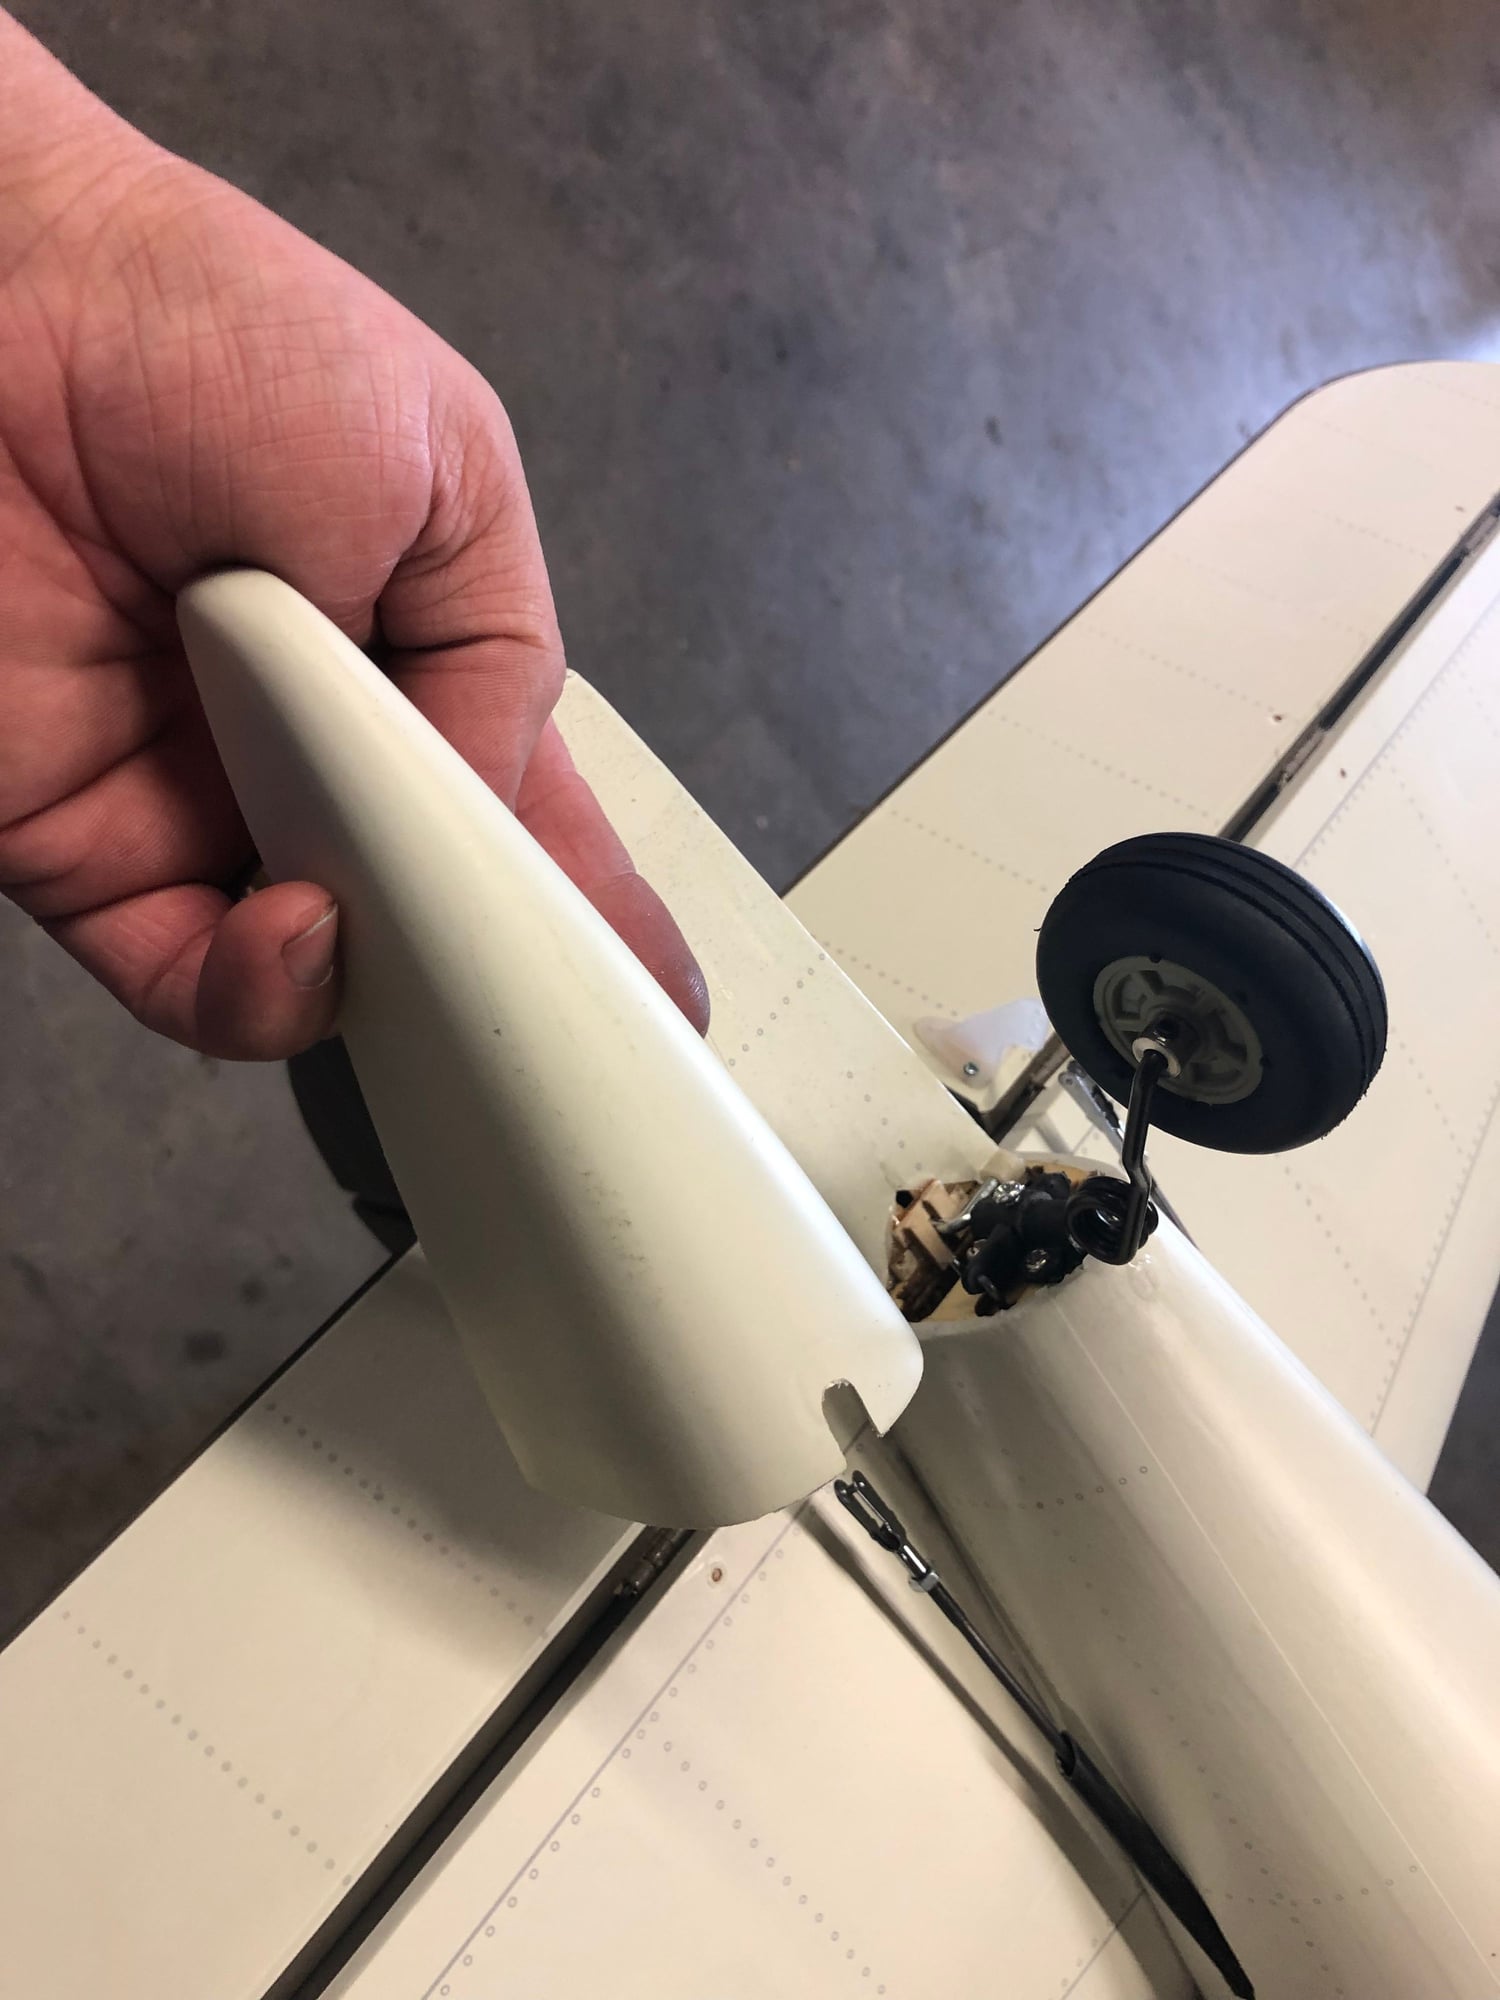
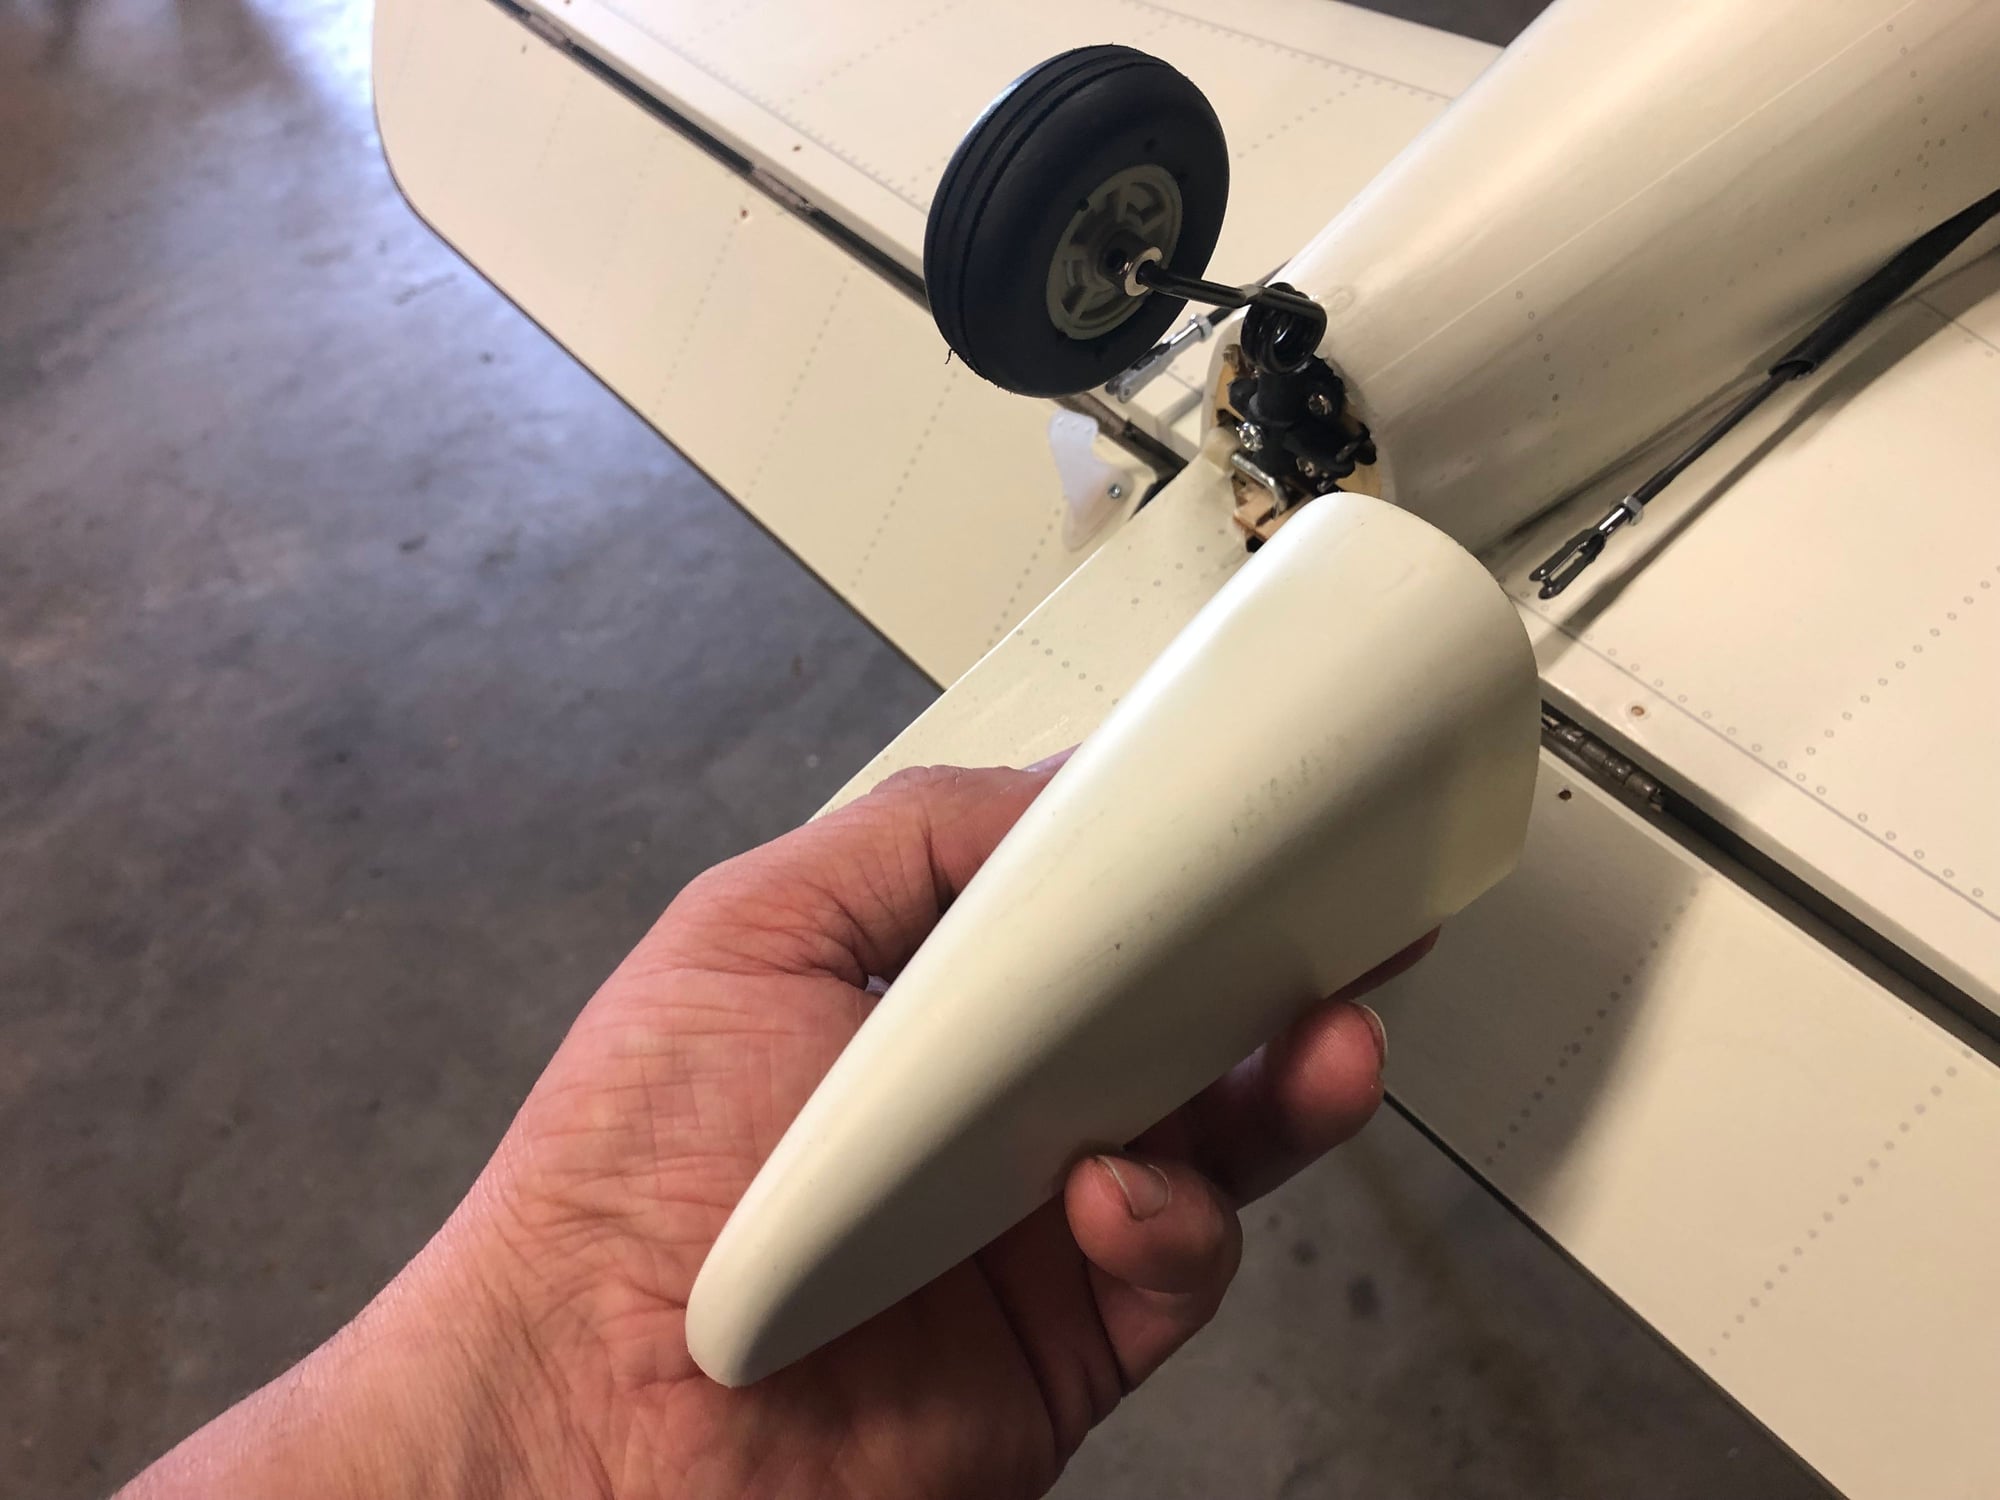
The tailwheel linkage, the black horn, I had to sand mine down for a smooth fit, otherwise it was too tight, then I ground a slot for the collar set screw outside of the tire to keep it locked on there. And a touch of blue locktite.
And I glued on the filler piece on the front bottom of the wing.


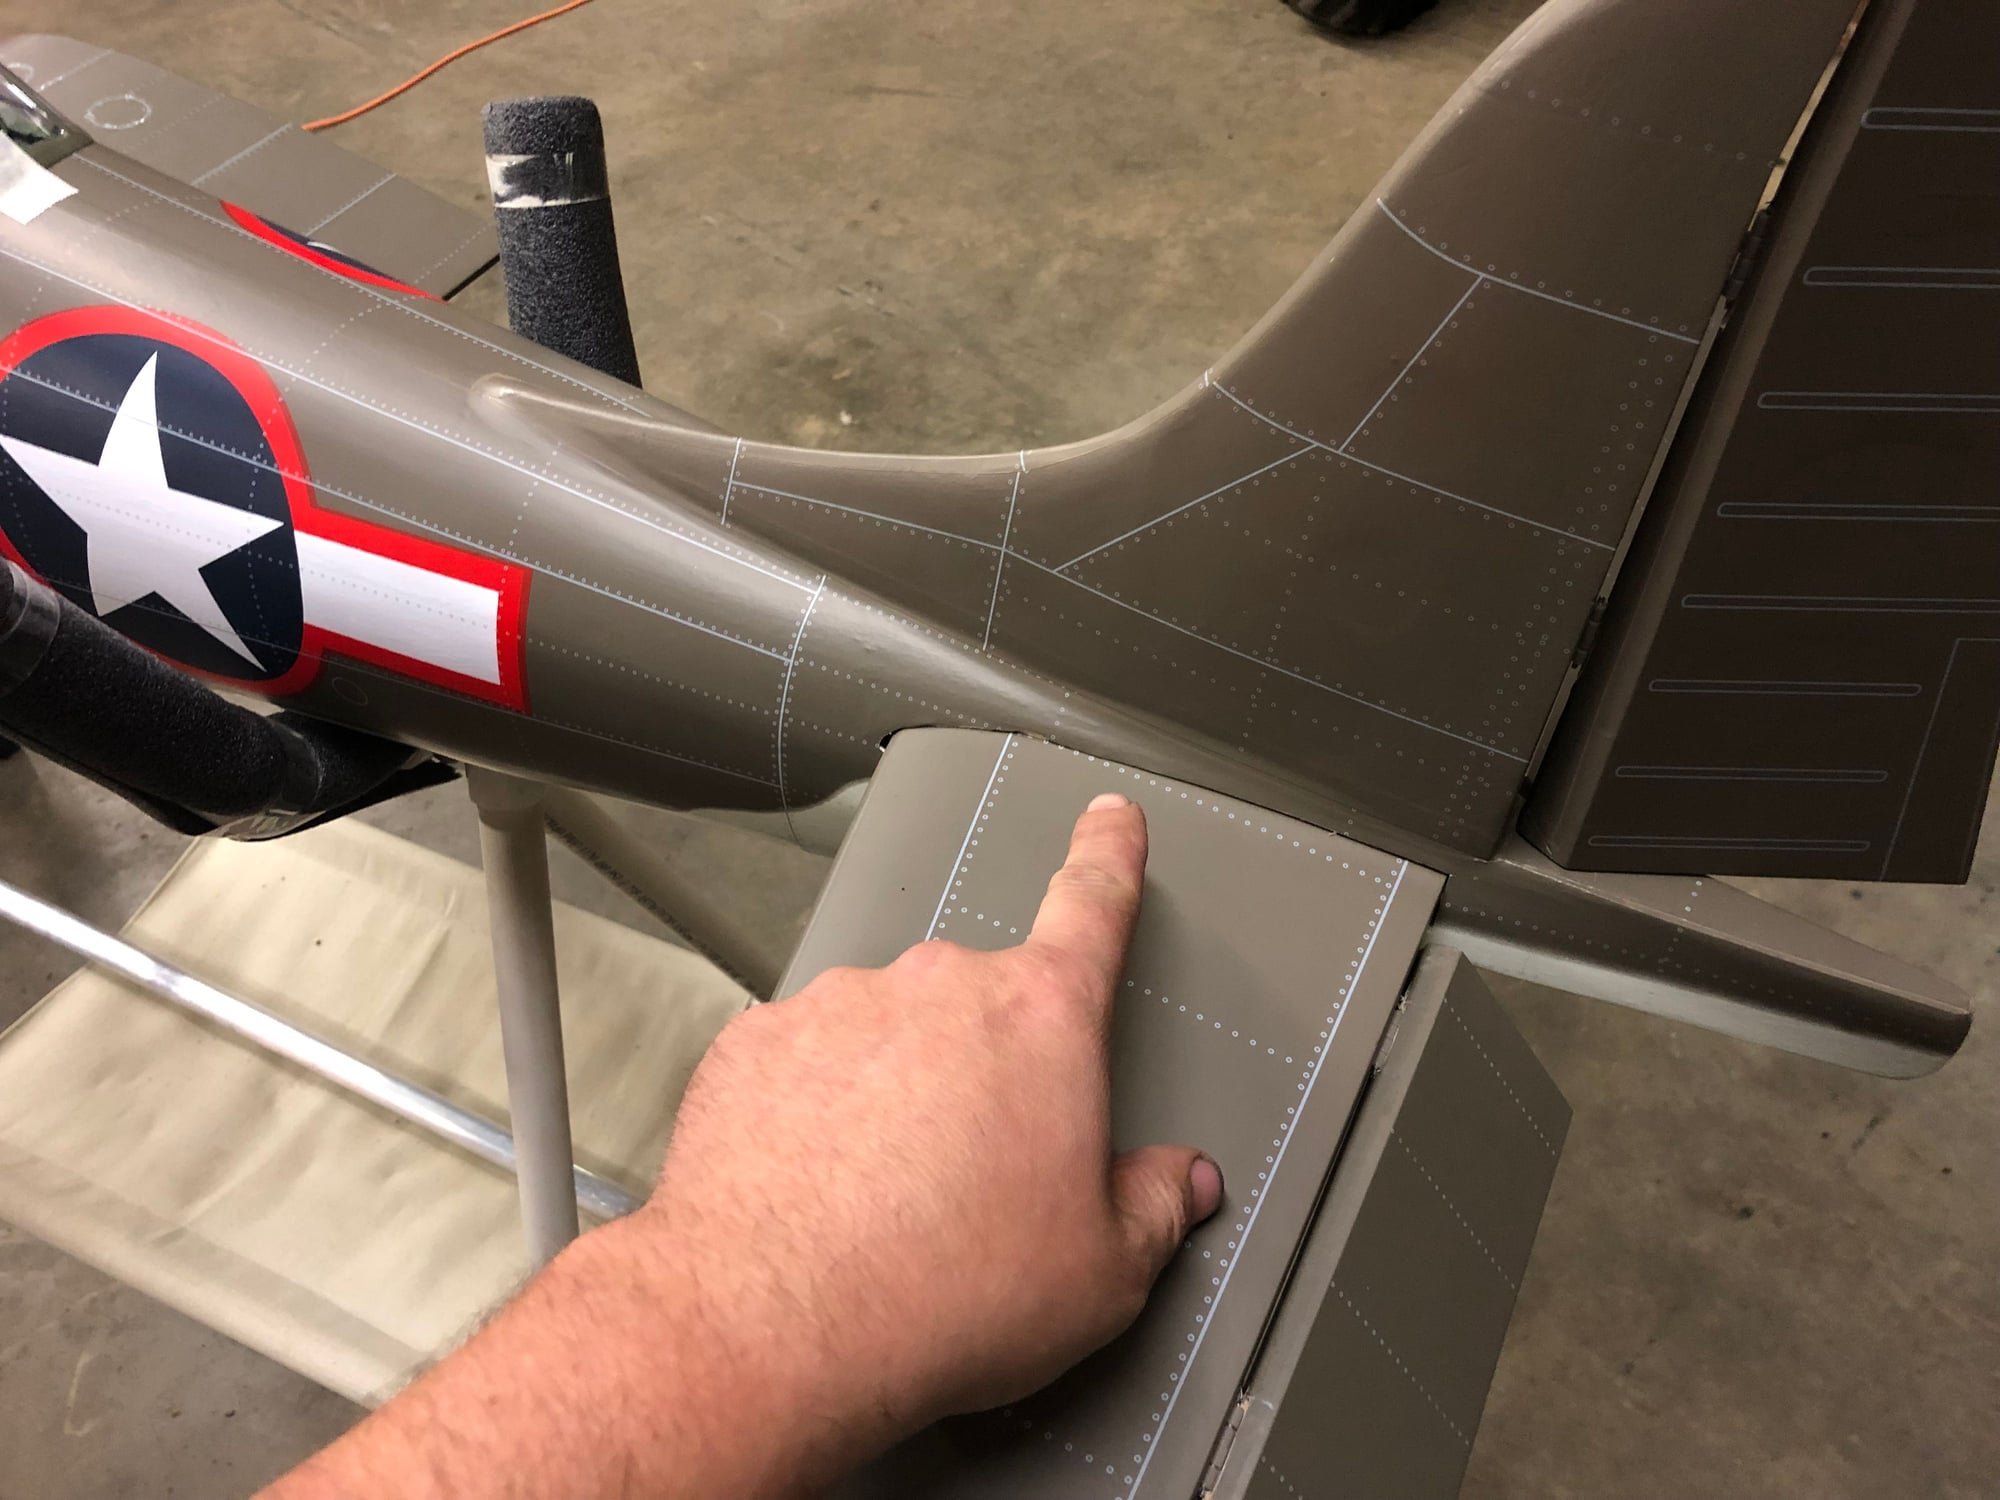
Elevator is glued on, I had to do a little shaving in the fuse to get it square to the wing, but it all went well. I had to do the same to the bearcat. Once its all glued in you can go in the back bottom of the fuse and drop some glue in there too.
The wing center section, I took a pen and marked on the fuse where the colors line up, to help with lining it up in the future.
I got everything hinged, they call for epoxy so I did that, and they say to pin the elevator hinges with tooth picks, I did that and the ailerons too, for fun.
I always cut the covering out of the way under the control horns, and glue the horns as well as screwing them on.
The rudder control rod, just like I did with the bearcat build, I added some ply pieces to take the slop out of the bottom. Also, the little eye you thread onto the rod for the rudder control linkage to hook to, drill it out, mine split..
The tailwheel linkage, the black horn, I had to sand mine down for a smooth fit, otherwise it was too tight, then I ground a slot for the collar set screw outside of the tire to keep it locked on there. And a touch of blue locktite.
And I glued on the filler piece on the front bottom of the wing.
05-20-2019, 09:31 AM
#5
This uploader doesnt do them in order, when doing a batch, sorry about that!
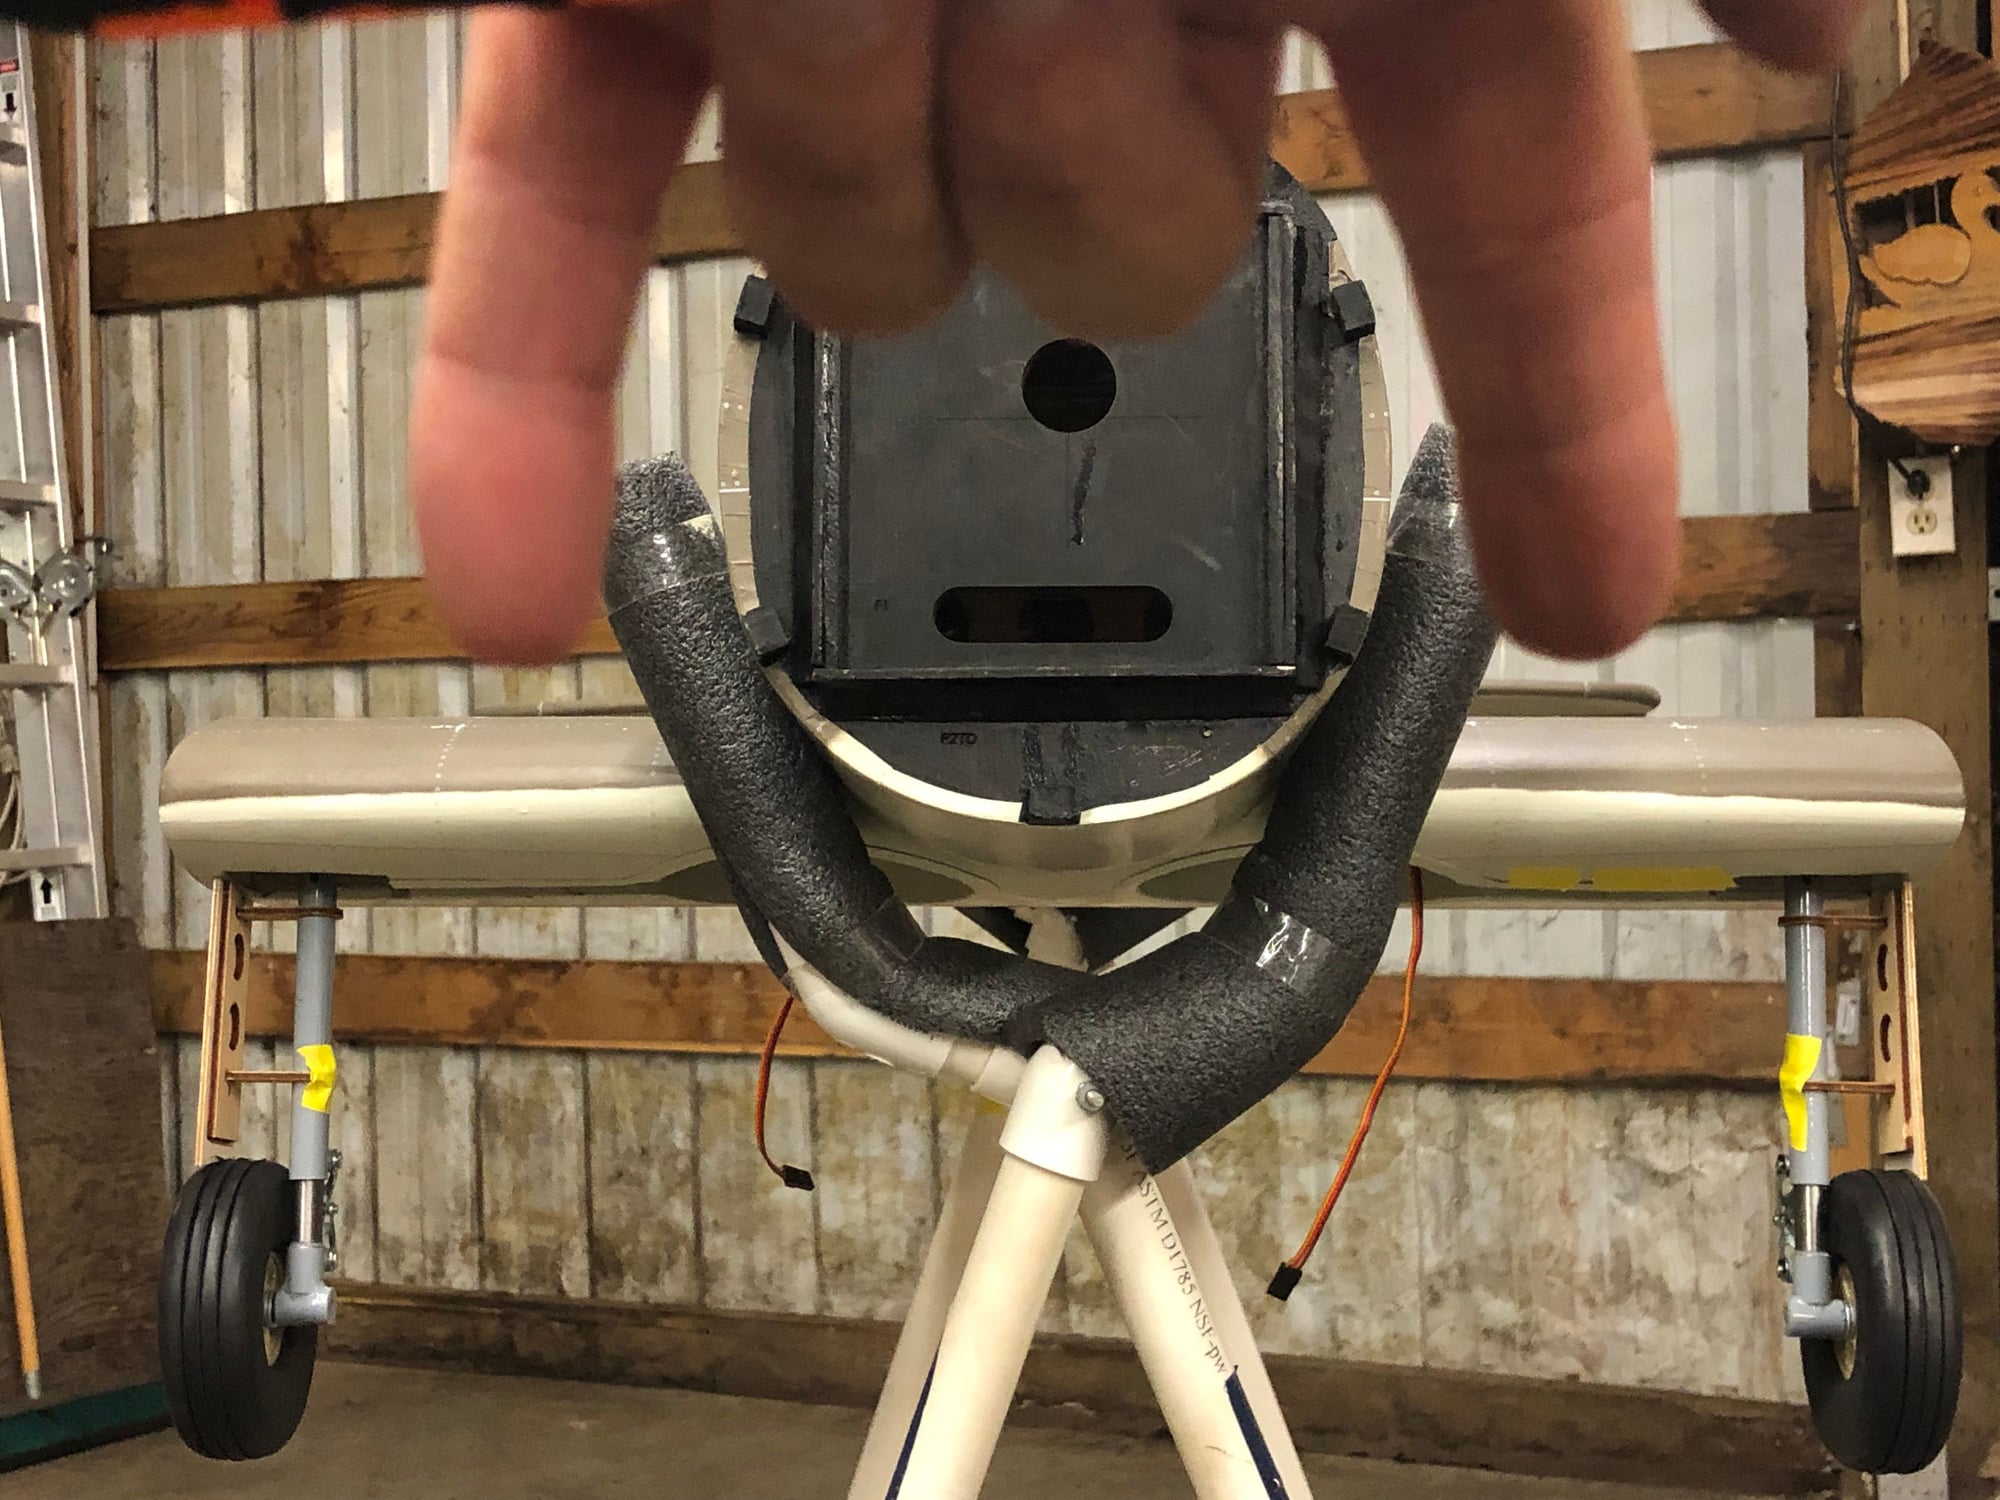
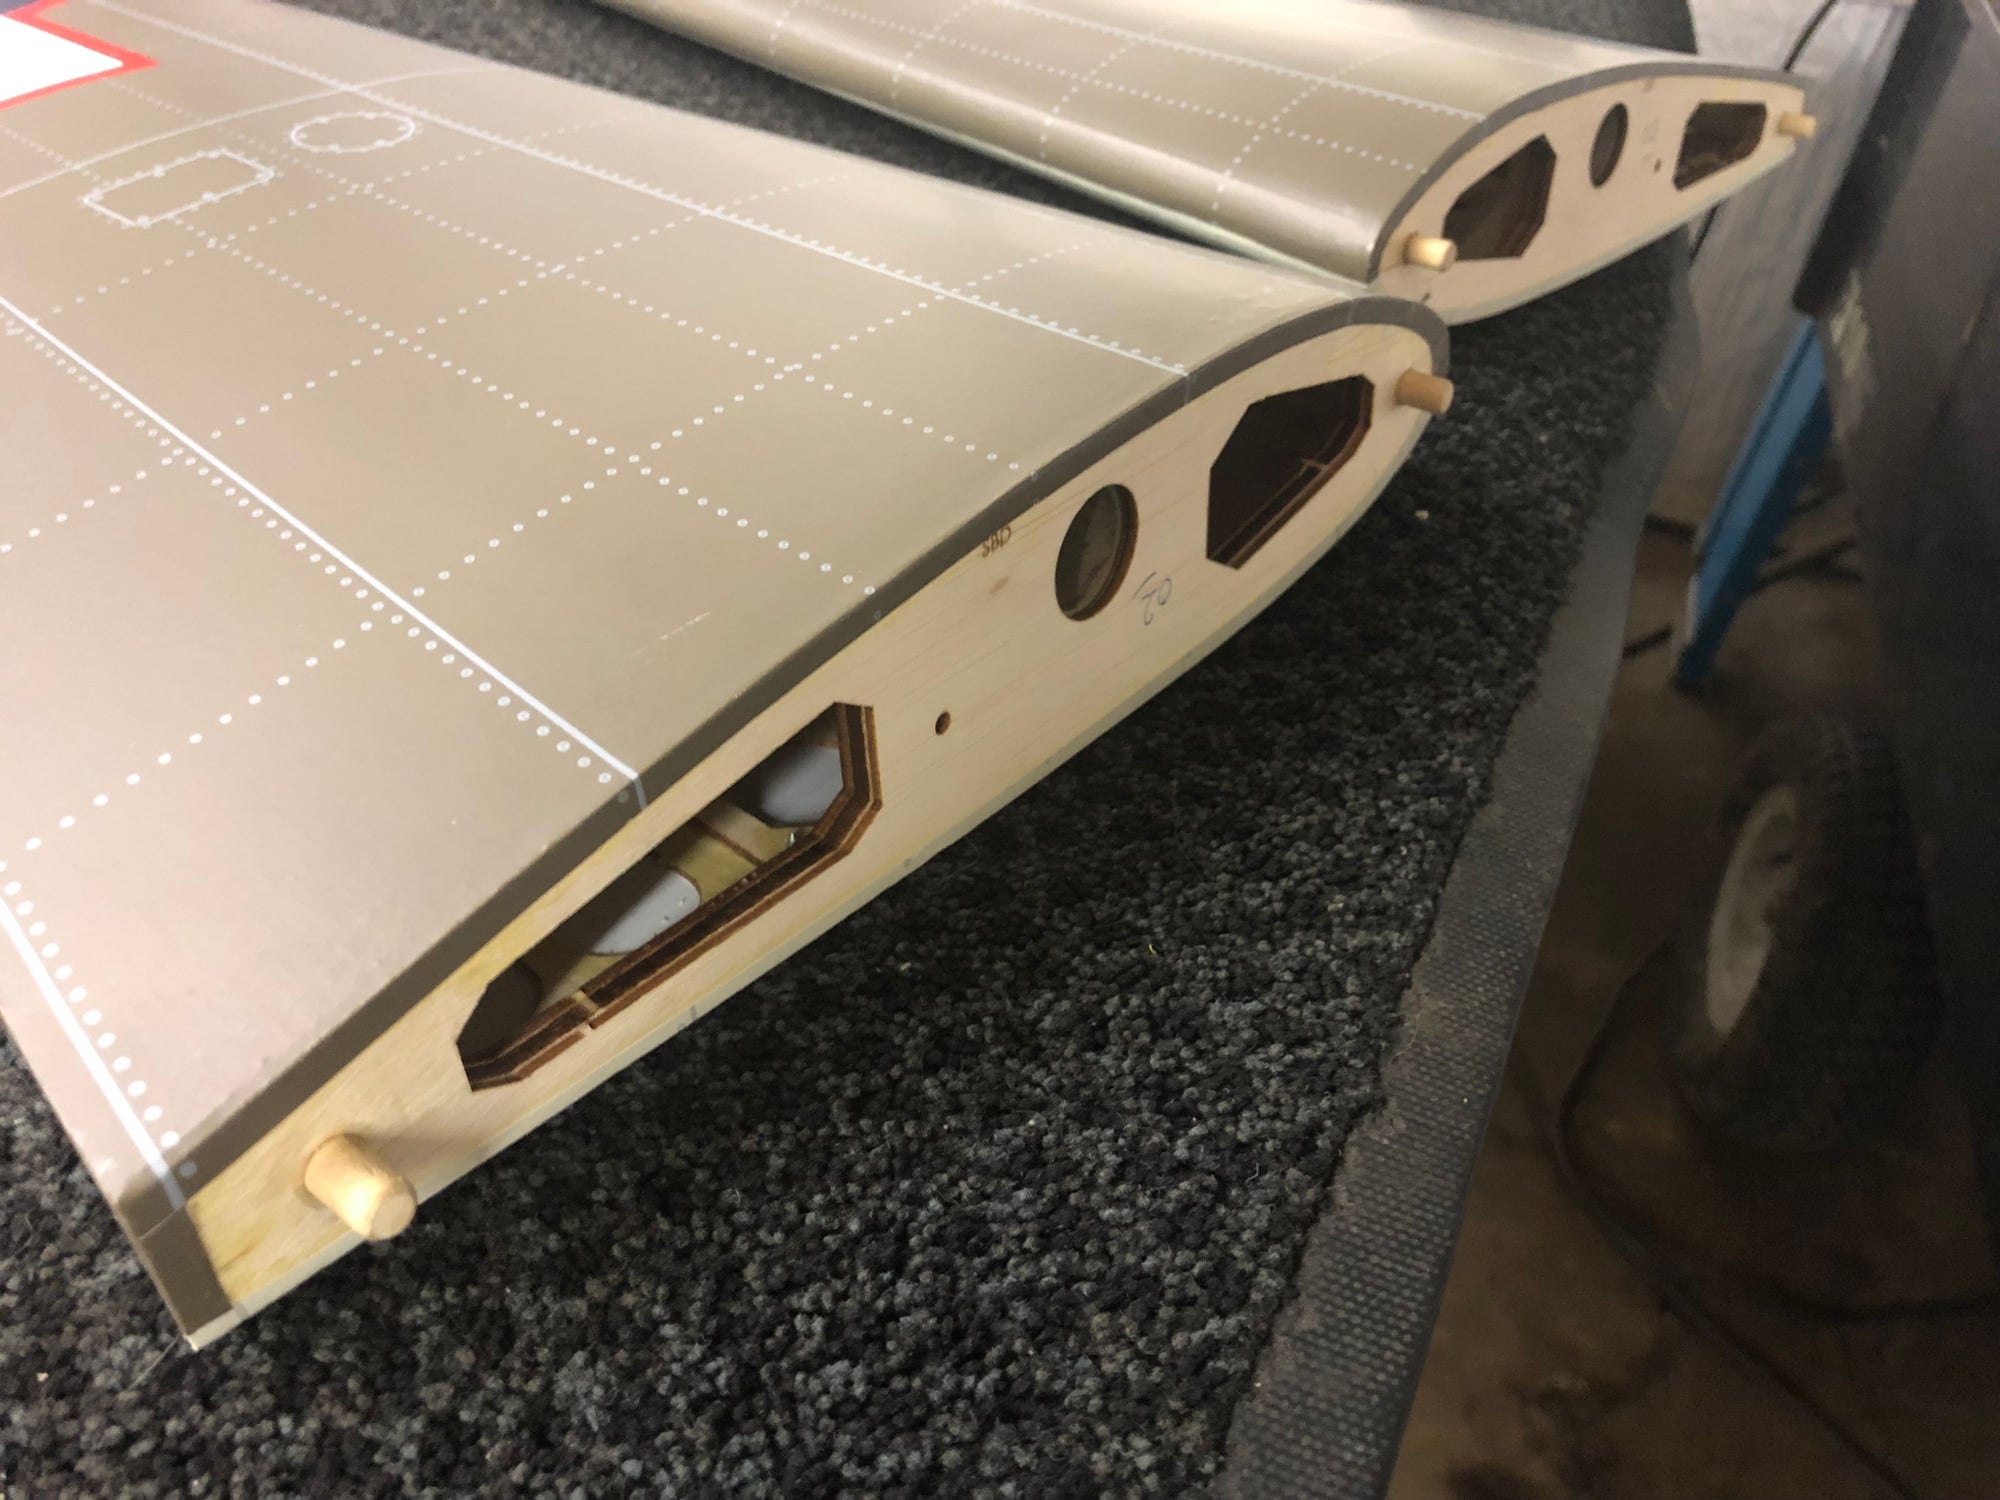
Glued in the dowels for the wings, I had to do some filing on the wing center section to get everything smooth and one dowel was off a tiny bit, but it fits great now. The manual says to glue the aluminum spar into the wing center section, I dont think Im going to do that. BUT, measure and get it centered, and mark it with something so you know where it has to be.
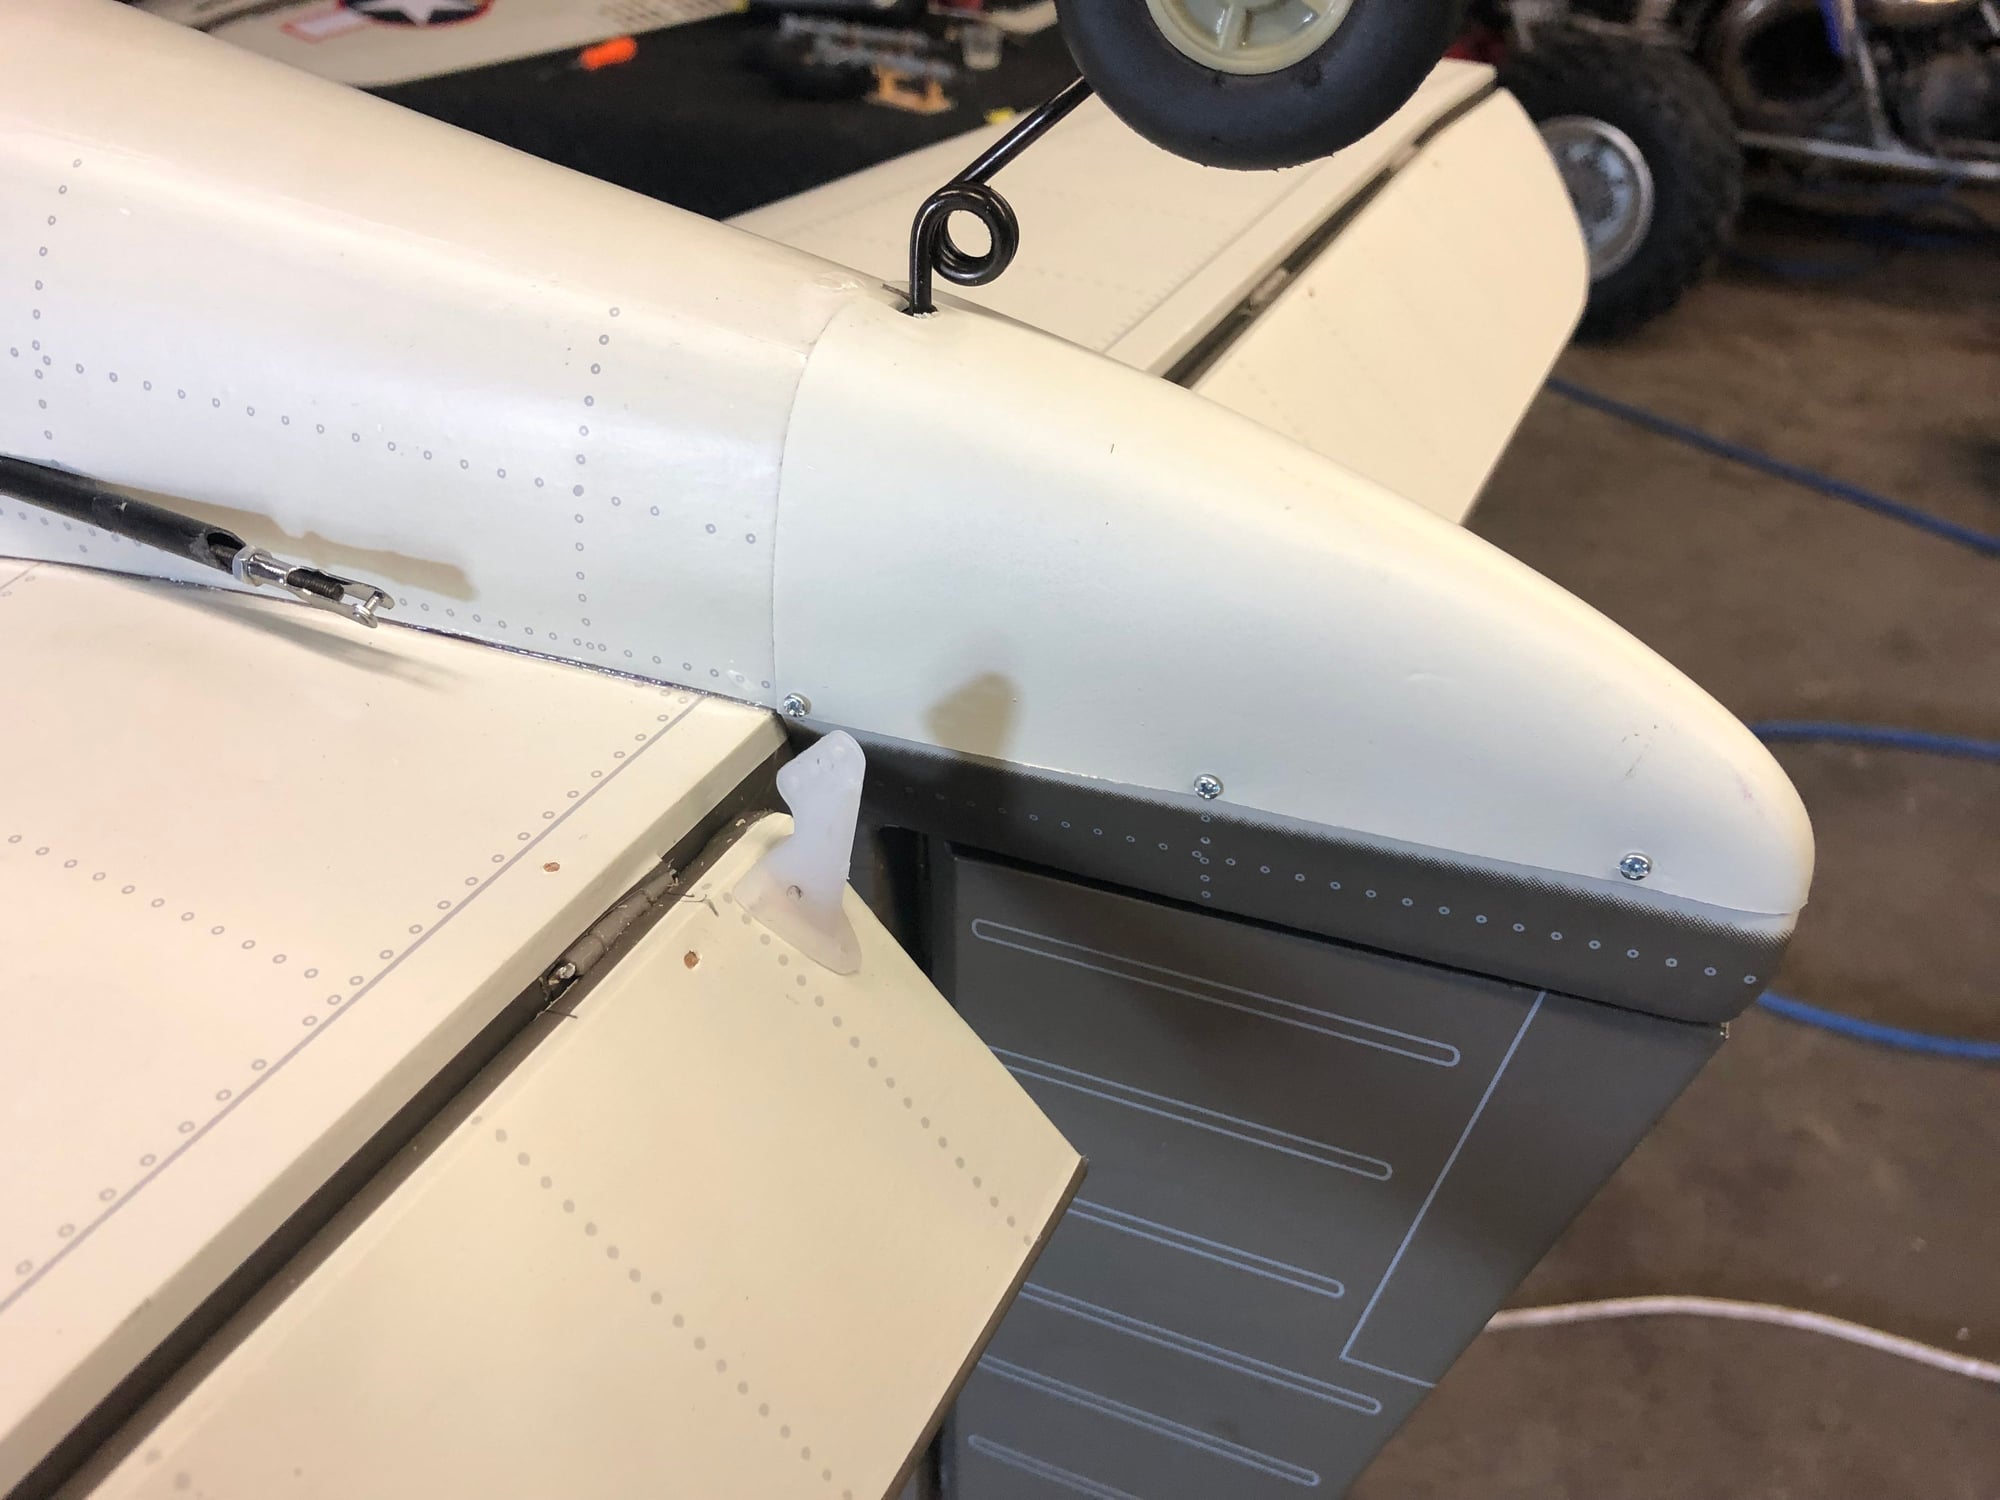
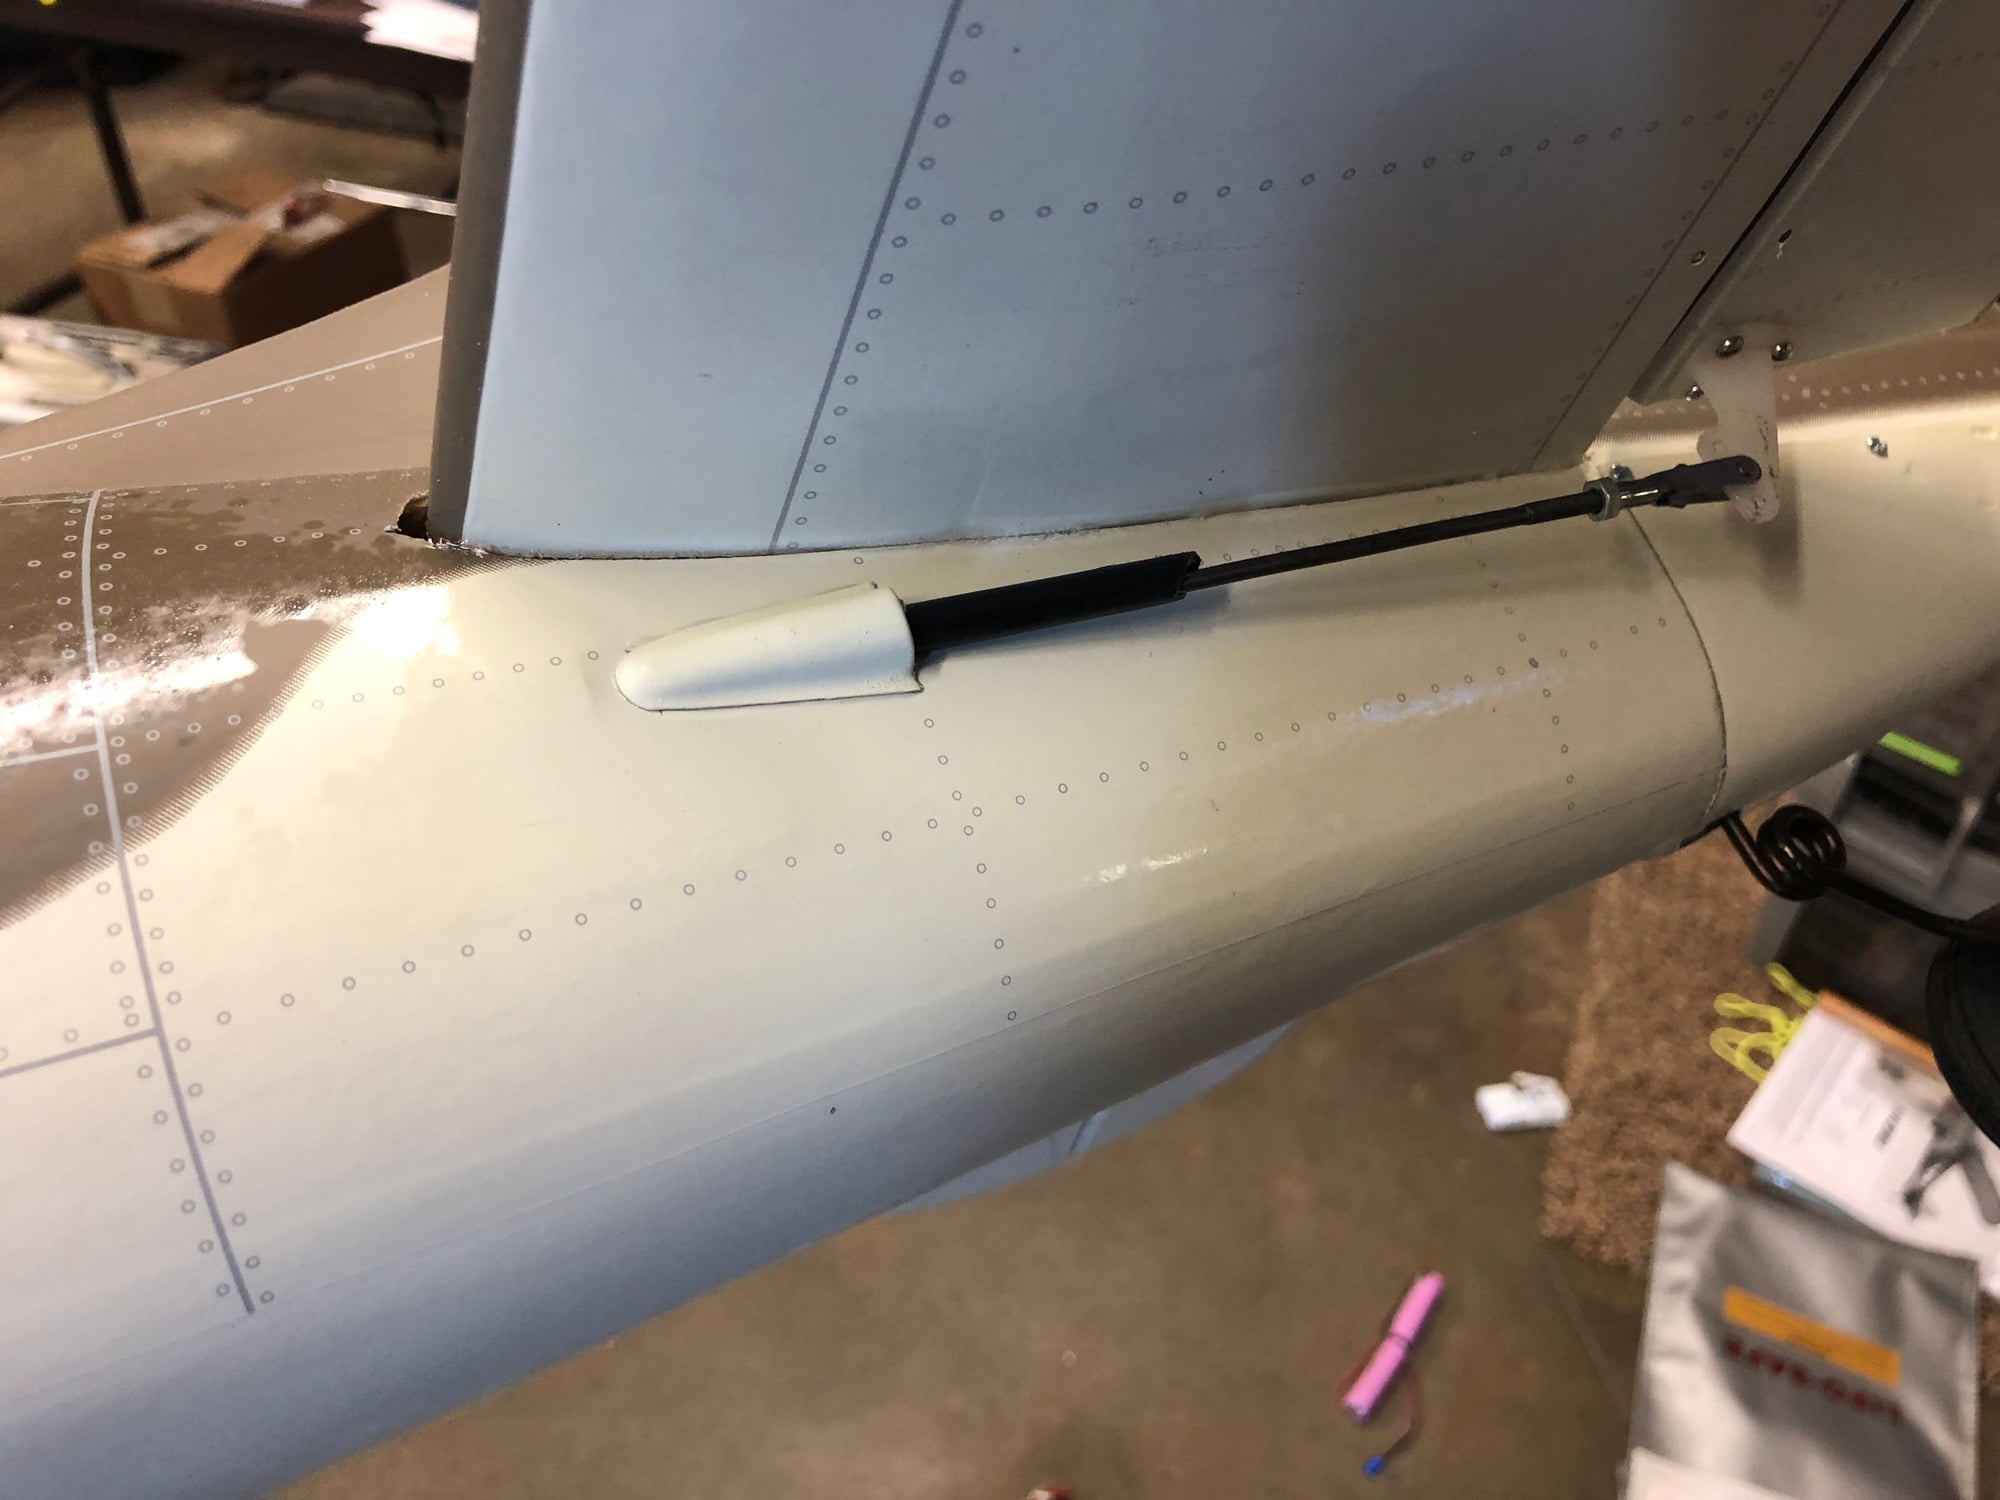
Then the little cap to finish off the tail area
05-20-2019, 09:32 AM
#6
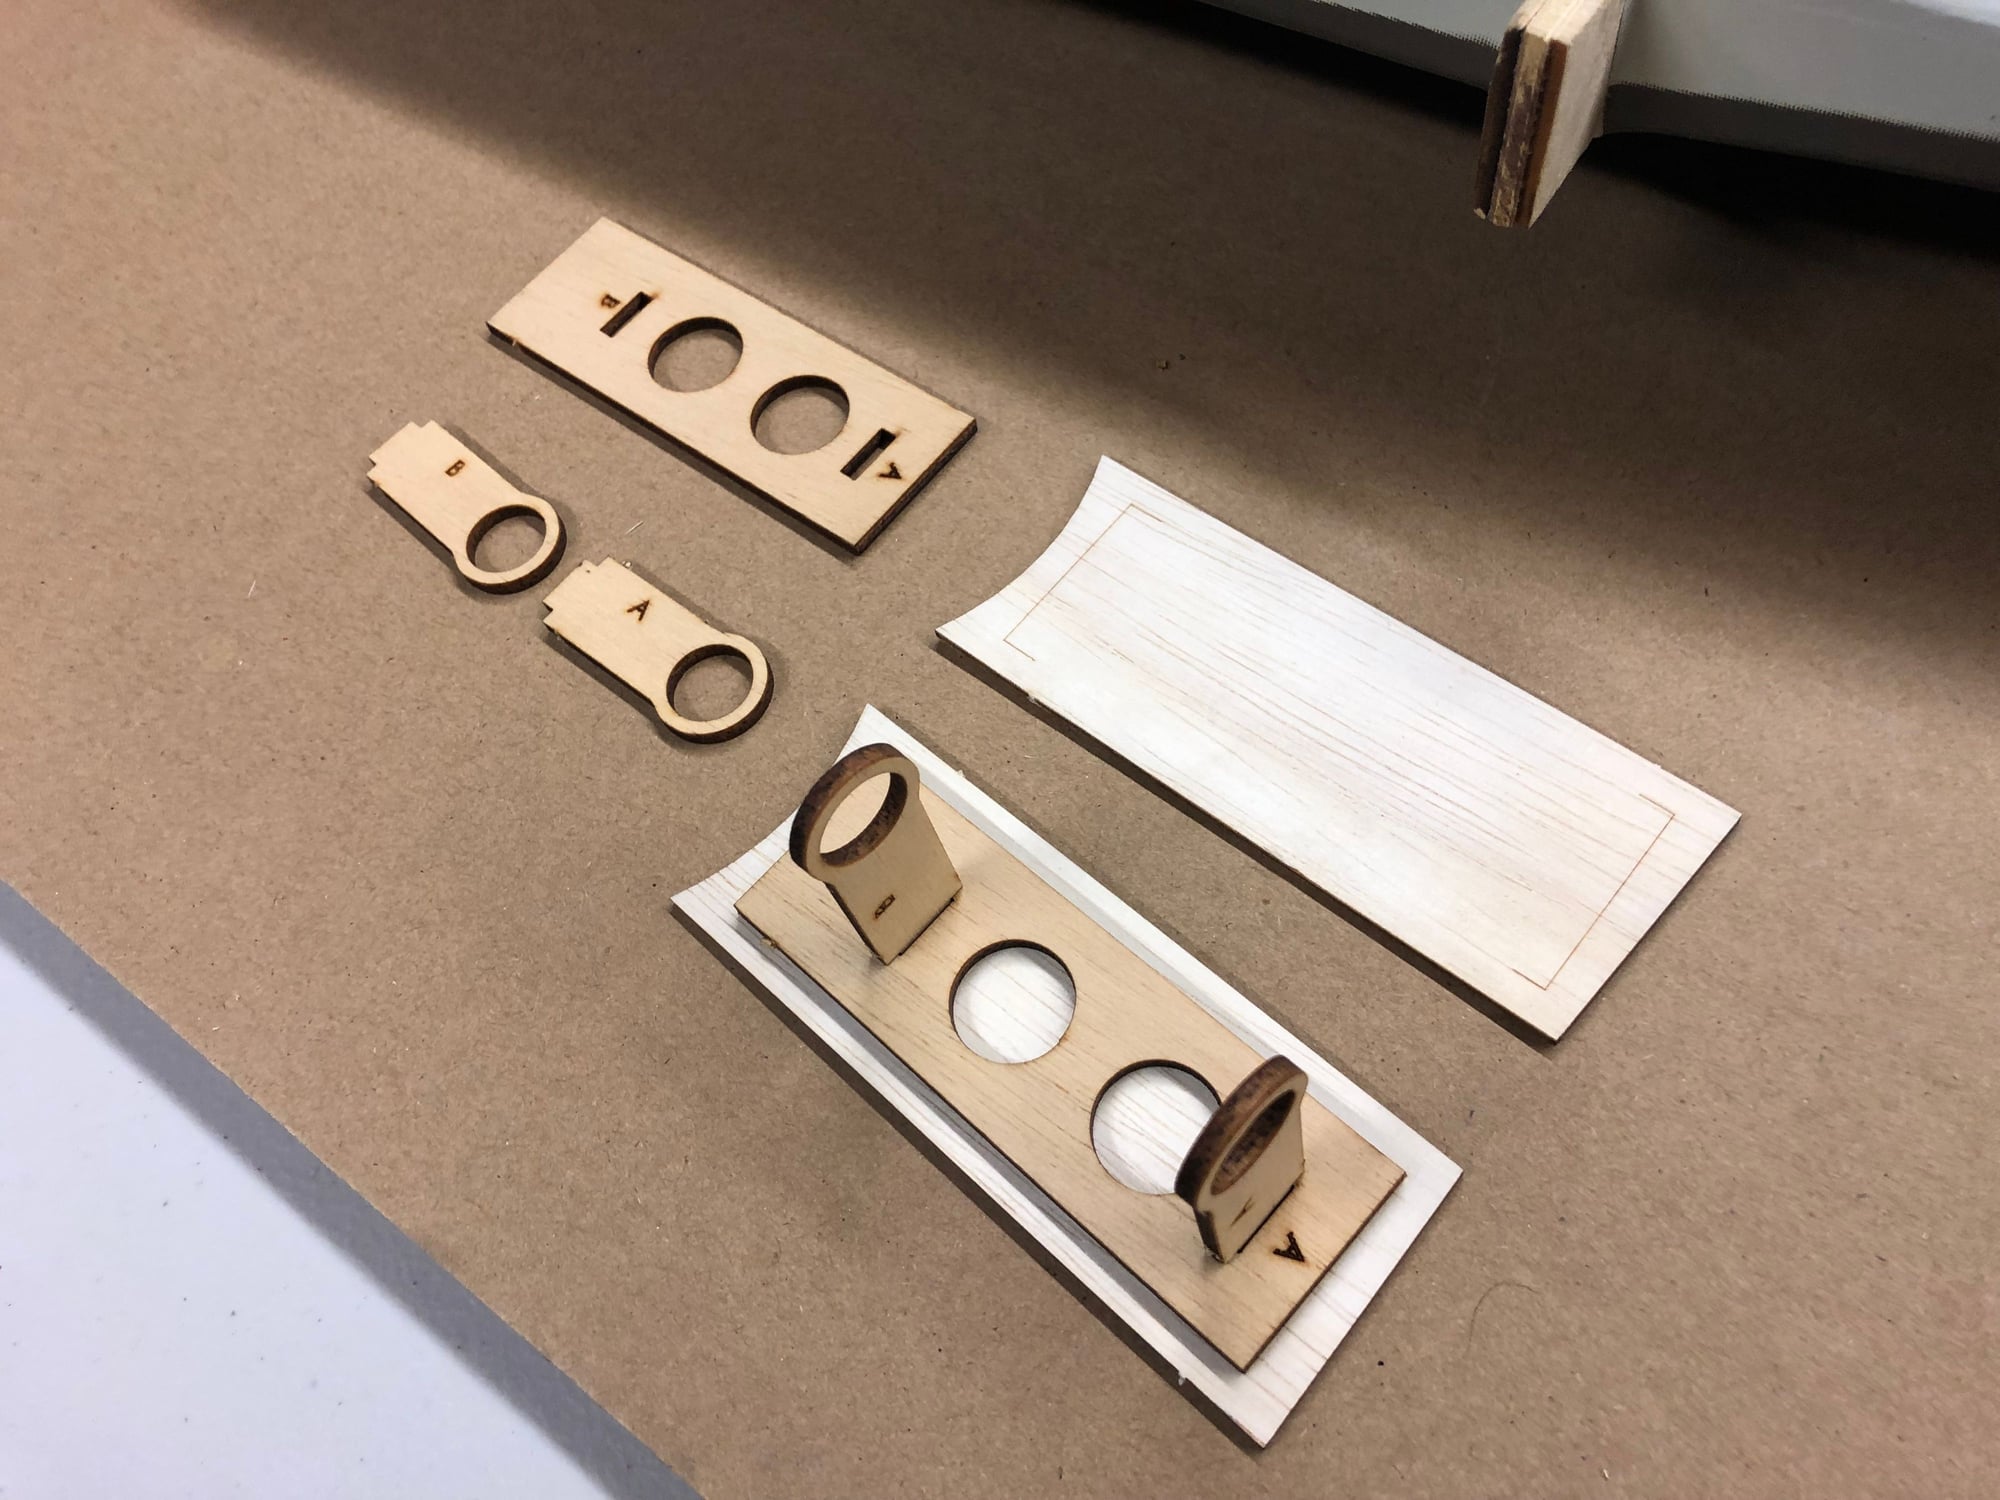
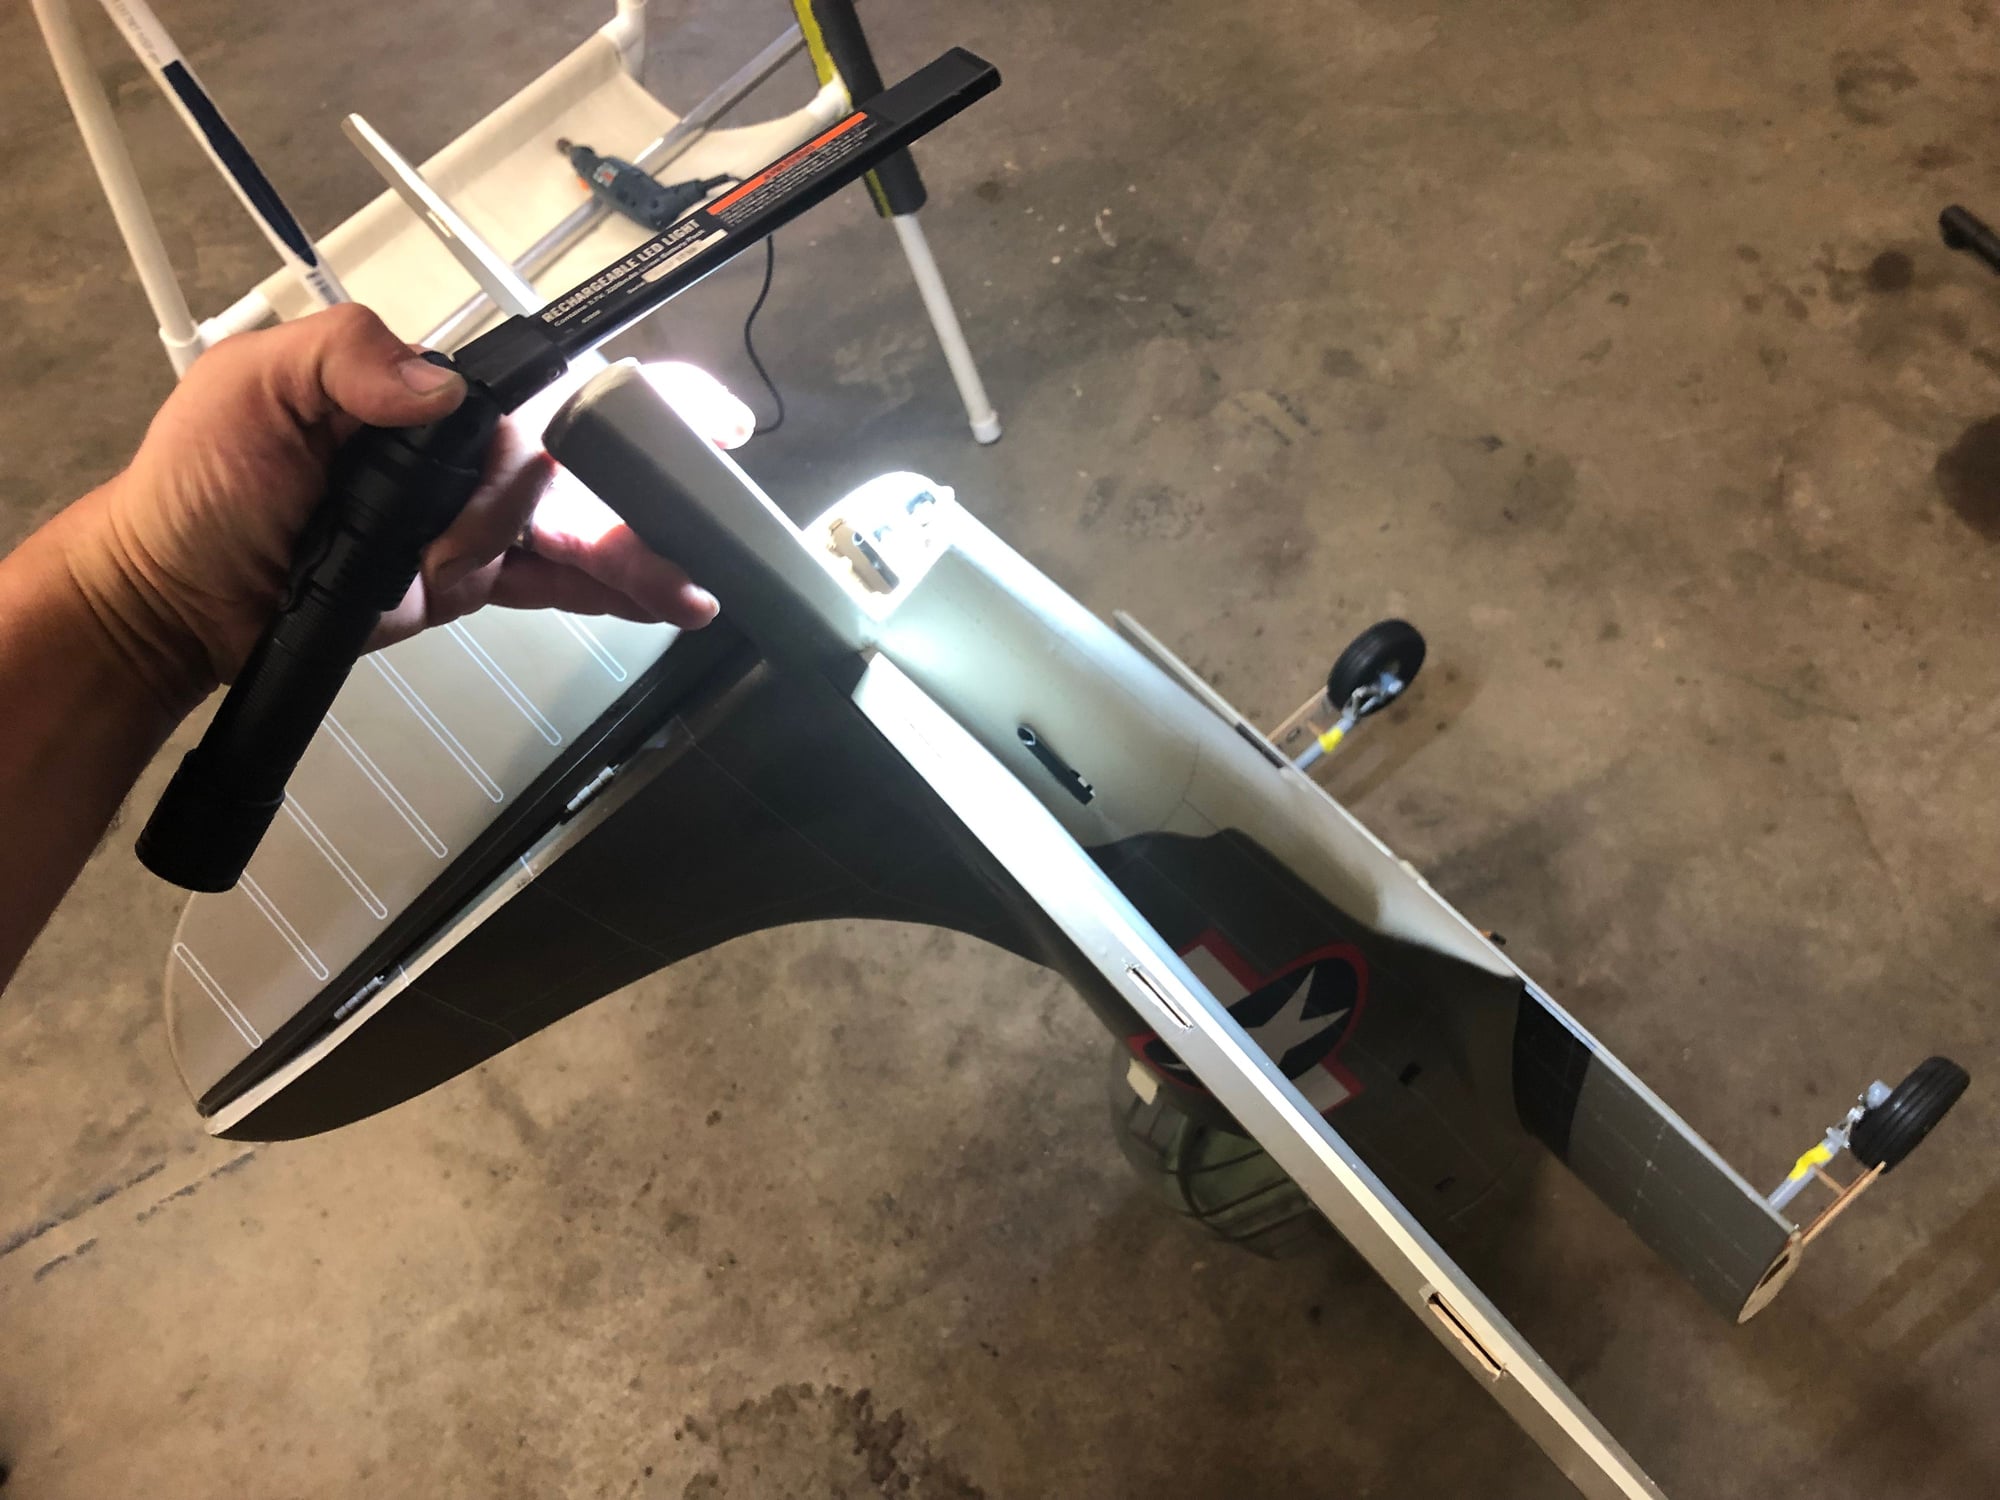
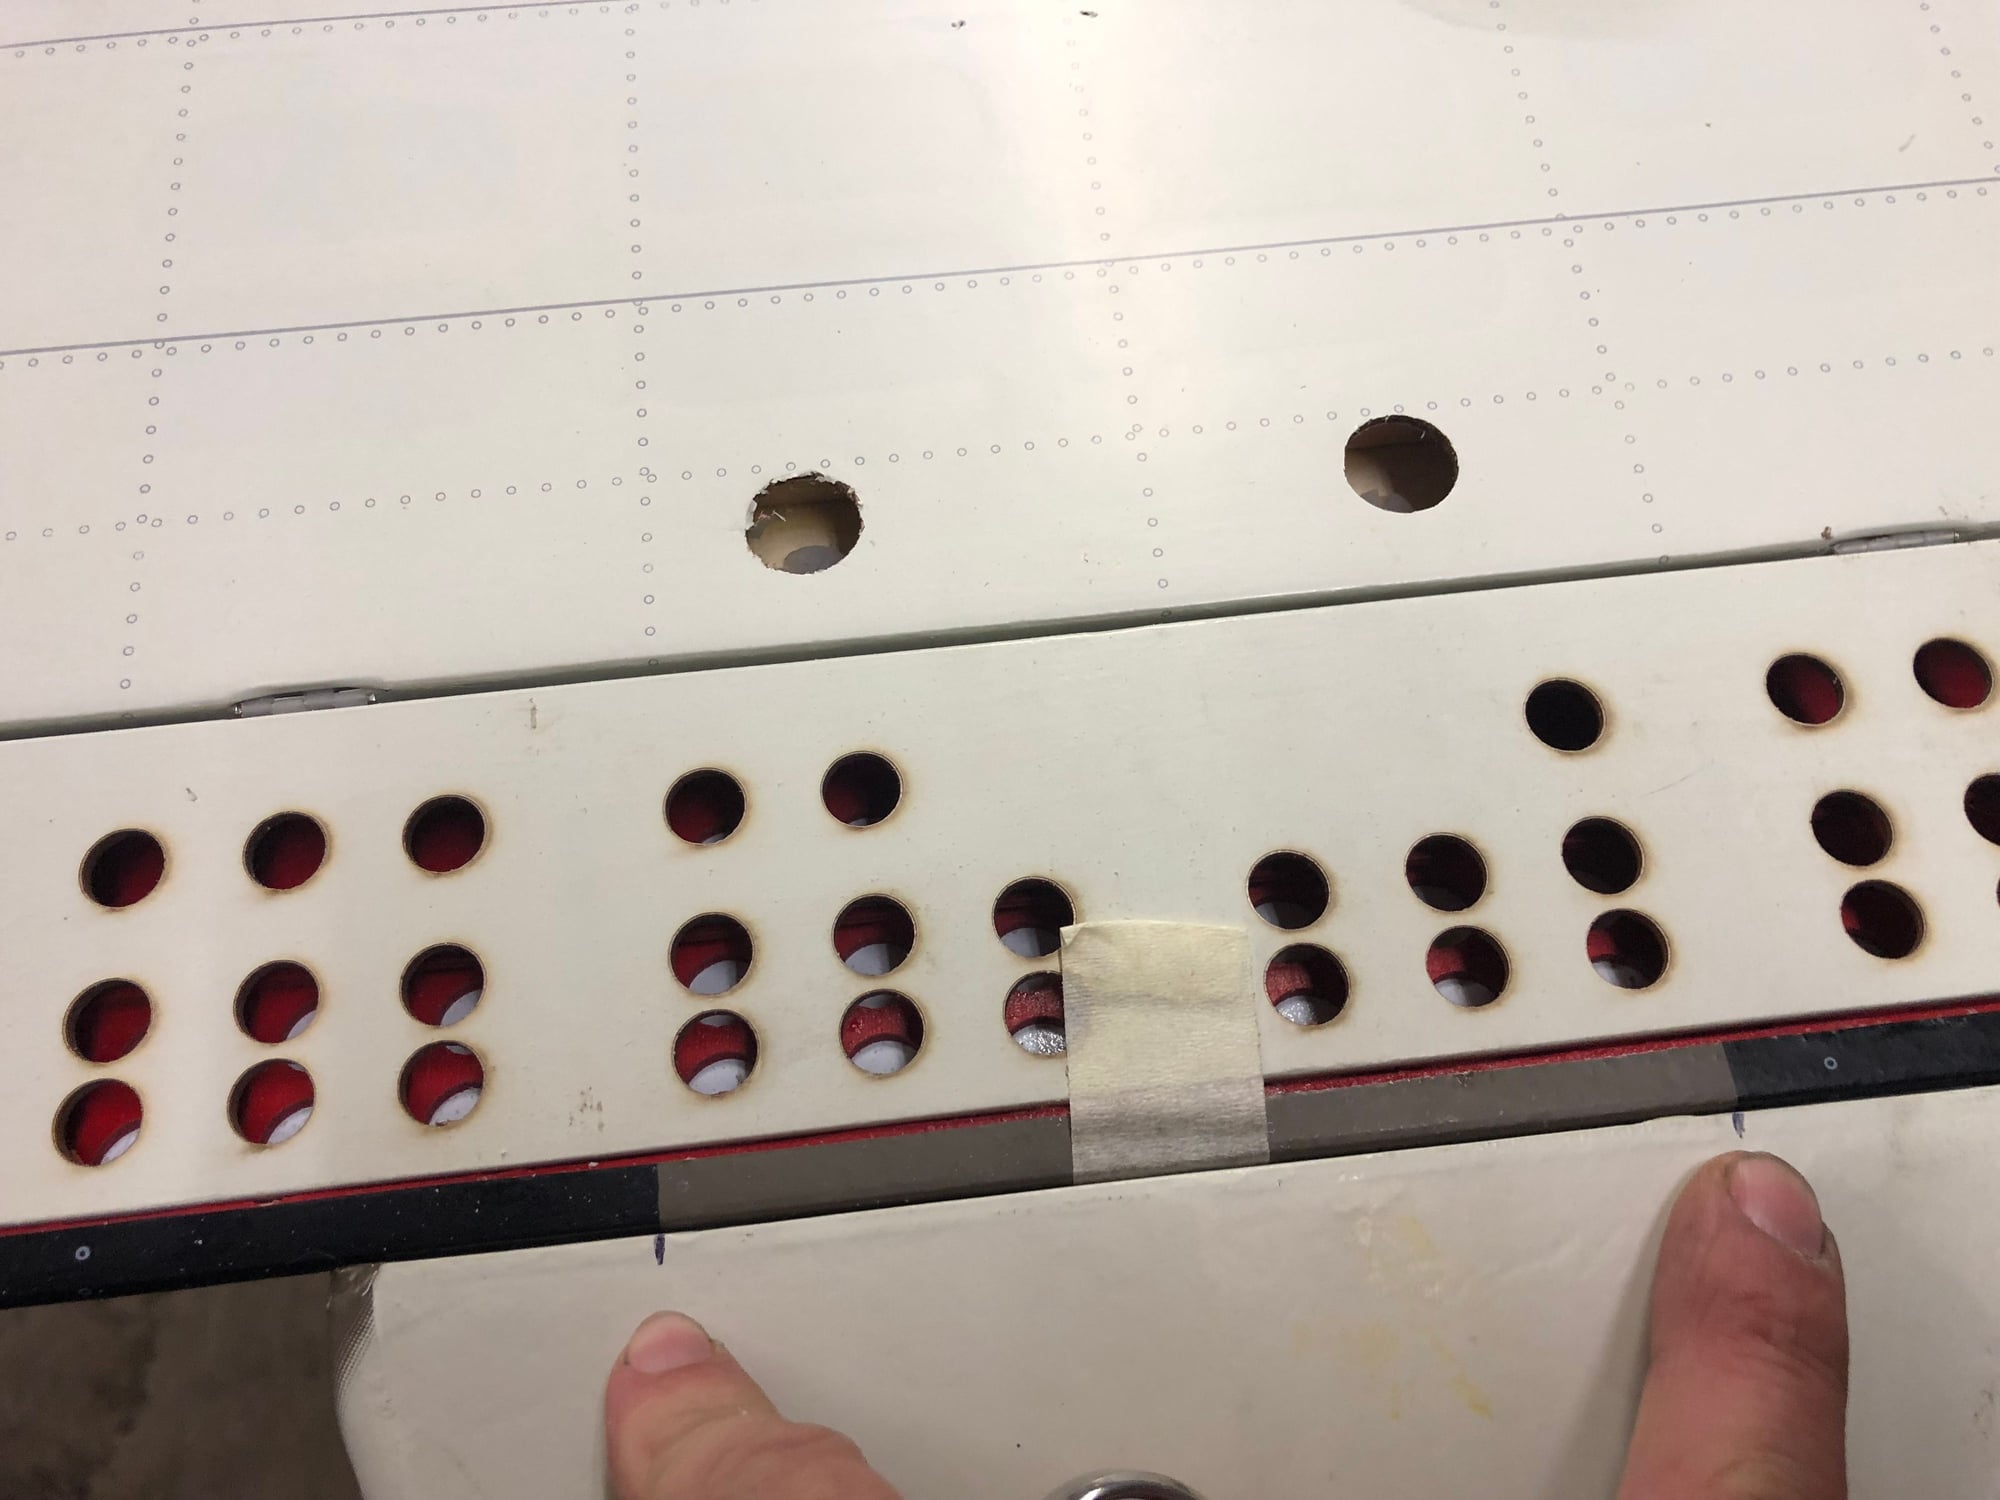
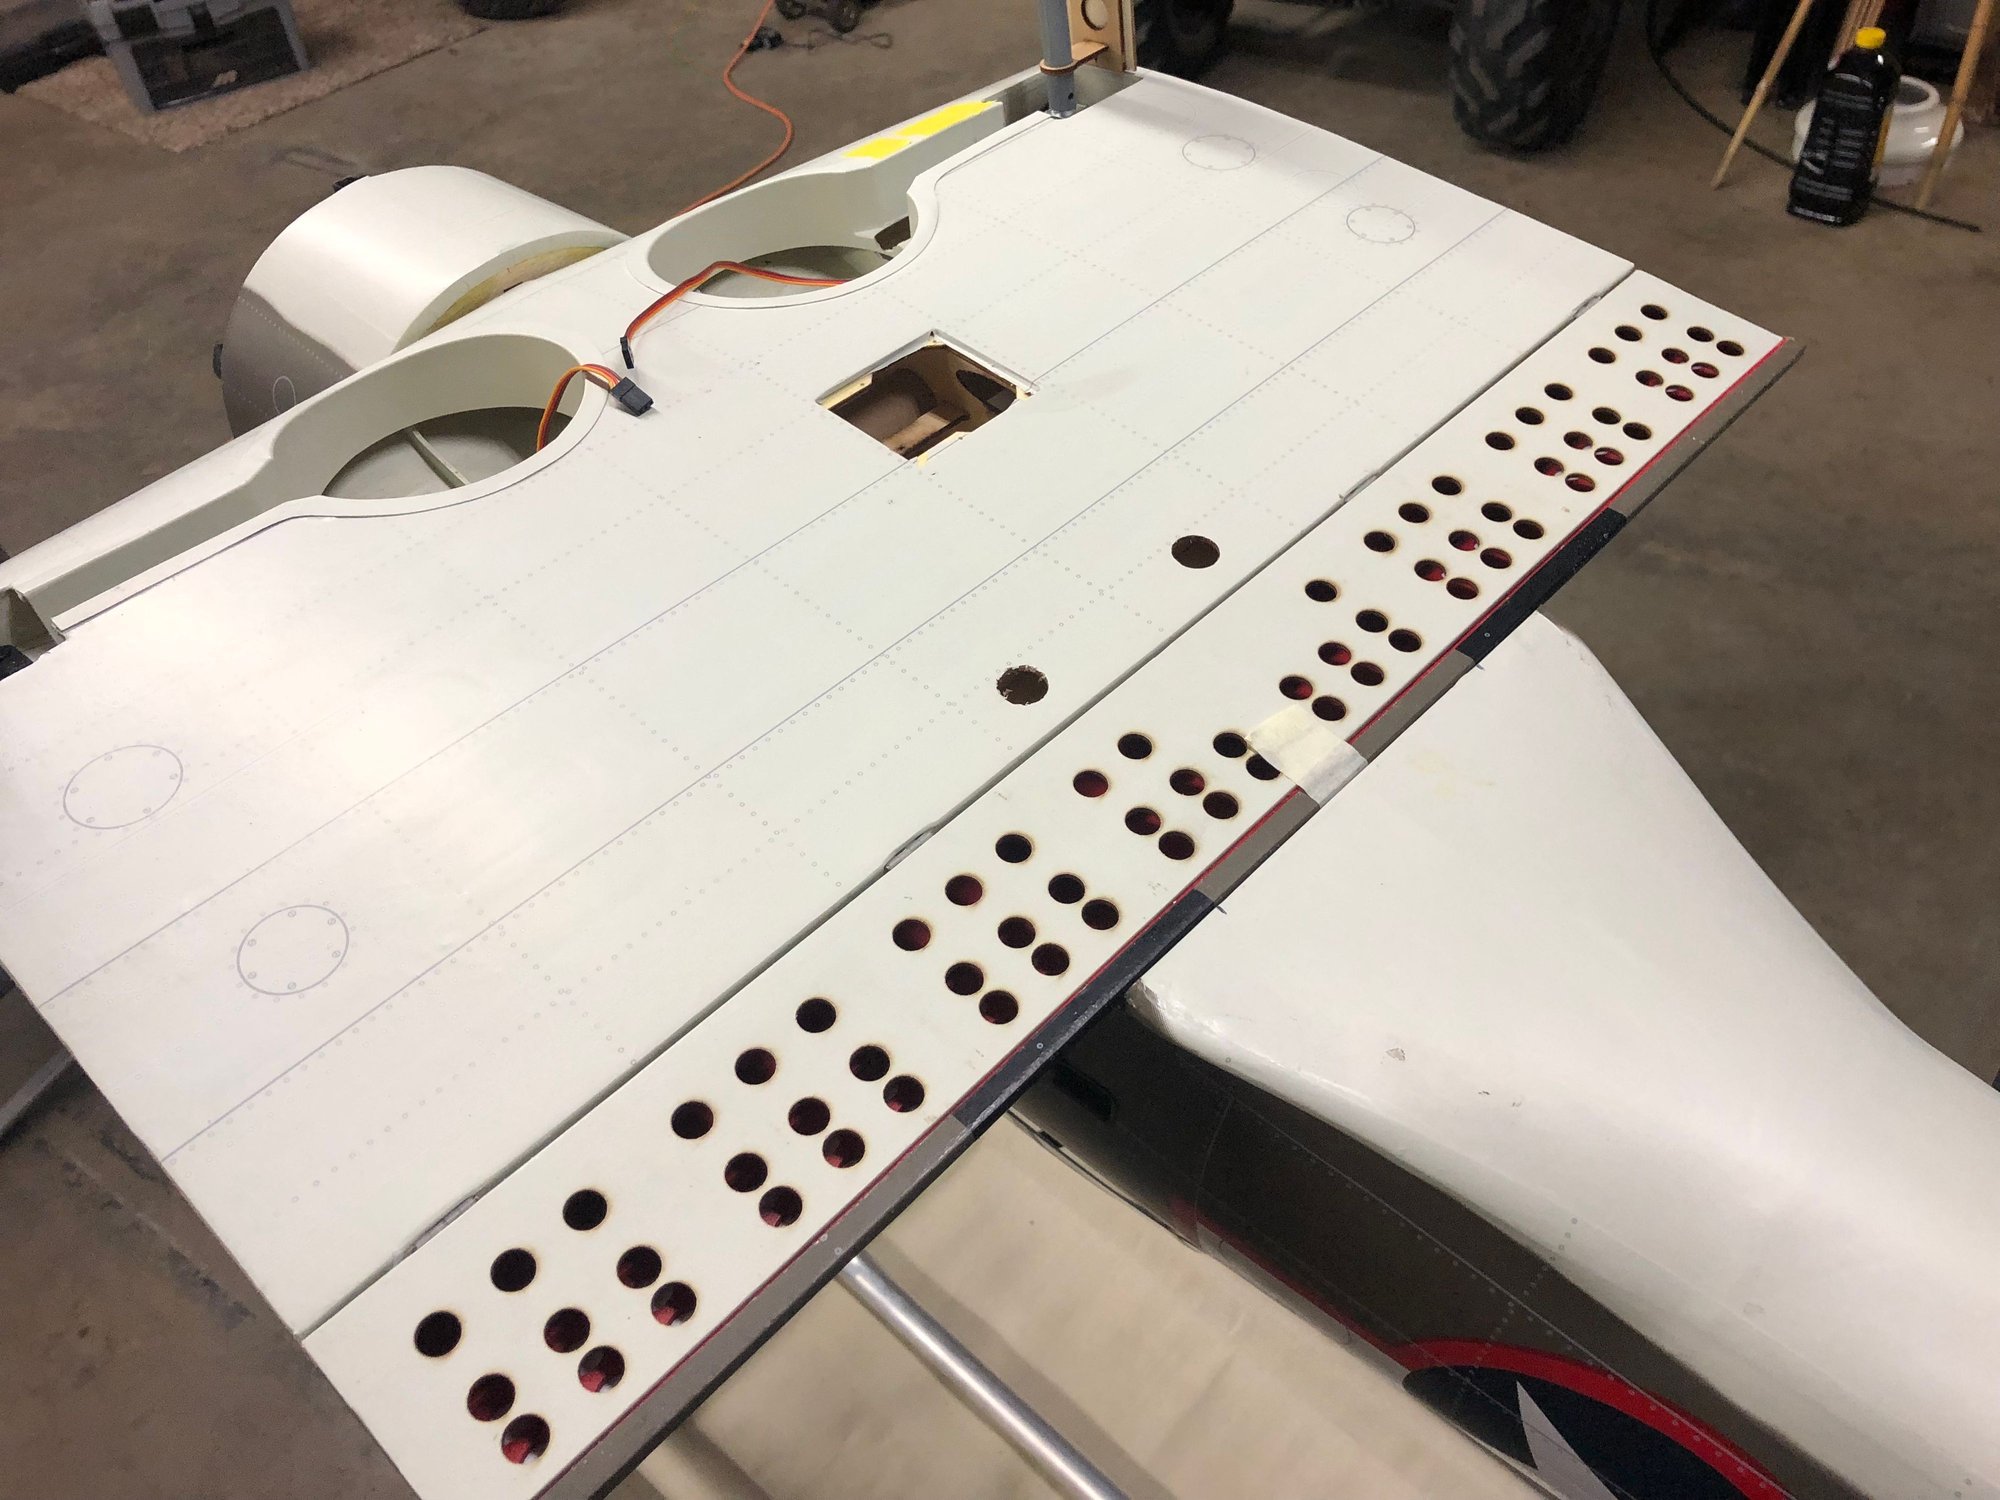
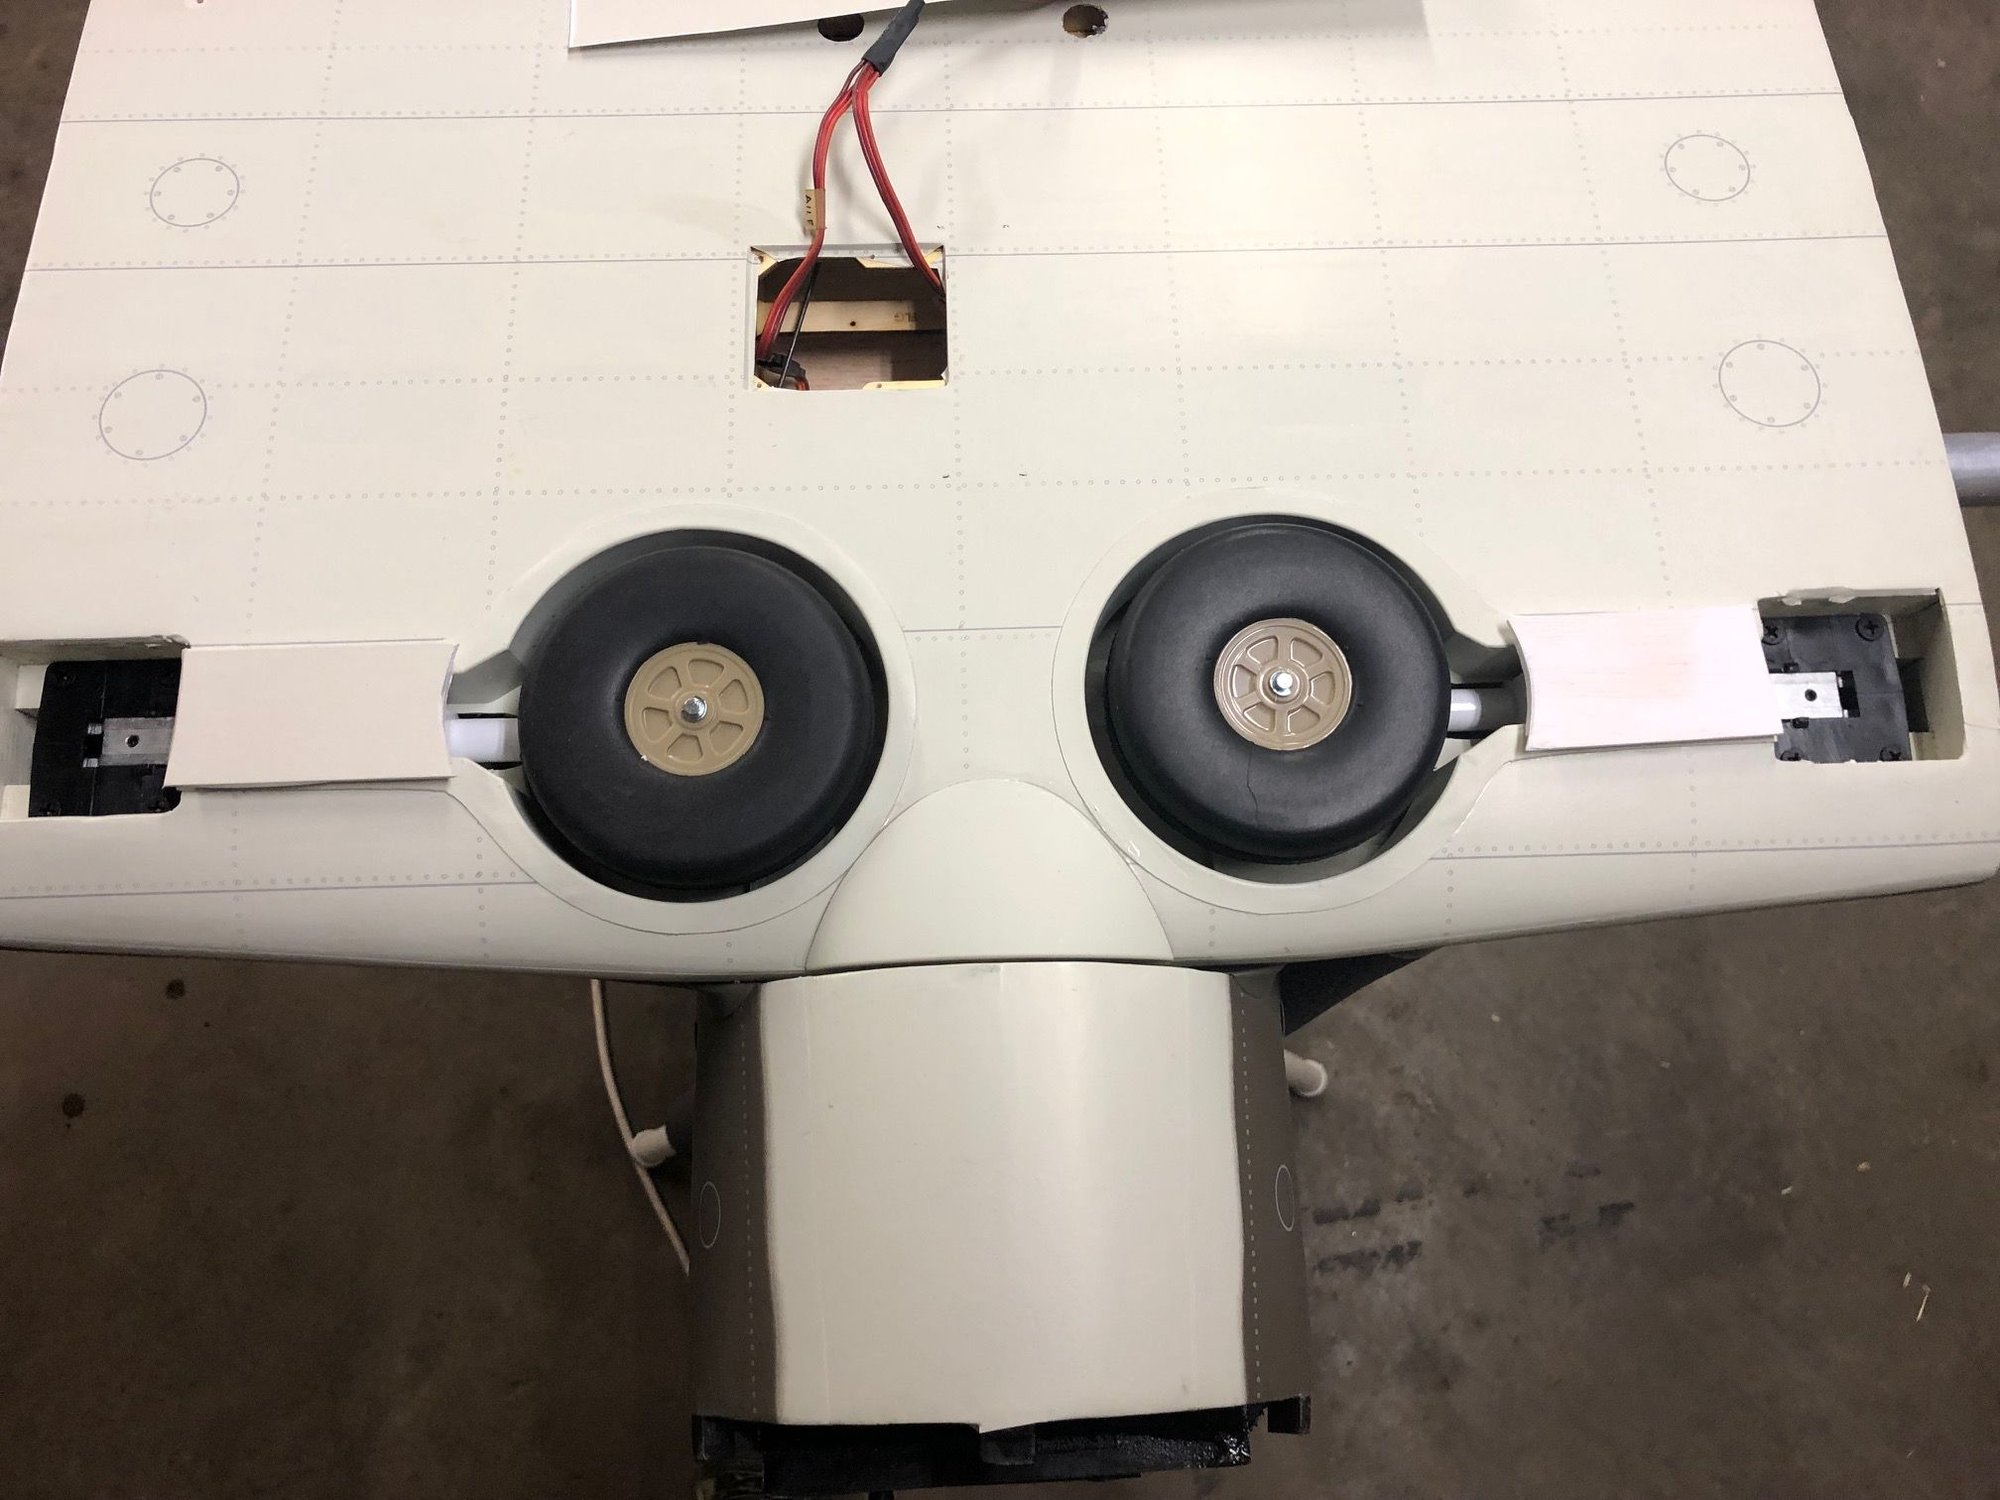
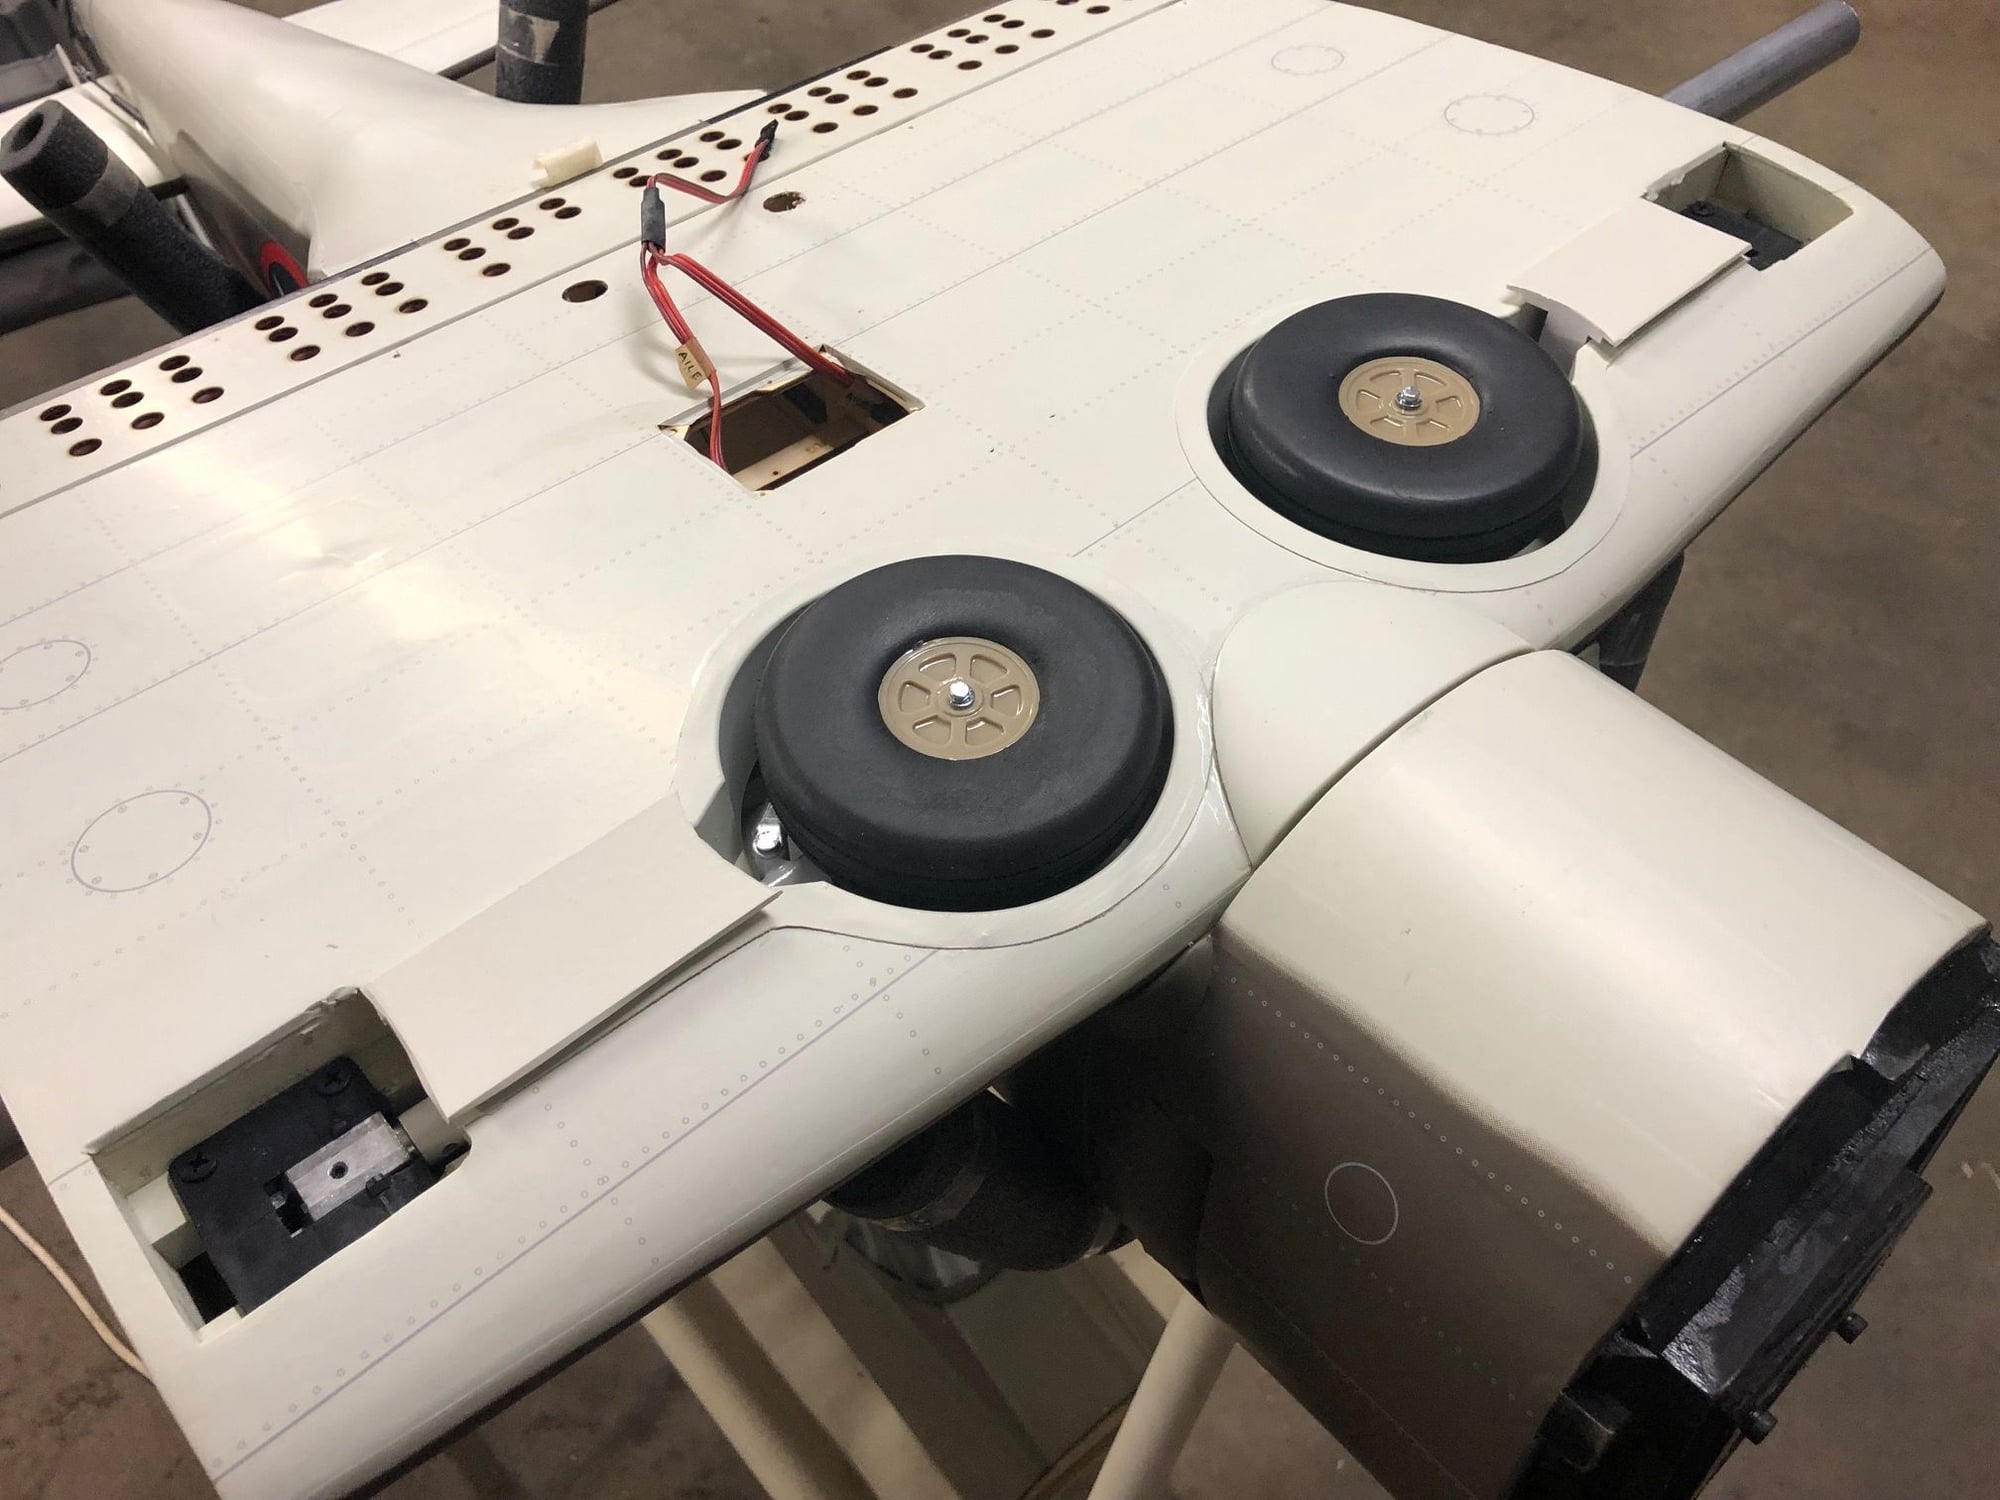
Retracts and doors. With the way the gear is on this, you have two options for the 'doors', one is to space them out beyond the tires so they dont run when the suspension works, or like I chose to do, get them to fit the wing right and trim to clear the tires when compressed.
Also you should file where the little fillets are under the retracts, once you screw the retracts in place once, youll see where they go.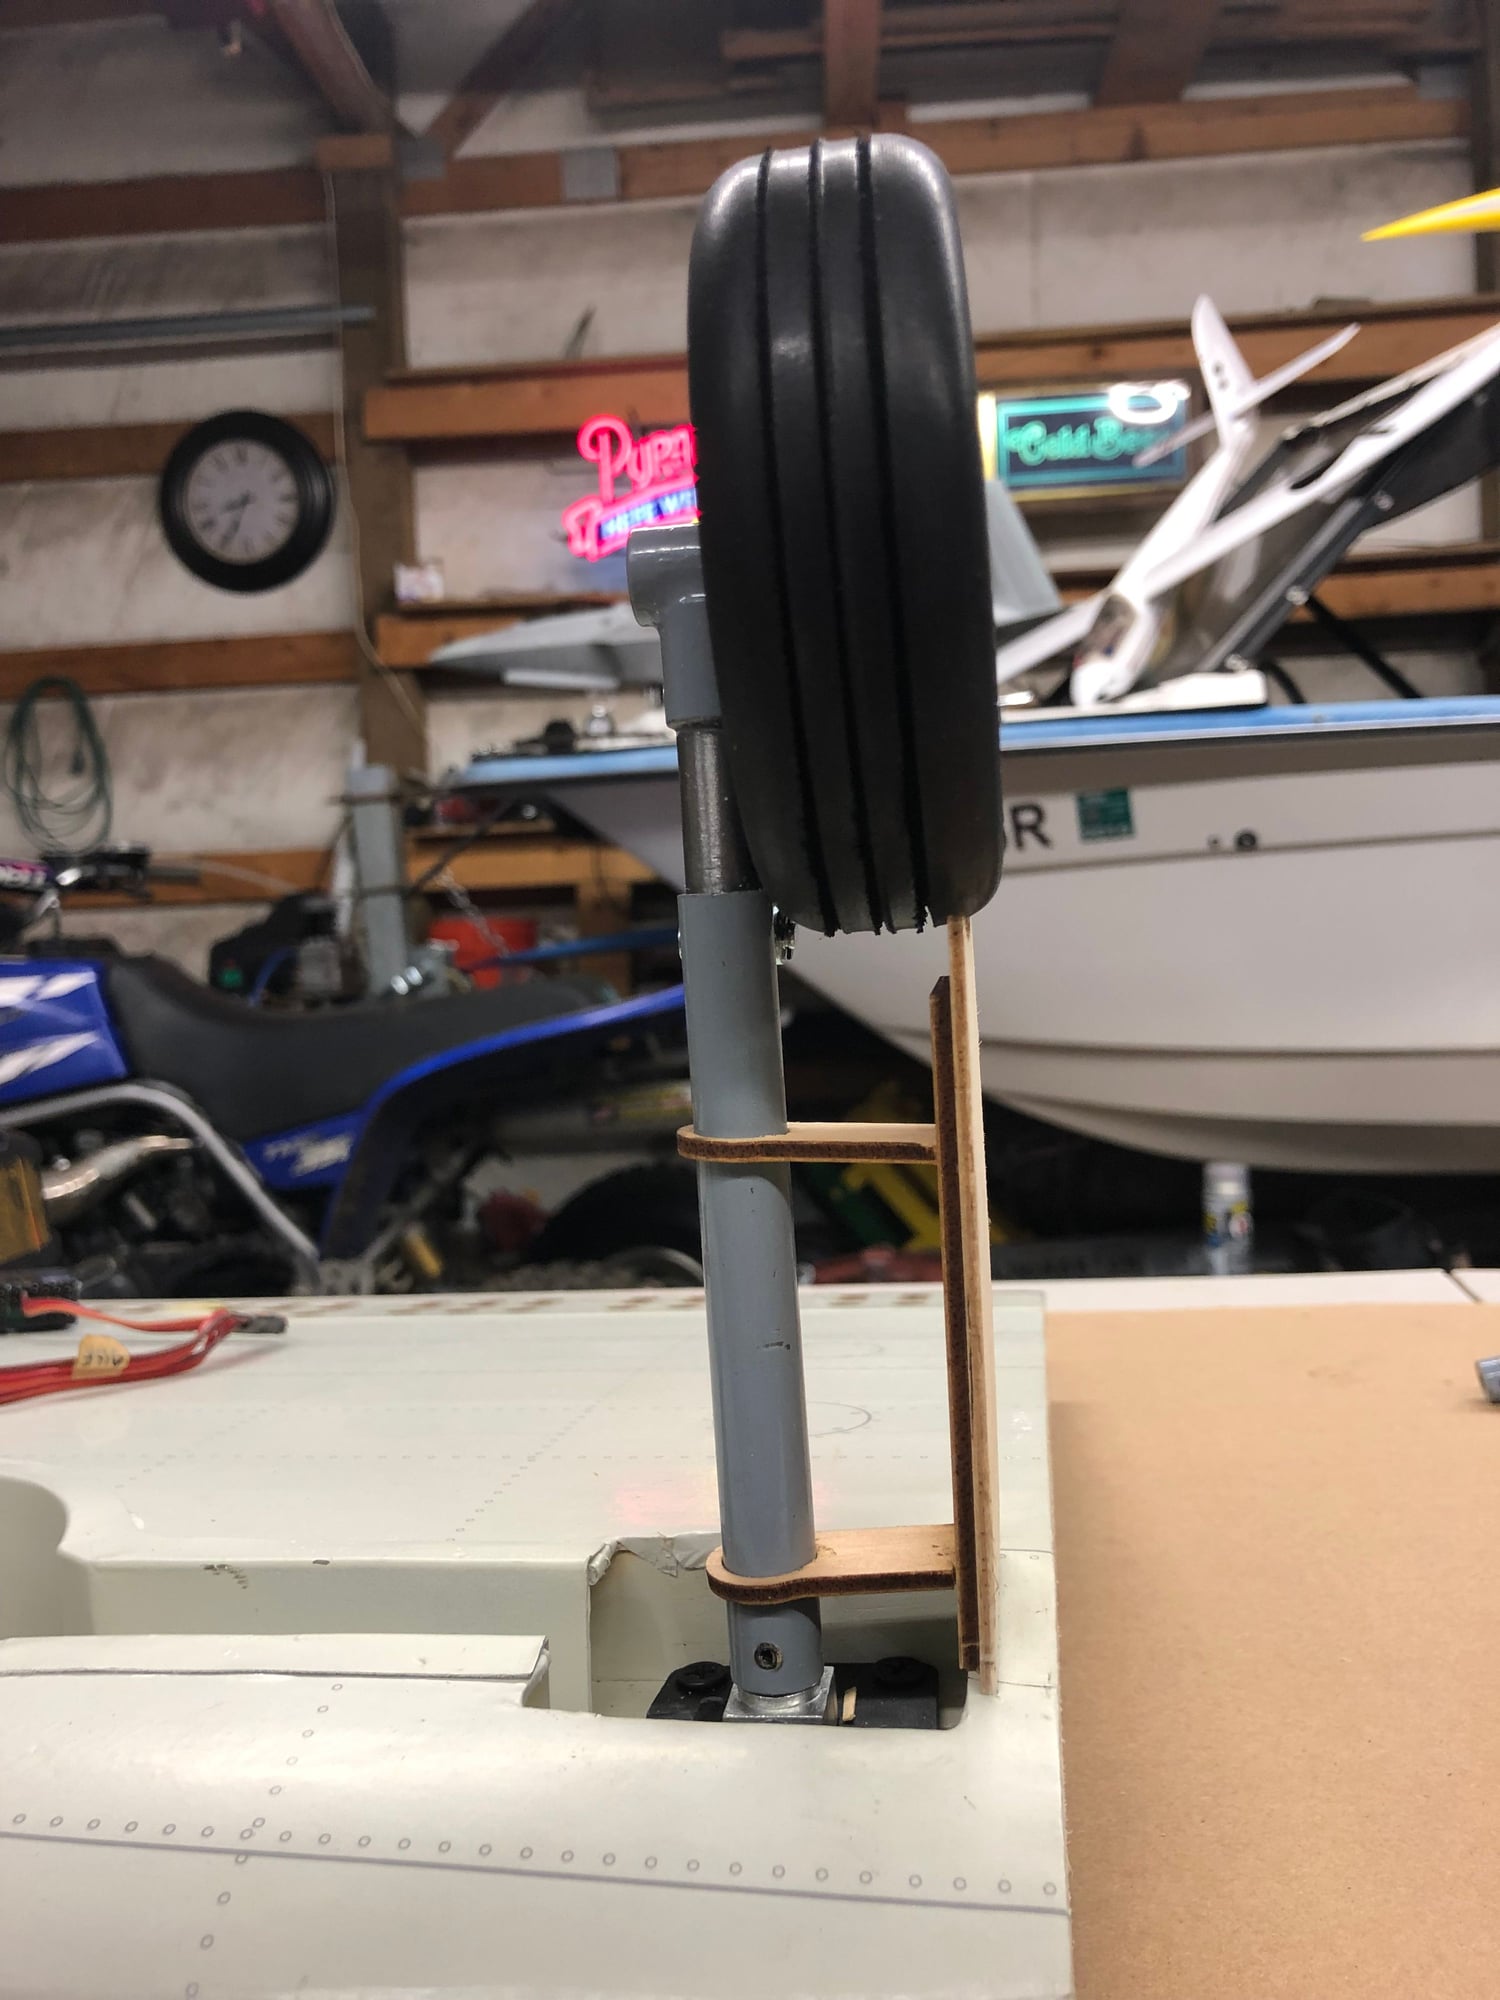

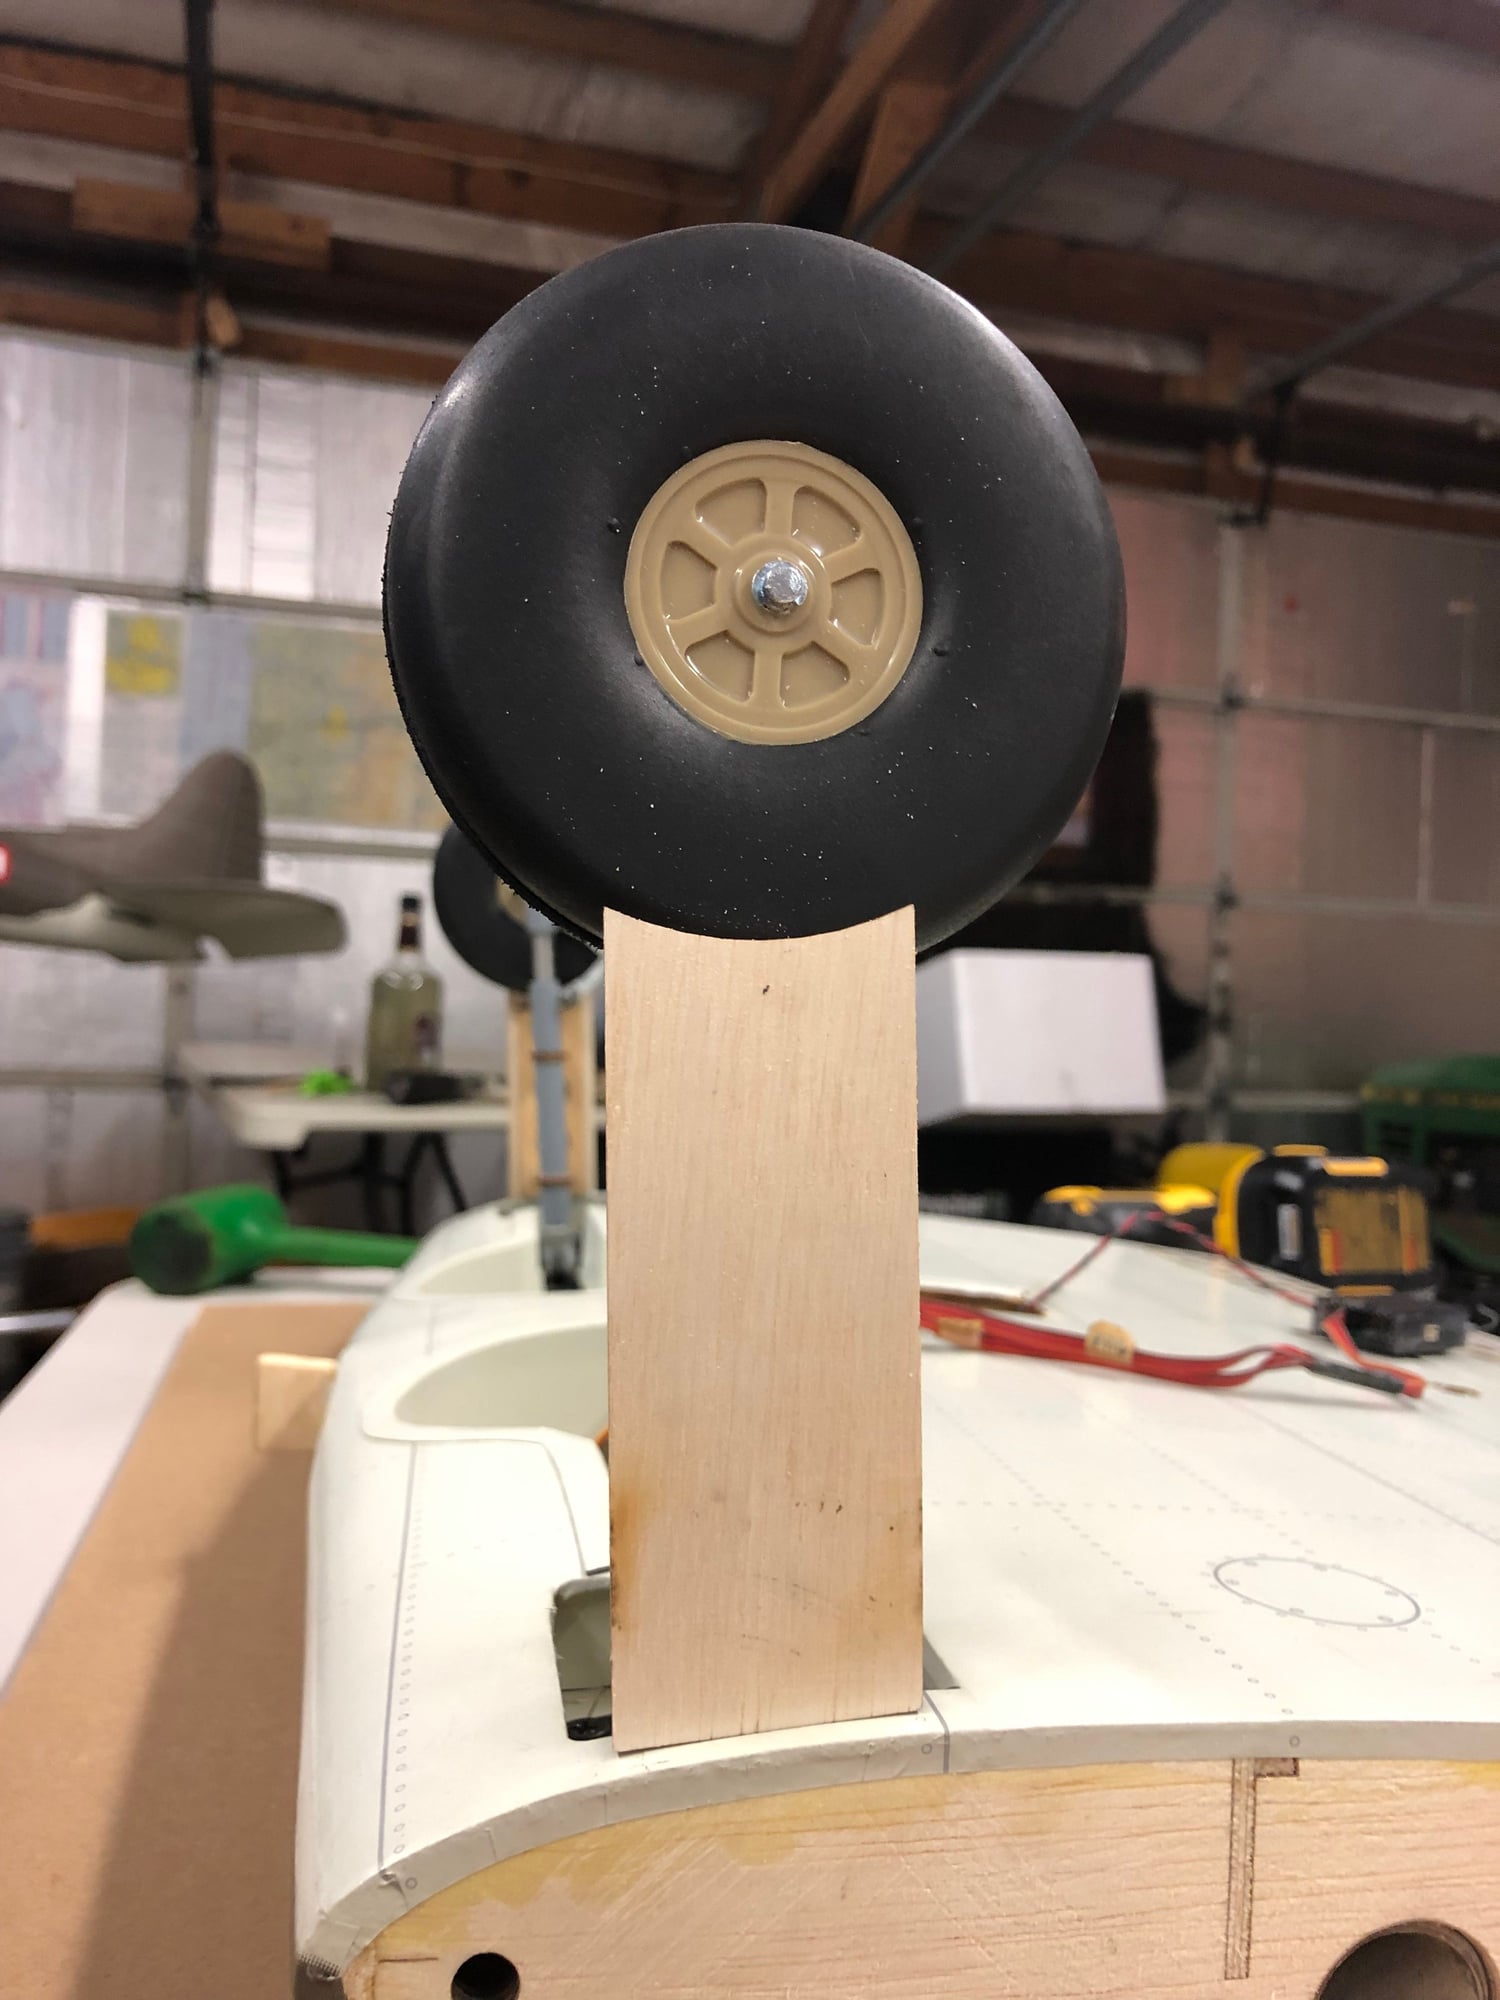
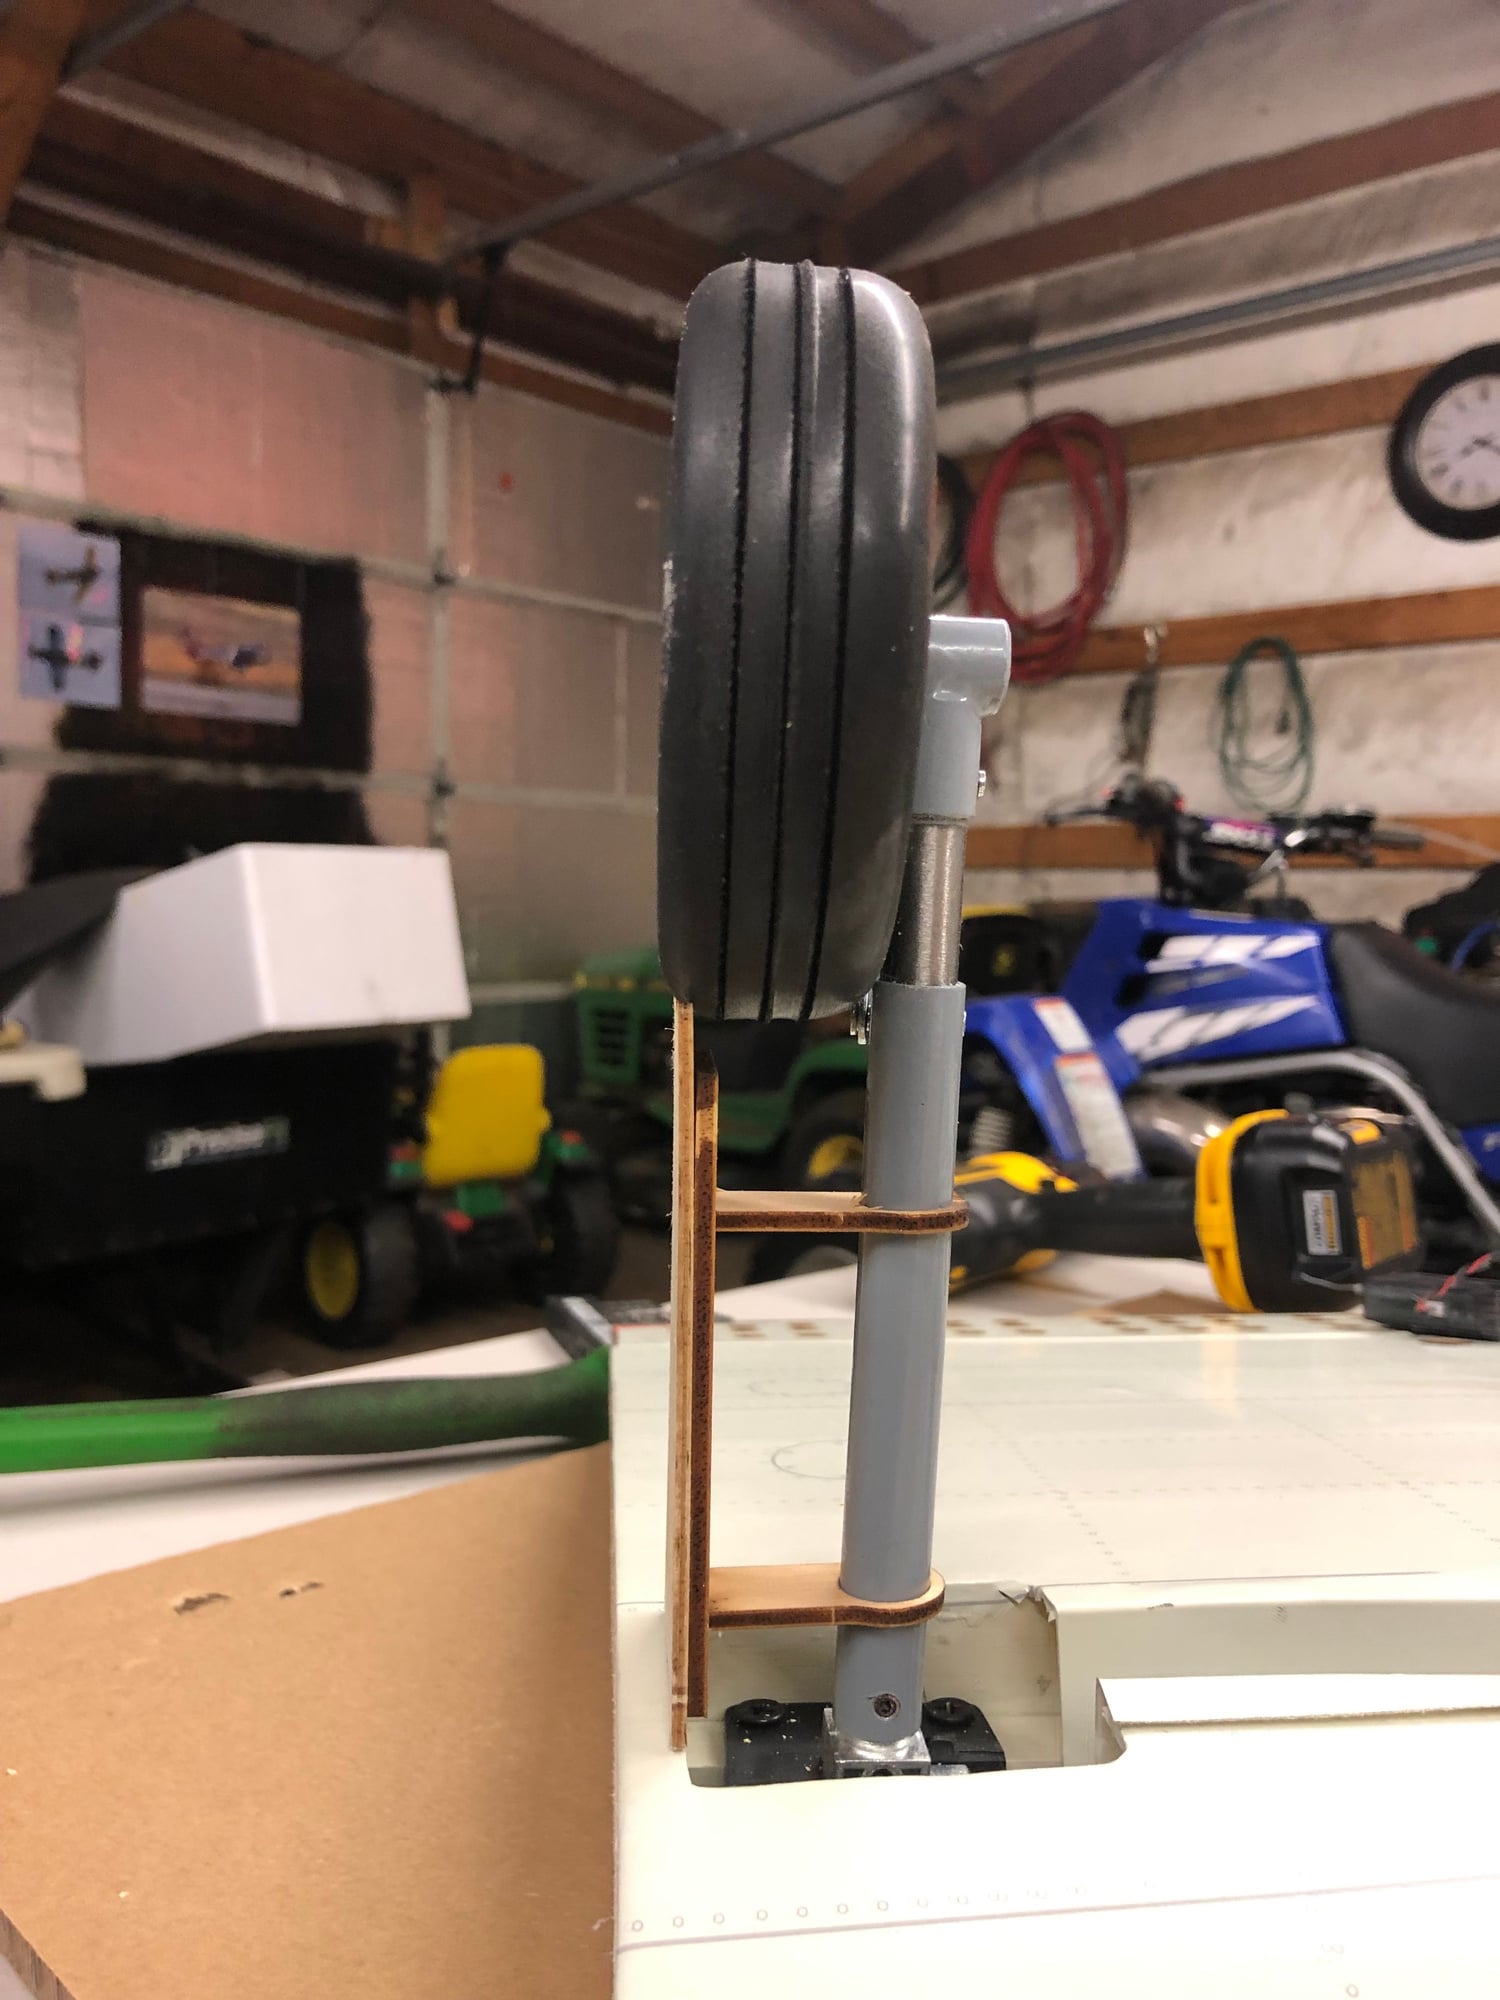
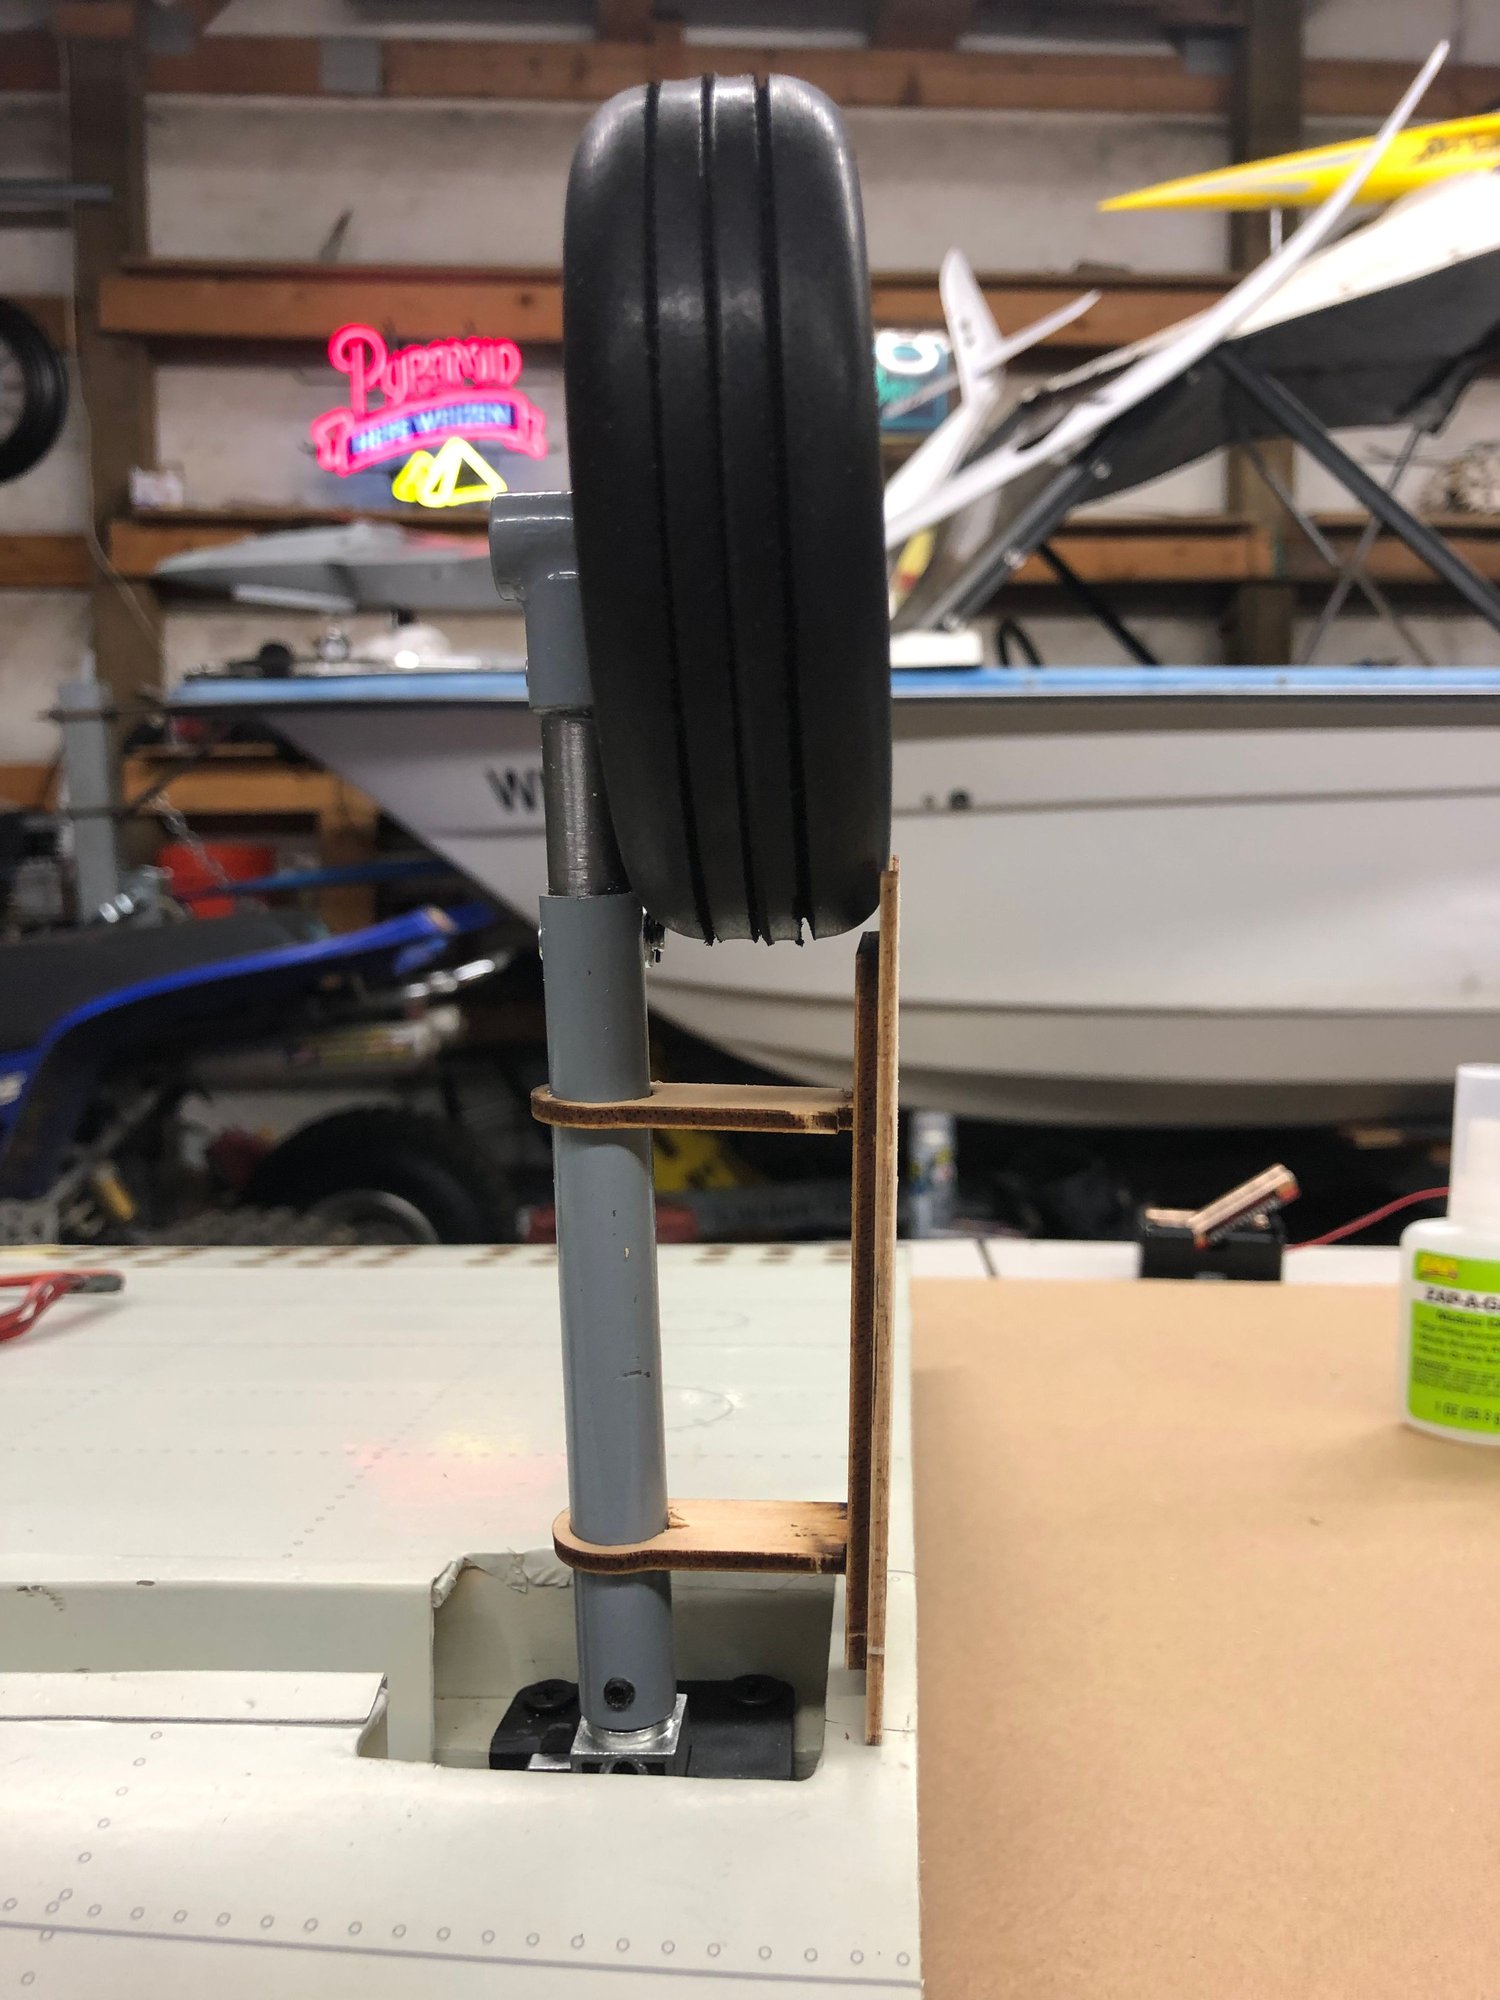

Also you should file where the little fillets are under the retracts, once you screw the retracts in place once, youll see where they go.
06-06-2019, 07:49 AM
#7
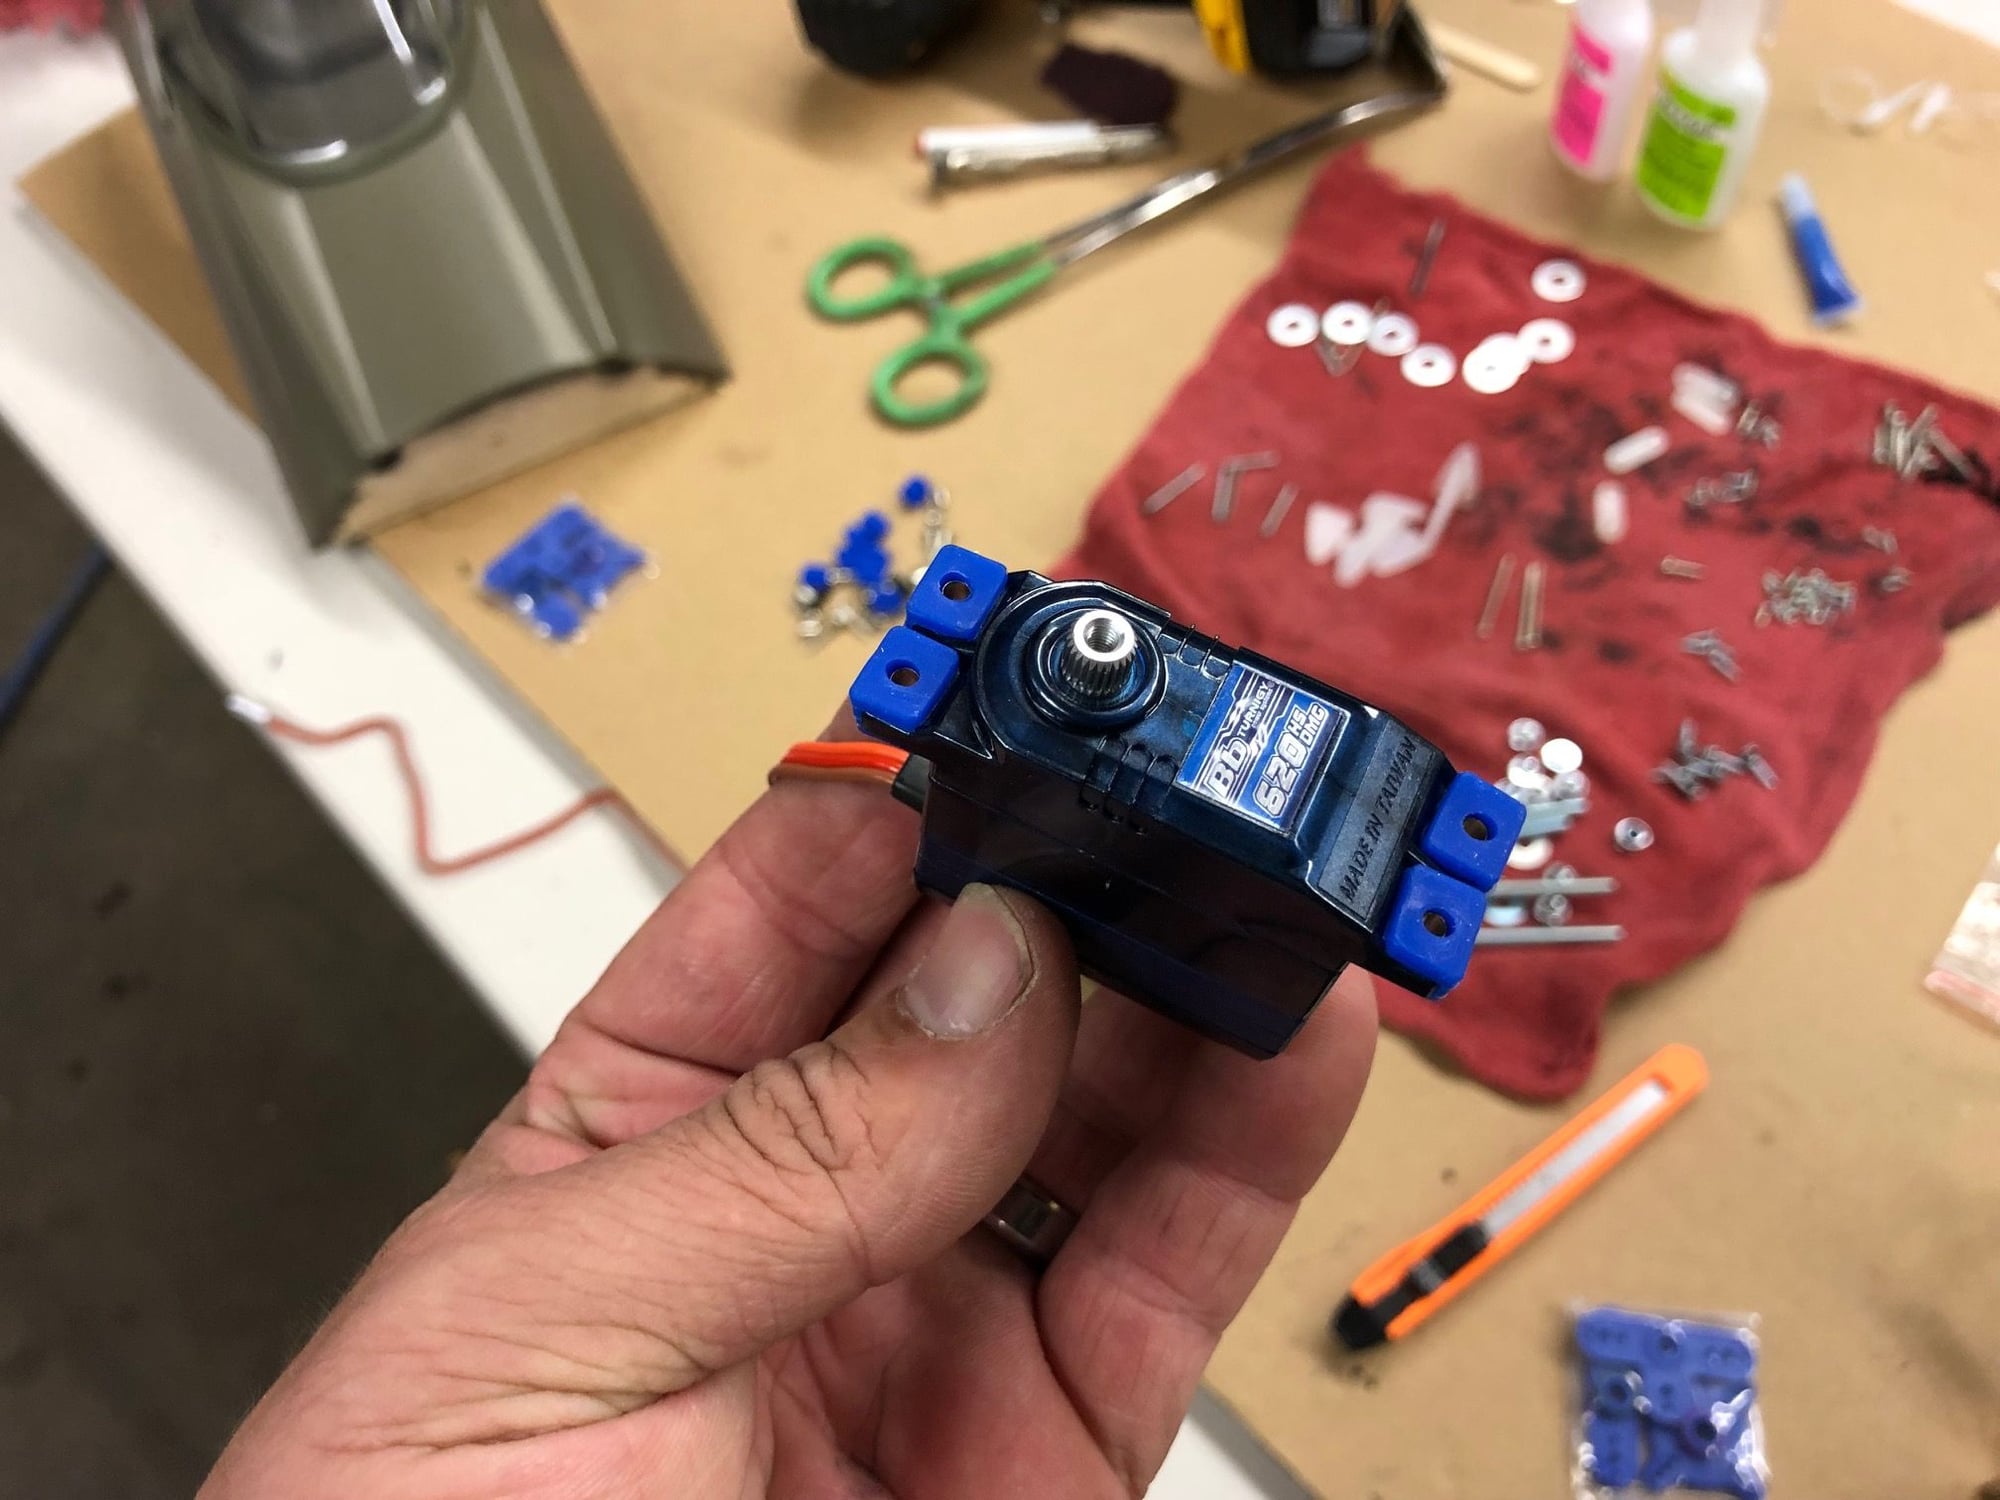
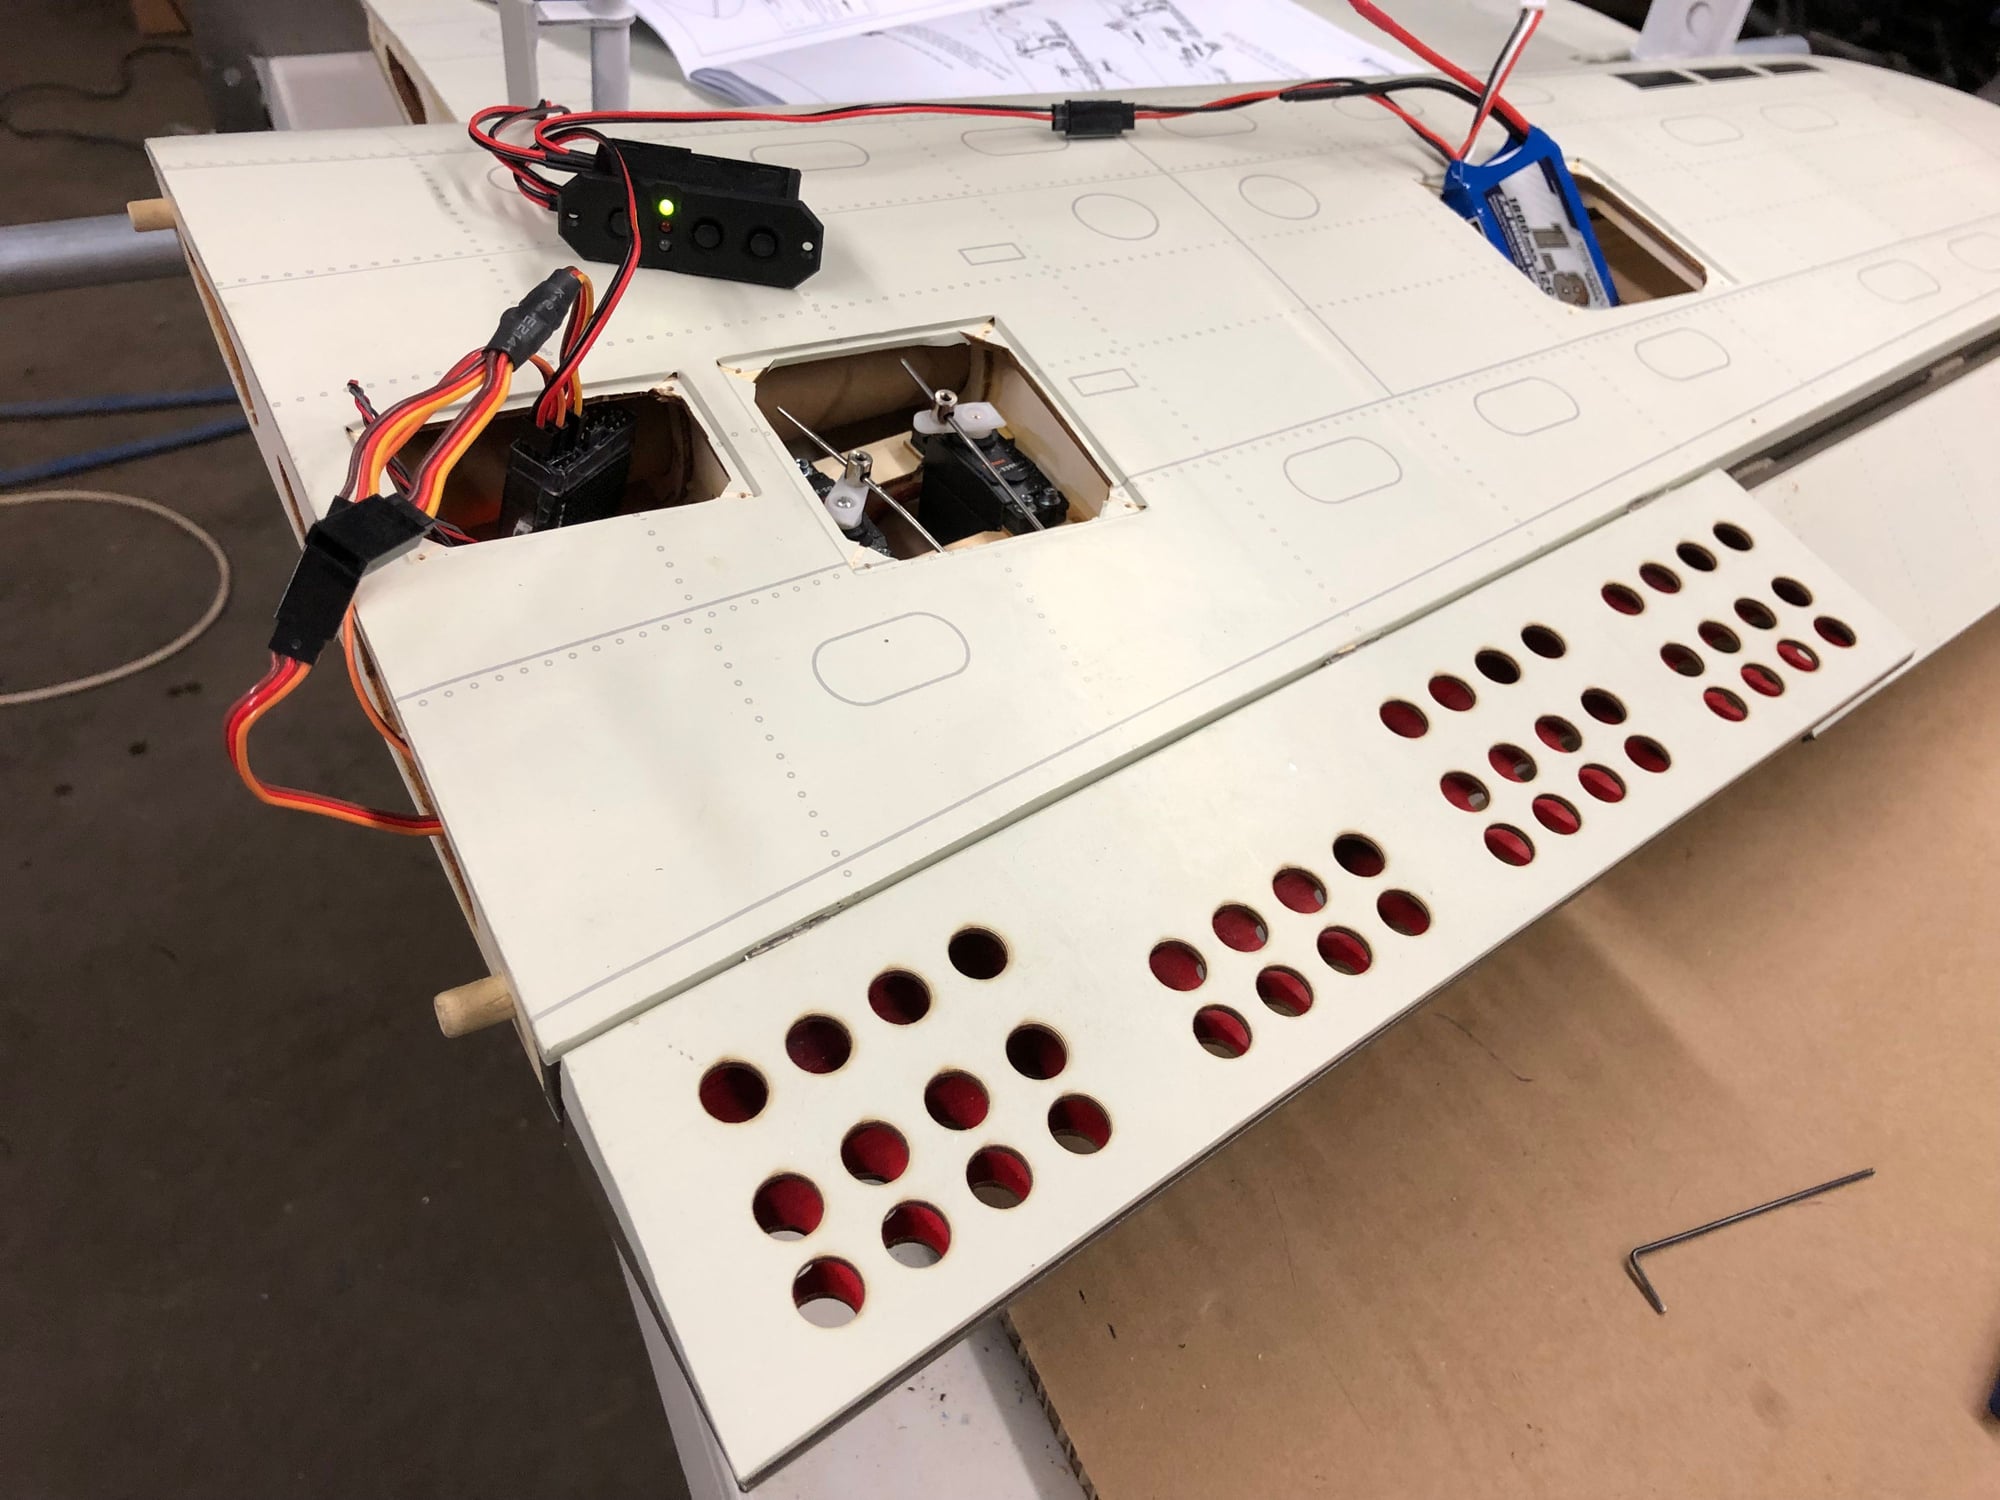
Back to work! Servos finally arrived too!
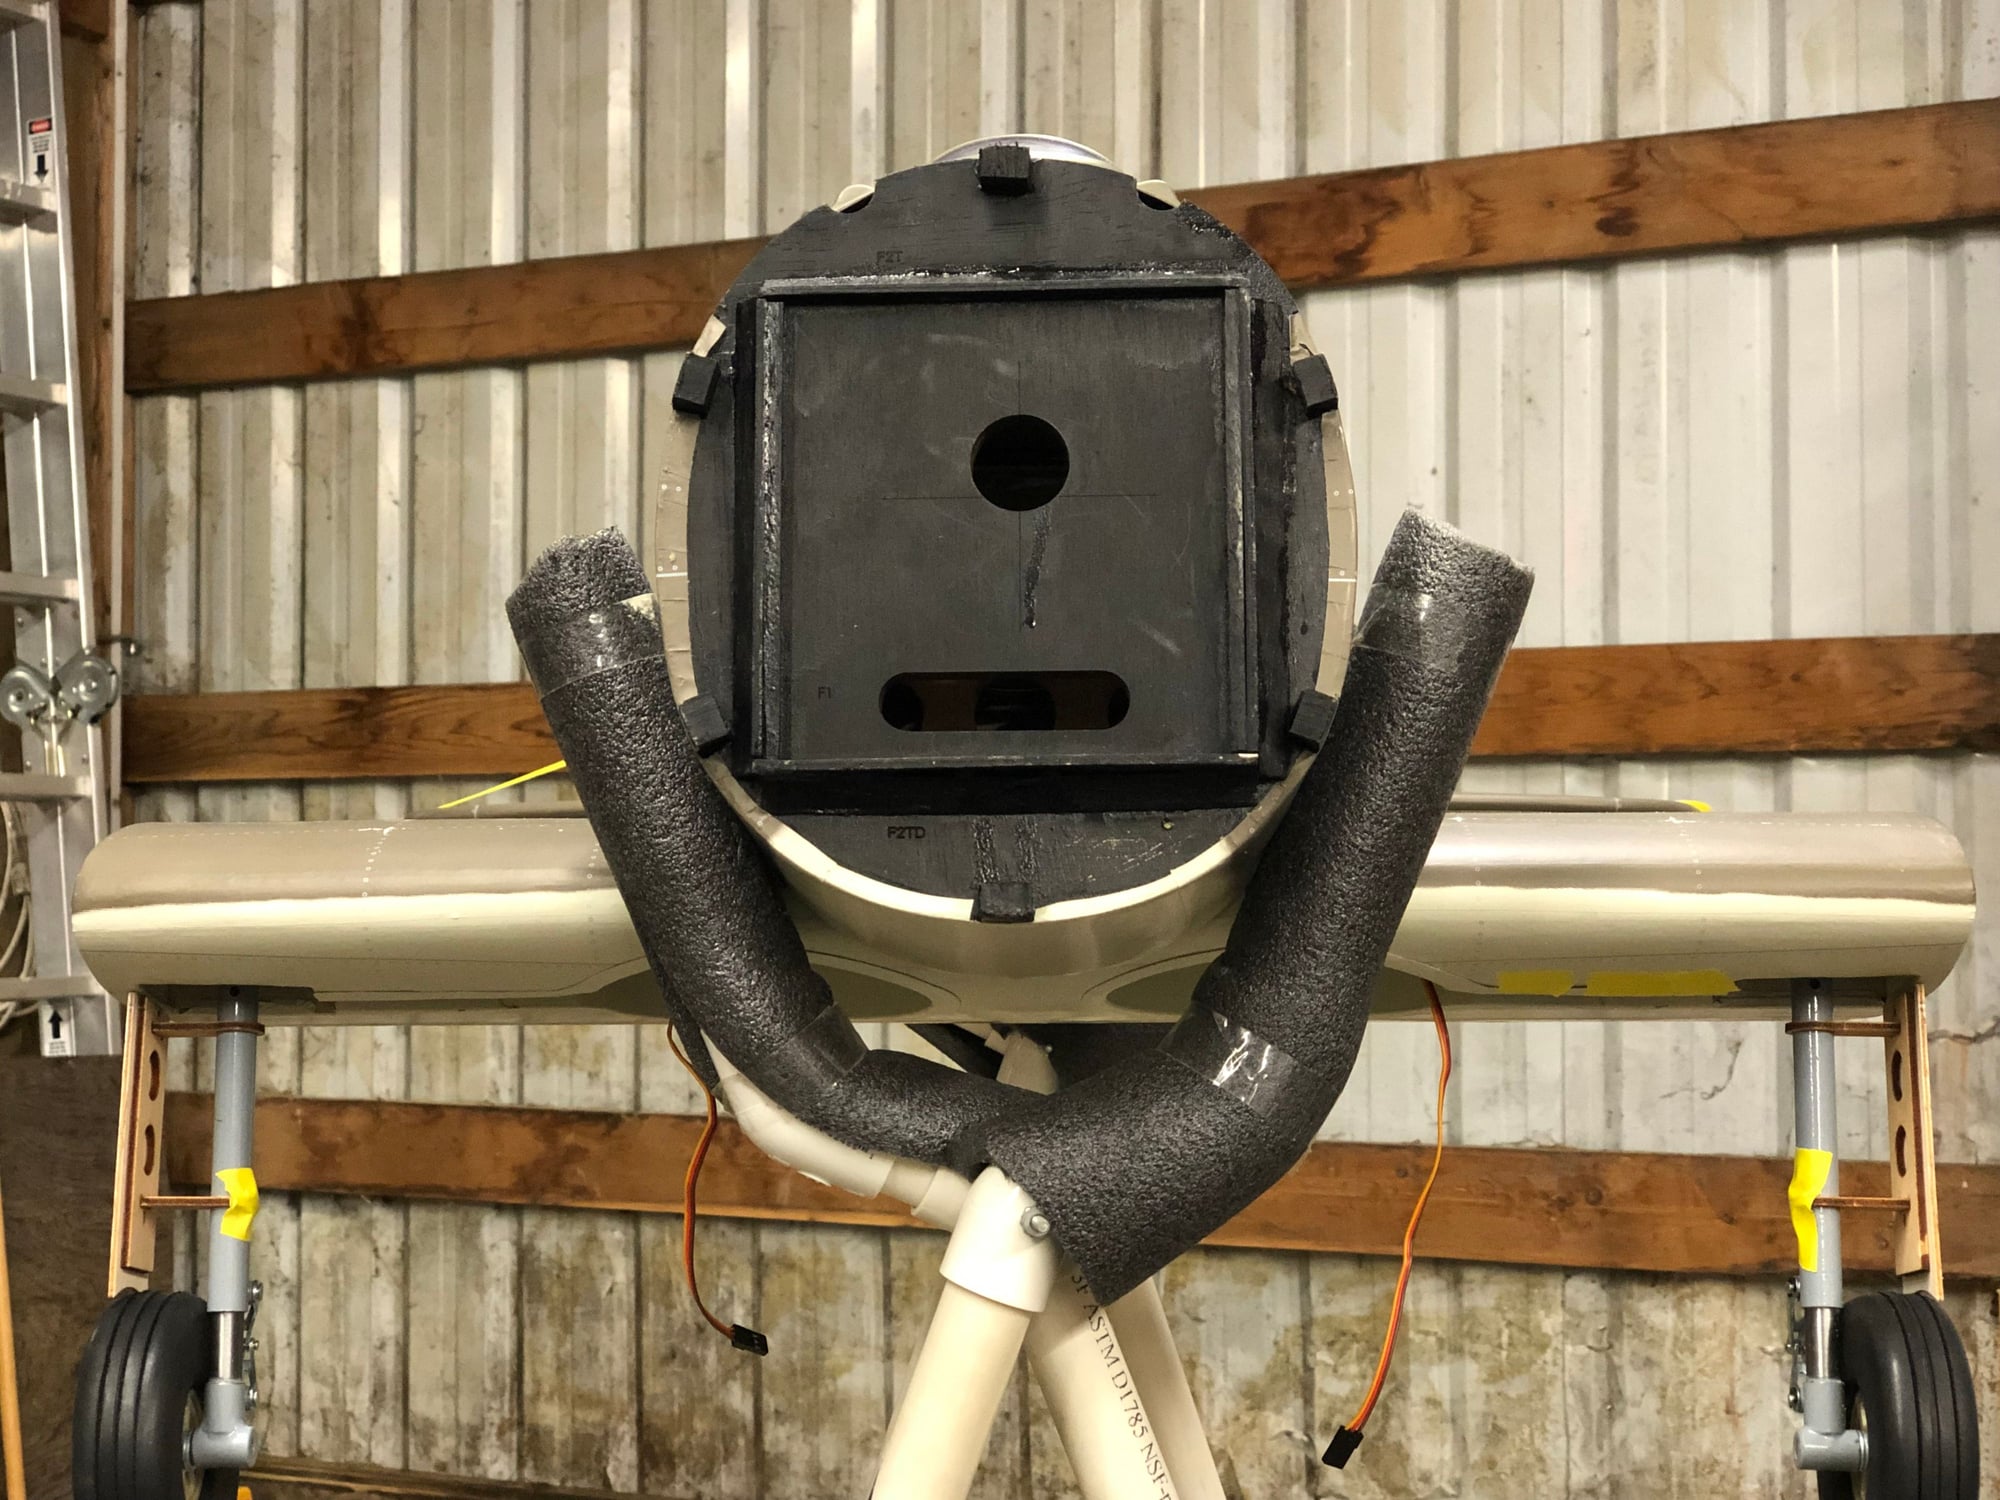
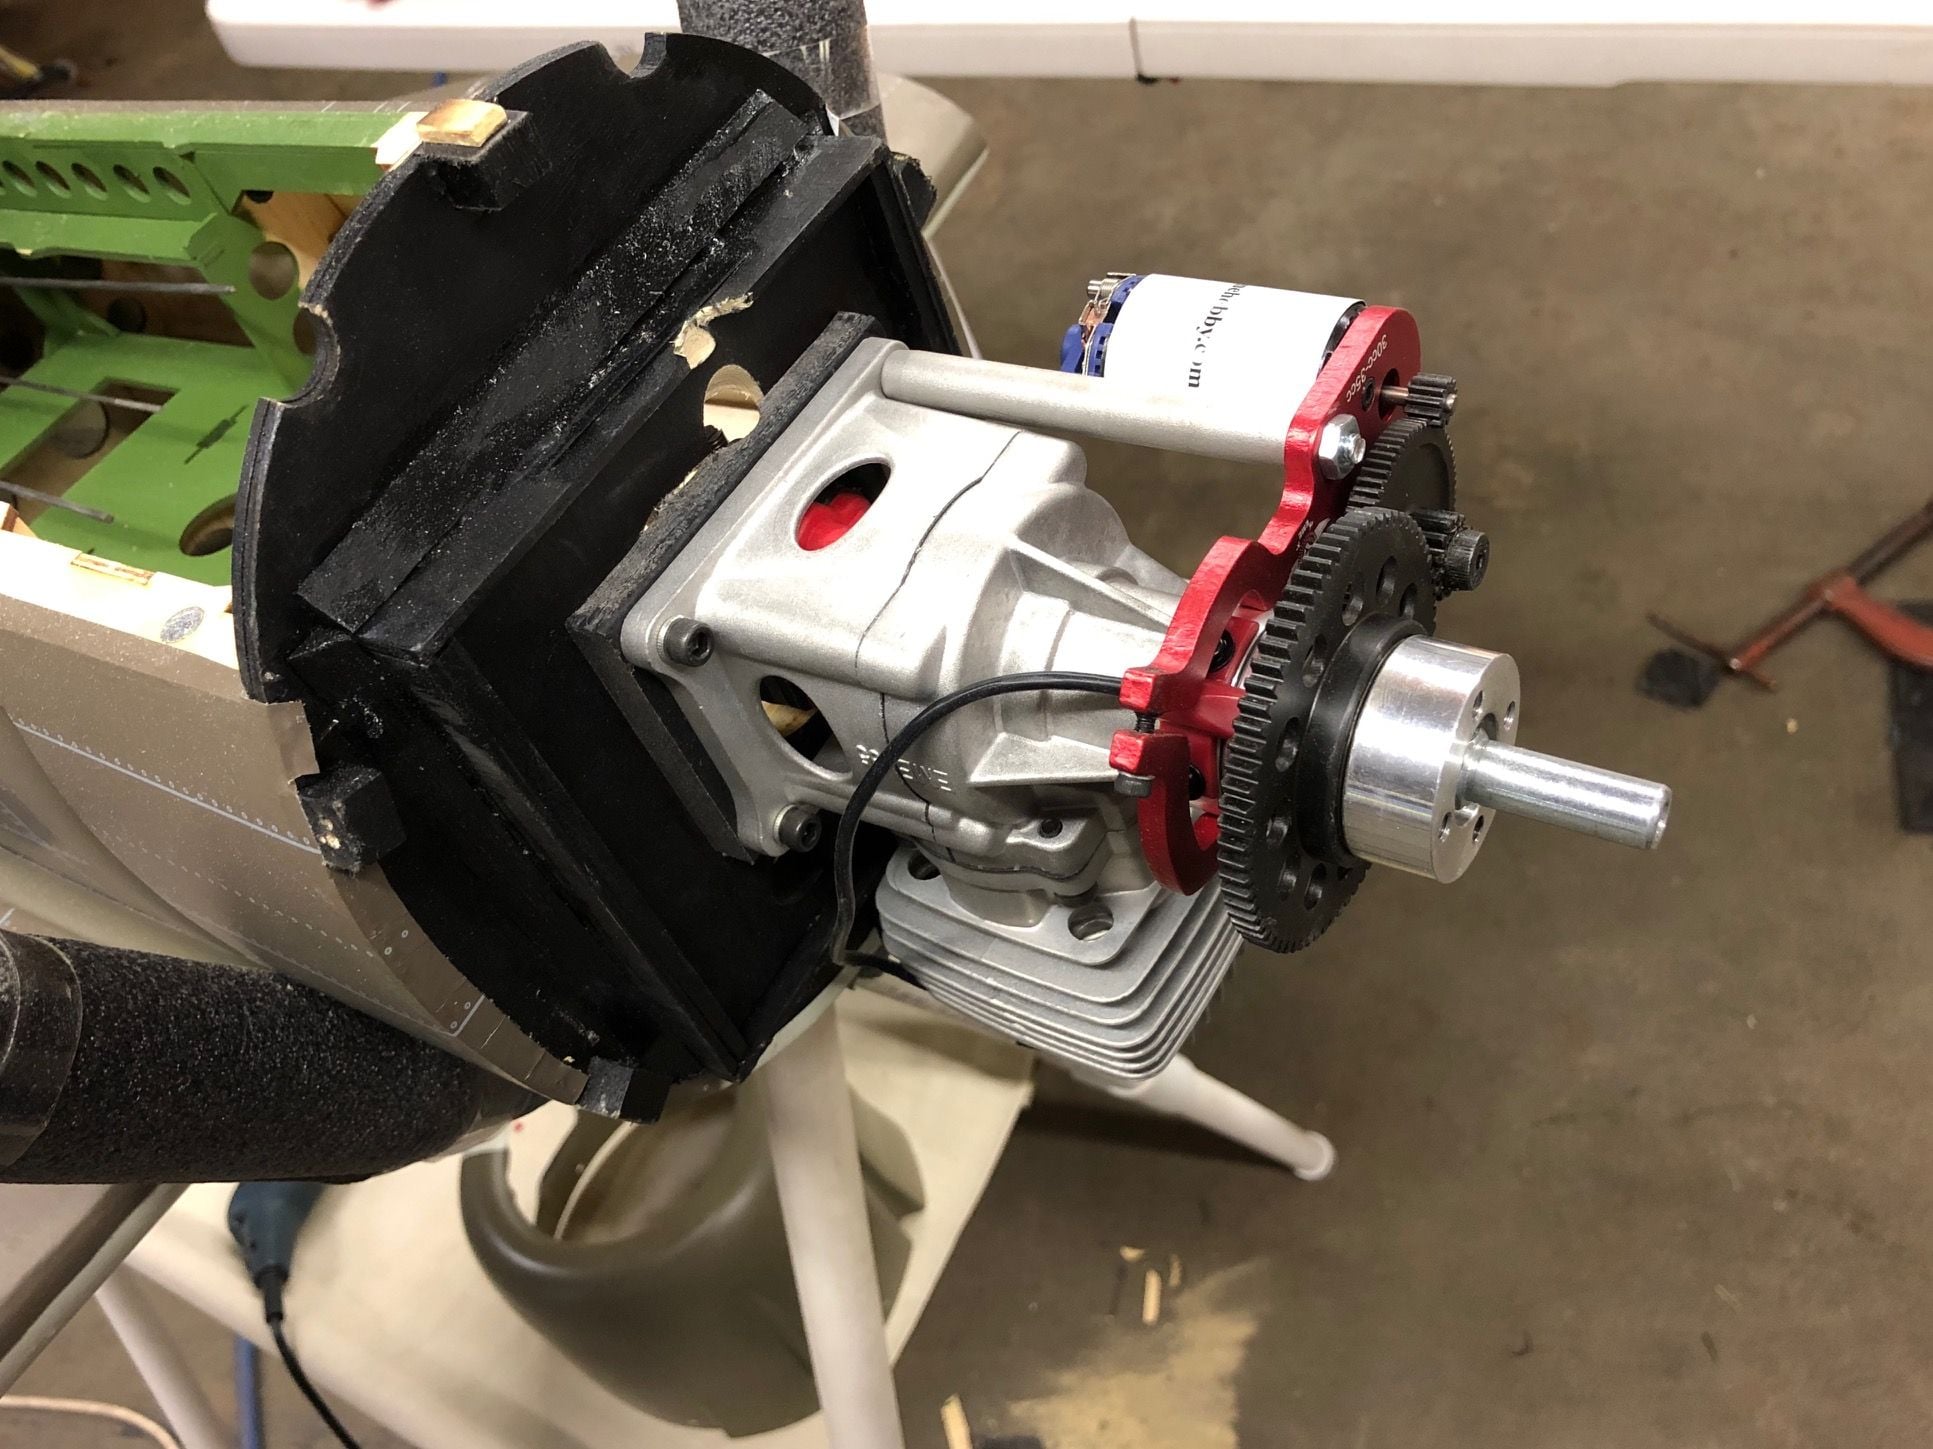
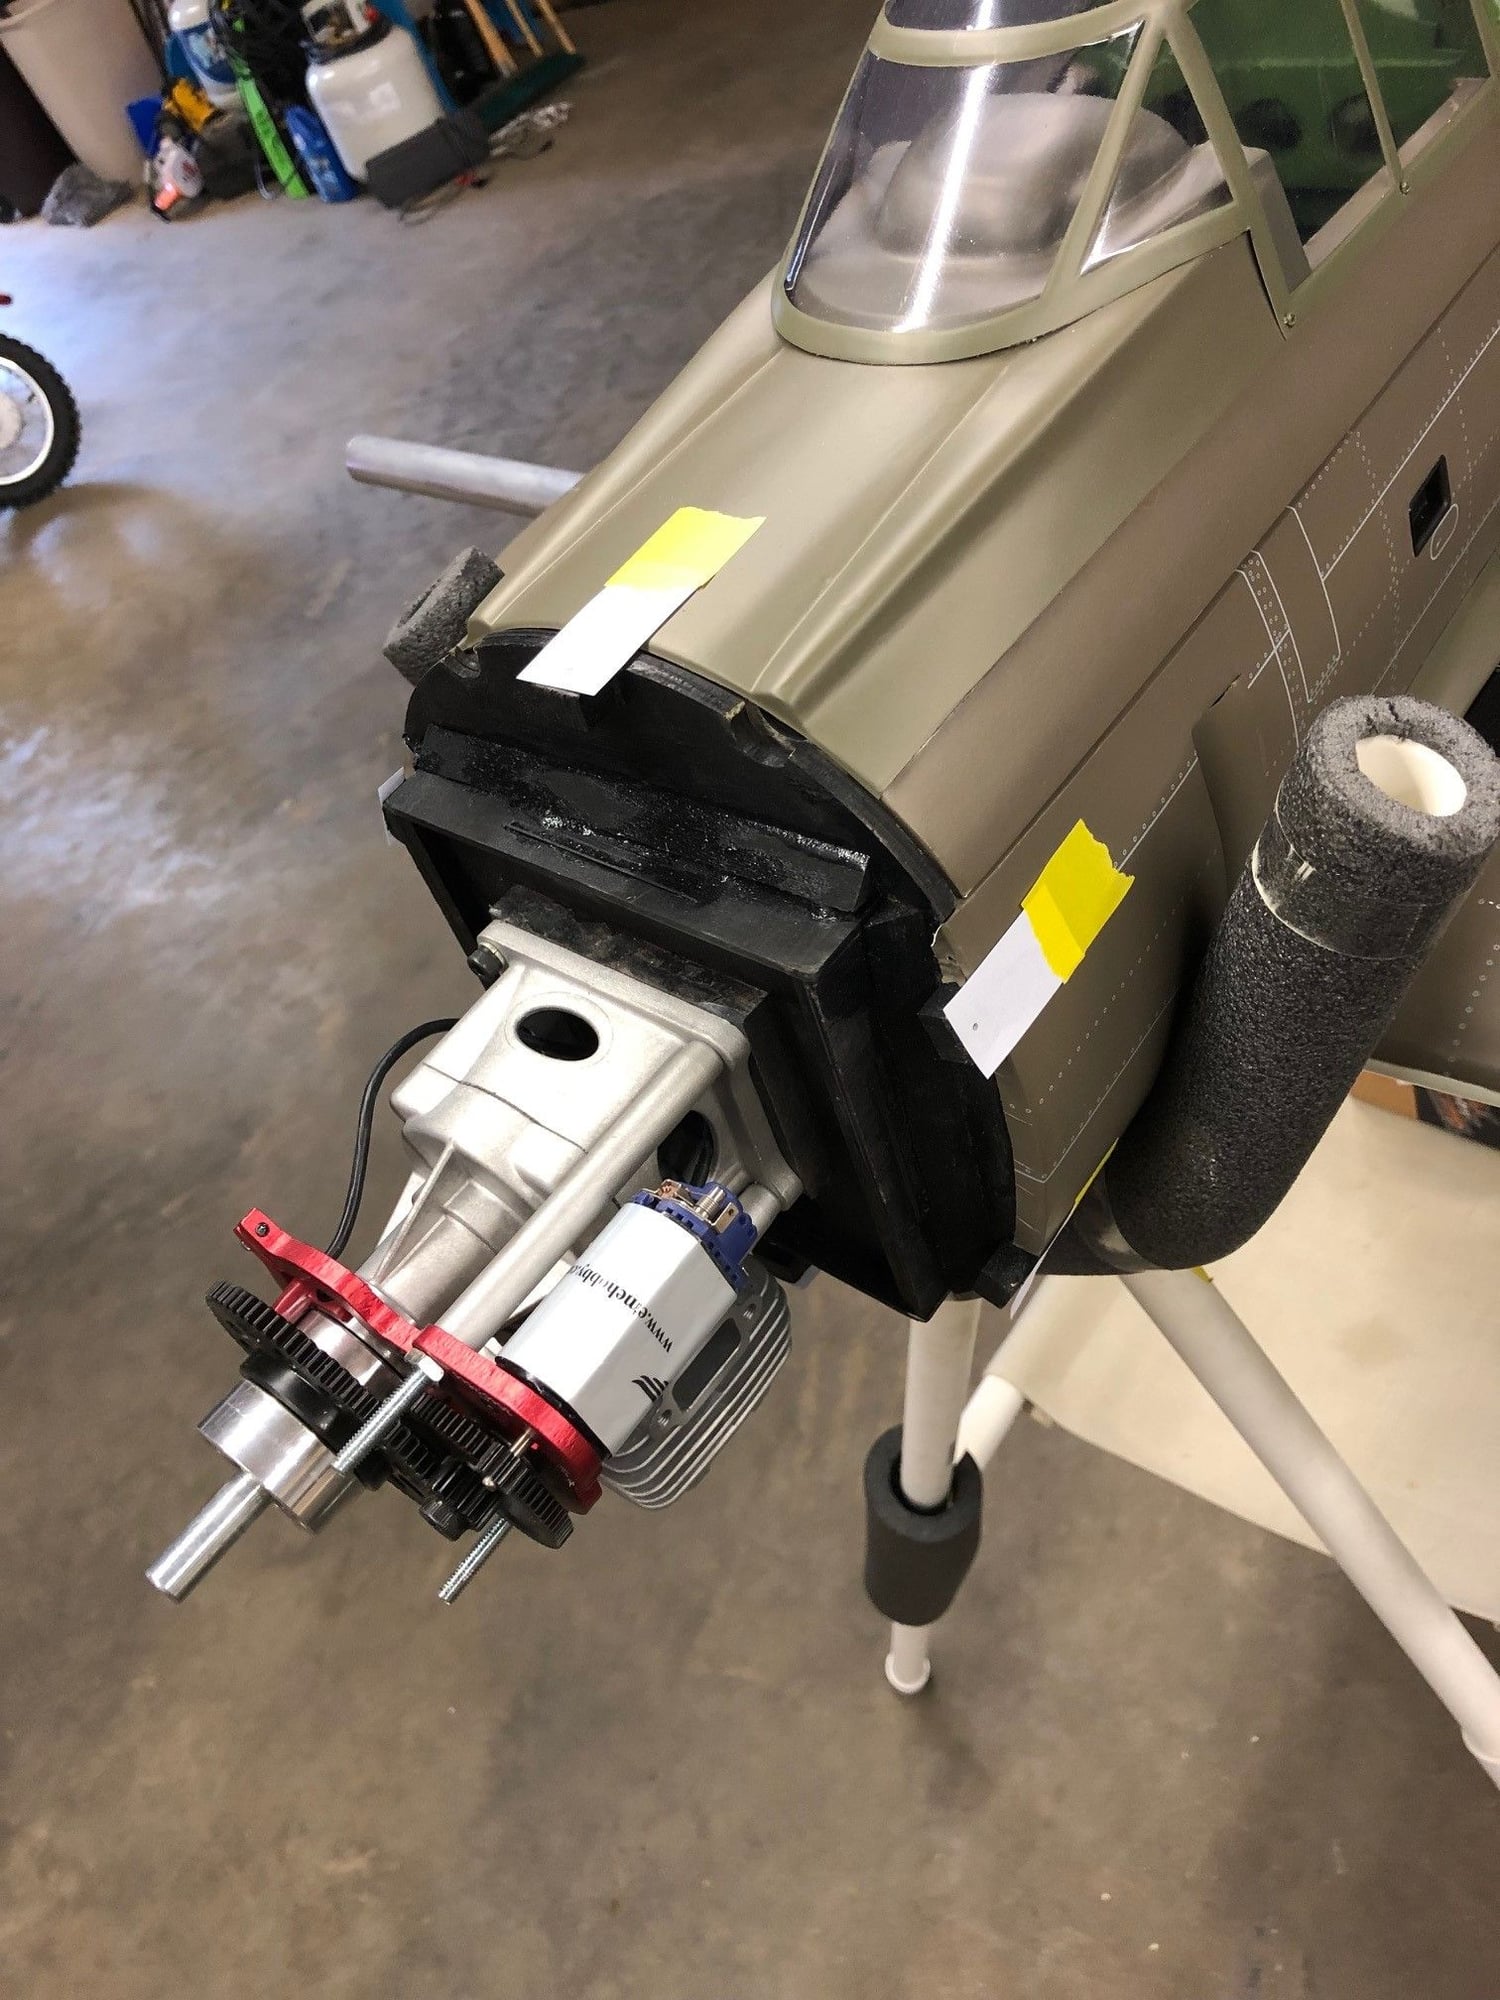
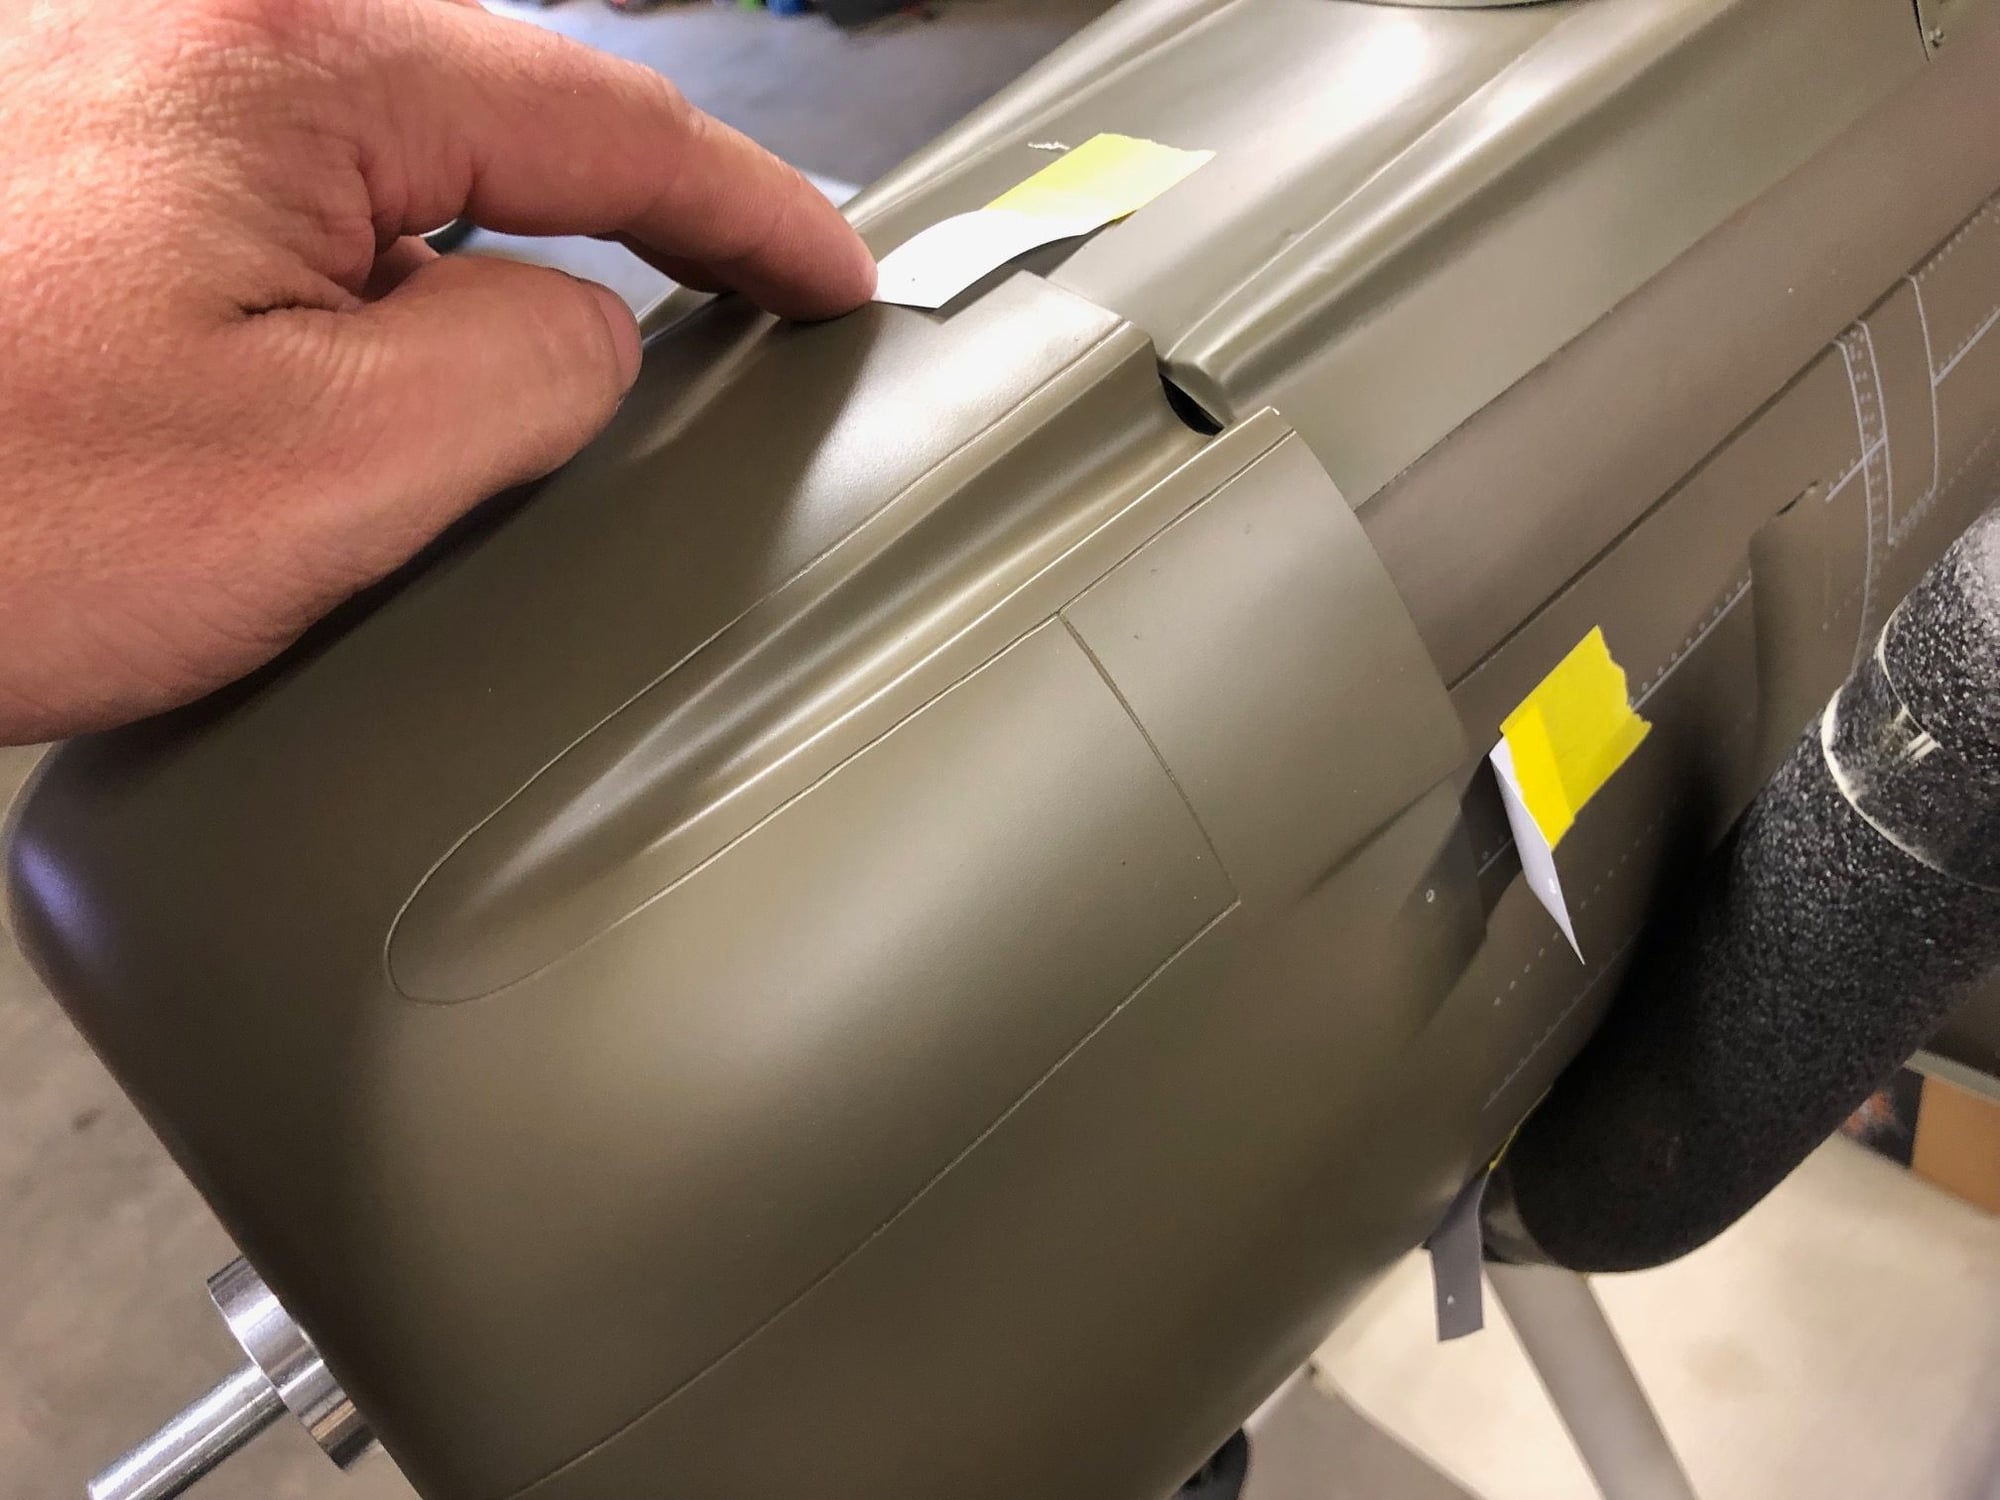
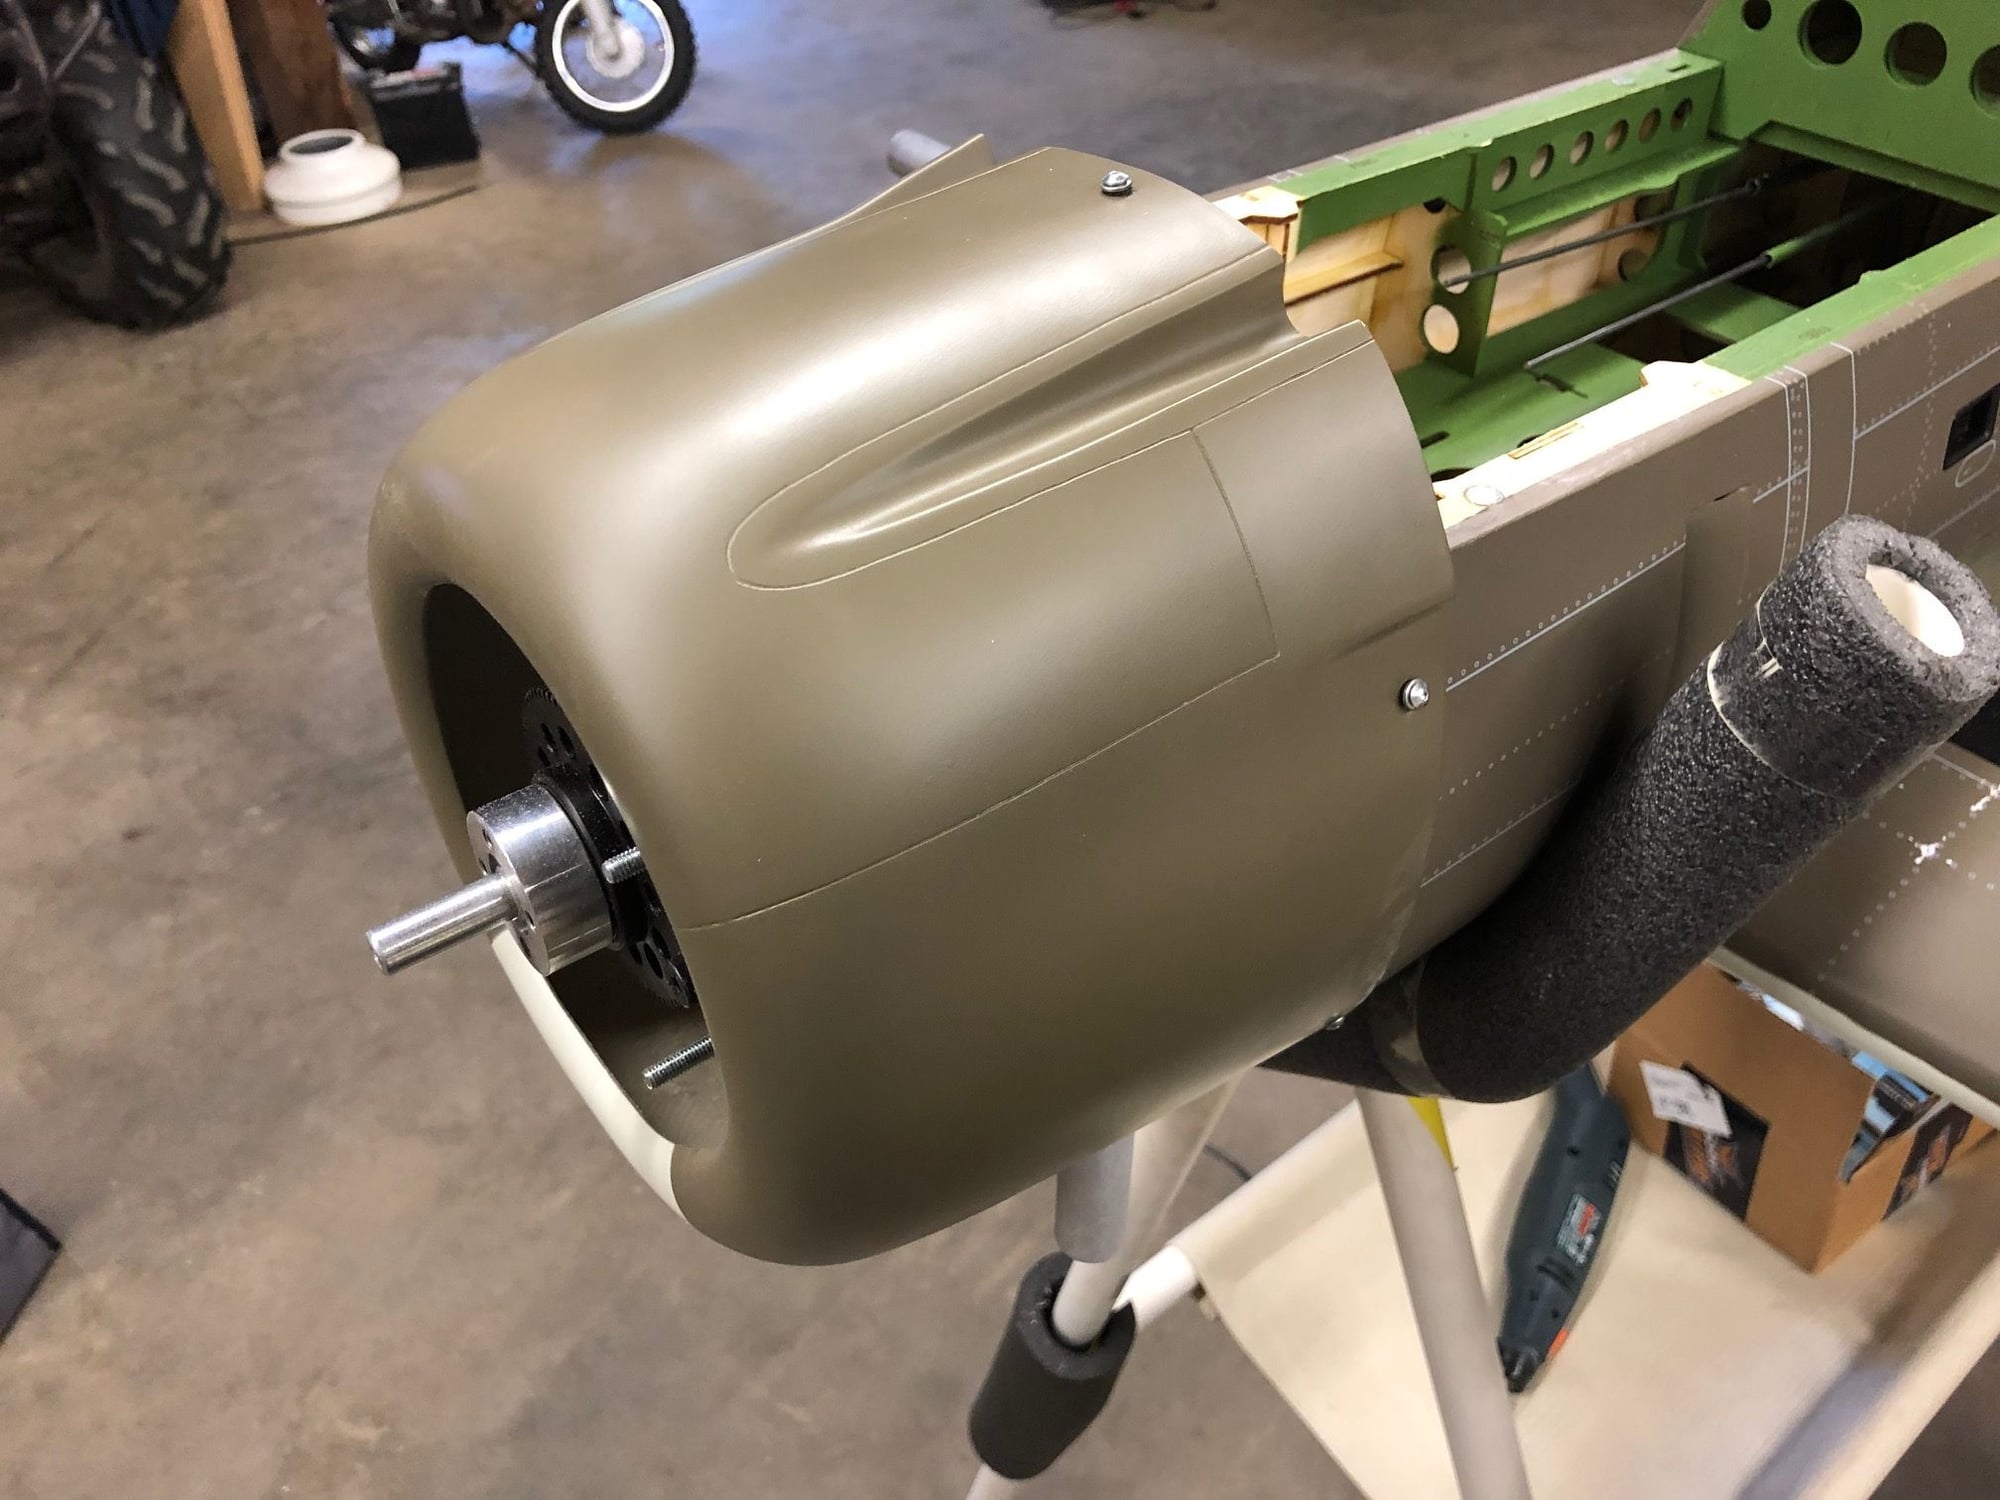
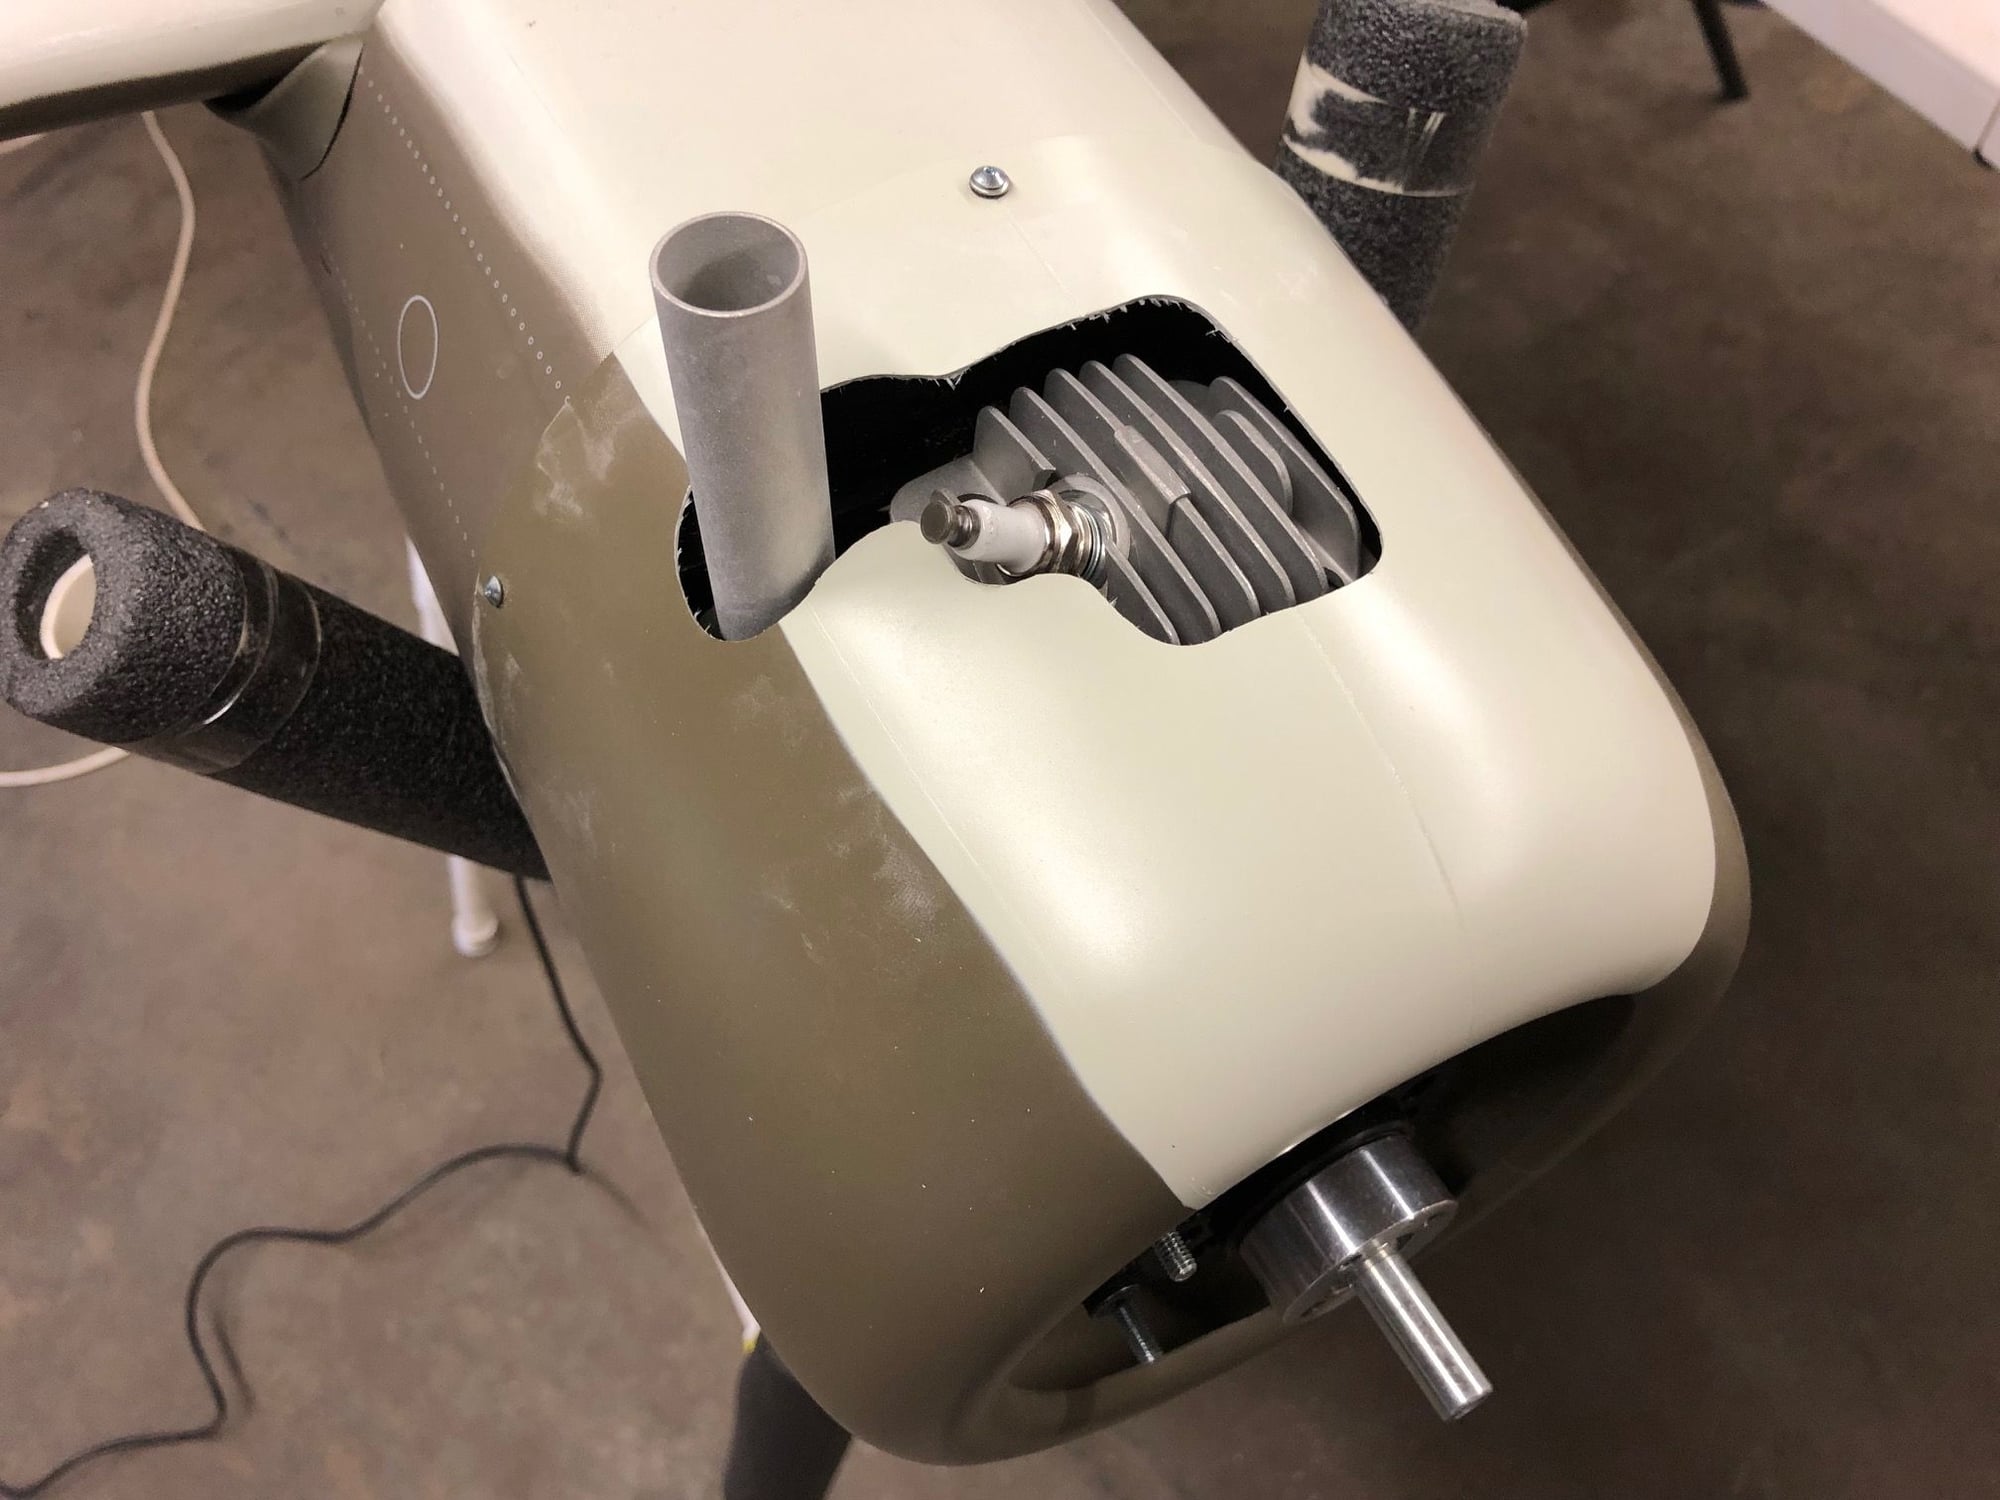
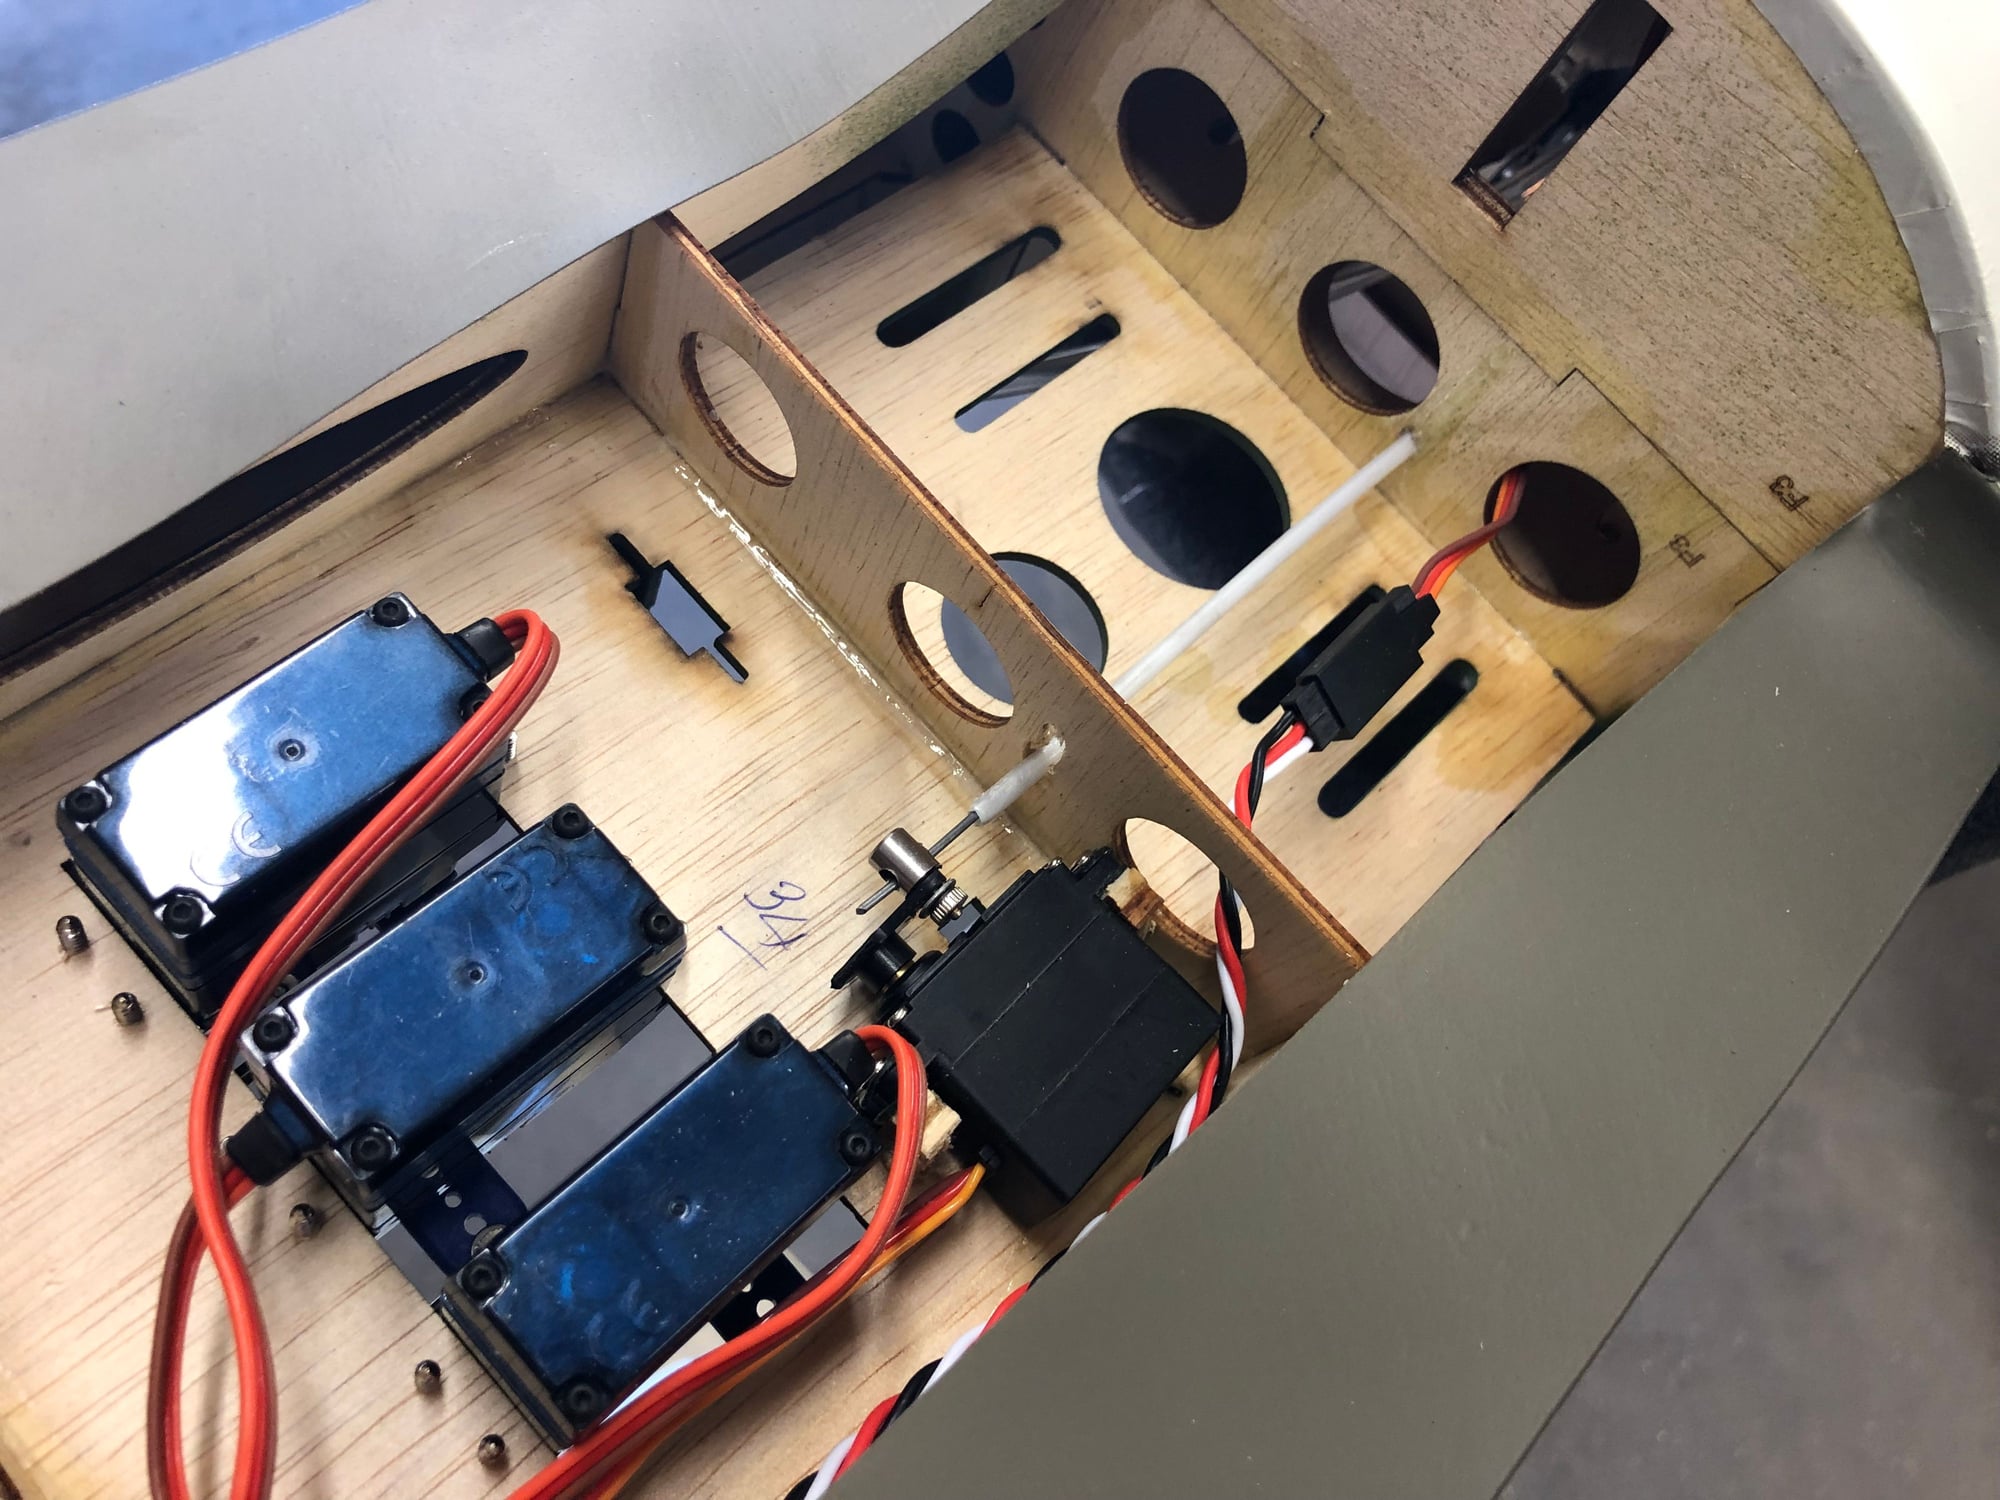
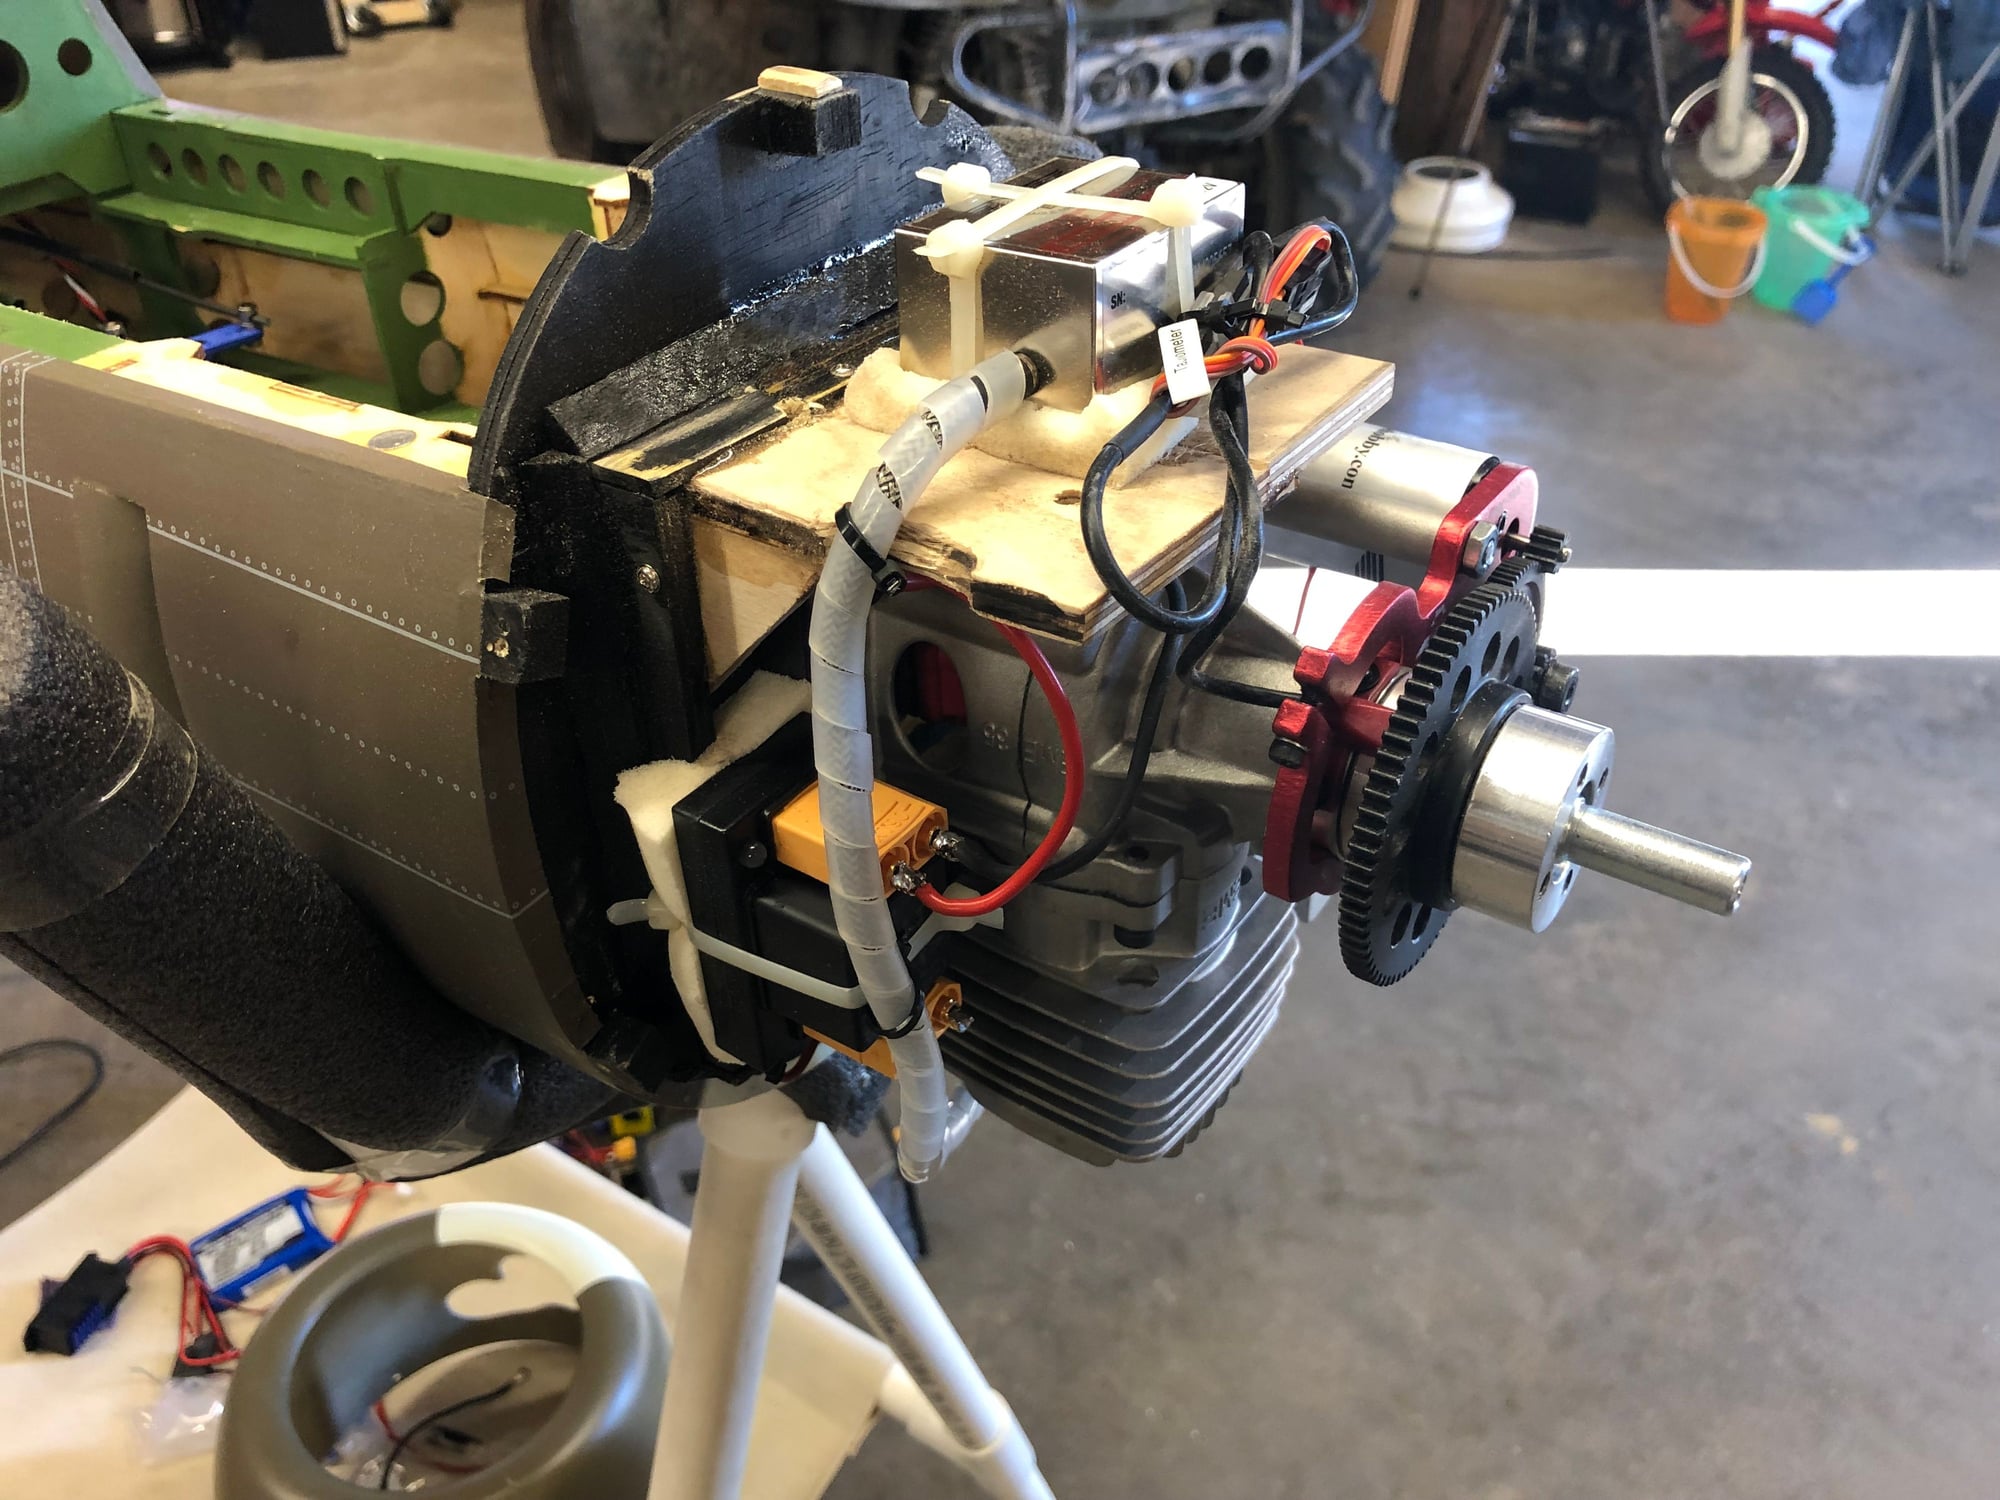
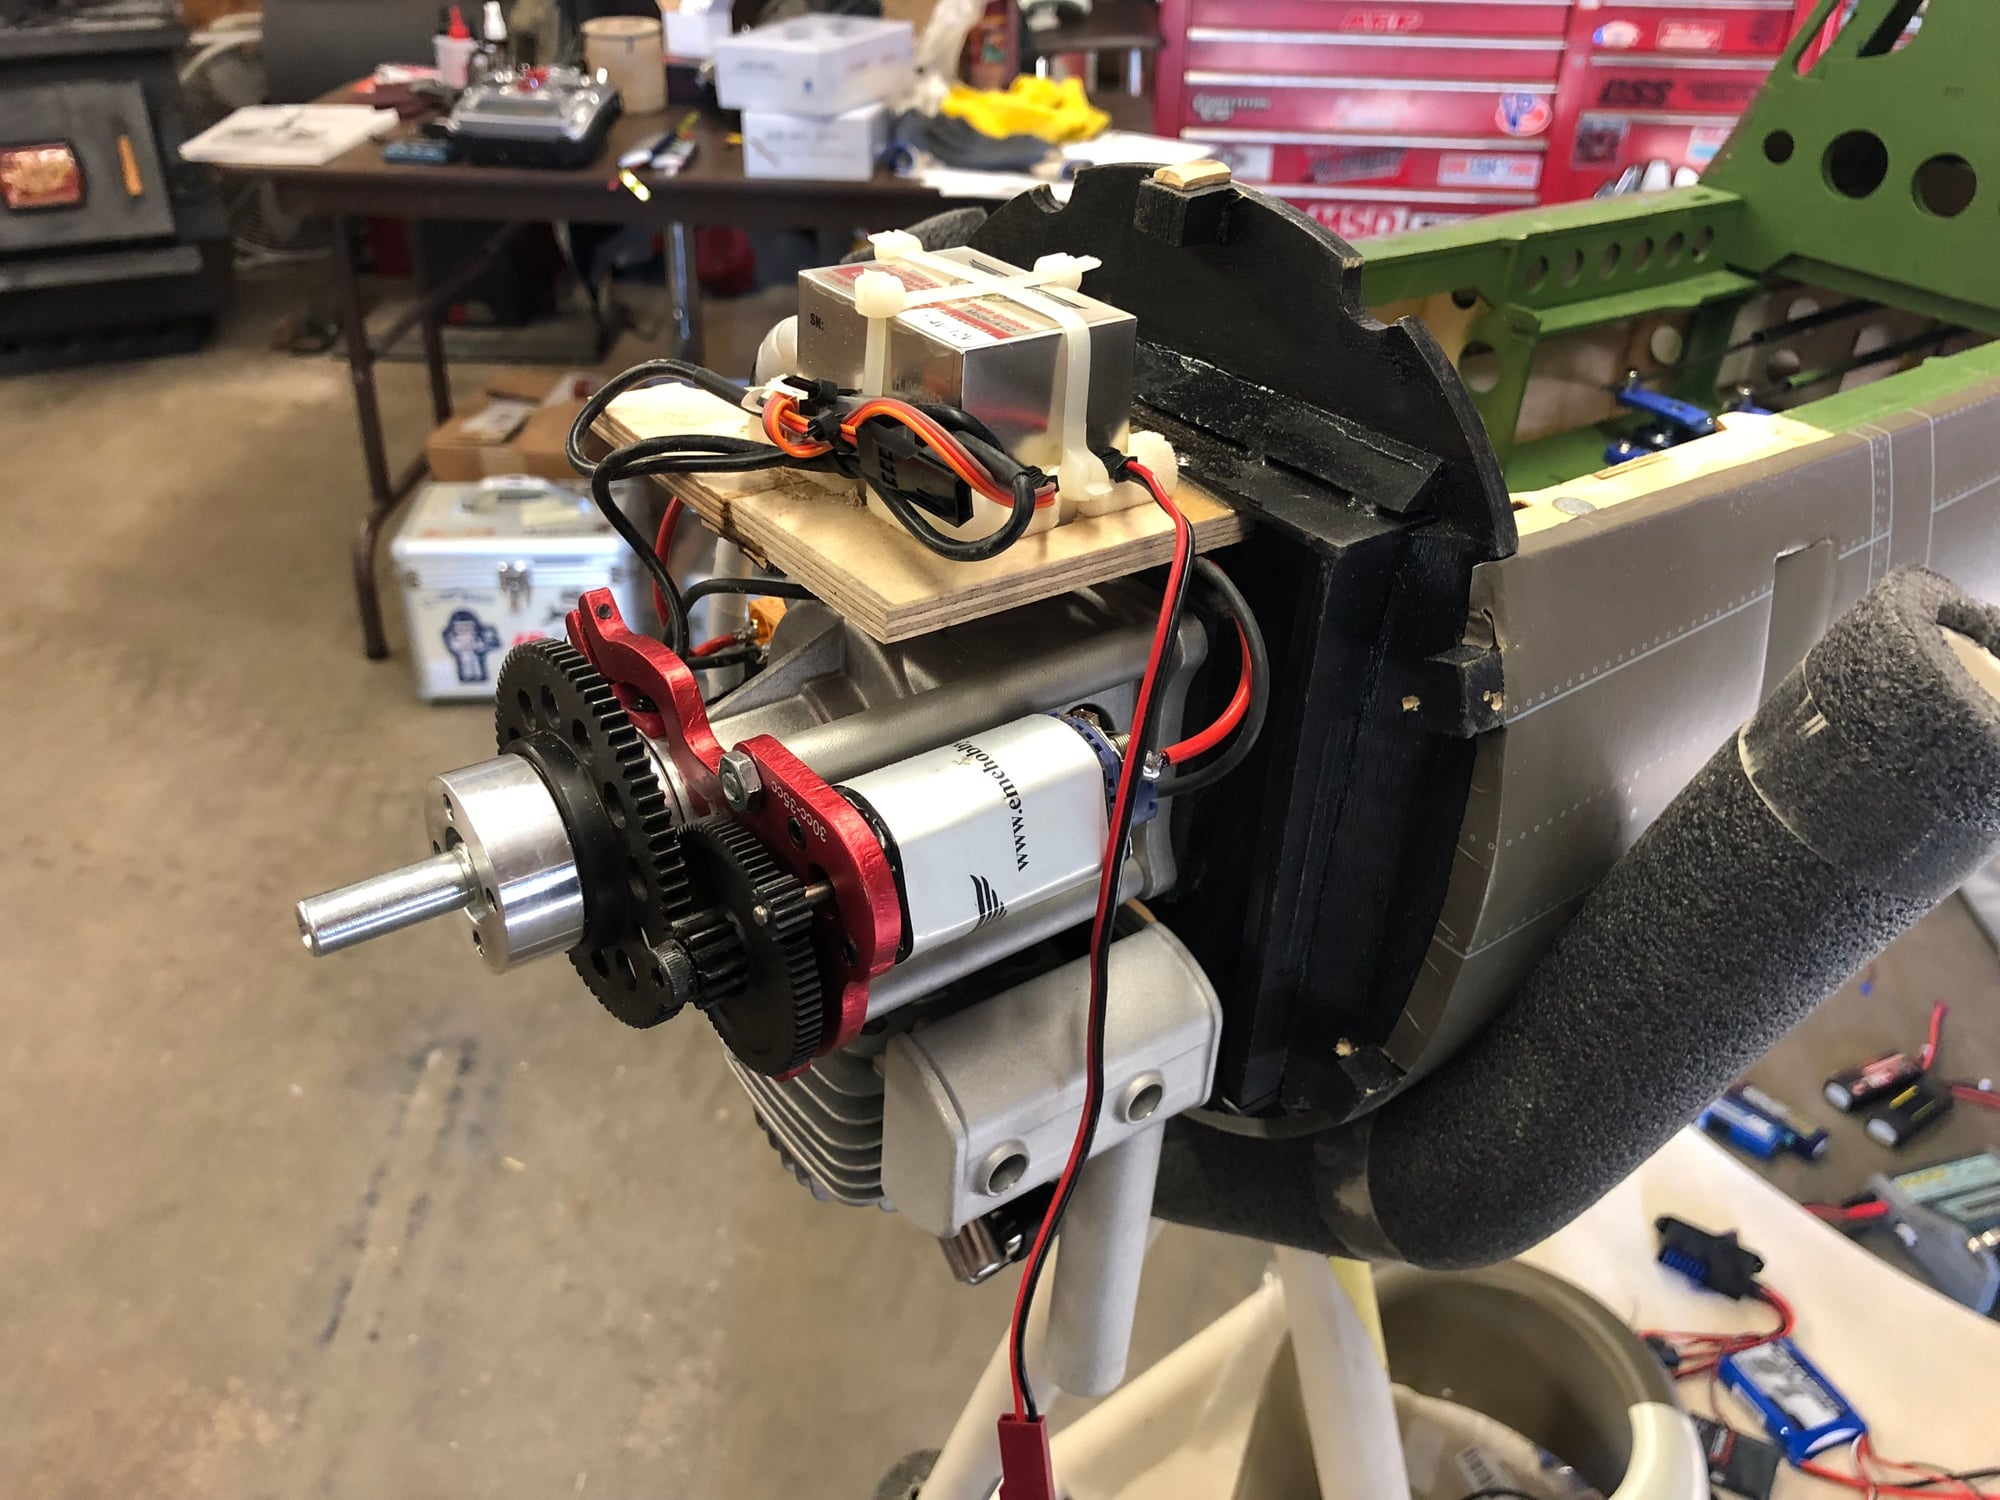
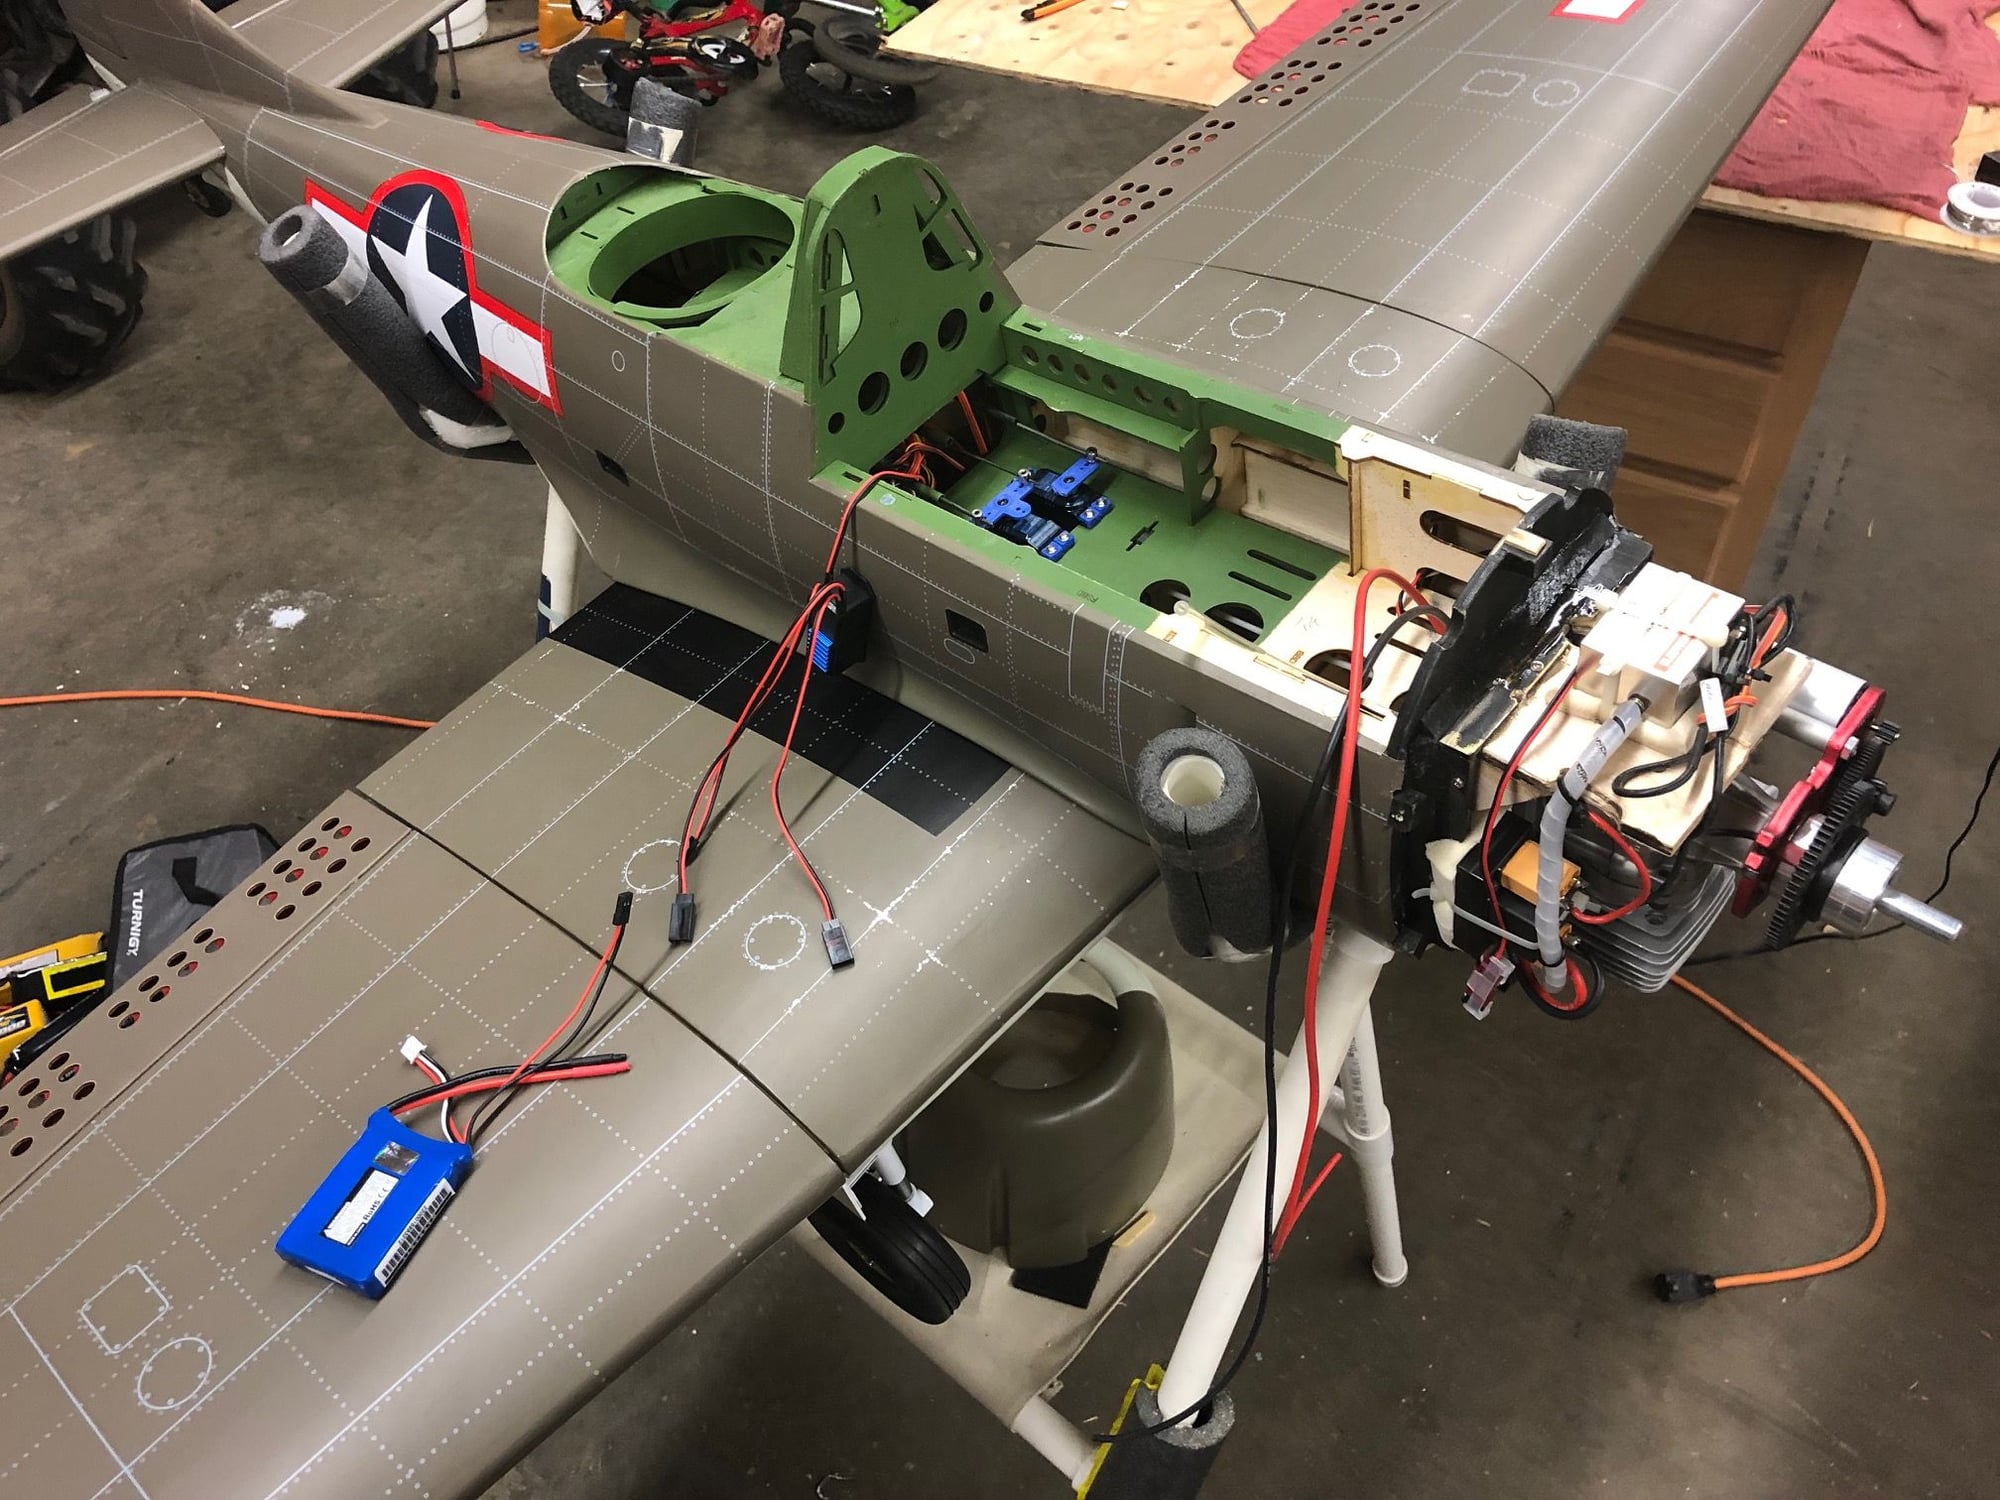
Mounting the engine and cowl, Heres how I do it. I use tape and paper to mark where the center of the cowl lugs are, transfers easy to the cowl. Cutout for the exhaust, plug and head, the head of my engine rubbed a little bit on the cowl no matter what I tried, so I figure it needed cooling anyway. Ill probably trip the muffler pipe later so its not hanging out so far.
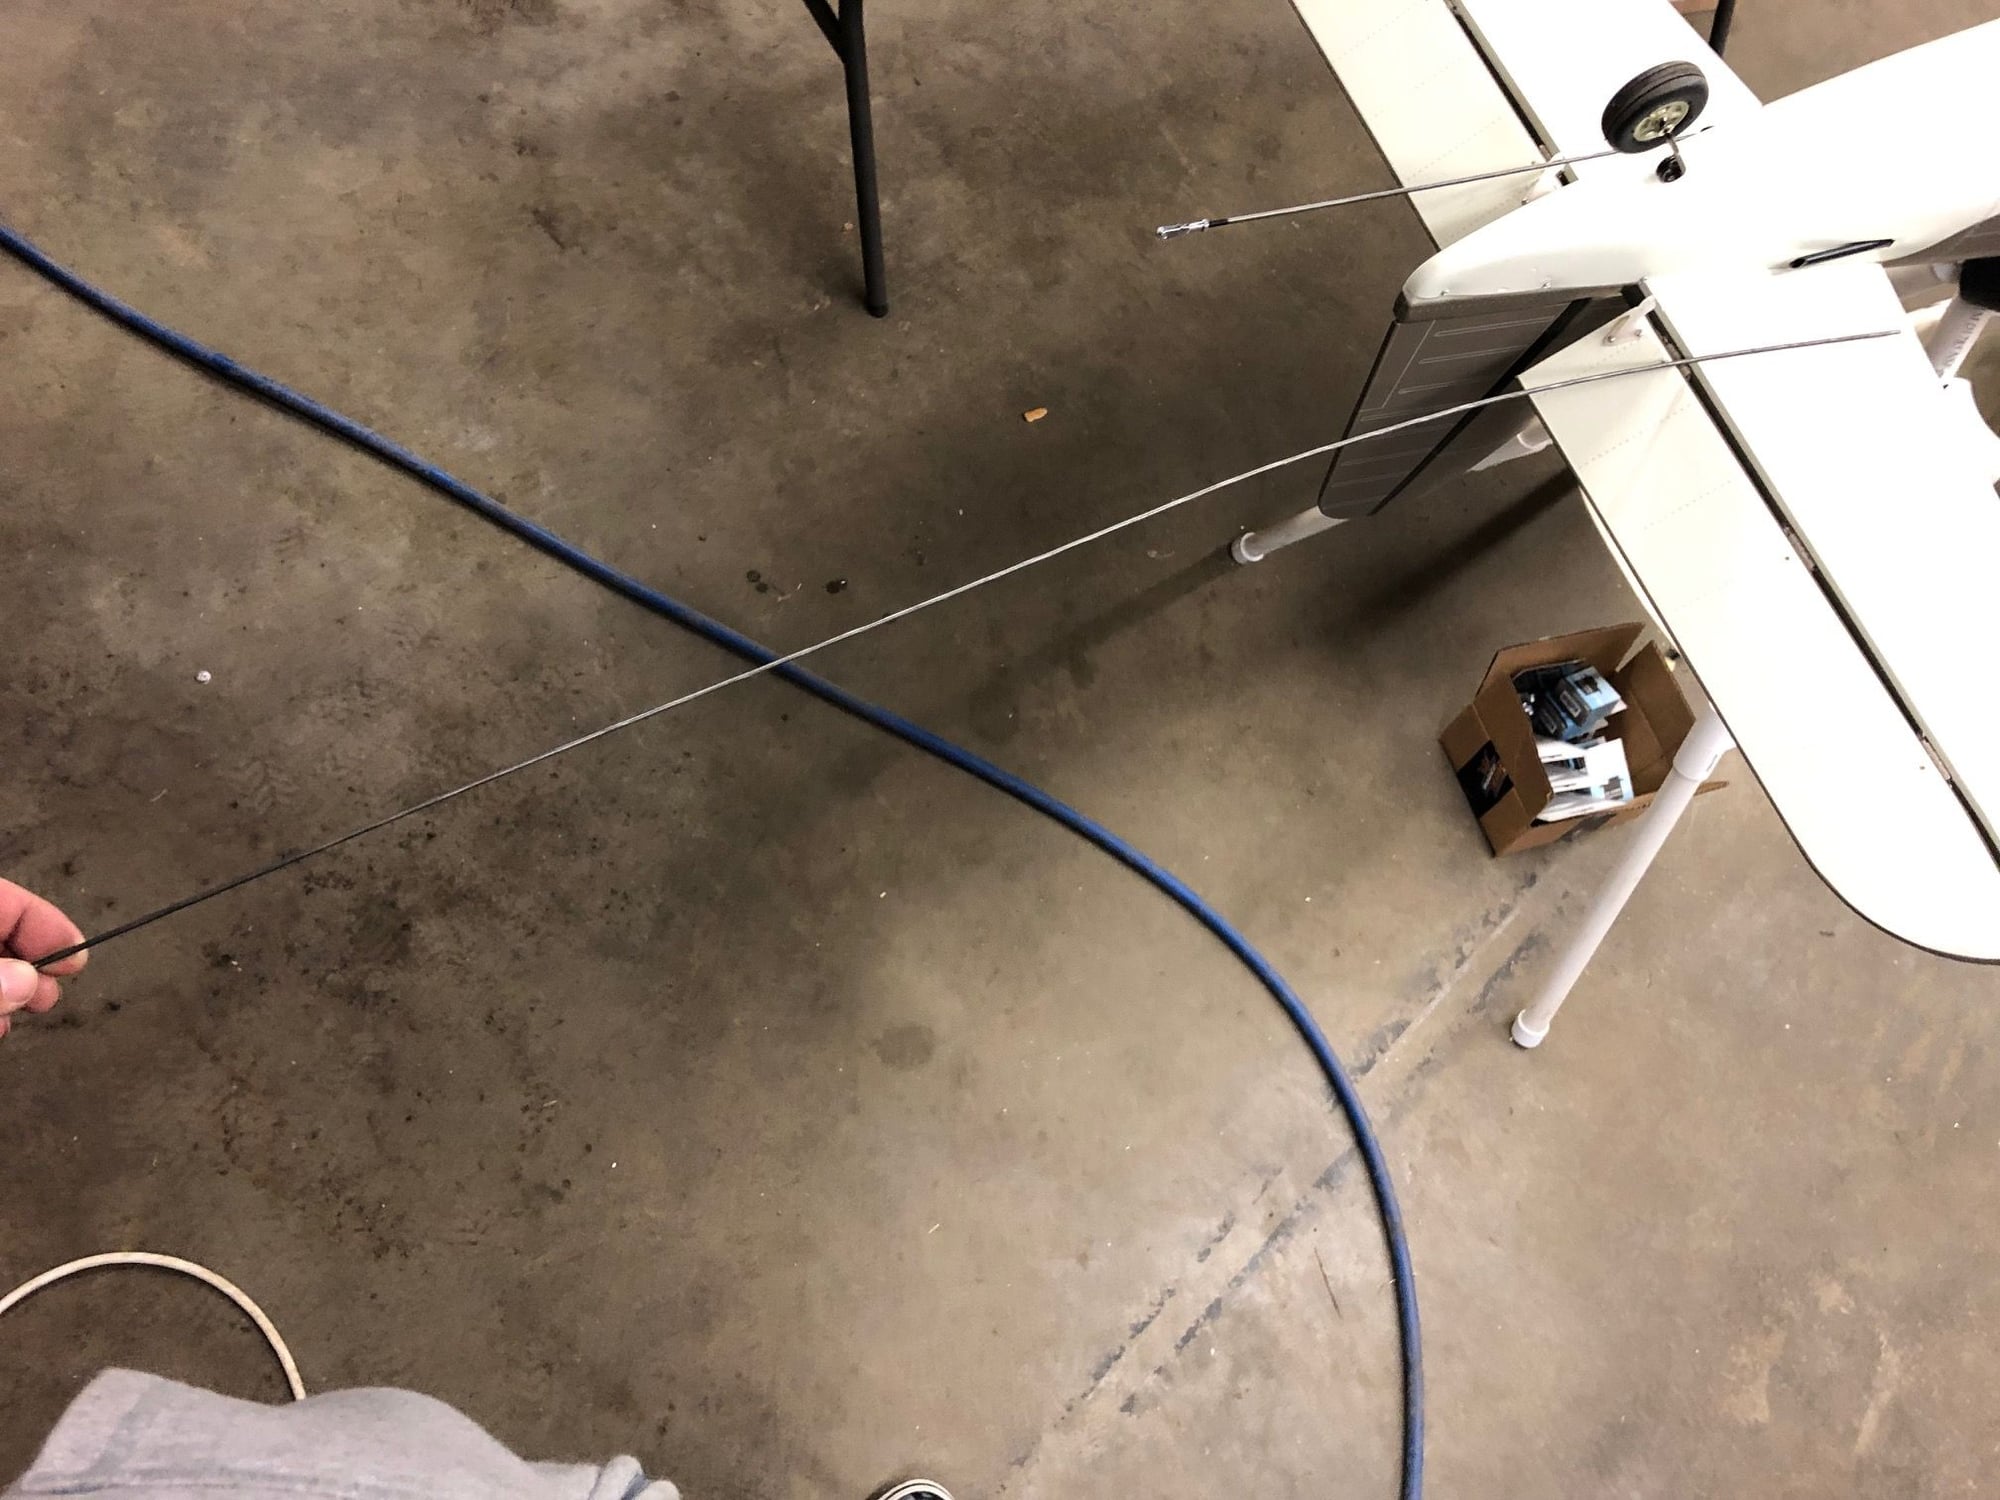
The pushrods for the elevator. Trying to make them free moving, put a slight bend in them on the forward end, seemed to help alot for mine.
 06-08-2019, 06:46 PM
#9

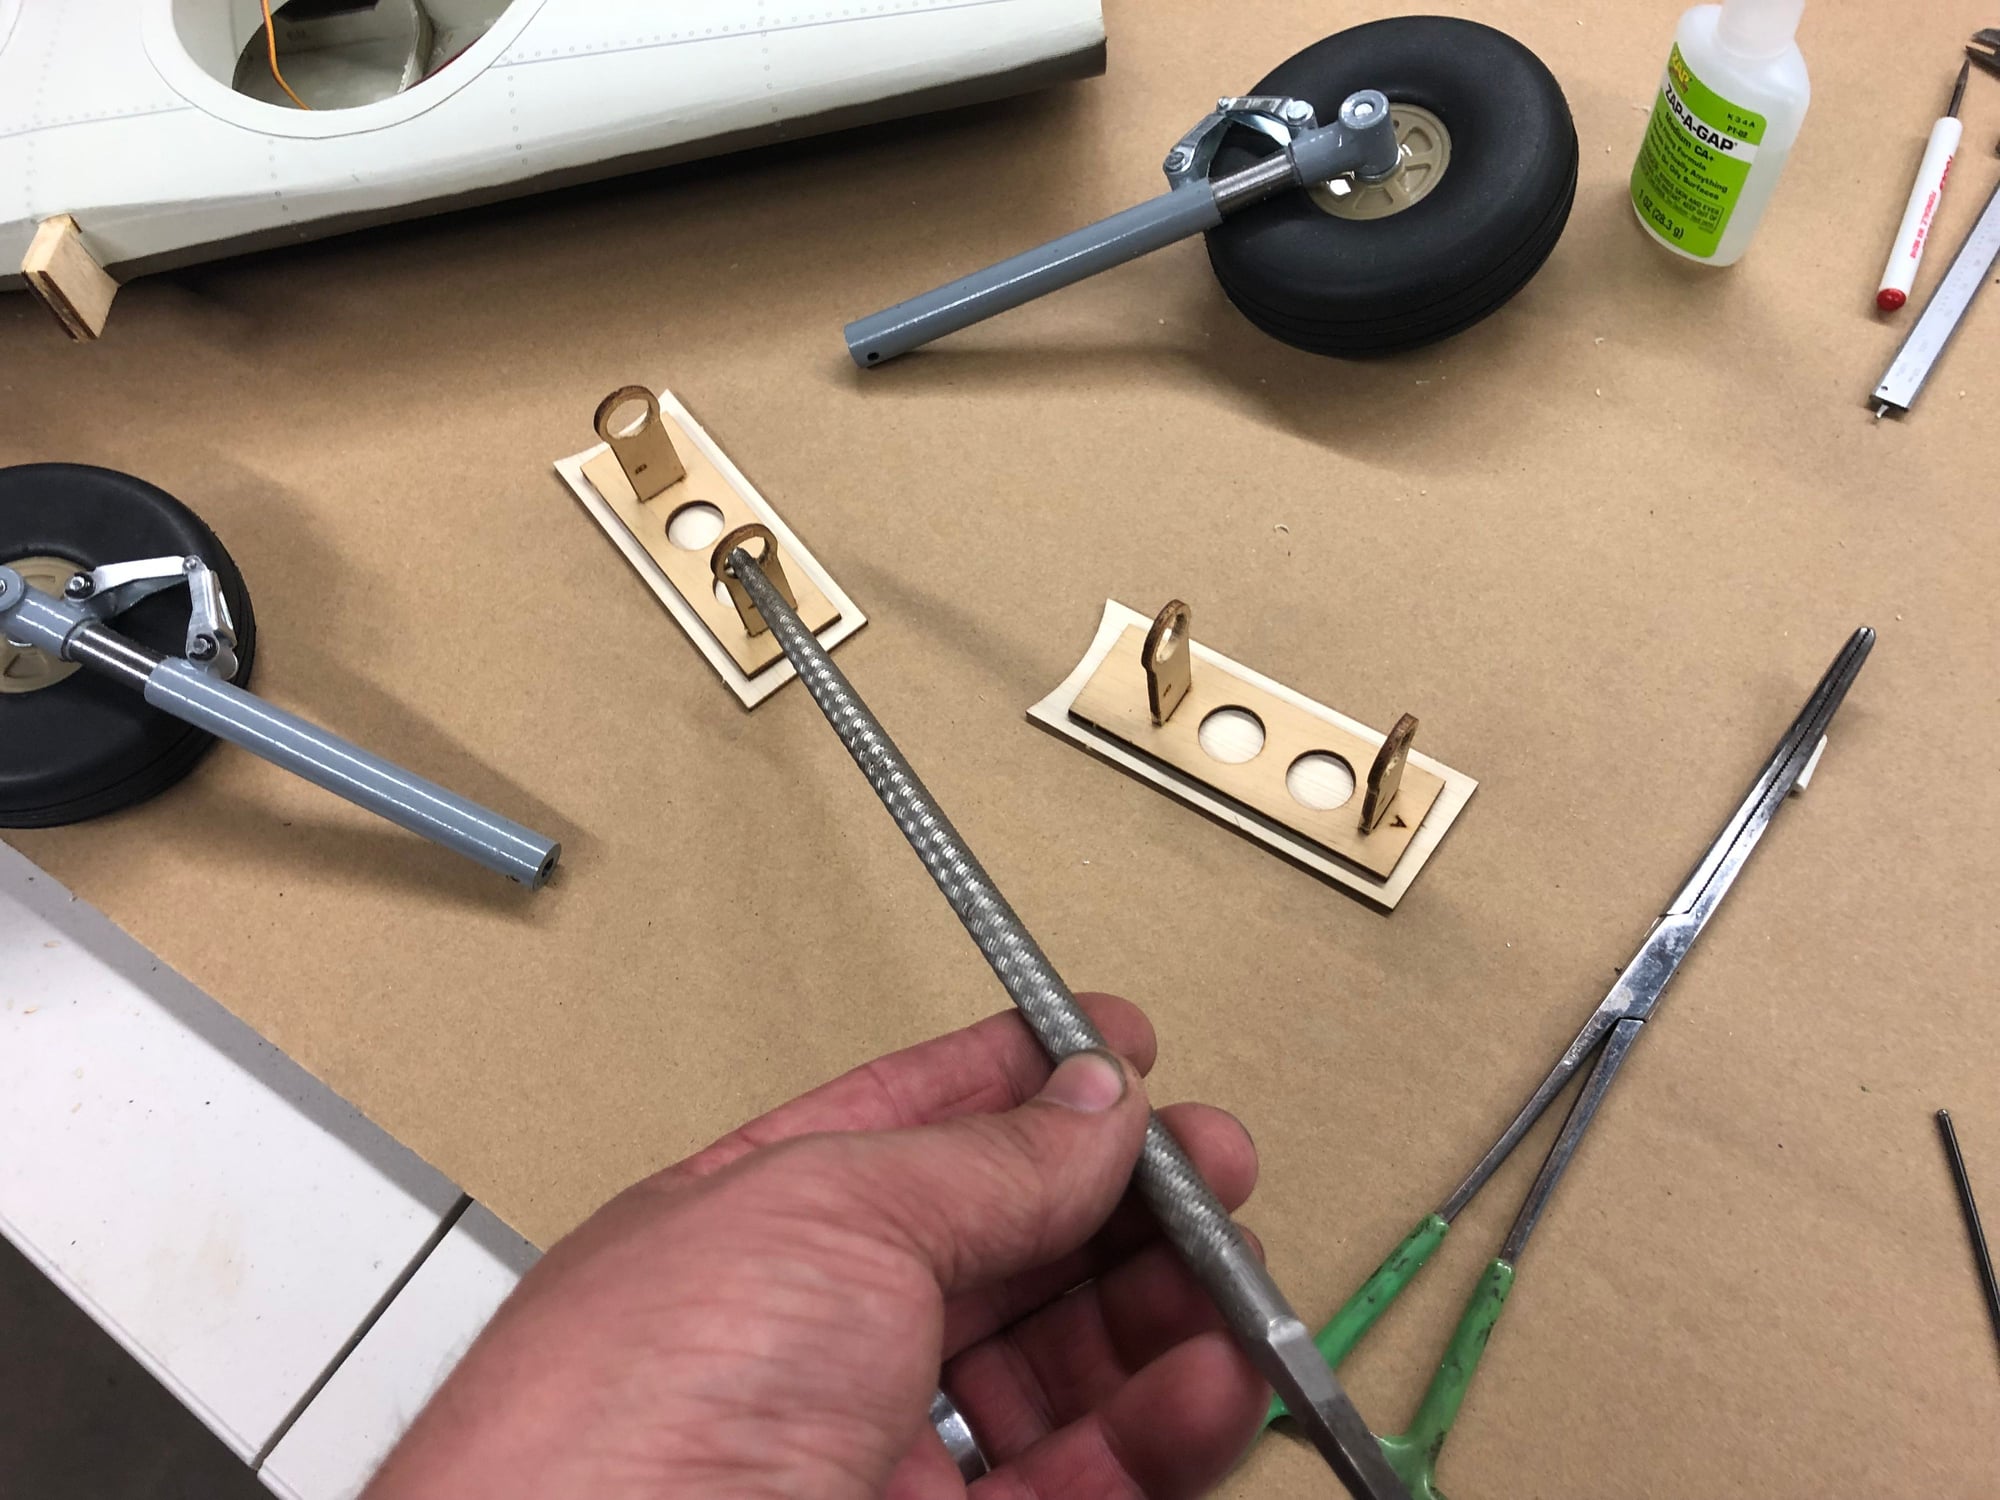
I have the 80” SBD version of this arf. A friend had the smaller VQ SBD which he lost on one of the first flights due to a broken horizontal stab. I would highly suggest beefing up the stab with a small carbon rod across the center section. I have noticed several VQ arfs to be weak in this area.


 06-27-2019, 07:27 AM
#13
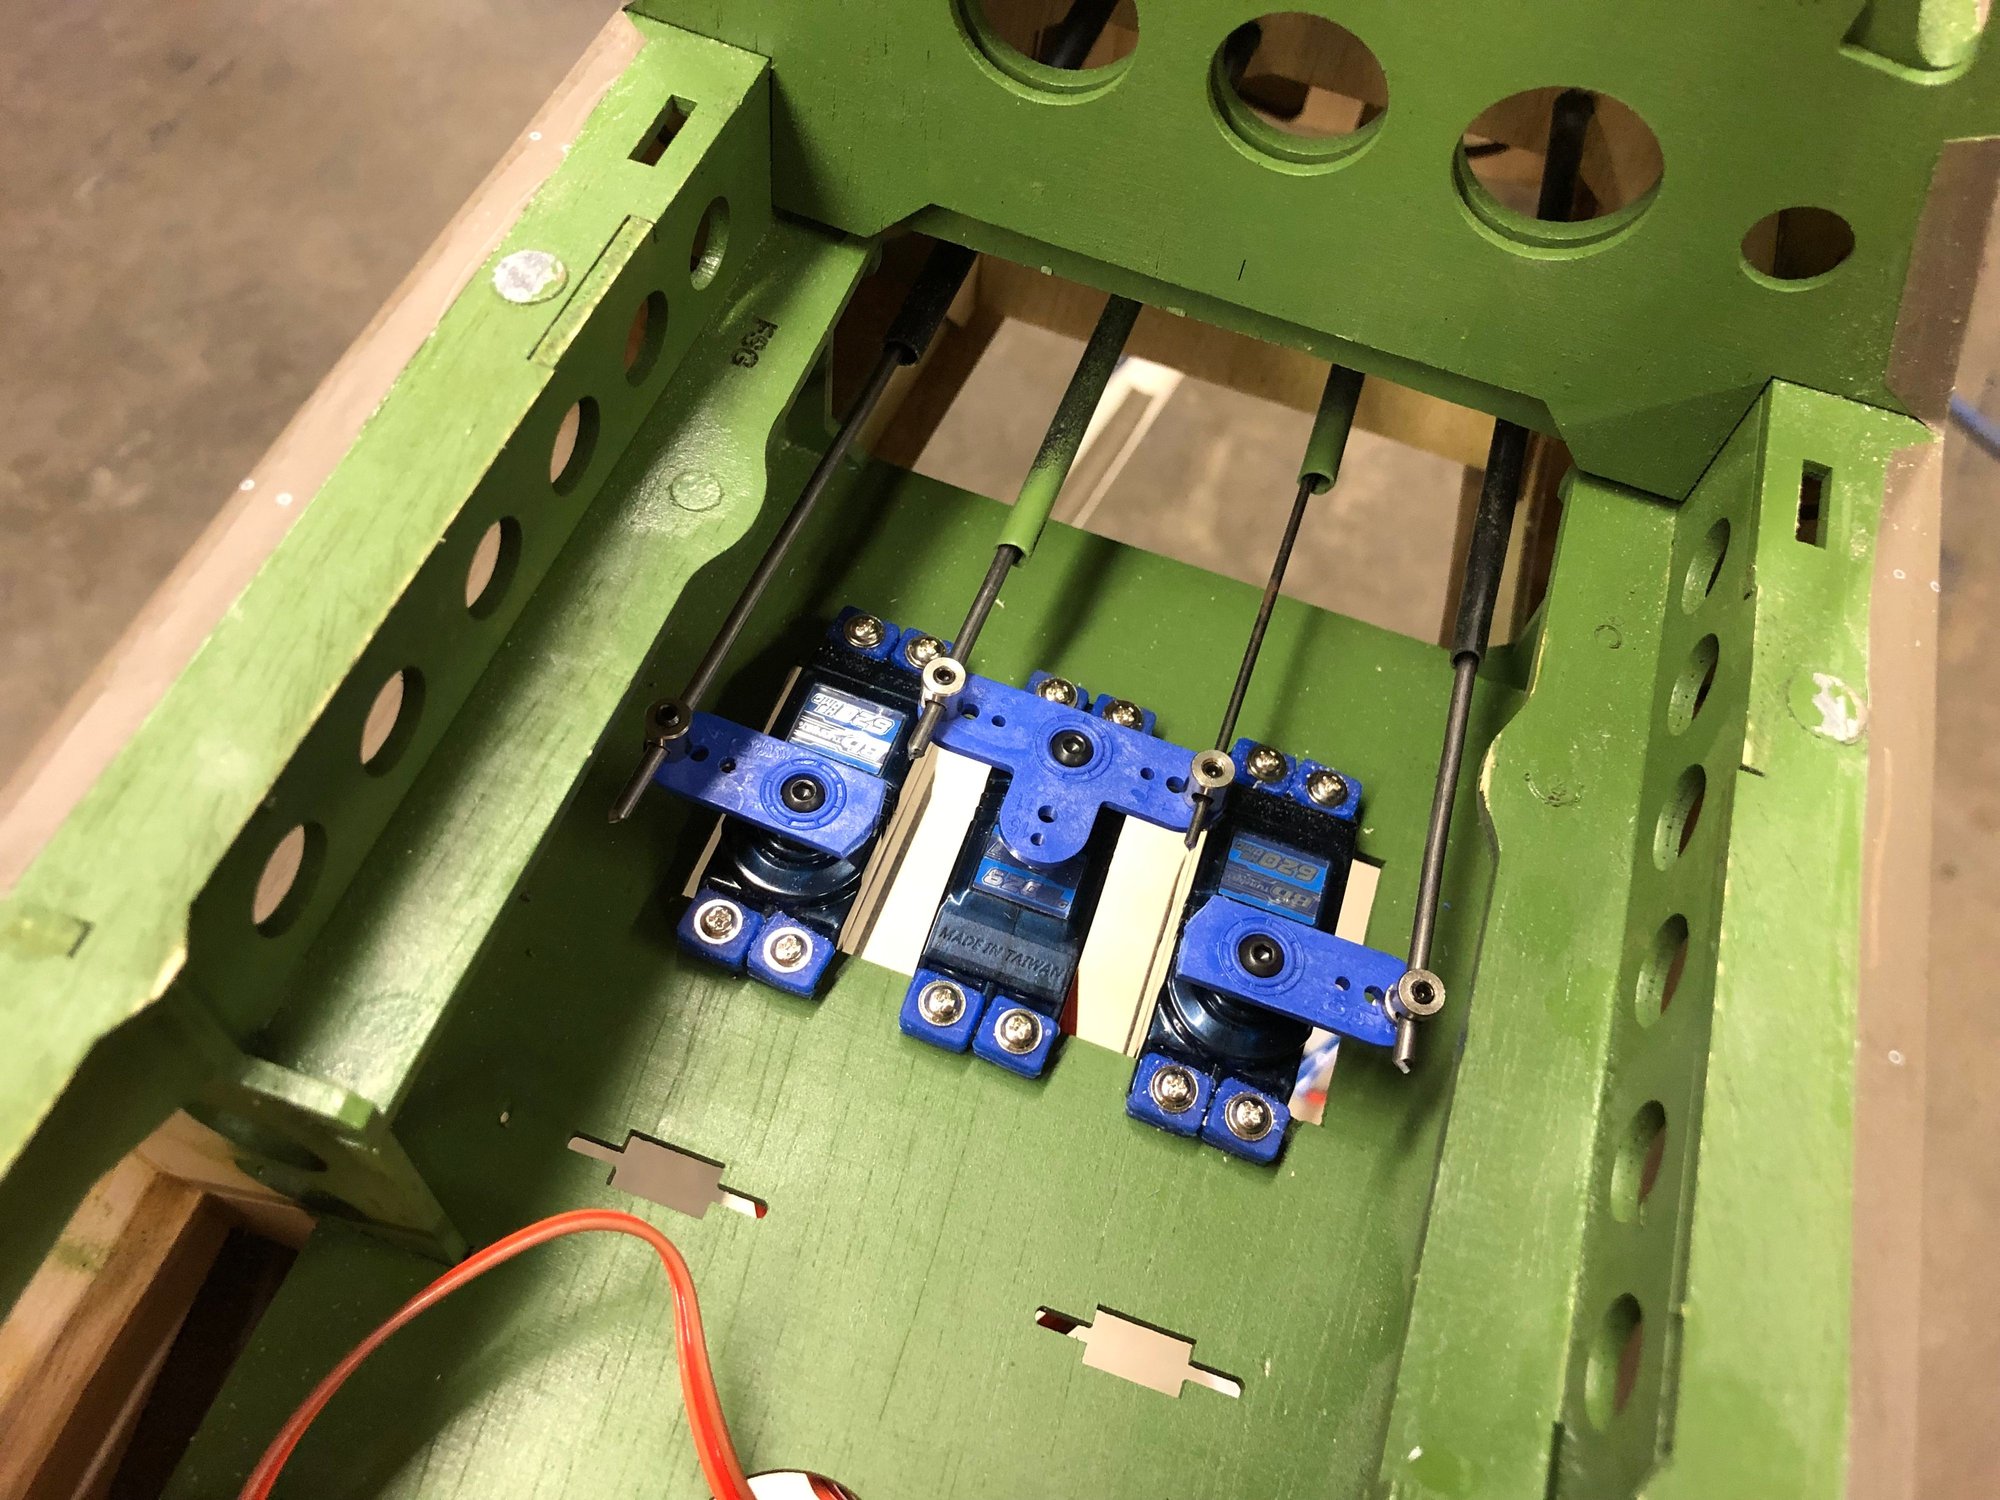
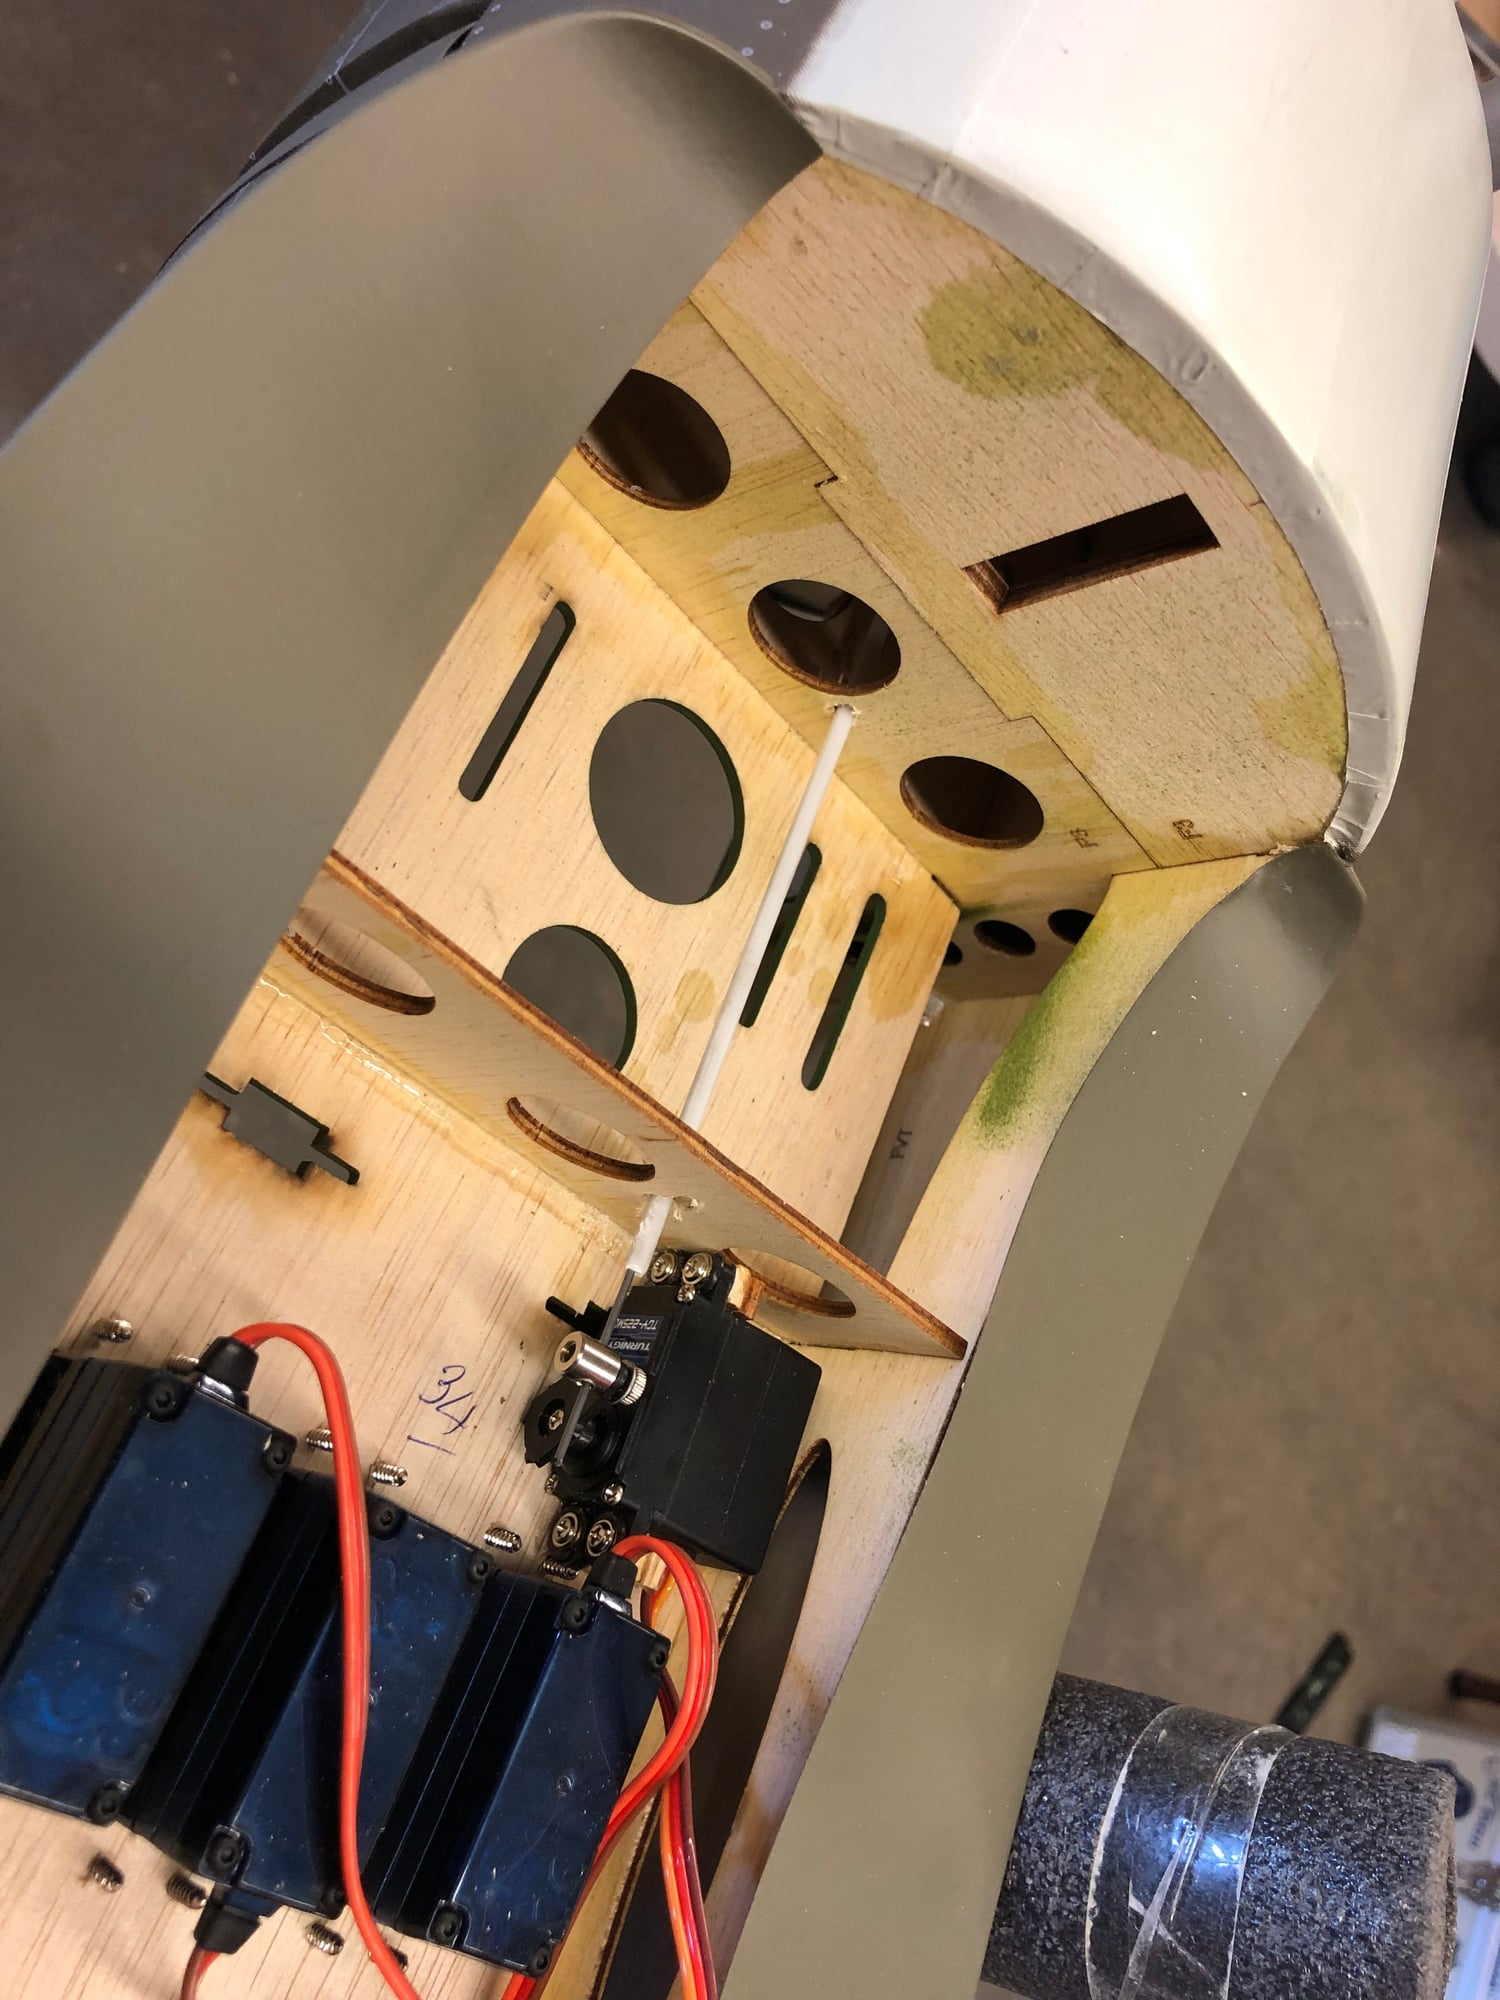
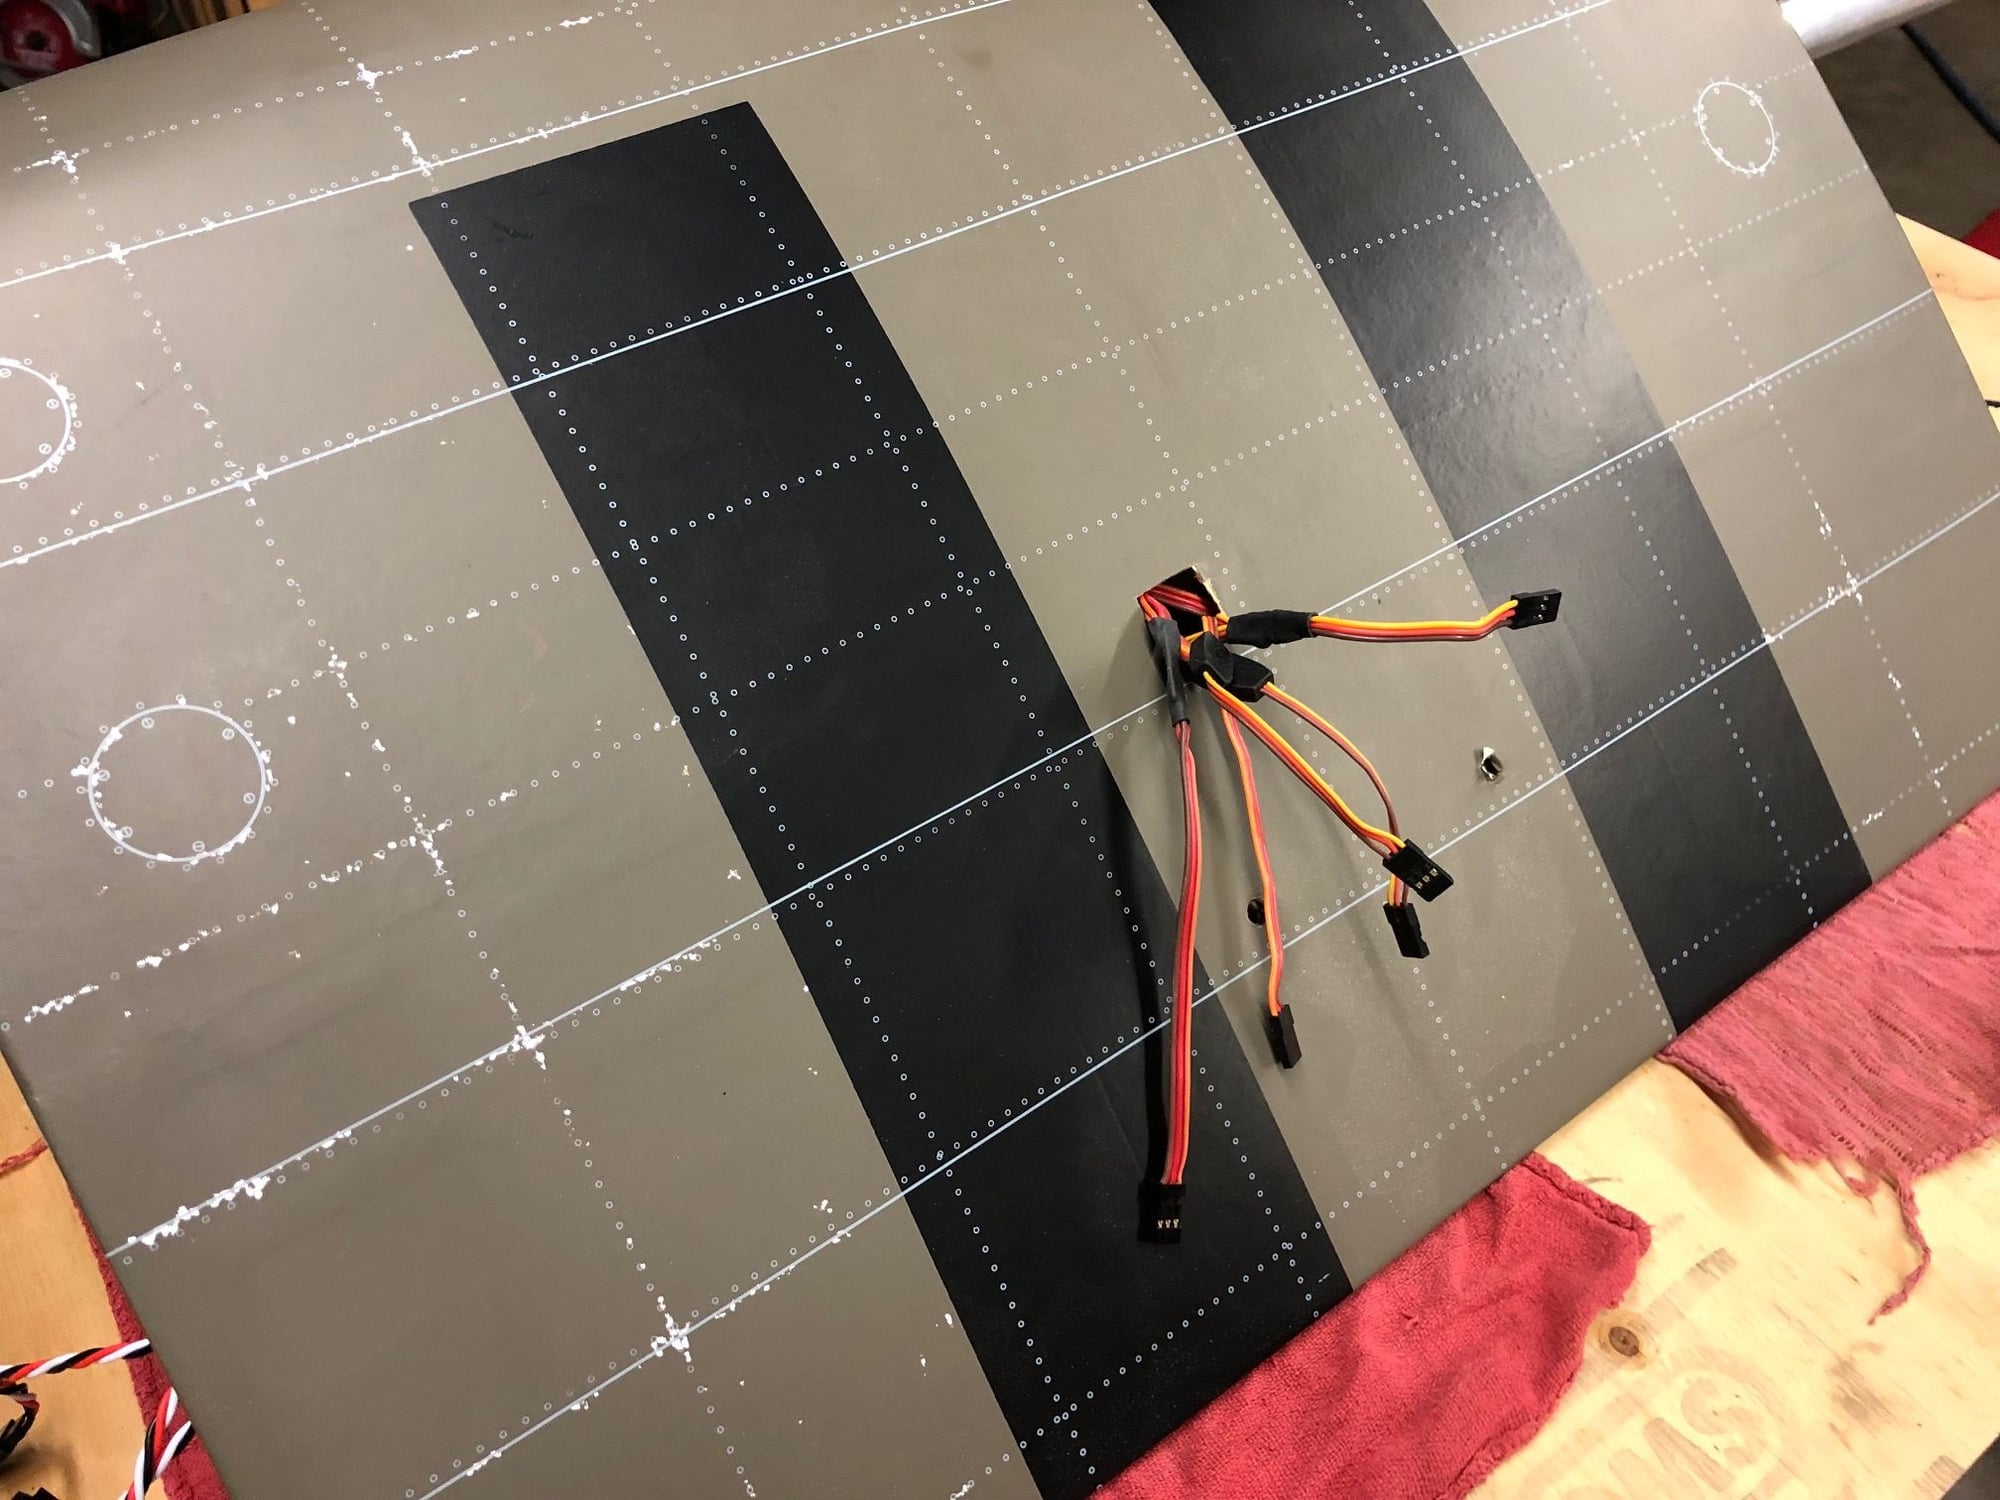
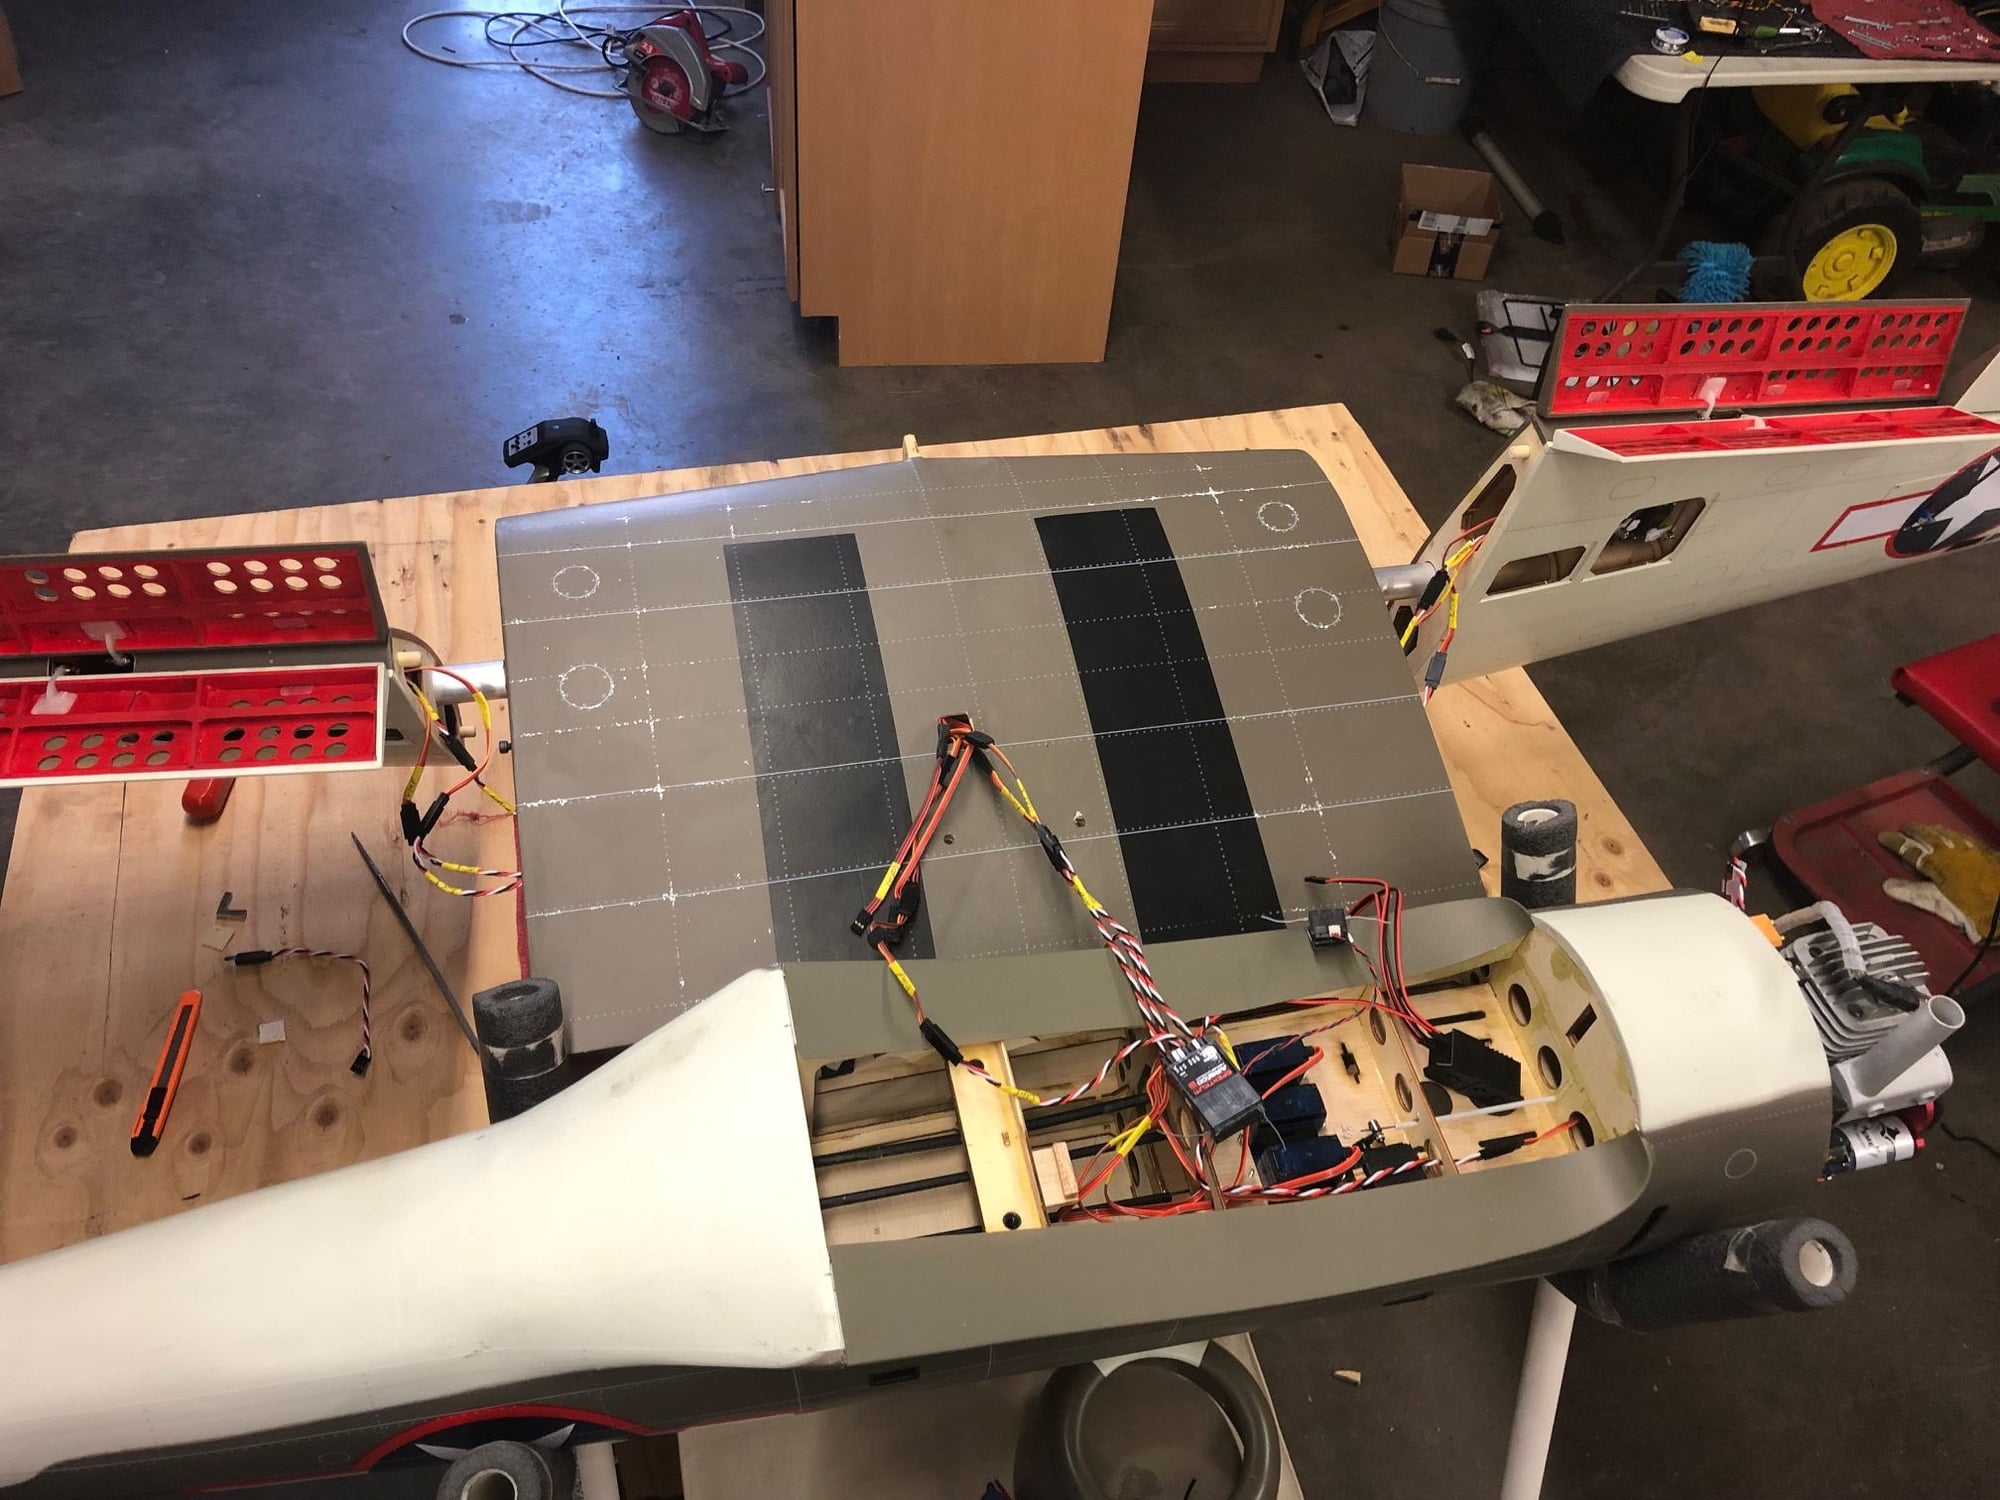
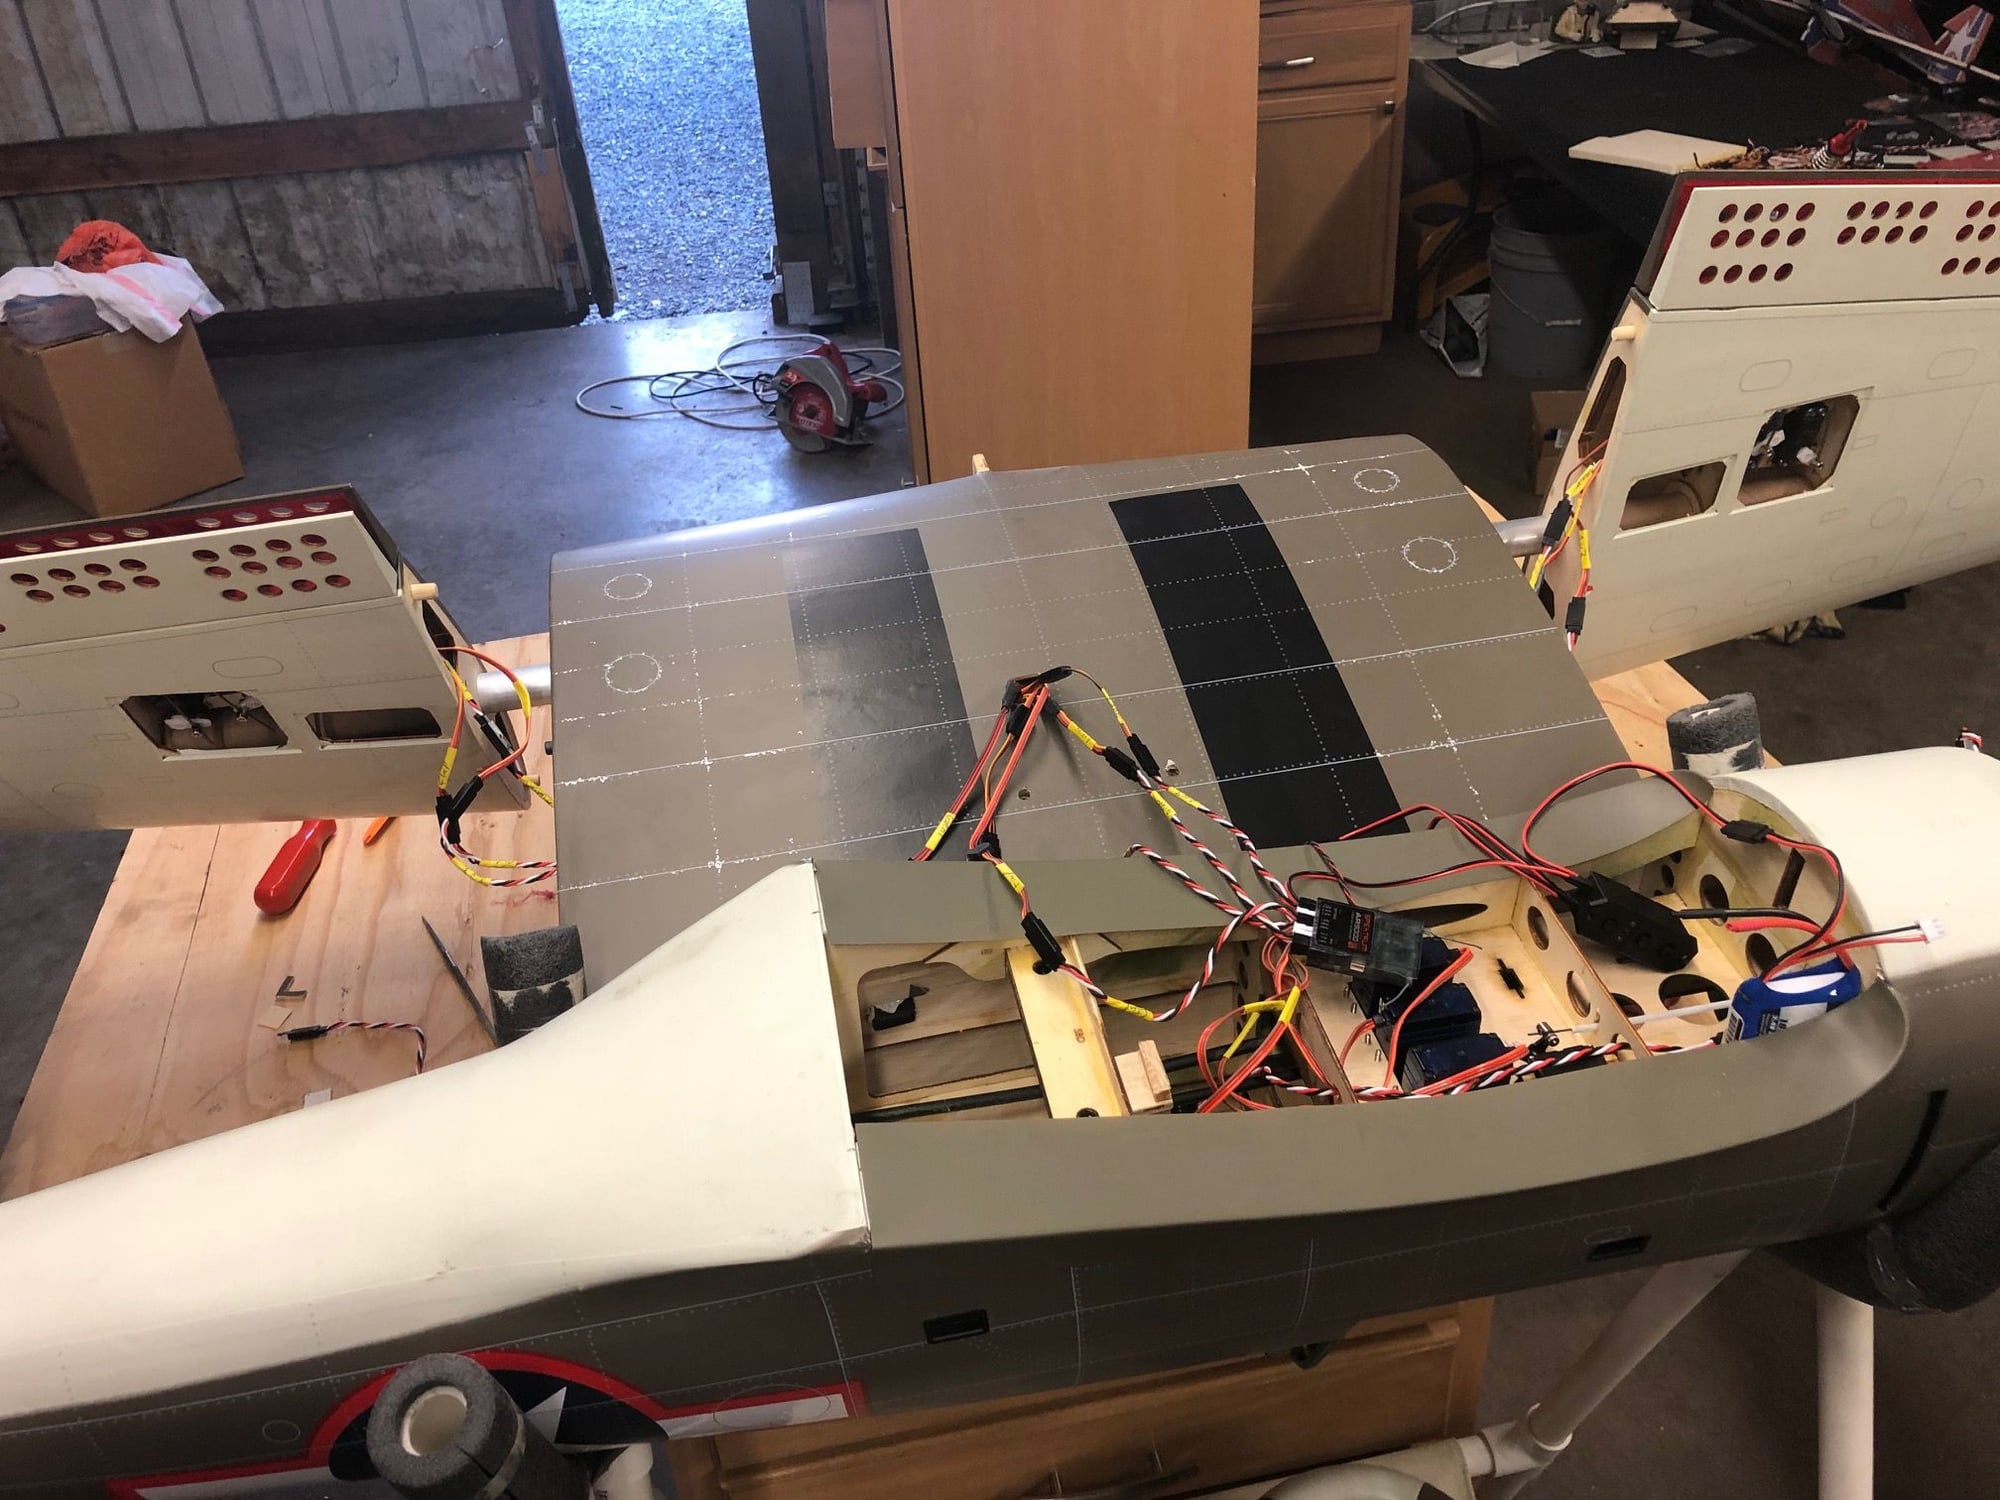
So, on the opposite wing I installed the horns on the other side of the servos, so a simple Y can be used and everything goes the right way.
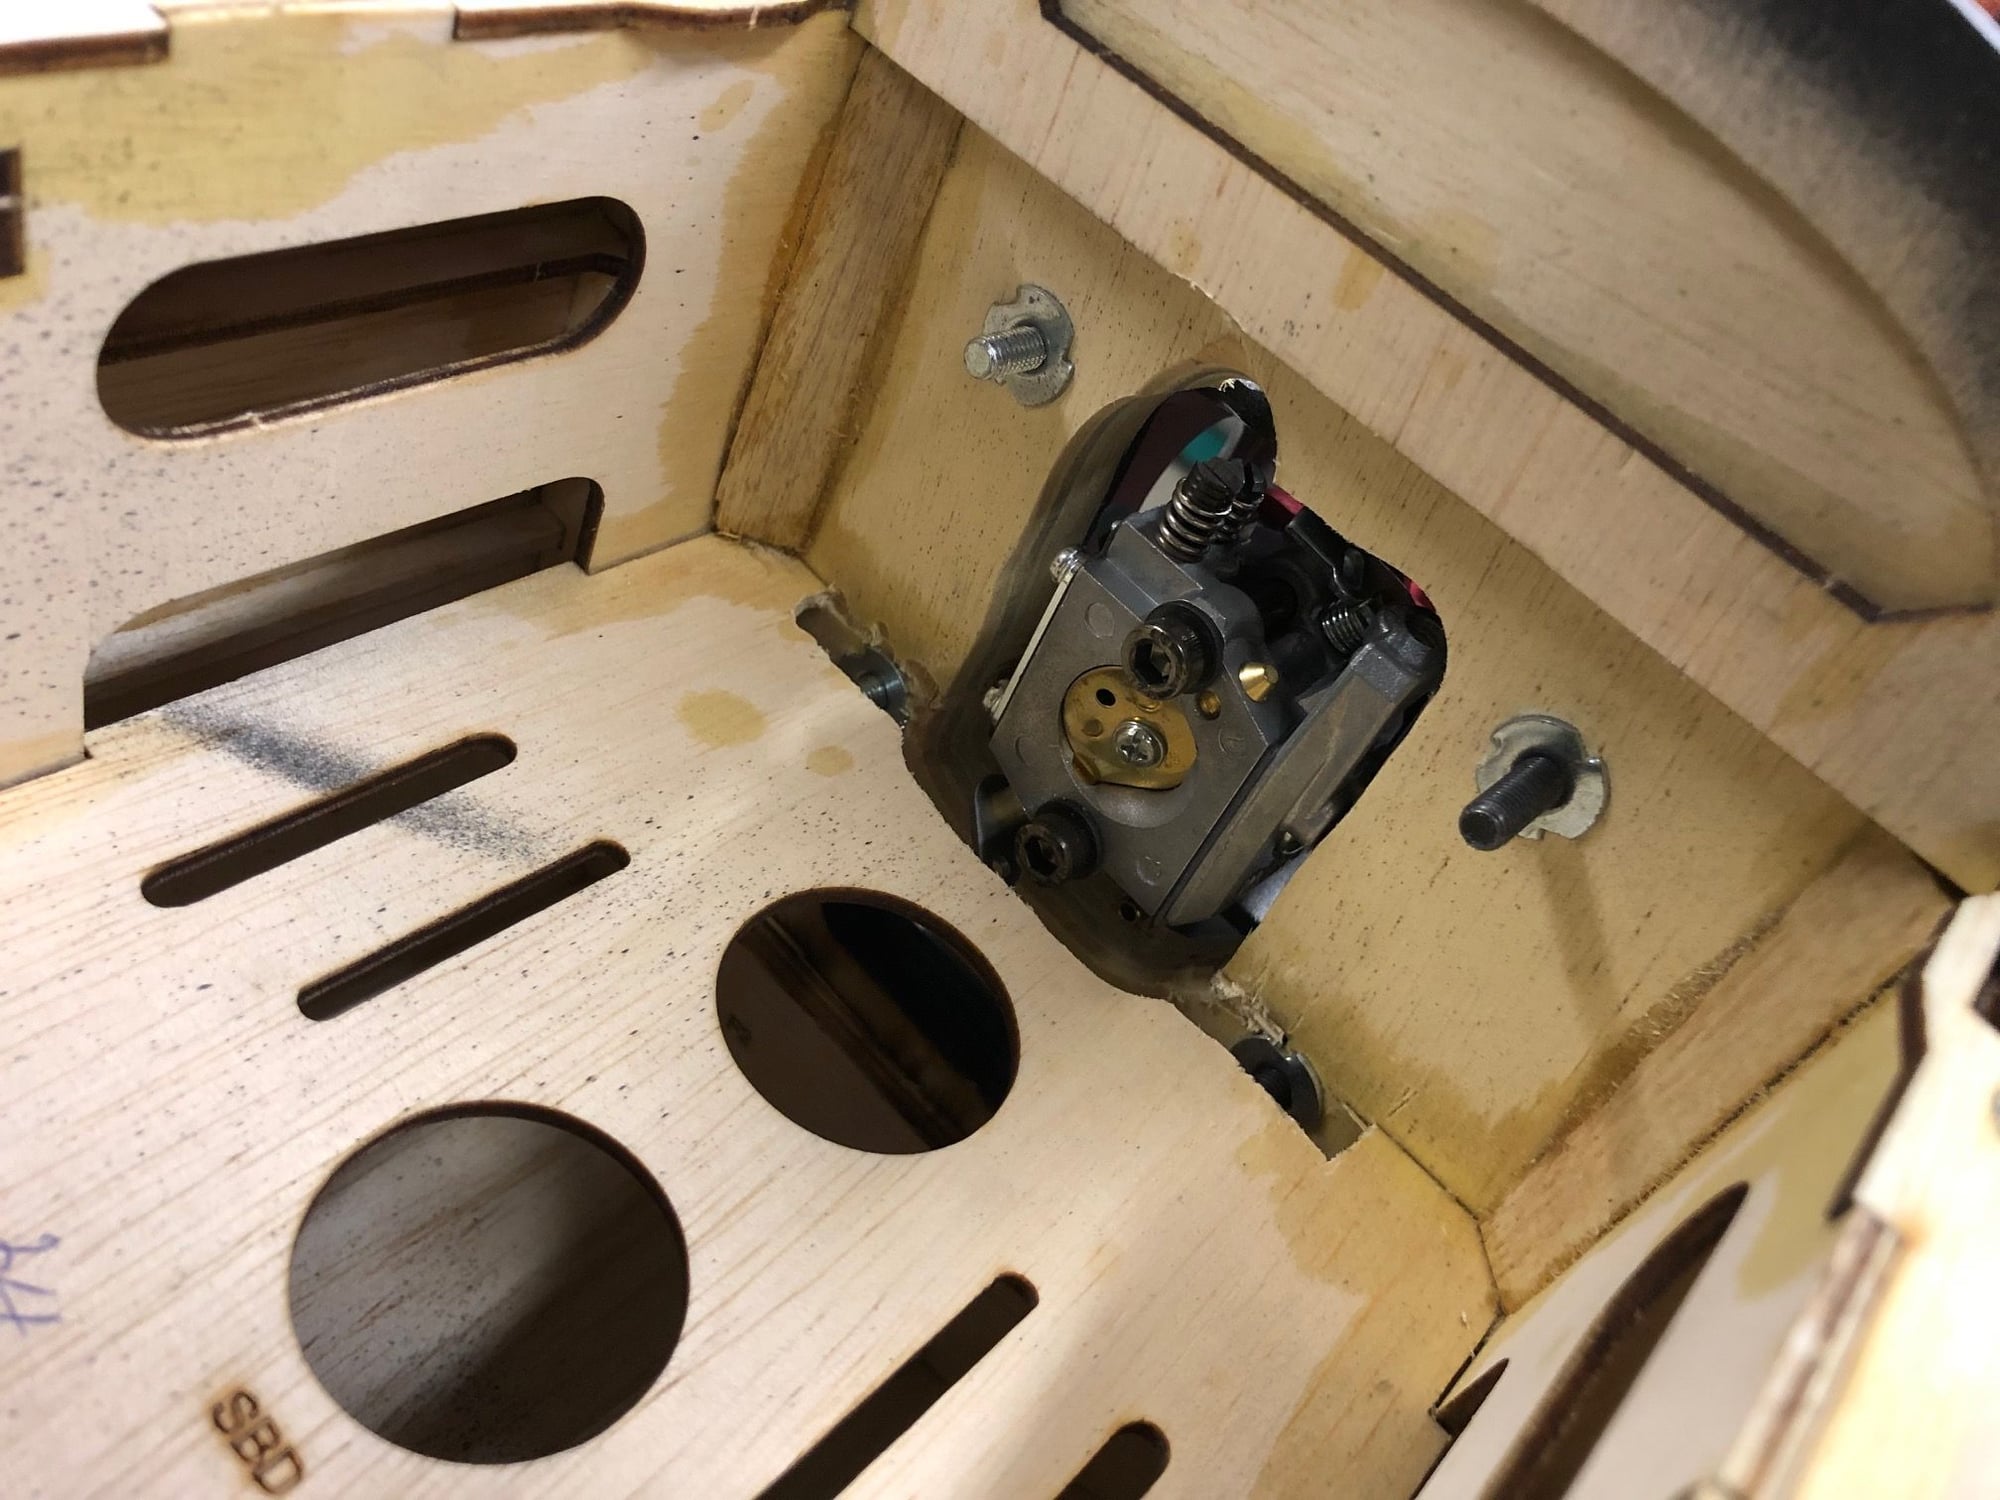
Then the fuel tank assembled, swapped out the black stopper for a GAS one, and used my own gas fuel tubing.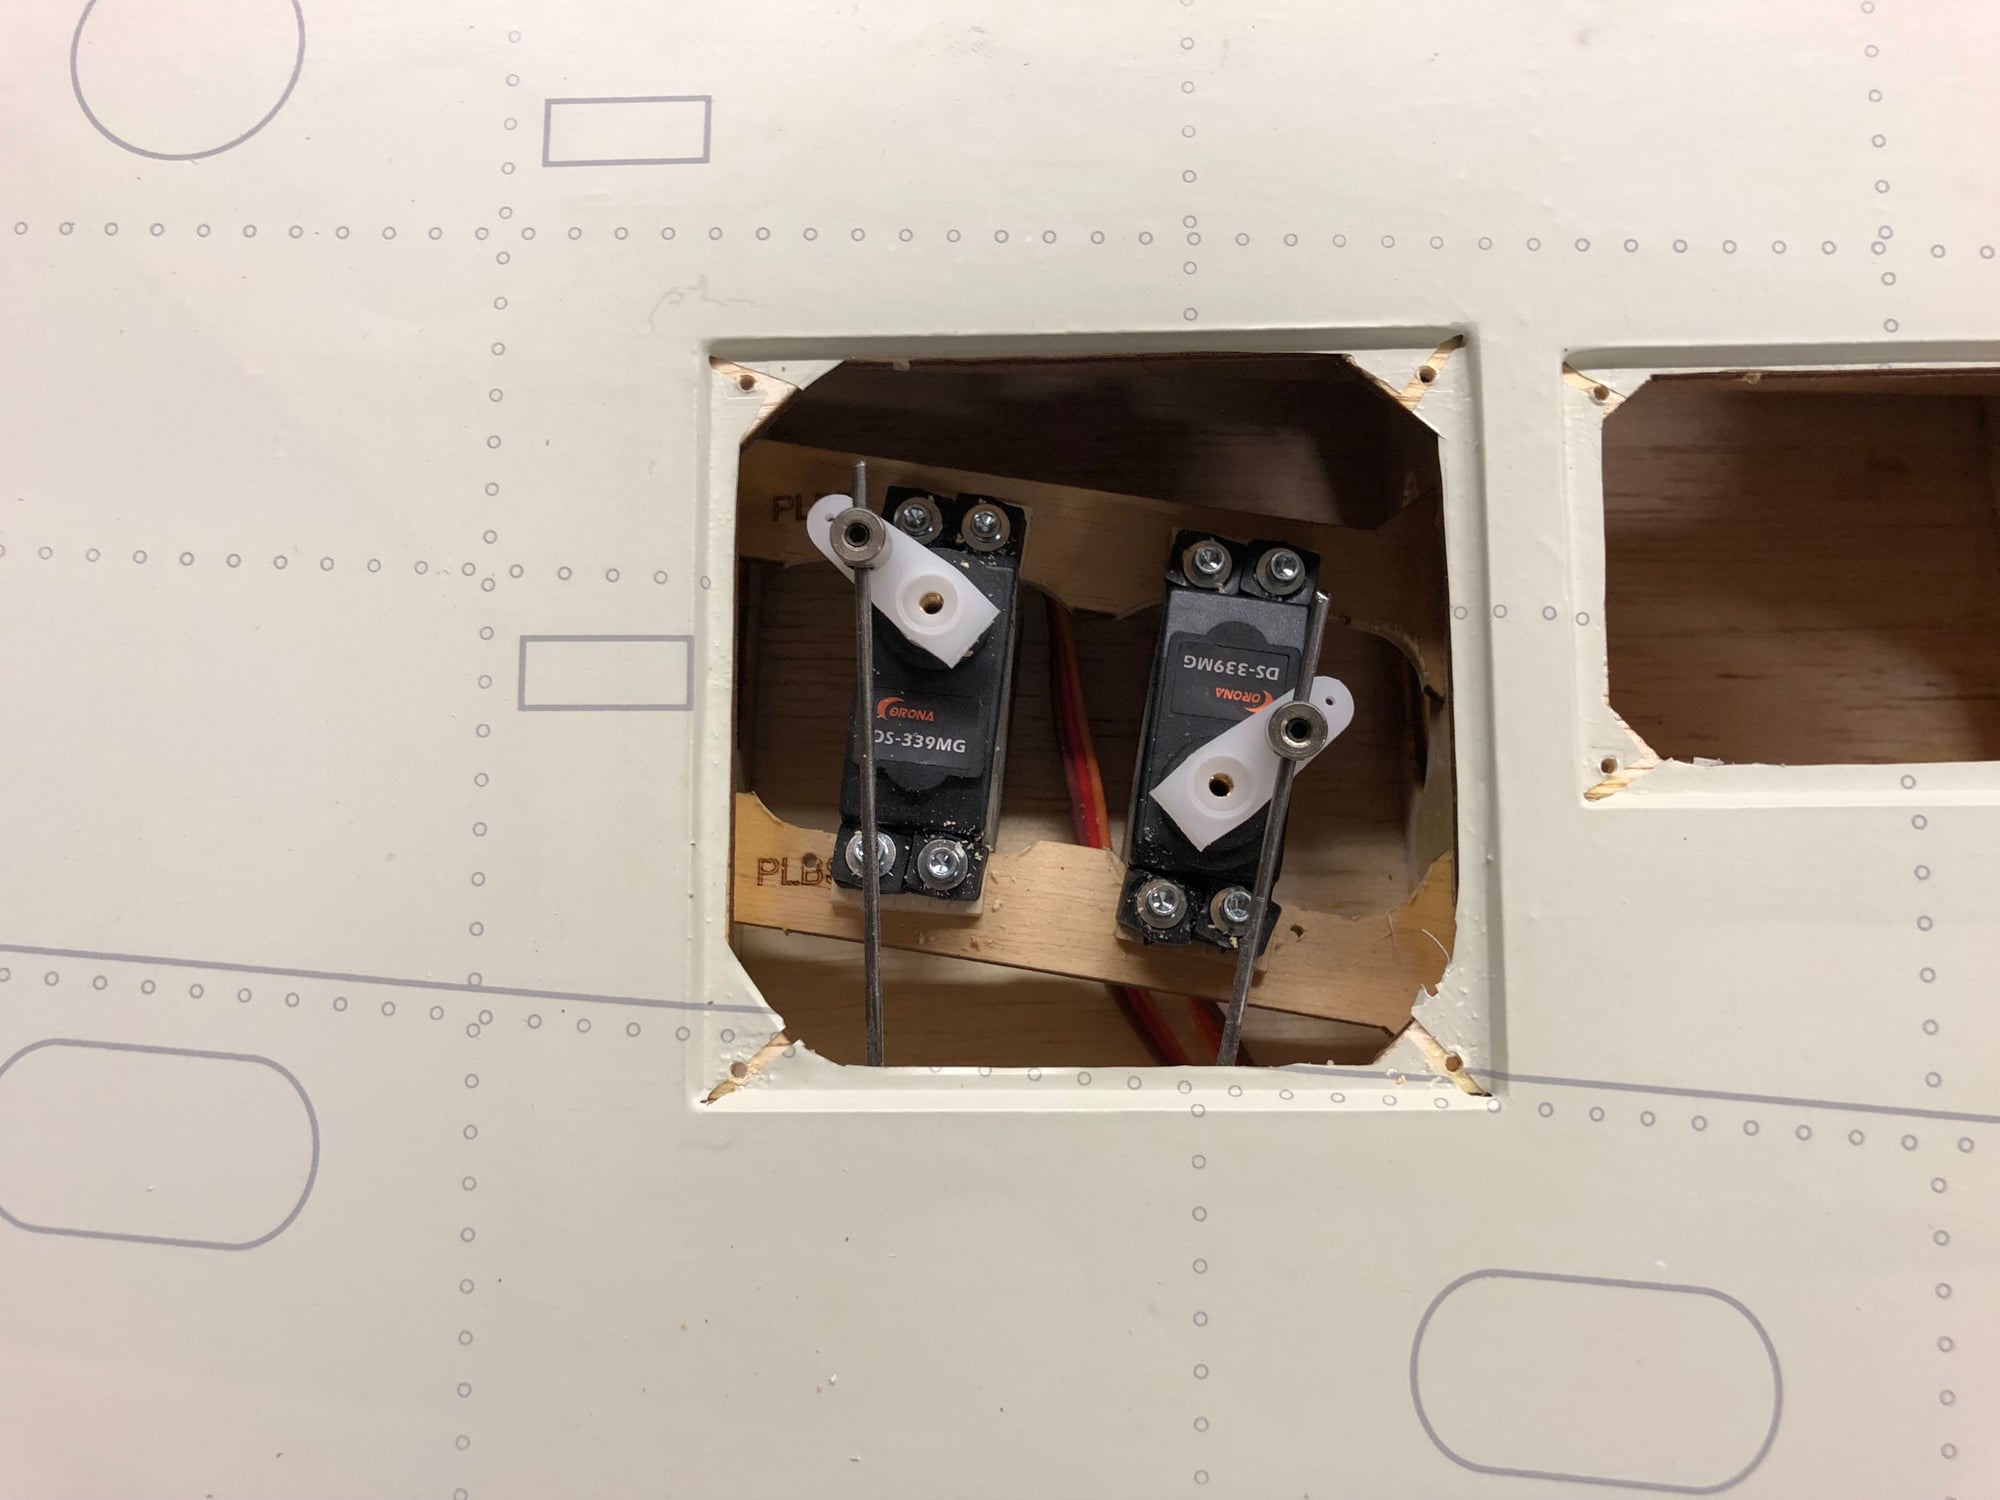
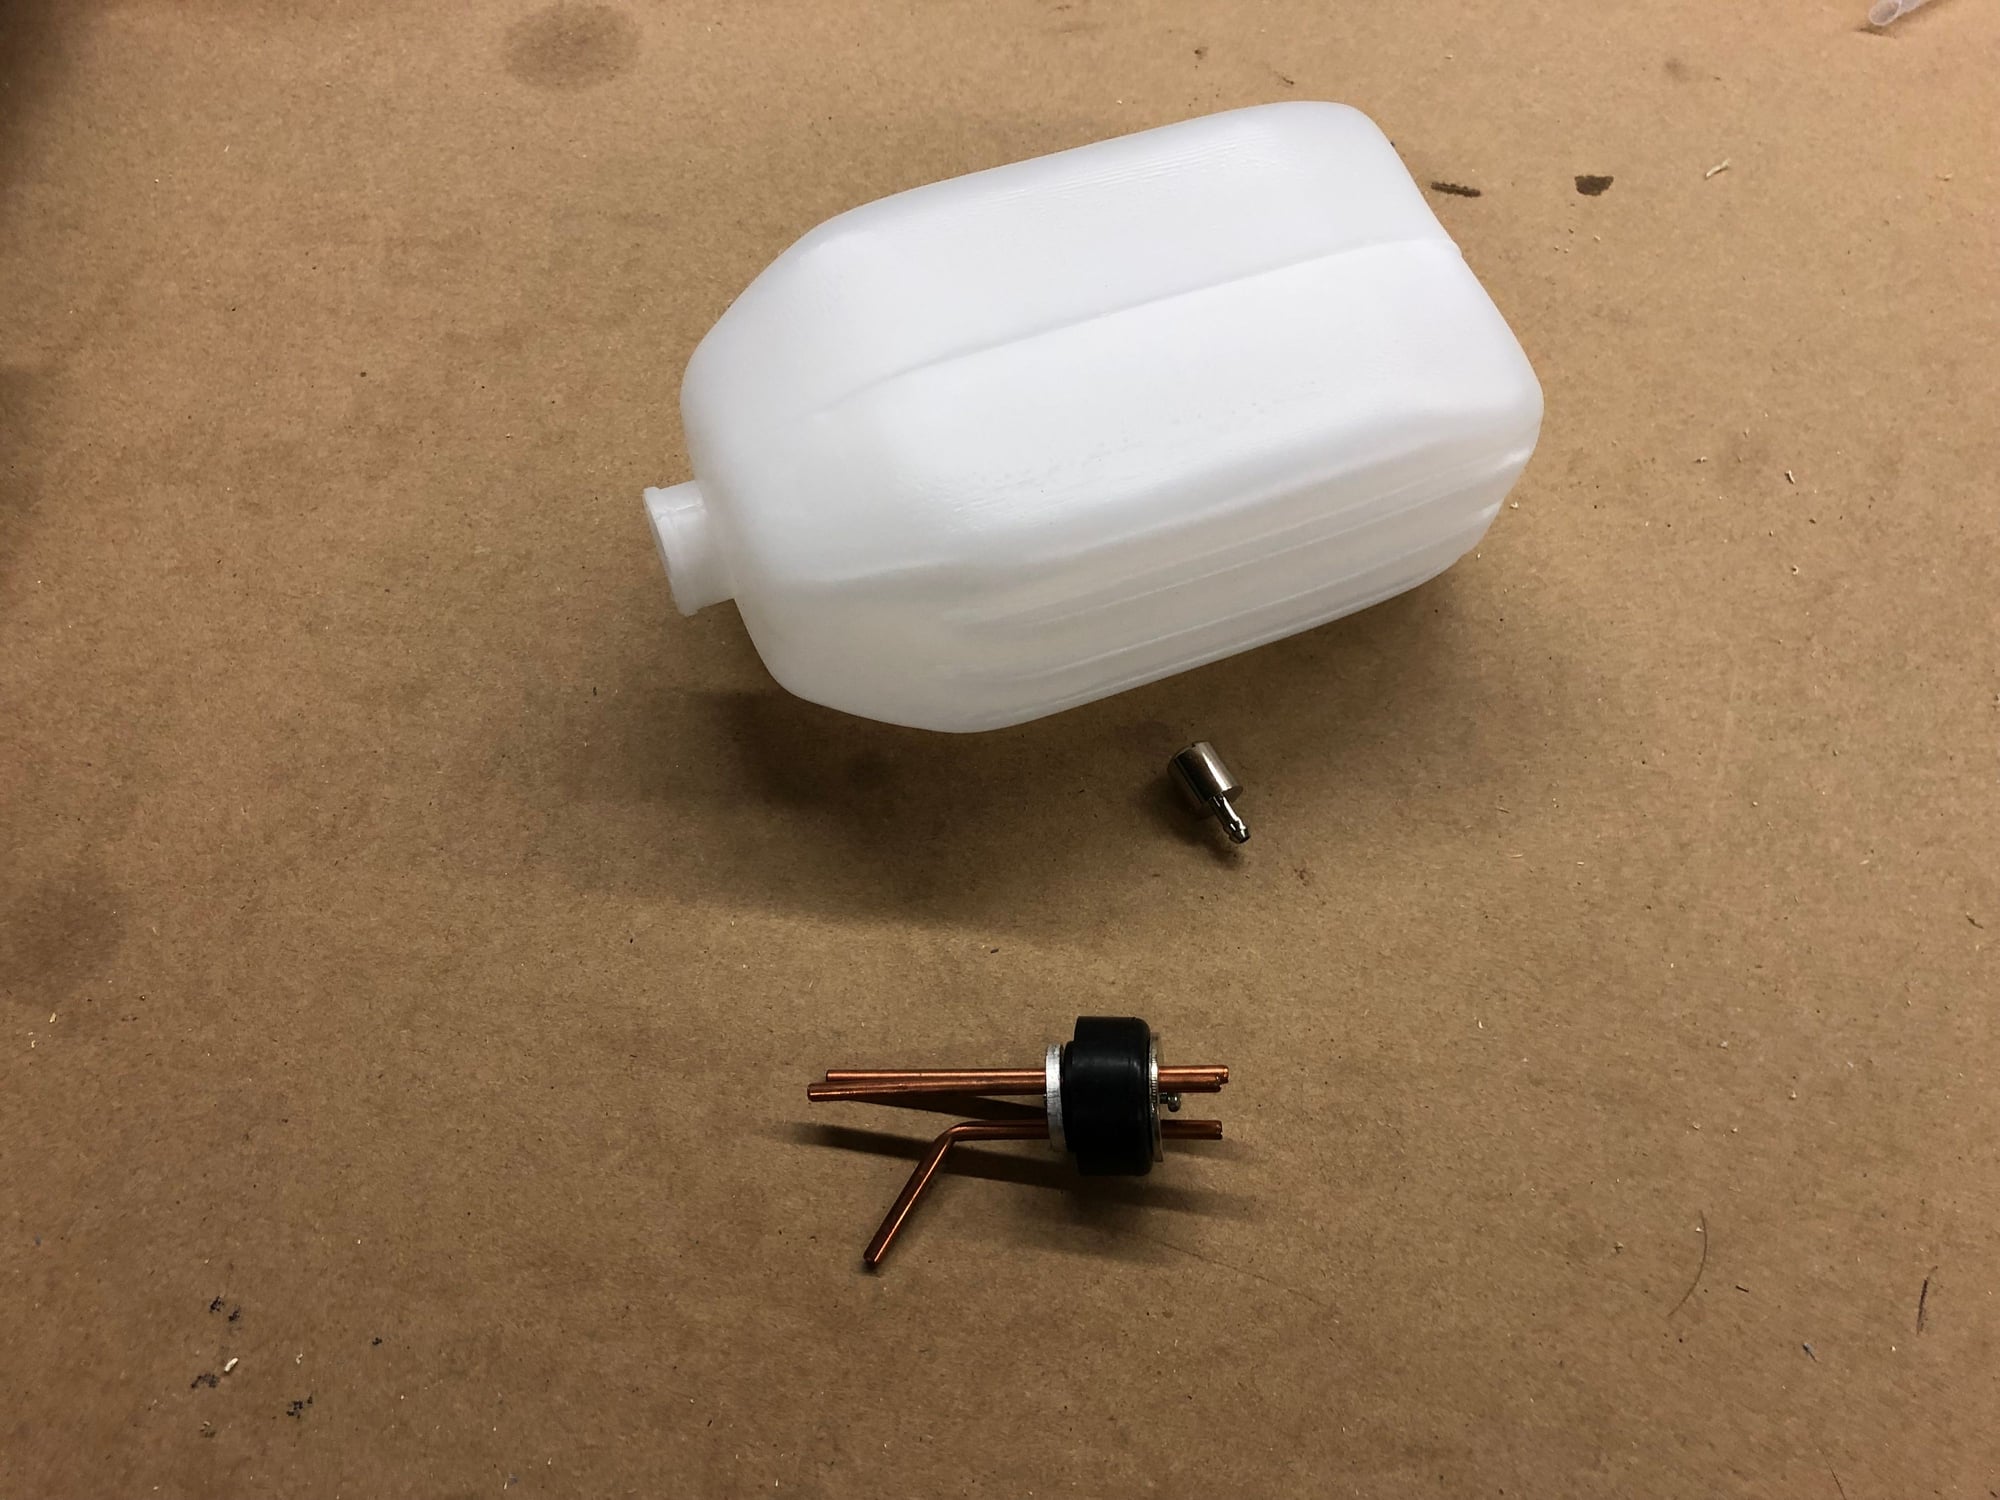
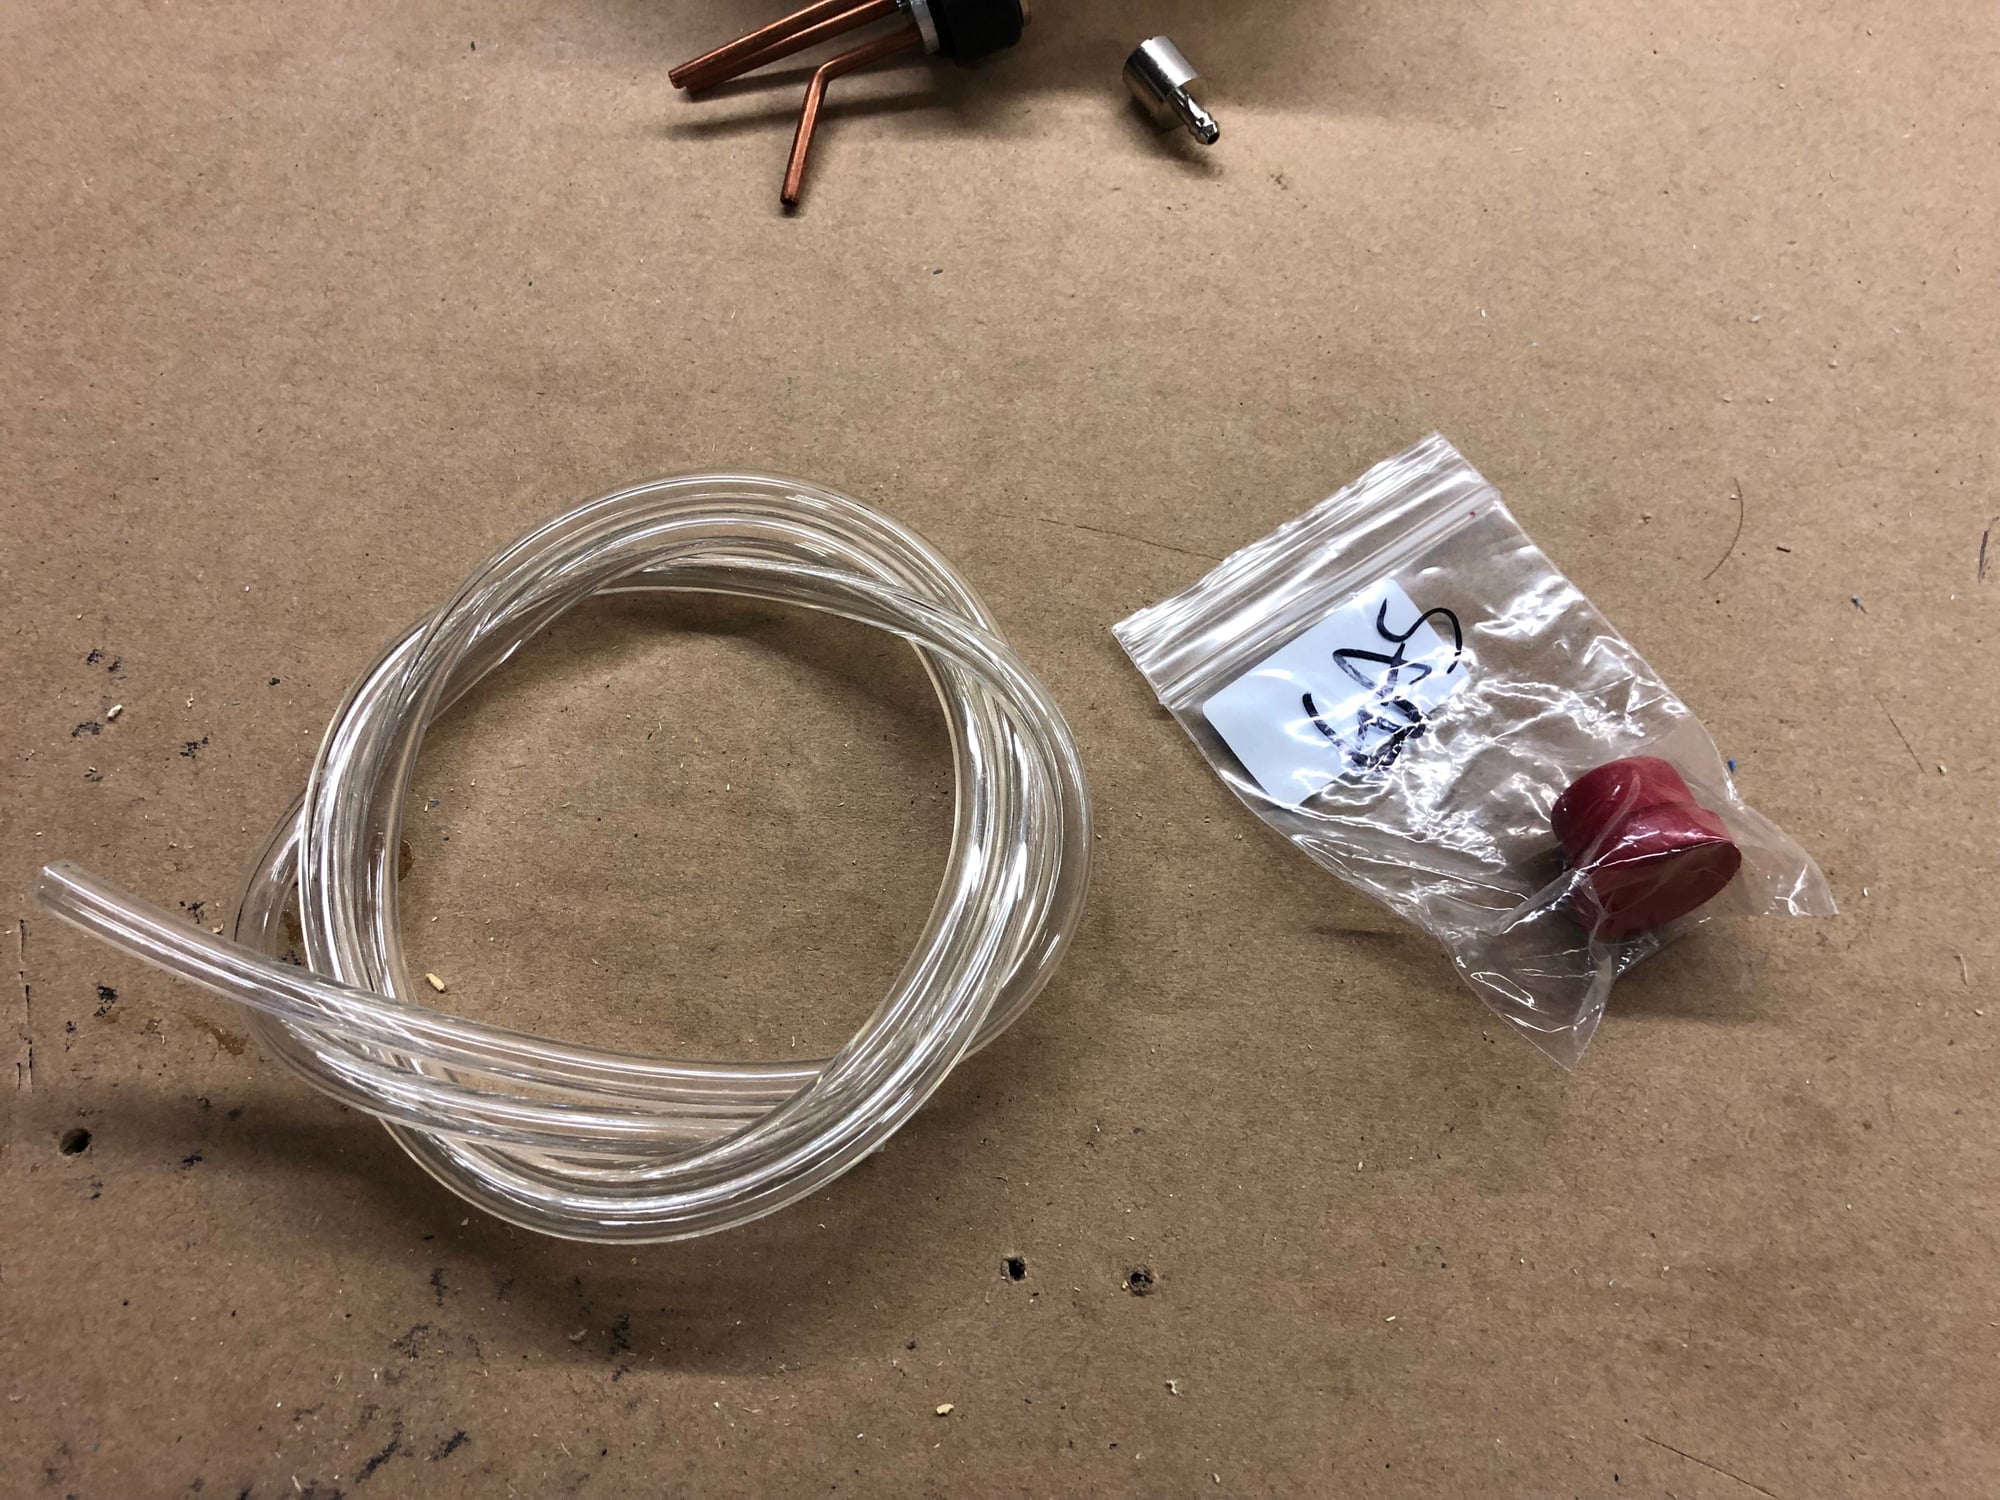
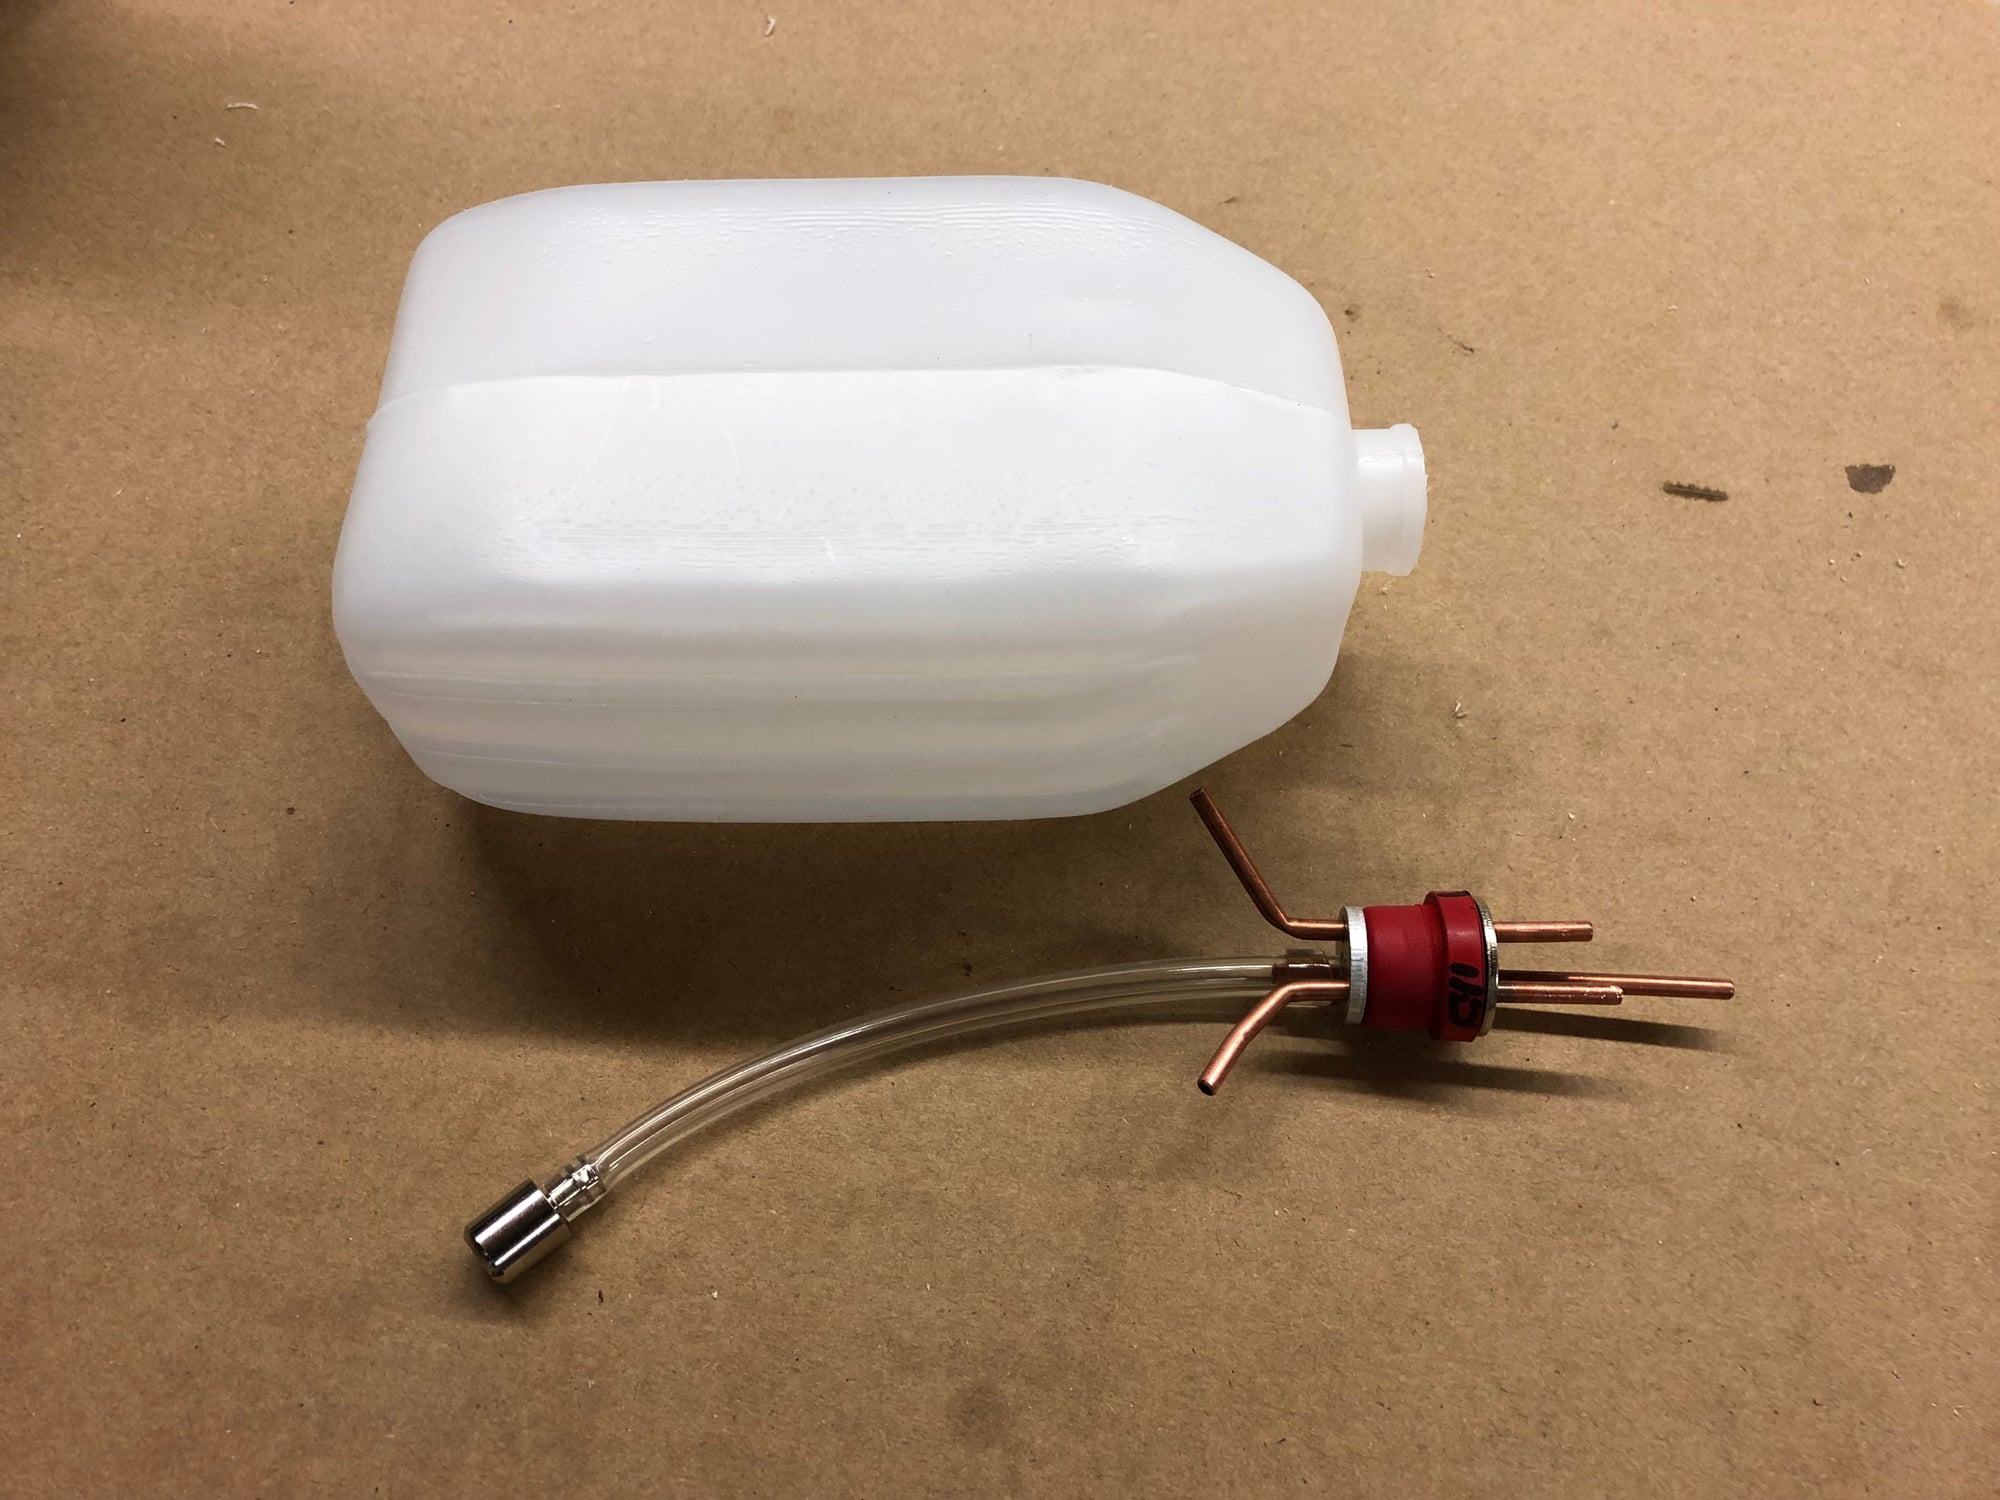

Then the fuel tank assembled, swapped out the black stopper for a GAS one, and used my own gas fuel tubing.


 07-15-2019, 11:00 AM
#17
She flies!
Things to note: Make sure you leave adequate clearance between the gear doors and the wing, and tires. I made sure I had alot of space from the tires, but not enough up at the wing, so when the gear leg moved back from the grass they snapped off. Also, add more magnets to the hatch.
Just like my VQ Bearcat, this baby flies SO GOOD! There was a little wind, and it tracked great, felt light, and was alot of fun! The 35cc is plenty of power, and ran great!!
The landing bounce is all me, I had too much expo in it, so it took too long to flare and I bounced the mains first, the second flight was much smoother, as you'll see soon enough!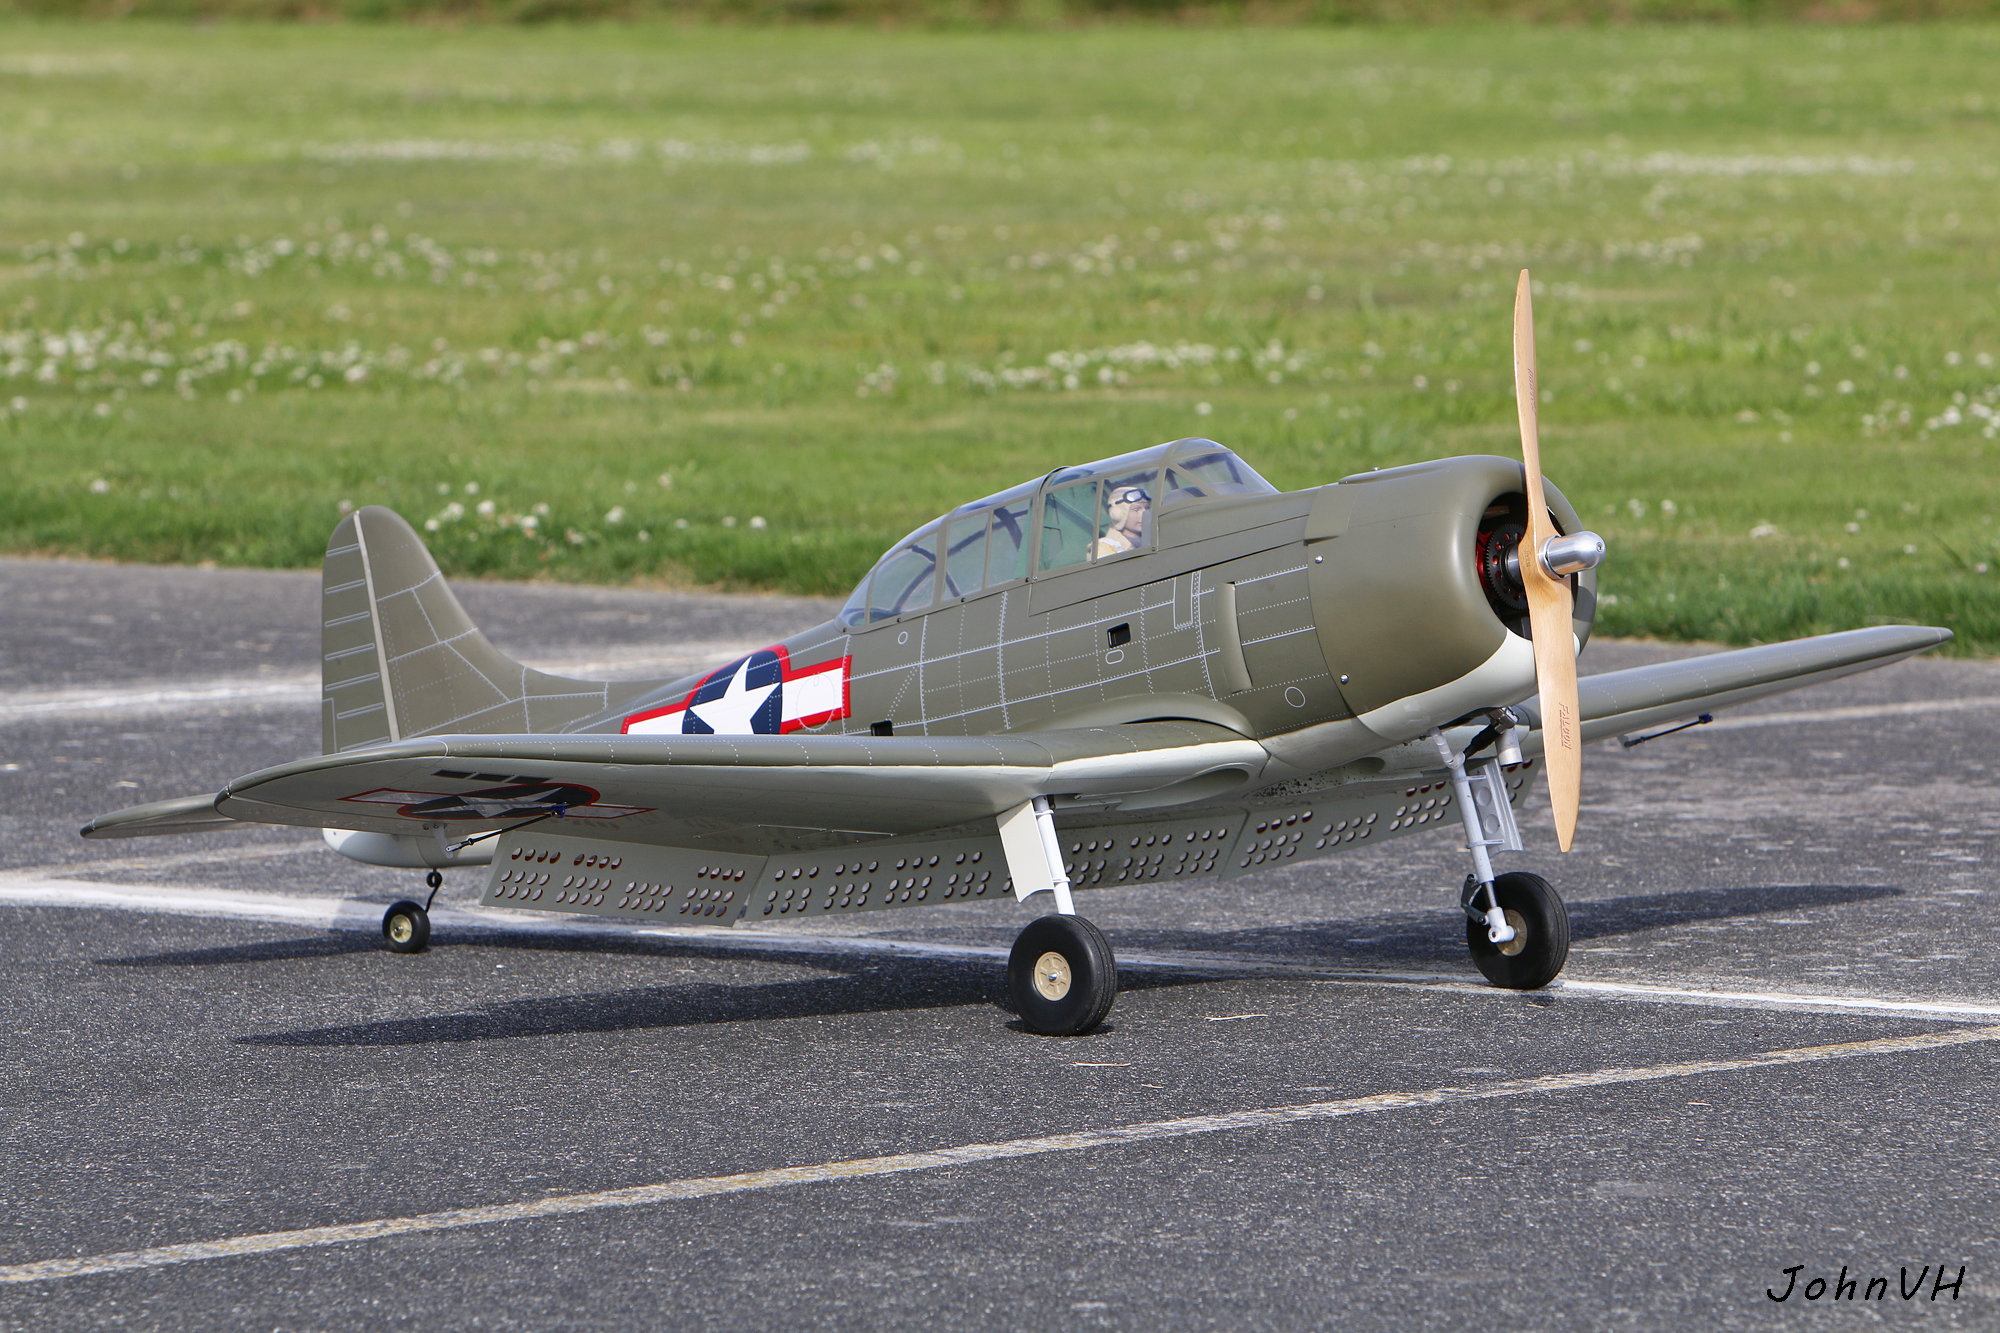
