


Hughes H1 3D Printing and Composites
 10-15-2018, 03:37 AM
#26

Thread Starter
Join Date: Aug 2016
Posts: 104
Likes: 0
Received 0 Likes
on
0 Posts
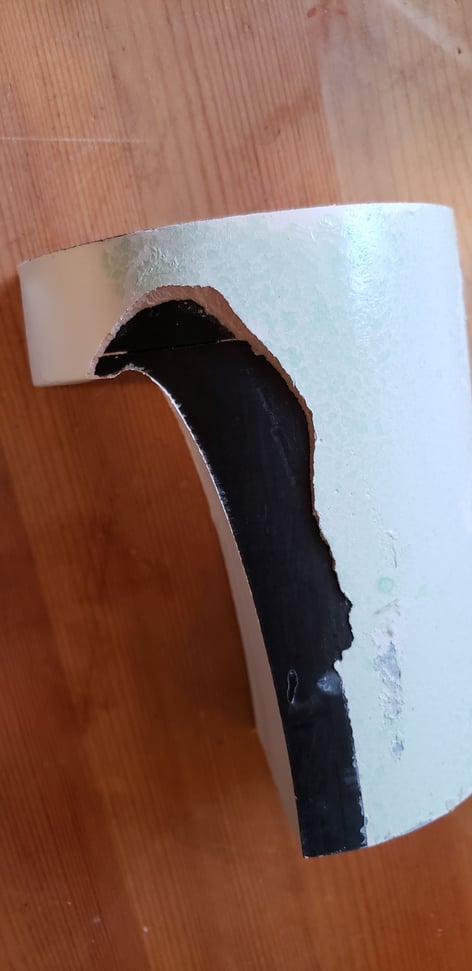
Wow. Another fail. waxing, PVA release... the PLA from the 3D printer just does not seem to have the bonding strength to hold the bondo and paint to its surface. I think the cause has more to do with the curing temperature of the poly epoxy and the PLAs reaction to the heat. I suspect the PLA is softened by the heat, and releases the bondo and paint from the surface. Bottom line, If I had made a mold from just PLA it probably would have released. Since I had to use Bondo and paint, it did not.
Going back to the drawing board sucks. I think if I want to continue with PLA I will have to blown the money on the safer epoxies or learn the CAD software better so I can learn to make the fillets and curves as part of the print. A third option, I know someone who has a large format CNC, so I might be able to make the plug out of wood as well. Anyway...
Going back to the drawing board sucks. I think if I want to continue with PLA I will have to blown the money on the safer epoxies or learn the CAD software better so I can learn to make the fillets and curves as part of the print. A third option, I know someone who has a large format CNC, so I might be able to make the plug out of wood as well. Anyway...
 10-15-2018, 07:53 AM
#27

Maybe a primer for the PLA? I wonder what would happen if you coated the print with a layer of CA glue as a primer for the bondo. Is there, perhaps, a waxy element to the PLA? I wonder what would happen if you wiped the PLA down with PVC primer first? Just tossing out some suggestions to salvage the current project. This process seems to have a lot of potential. I'm still way down low on the CAD learning curve myself so I can say that it always helps to learn a little more.
Even if the Bondo and paint didn't stick to the plug if they were well prepped it should be possible to remove the material from the mold. Is it salvageable?
Even if the Bondo and paint didn't stick to the plug if they were well prepped it should be possible to remove the material from the mold. Is it salvageable?

 10-15-2018, 11:39 AM
#29
Thread Starter
Join Date: Aug 2016
Posts: 104
Likes: 0
Received 0 Likes
on
0 Posts
I could get the bondo out of the mold as you said, but the plug and the mold were destroyed in the process. I think I am going to try this again, but with safer epoxy. Perhaps I might try with a less exotic shape, maybe the aerocommander. Pretty simple lines.

 10-15-2018, 05:29 PM
#32
Thread Starter
Join Date: Aug 2016
Posts: 104
Likes: 0
Received 0 Likes
on
0 Posts
10-15-2018, 05:46 PM
#33
I have done one mold off of a printed part. It was primed with an epoxy based primer and sanded down to 600 grit wet and then was waxed and a coat of PVA applied. I think the issues you are having is due to your use of polyester products. My suggestion would be to start over and print a new plug, do any filling nesessary with a laminating epoxy/ cabosil paste and then prime with an epoxy primer such as Klass Kote. Finish sand with at least 600 grit, wax with a PVA compatible wax such as Partall #2 with 5 coats and then apply PVA. On such a small model I suggest using a foam craft brush without diluting the PVA. Most of this is covered in that thread.
10-15-2018, 06:57 PM
#34
Thread Starter
Join Date: Aug 2016
Posts: 104
Likes: 0
Received 0 Likes
on
0 Posts
I think the epoxy based primer is the key. I like your idea on the cabosil, I have quite a bit. Way cheaper then fairing compound, although I wonder if it shapes the way bondo does. The nice thing about bondo is that I can mix it to cure in minutes which allows me to quickly built up the fillets.
thanks for the tips!
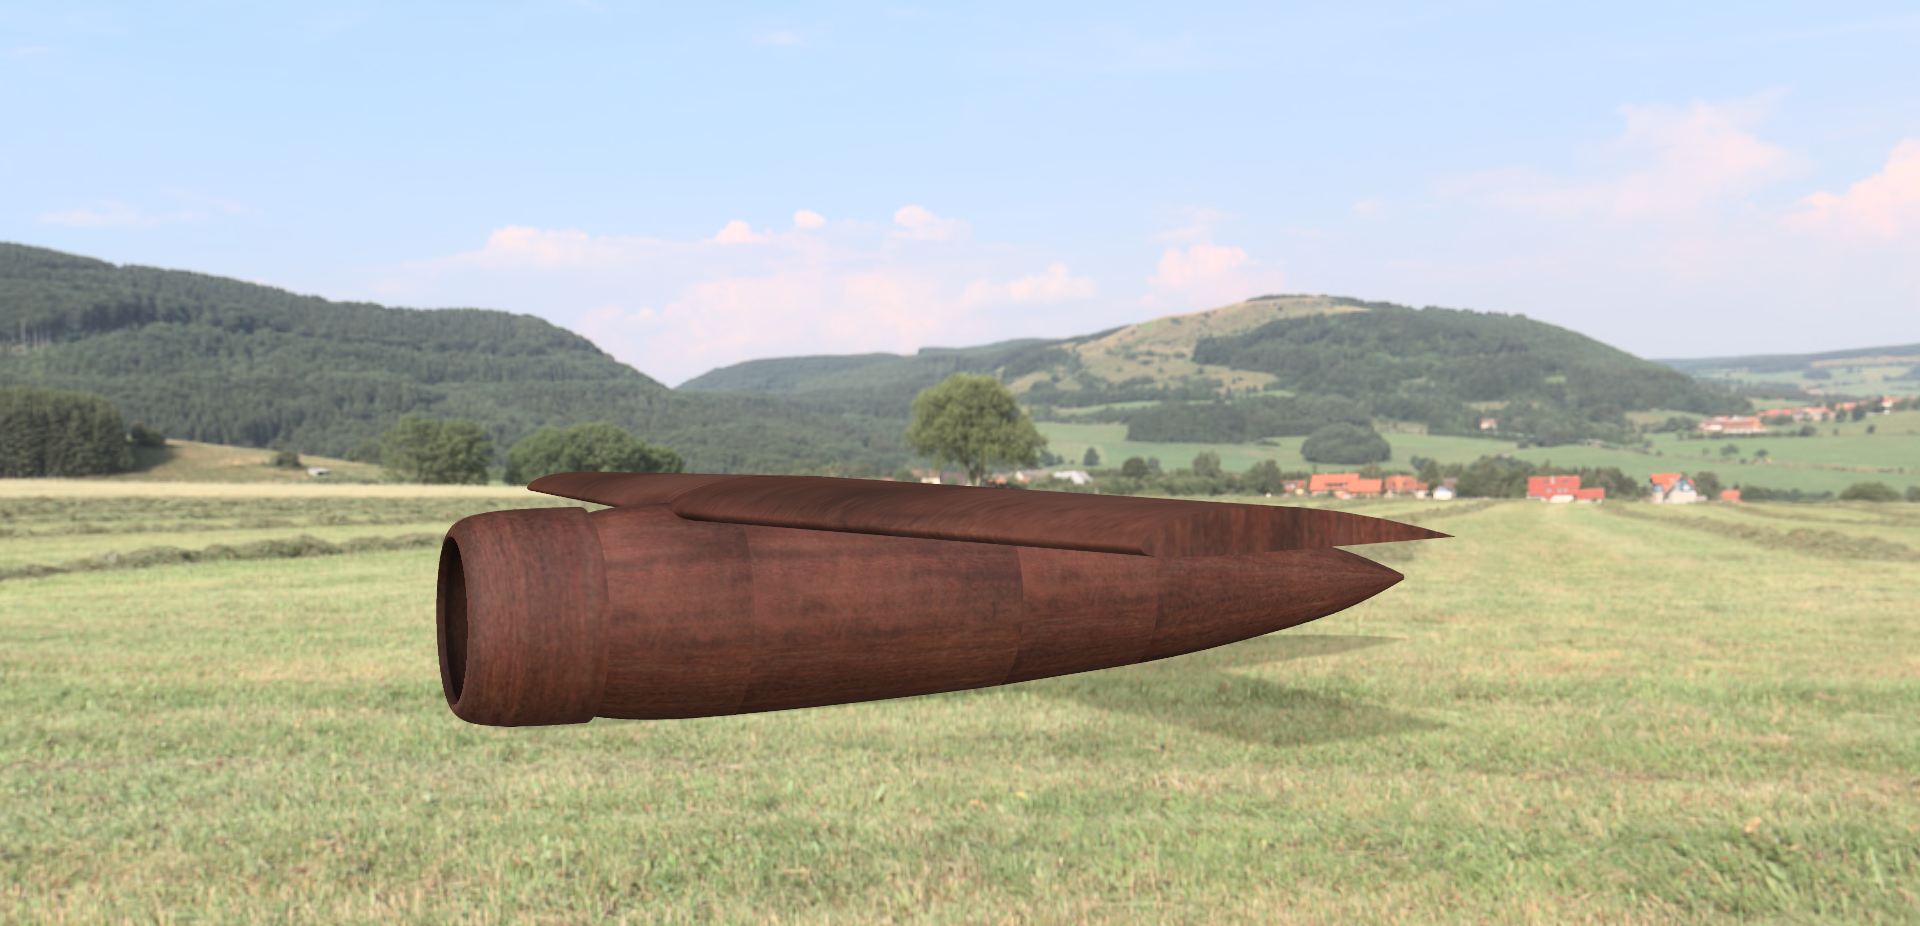
I am going to play with some basic PLA stuff until I find a technique that works. On the side I decided to do a Vega because a fuselage does not get any simpler then that. The left and right are identical, just rotated 180 degrees. Meaning, same molds, the cut the wing slot and cockpit out after pulling the parts.
thanks for the tips!
I am going to play with some basic PLA stuff until I find a technique that works. On the side I decided to do a Vega because a fuselage does not get any simpler then that. The left and right are identical, just rotated 180 degrees. Meaning, same molds, the cut the wing slot and cockpit out after pulling the parts.
10-15-2018, 07:27 PM
#35
Well Bondo is nice for saving time because it does kick quickly and it sands easily too. However it is polyester based. It appears to dry fast but the reality is that it will continue to gas off for weeks. This is what is causing your issues. It's a phenomenon called styrene migration. The two polyester based materials are continuing to gas off and are reacting with the PVA. The PVA is supposed to be a barrier when used in conjunction with the wax. If your plug is allowed to sit for a couple weeks and then sealed with a catalyzed paint then you may end up being OK with a polyester mold but then you will have issues with your mold shrinking and warping. It really is best to just bite the bullet and work with all epoxy based products.
10-16-2018, 07:34 AM
#36
Well, the mention of styrene migration prompted an internet dive. I wish I had taken organic chemistry back in college. Styrene monomers are some pesky little dudes. There is some good info on the topic at fiberglasssupplydepot dot com and at compositesworld dot com. I had to get through three pages of searching through sites talking about how styrofoam cups are bad for you to find it but the info is there.
10-16-2018, 05:16 PM
#37
Thread Starter
Join Date: Aug 2016
Posts: 104
Likes: 0
Received 0 Likes
on
0 Posts
Well Bondo is nice for saving time because it does kick quickly and it sands easily too. However it is polyester based. It appears to dry fast but the reality is that it will continue to gas off for weeks. This is what is causing your issues. It's a phenomenon called styrene migration. The two polyester based materials are continuing to gas off and are reacting with the PVA. The PVA is supposed to be a barrier when used in conjunction with the wax. If your plug is allowed to sit for a couple weeks and then sealed with a catalyzed paint then you may end up being OK with a polyester mold but then you will have issues with your mold shrinking and warping. It really is best to just bite the bullet and work with all epoxy based products.

 10-20-2018, 06:09 PM
#39
Thread Starter
Join Date: Aug 2016
Posts: 104
Likes: 0
Received 0 Likes
on
0 Posts
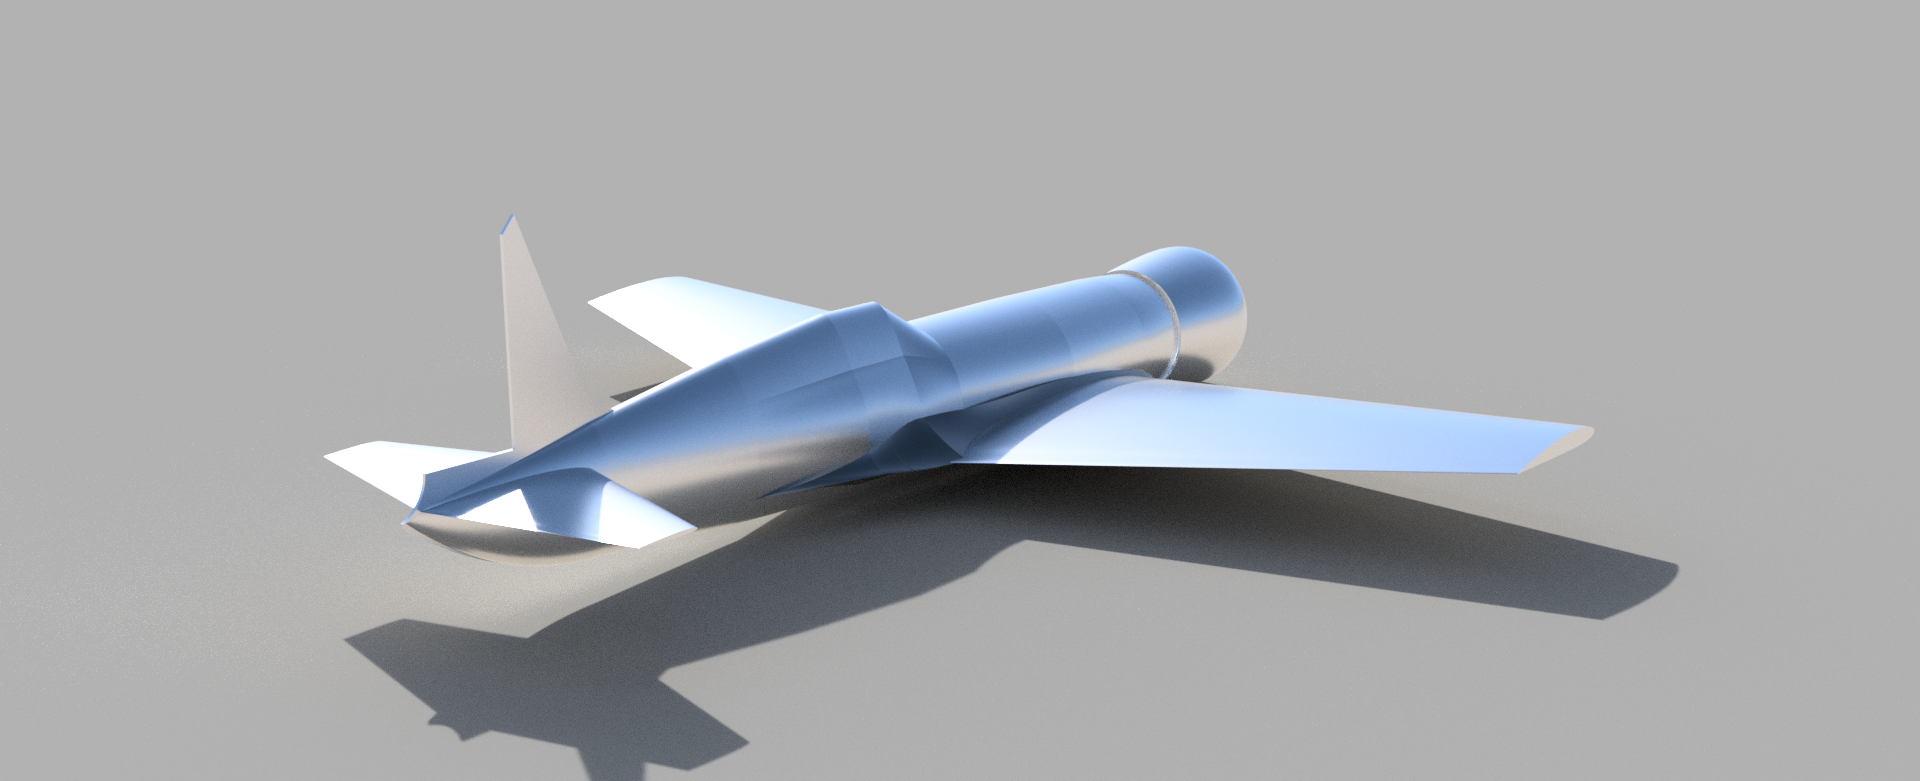
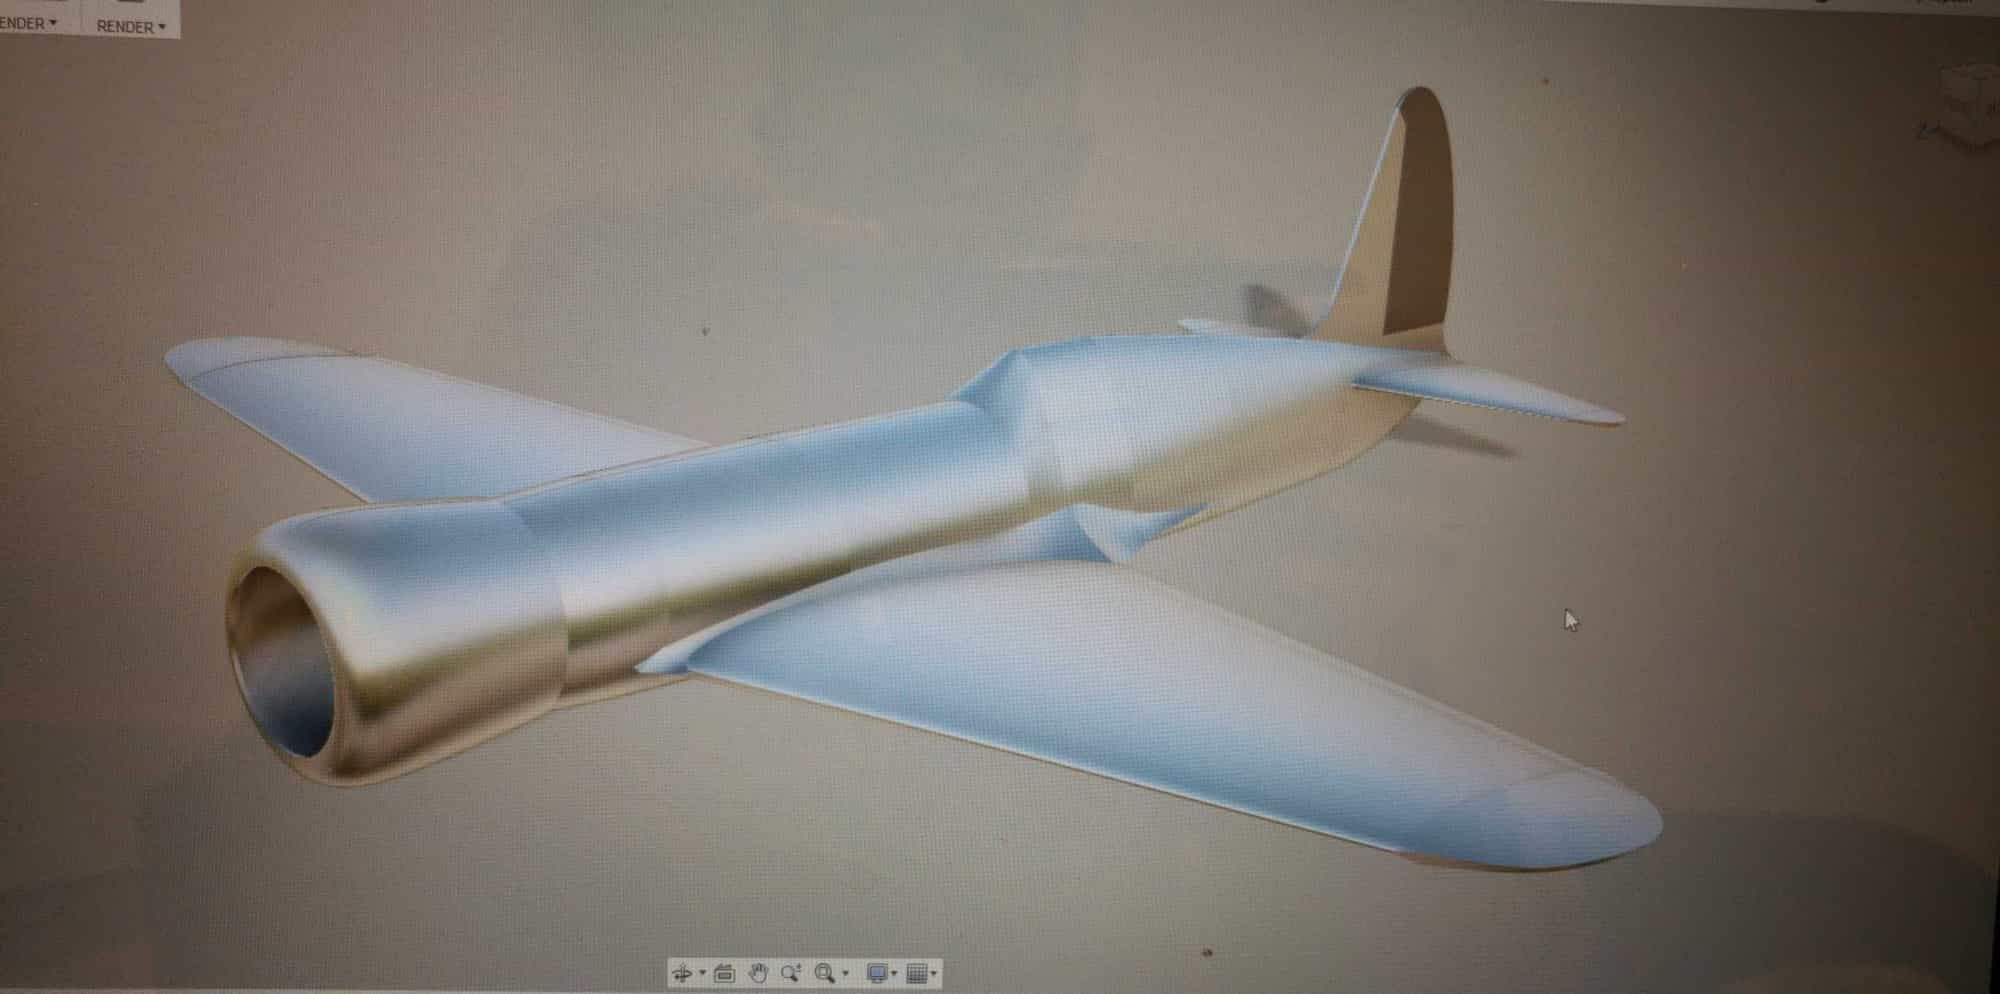
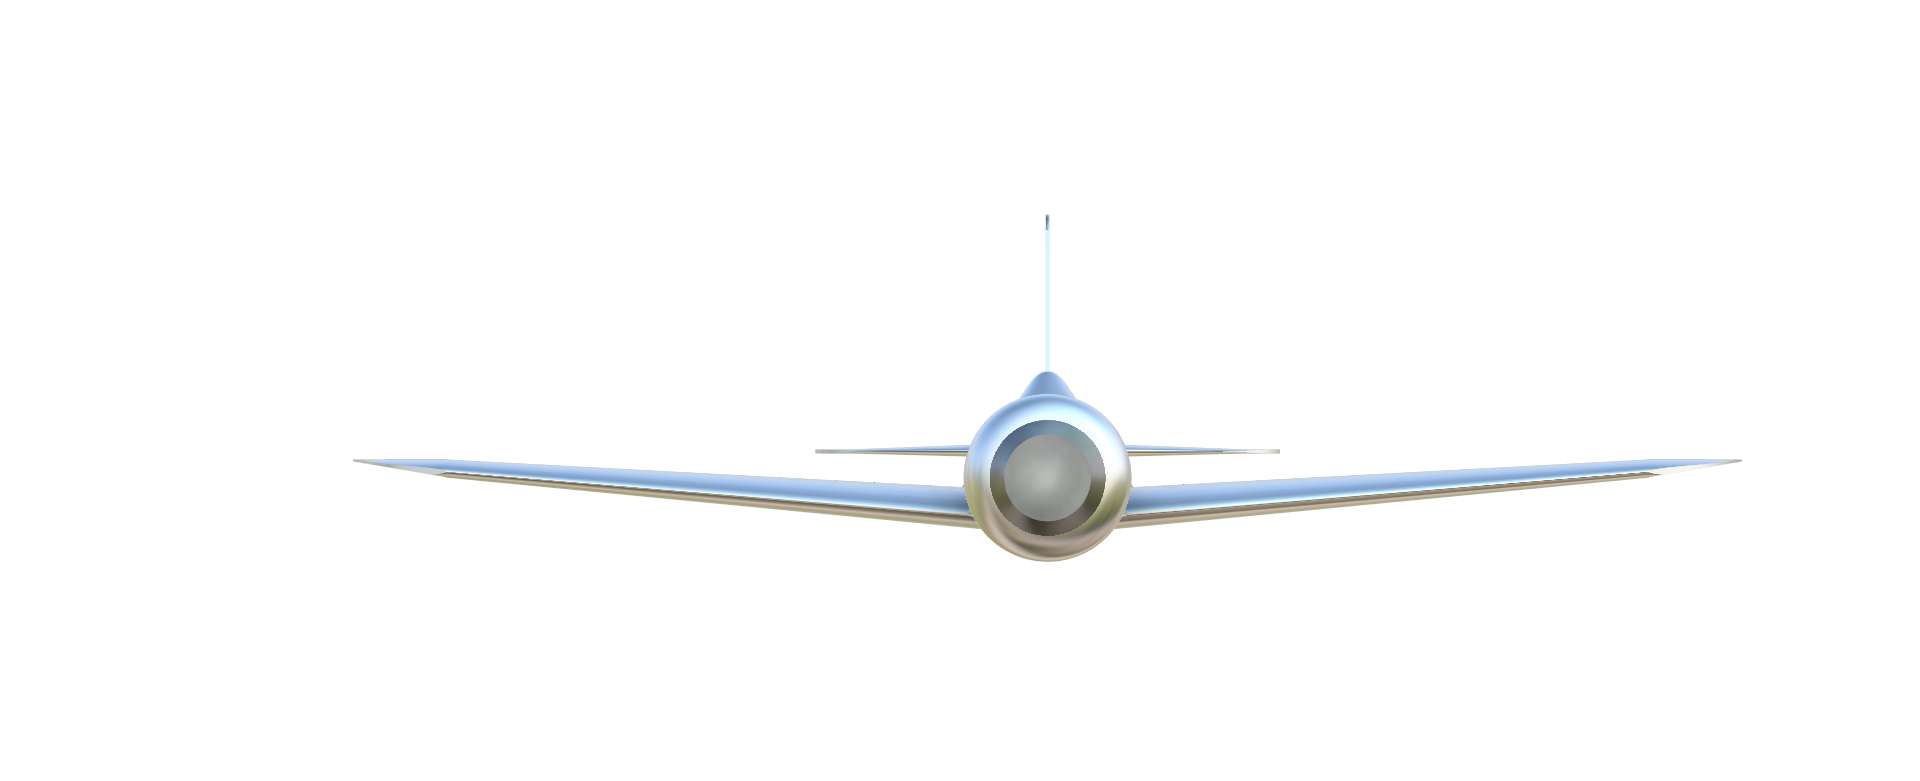
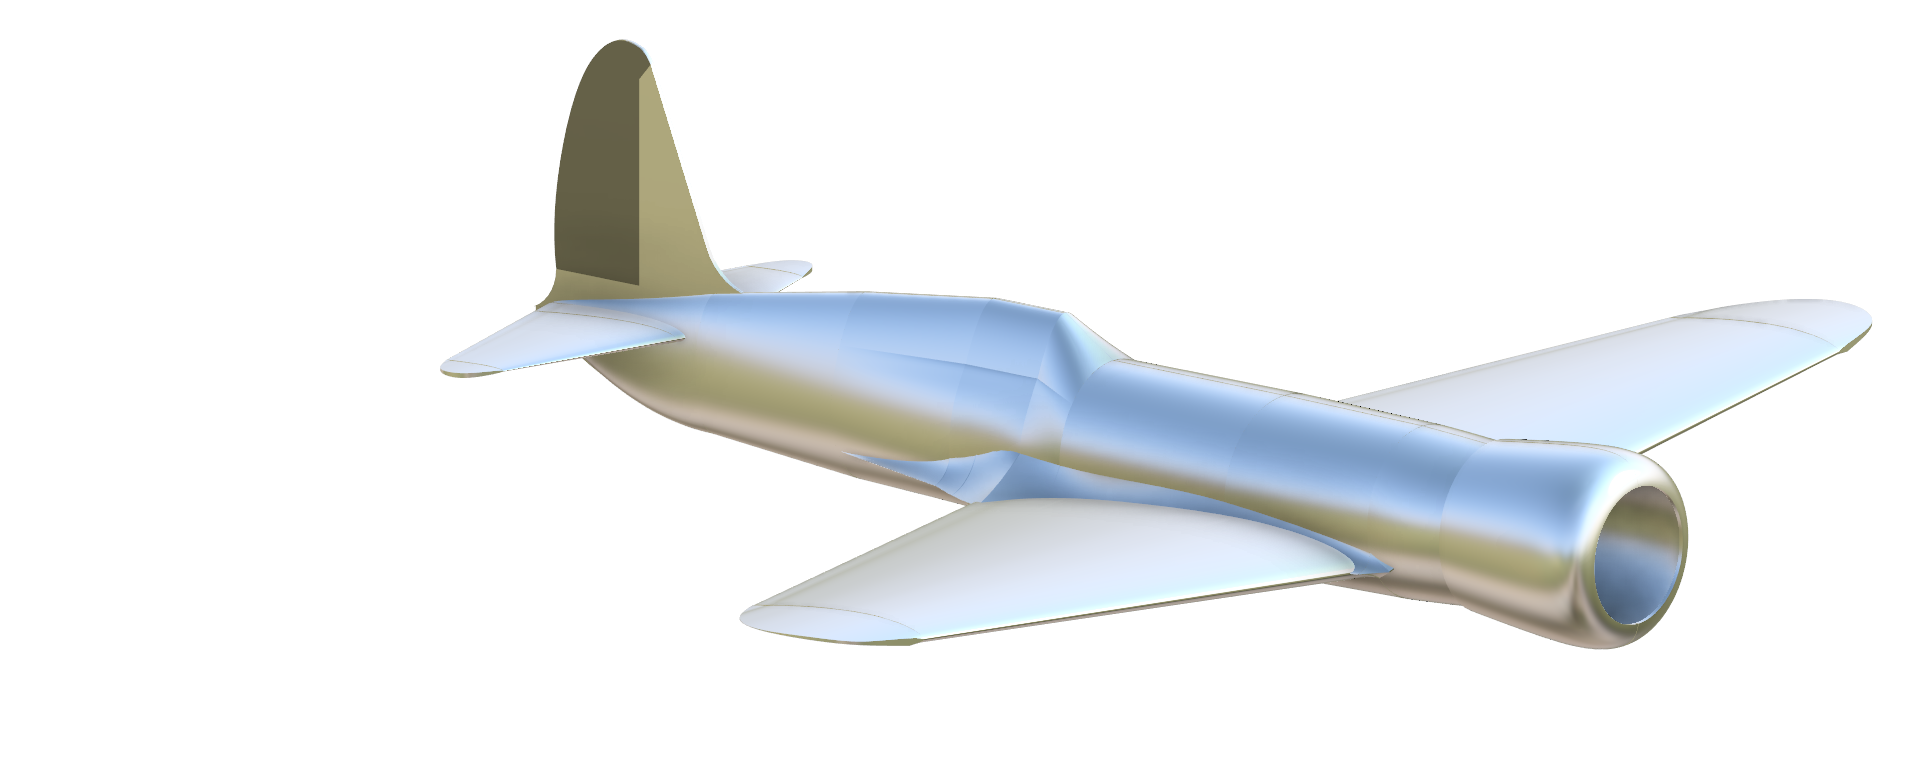
I have spent the last couple of days trying to figure out how to fillet a wing. I think I have the workflow figured out, it just means going back in the design a bit. Getting a radius fillet is not hard to do. Getting an aerodynamic fillet is. I watched a video of a guy doing it with the spline tool, but not with an accurate airfoil, so I need to mess around with it for a bit.
 10-26-2018, 12:05 PM
#43
Thread Starter
Join Date: Aug 2016
Posts: 104
Likes: 0
Received 0 Likes
on
0 Posts
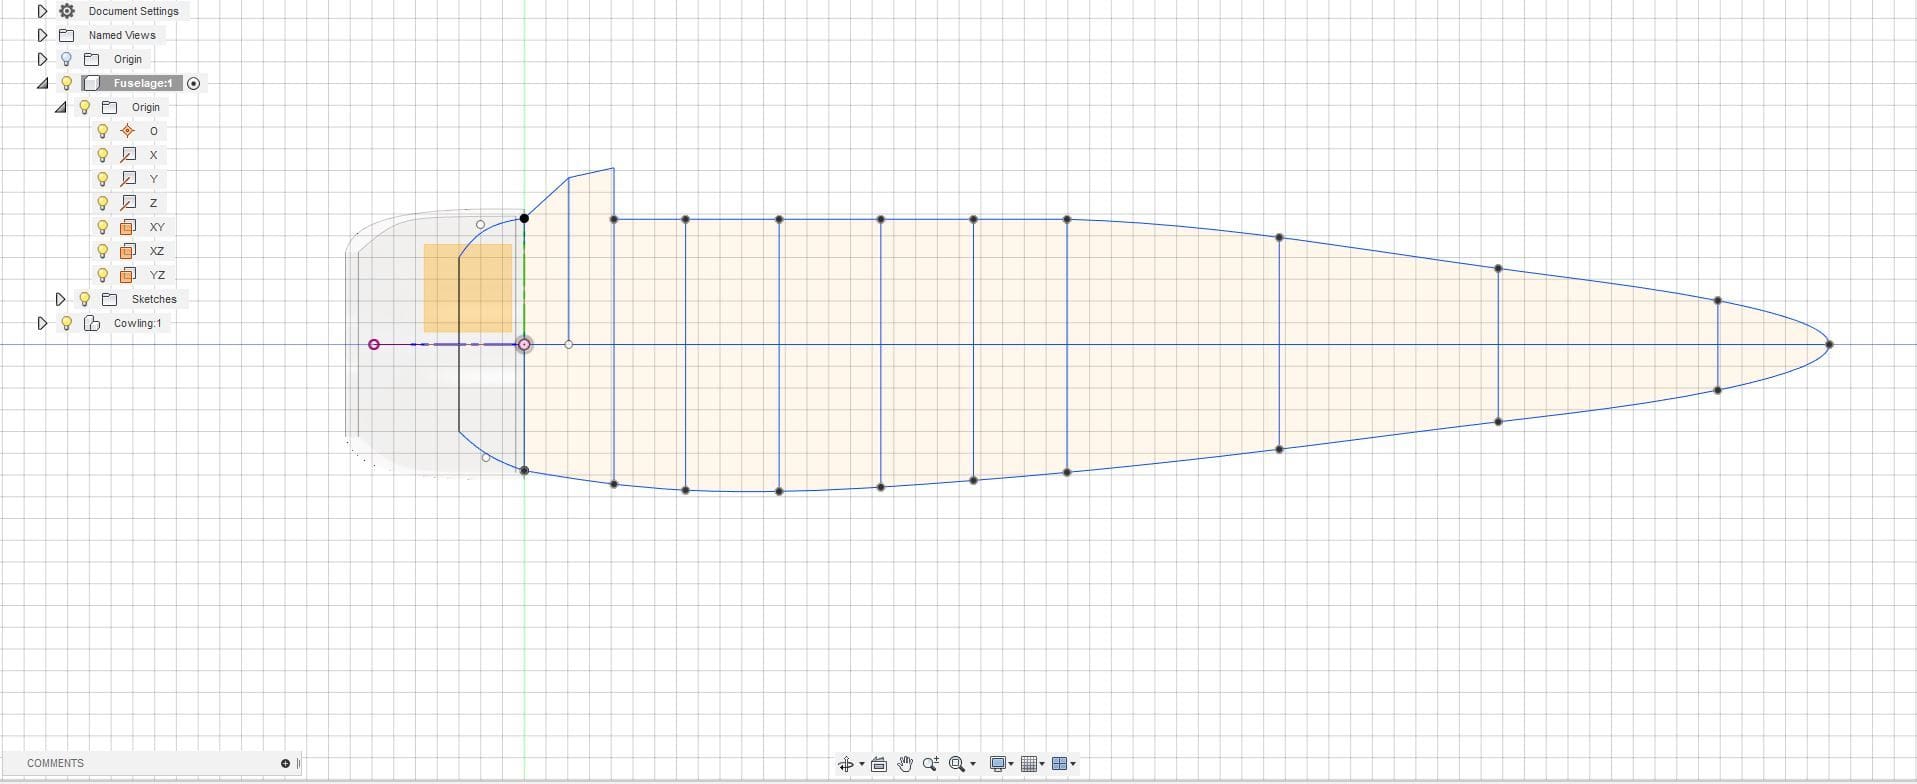
I think I am going to CNC this out of pine. My dad has a stepcraft big enough to cut this thing out of some stock. Meanwhile though, going to start printing. To build the fillet I went into each bulhead and designed essentially triangles coming off the bulkhead that came to their apex on the airfoil center line. I then lofted them together in sets (lofting gets weird if you do to many at once). Once the fillet was complete, used the cut function between the two airfoils to cut the middle out of the fillet. Then, mirror function...presto, matching fillets. They are still not as smooth as I would like, but, a step in the right direction regardless.
