


CARF REBEL 2m


The following users liked this post:
paulhat (06-22-2020)

The following users liked this post:
bodywerks (06-27-2020)
 06-26-2020, 05:10 PM
#128
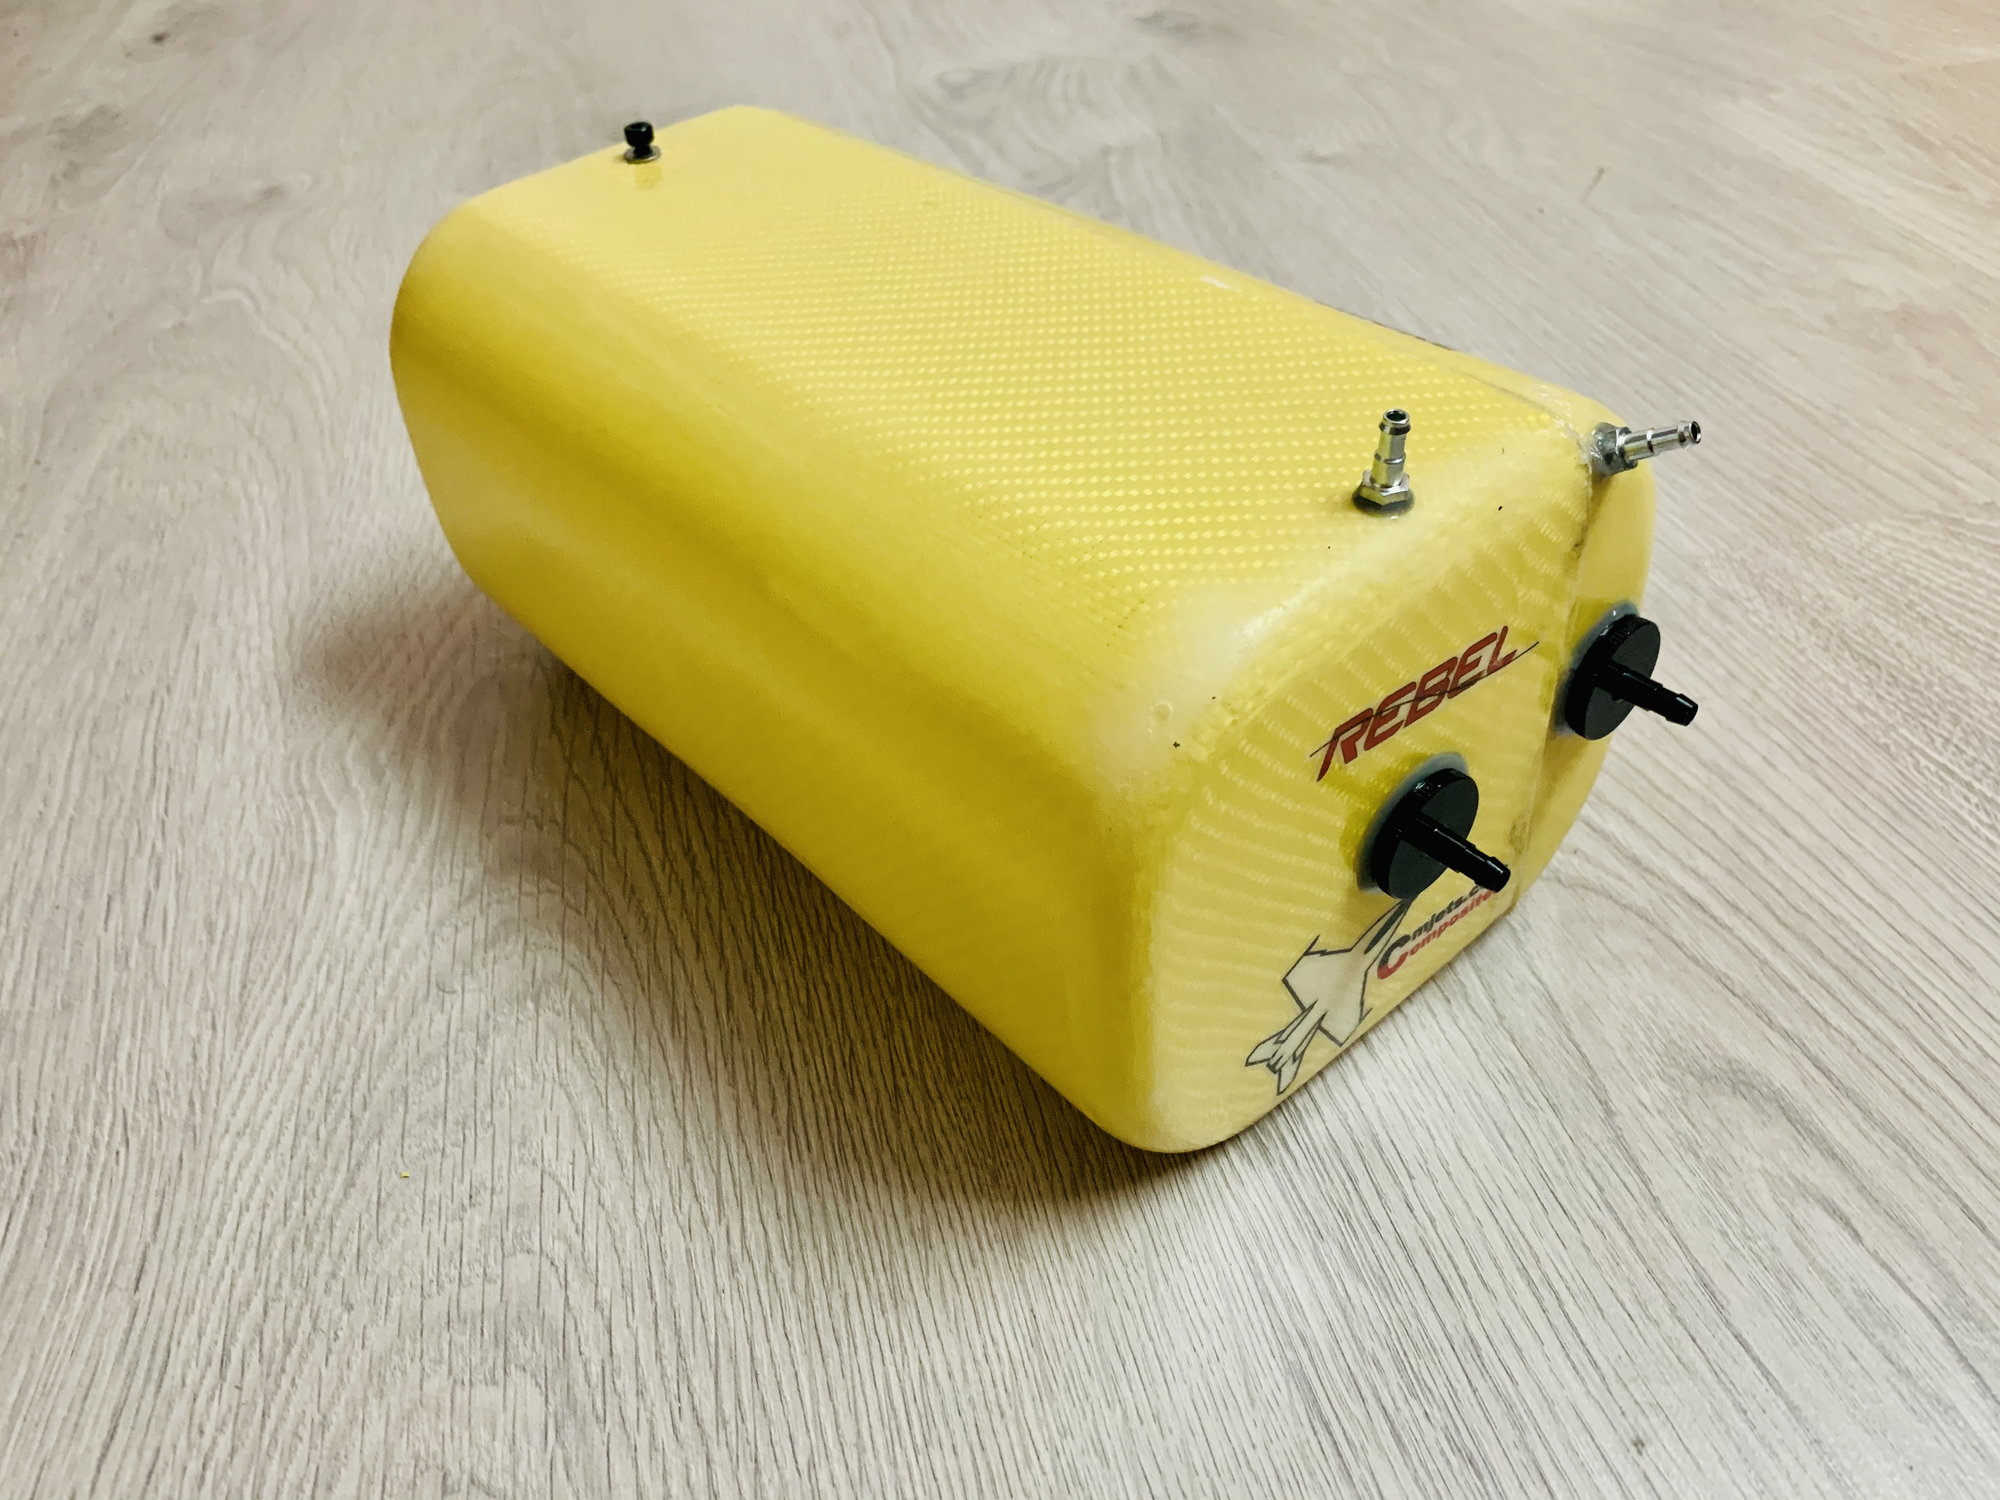
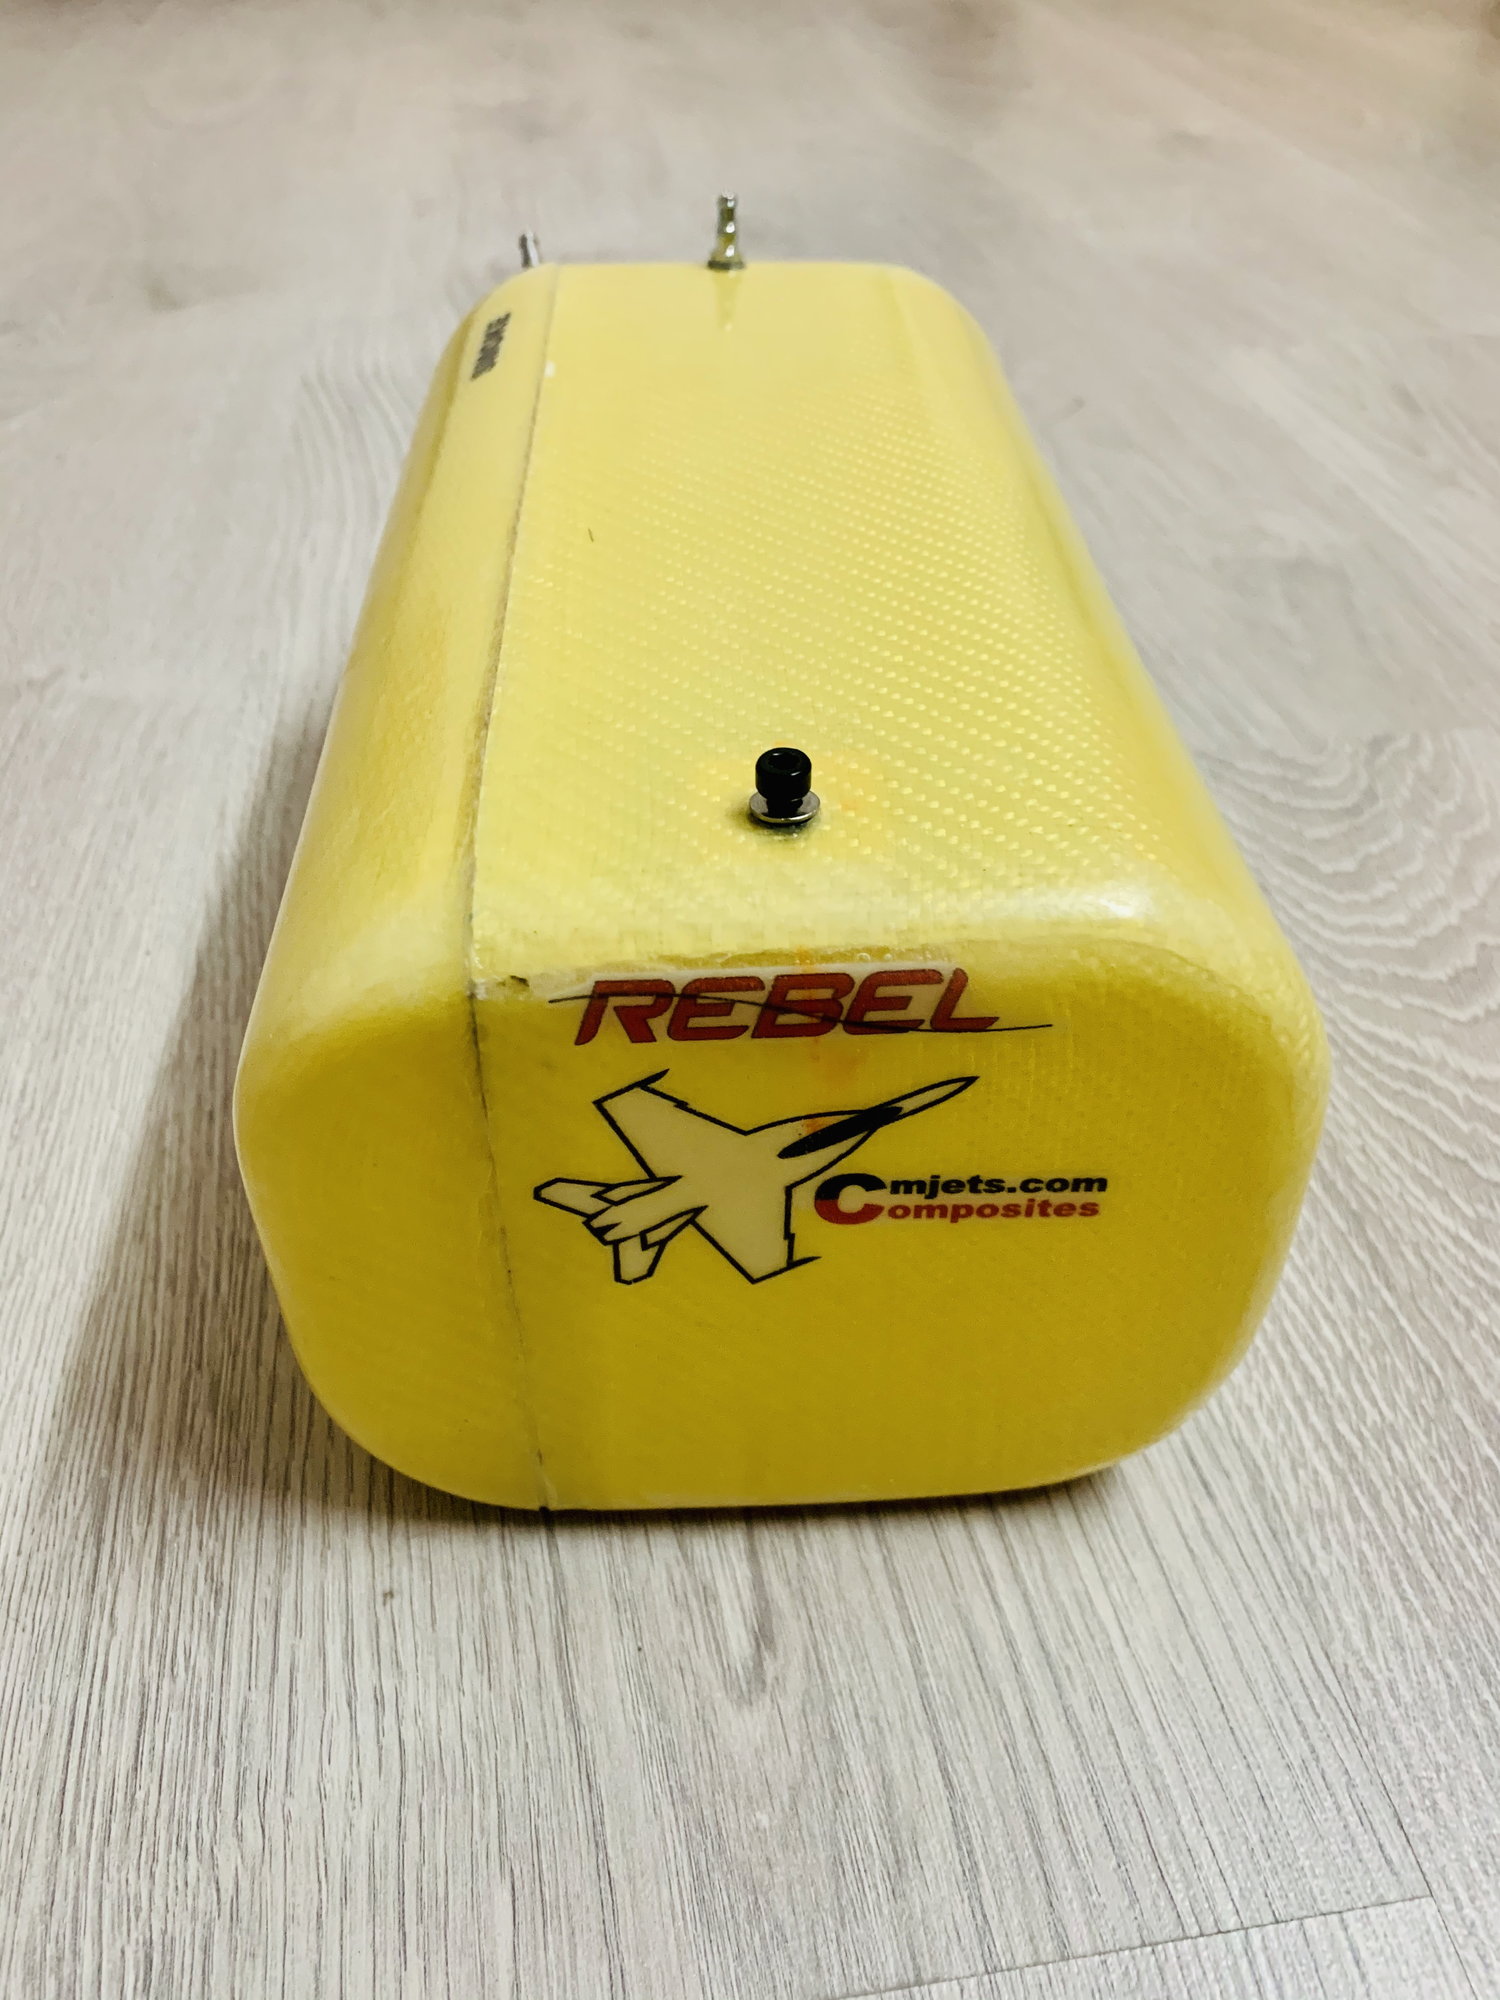
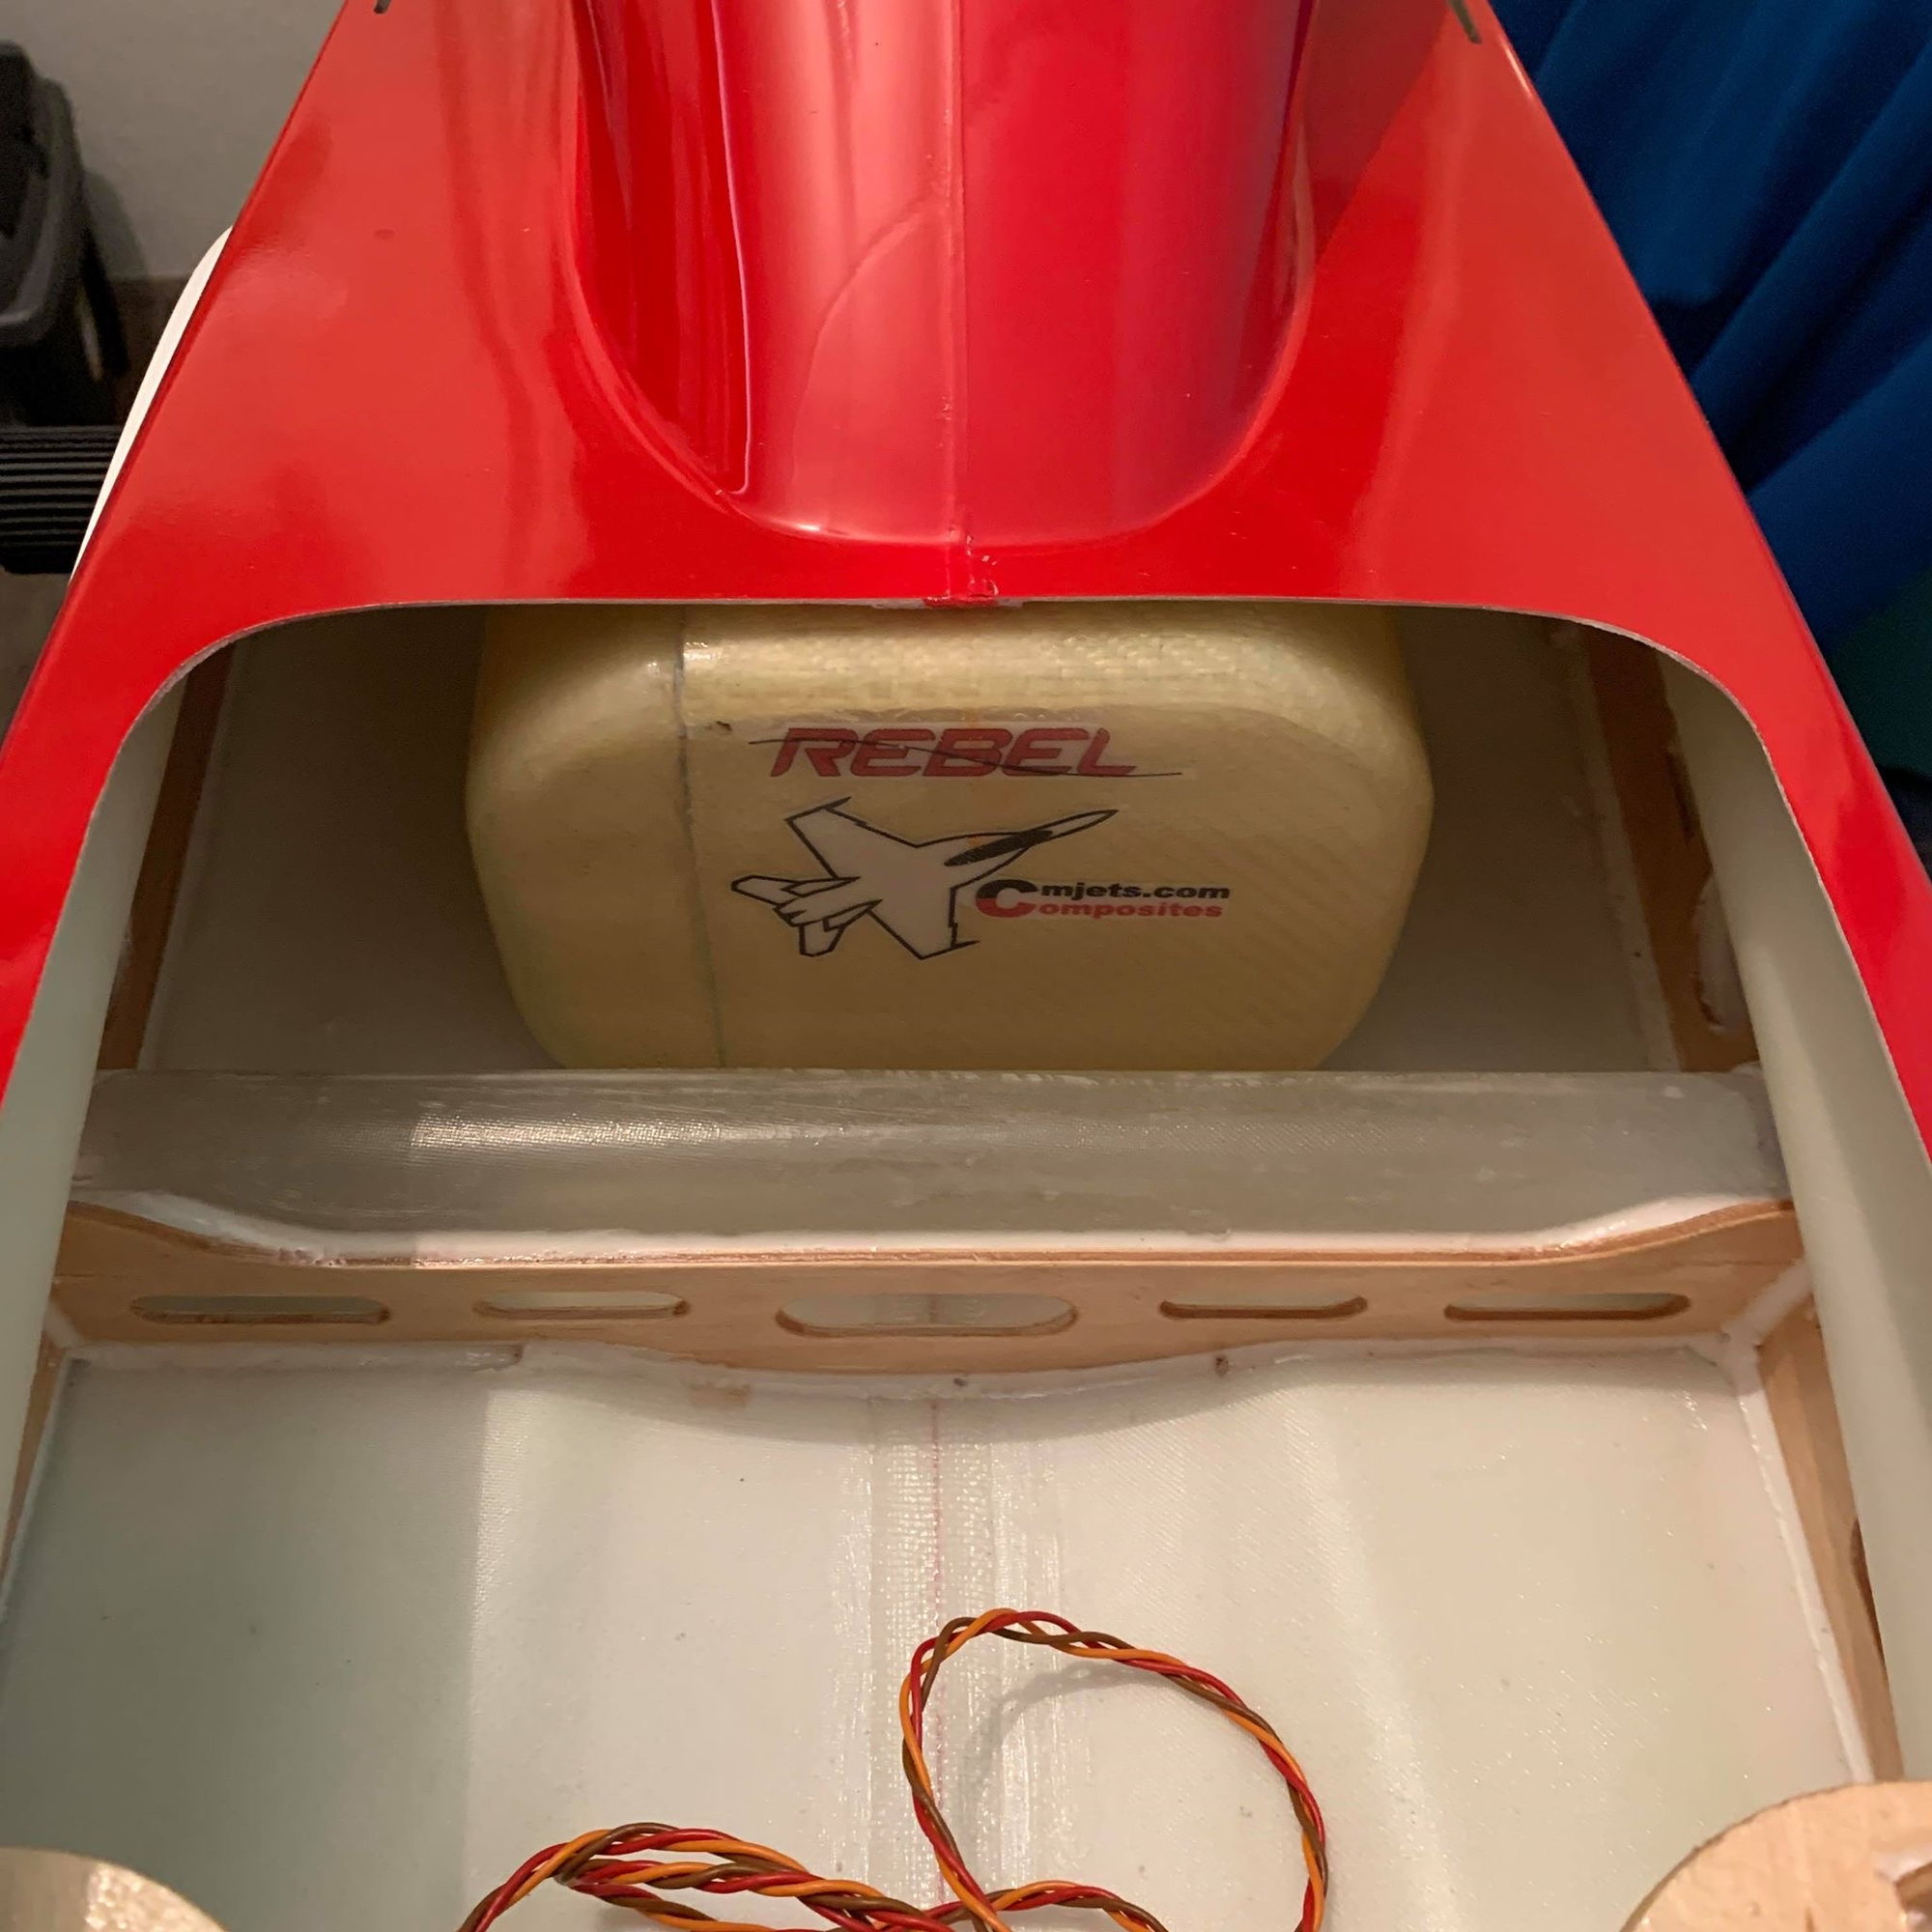
So I decided to try a Rebel. It is still being shipped but the tank and thrust tube showed up today. I noticed that the bell of the thrust tube is carbon but could not see a mounting flange in the box. Could anyone tell me how the thrust tube is mounted?
Thanks,
Tone
Thanks,
Tone
06-26-2020, 05:20 PM
#129

My Feedback: (53)

in the box you will have a rib made of carbon and foam with a little piece of ply and a screw (I have replaced that and the screw for a hex servo screw)....that will need to be glued on the top of the aft fuselage....pipe mount to that....now I’m guessing all this but it is the way the pipe mount into the Pro and Max version....as well as the mephisto
 06-27-2020, 01:30 AM
#130
there should be one little hole....in the Carbon/pipe (just finished a Rebel Pro build)
in the box you will have a rib made of carbon and foam with a little piece of ply and a screw (I have replaced that and the screw for a hex servo screw)....that will need to be glued on the top of the aft fuselage....pipe mount to that....now I�m guessing all this but it is the way the pipe mount into the Pro and Max version....as well as the mephisto
in the box you will have a rib made of carbon and foam with a little piece of ply and a screw (I have replaced that and the screw for a hex servo screw)....that will need to be glued on the top of the aft fuselage....pipe mount to that....now I�m guessing all this but it is the way the pipe mount into the Pro and Max version....as well as the mephisto
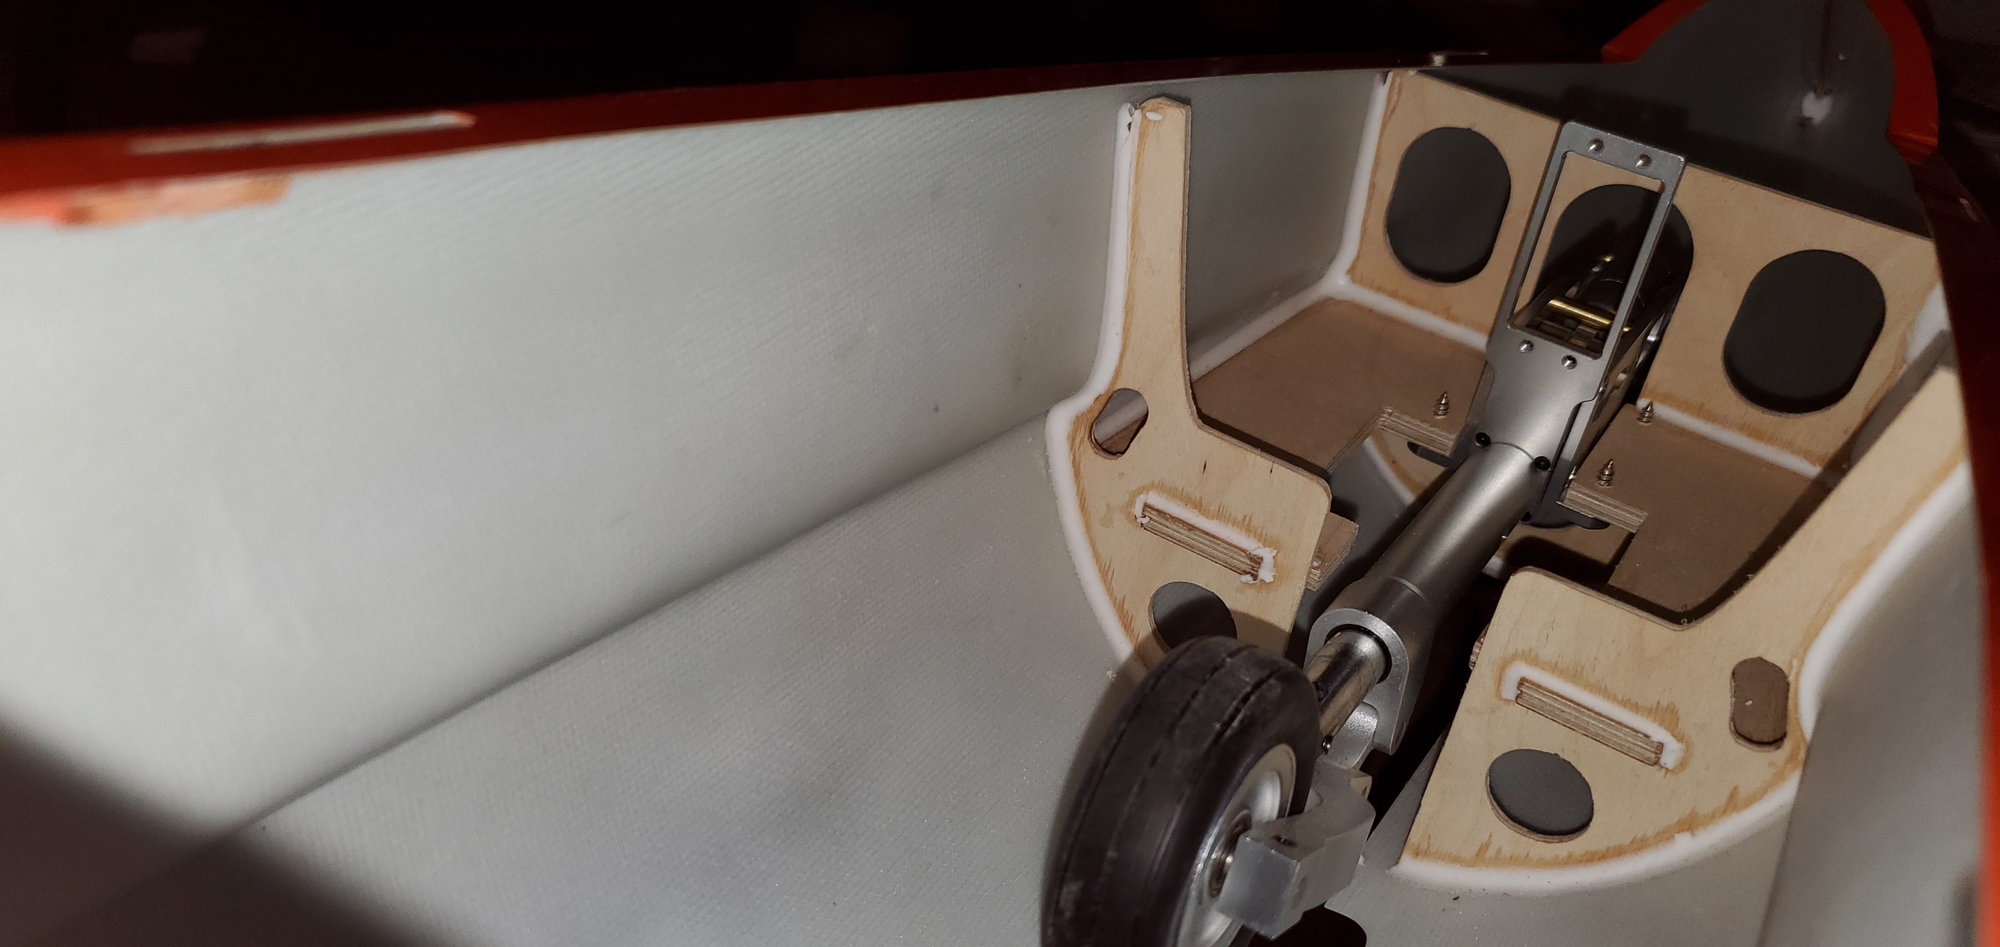
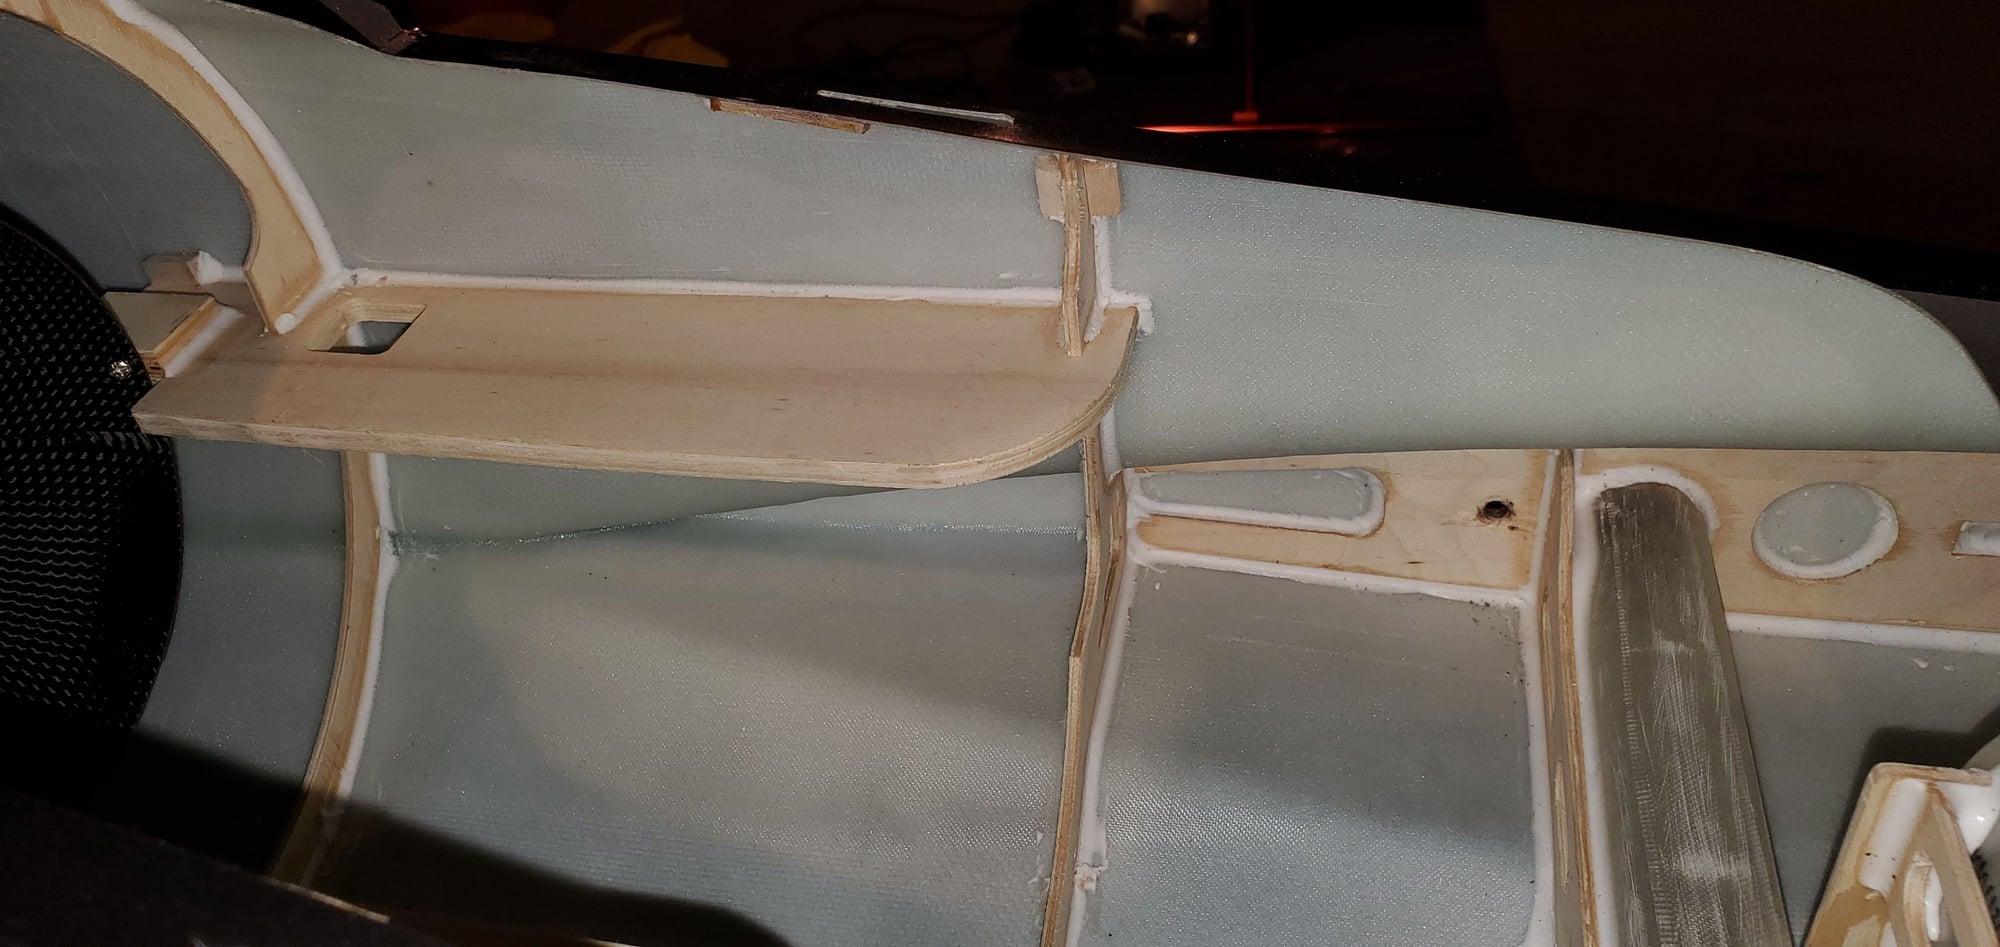
 .) you will have a little wiggle room to shim around the pipe bell as needed to get it centered. I used three screws equally spaced (same for the shims) and drilled through the carbon bell, shims and into the plywood former and used self-tapping screws to hold it in place.
I'll look at my classic in the a.m. to verify.
06-27-2020, 01:34 AM
#131
I know you're a swiwin guy. What are you putting in yours? a 140 would probably be perfect. Mine's getting a 170
 06-27-2020, 05:13 PM
#132
DUH!!! I just made a long post about installing the pipe and forgot I posted a pic of my Rebel classic just a few posts above(post # 126). Look at the bottom pic to the left. They drilled right through the bell and into a couple plywood blocks. Simple.
I know you're a swiwin guy. What are you putting in yours? a 140 would probably be perfect. Mine's getting a 170
I know you're a swiwin guy. What are you putting in yours? a 140 would probably be perfect. Mine's getting a 170
You called it. I am putting a swiwin 140 in mine. Miami assuming that it will be enough. The Rebel should be here next week. I also ordered Electron retracts as I am not a big fan of the JP's uneven braking.
Tone
06-28-2020, 01:14 AM
#133
Tell me about it on the JP brakes. I upgrade all my controllers to xicoy and I still get uneven braking, but the gyro-controlled brakes at least keep it from skidding sideways. I just finished an Ultra flash. One brake locks up almost completely and the other one hardly locks up at all. Had to drop 'the good one' down to 80% power and have brake gyro gain set at 75%.

 06-29-2020, 09:08 AM
#137

Yep 🙂
The almost certainly come from JP assembled. I noticed on my Joker different shims, the washers are really thin. The side that is weak you can take some out of the wheel and place under the C clip.
If you check the wheel float now de powered are both wheels the same?
I always dismantle pre assembled units to grease check etc.
Dave
The following users liked this post:
bodywerks (06-30-2020)
06-29-2020, 09:00 PM
#142
CARF always supply parts to make your own bubble trap. It works perfectly if you can be bothered to make it up. 99% would use an after market UAT my favourite is the MAP Canada unit suitable for your size of turbine.
Dave
Dave
The following users liked this post:
bodywerks (06-30-2020)


The following users liked this post:
bodywerks (06-30-2020)
06-30-2020, 10:36 AM
#144
Yep 🙂
The almost certainly come from JP assembled. I noticed on my Joker different shims, the washers are really thin. The side that is weak you can take some out of the wheel and place under the C clip.
If you check the wheel float now de powered are both wheels the same?
I always dismantle pre assembled units to grease check etc.
Dave
The almost certainly come from JP assembled. I noticed on my Joker different shims, the washers are really thin. The side that is weak you can take some out of the wheel and place under the C clip.
If you check the wheel float now de powered are both wheels the same?
I always dismantle pre assembled units to grease check etc.
Dave
07-03-2020, 06:00 AM
#147
I have a few questions since this is my first Rebel.
1. The clevis they use appears to have a 3mm clevis pin. I was under the impression that aluminum pin on an aluminum would build up slop. Is everyone using this clevis's or are they upgrading to ball links?
2. What length servo arms are being used on the elevators?
3. Does this jet tend to require nose weight? I noticed from the pics that many pilots are placing the batteries right in the nose.
4. Besides fuel proofing the wood, are there any other tips or tricks I should keep an eye out for?
5. I could not find the threaded link for the elevators. Is this an oversight or something we are supposed to provide?
Thanks,
Tone
Last edited by Agrav8ed; 07-03-2020 at 06:16 AM.
07-03-2020, 06:32 AM
#148
I have a few questions since this is my first Rebel.
1. The clevis they use appears to have a 3mm clevis pin. I was under the impression that aluminum pin on an aluminum would build up slop. Is everyone using this clevis's or are they upgrading to ball links?
2. What length servo arms are being used on the elevators?
3. Does this jet tend to require nose weight? I noticed from the pics that many pilots are placing the batteries right in the nose.
4. Besides fuel proofing the wood, are there any other tips or tricks I should keep an eye out for?
5. I could not find the threaded link for the elevators. Is this an oversight or something we are supposed to provide?
Thanks,
Tone
1. The clevis they use appears to have a 3mm clevis pin. I was under the impression that aluminum pin on an aluminum would build up slop. Is everyone using this clevis's or are they upgrading to ball links?
2. What length servo arms are being used on the elevators?
3. Does this jet tend to require nose weight? I noticed from the pics that many pilots are placing the batteries right in the nose.
4. Besides fuel proofing the wood, are there any other tips or tricks I should keep an eye out for?
5. I could not find the threaded link for the elevators. Is this an oversight or something we are supposed to provide?
Thanks,
Tone
Last edited by skymaster68; 07-03-2020 at 09:58 AM.
07-03-2020, 07:02 AM
#149
I have a few questions since this is my first Rebel.
1. The clevis they use appears to have a 3mm clevis pin. I was under the impression that aluminum pin on an aluminum would build up slop. Is everyone using this clevis's or are they upgrading to ball links?
2. What length servo arms are being used on the elevators?
3. Does this jet tend to require nose weight? I noticed from the pics that many pilots are placing the batteries right in the nose.
4. Besides fuel proofing the wood, are there any other tips or tricks I should keep an eye out for?
5. I could not find the threaded link for the elevators. Is this an oversight or something we are supposed to provide?
Thanks,
Tone
1. The clevis they use appears to have a 3mm clevis pin. I was under the impression that aluminum pin on an aluminum would build up slop. Is everyone using this clevis's or are they upgrading to ball links?
2. What length servo arms are being used on the elevators?
3. Does this jet tend to require nose weight? I noticed from the pics that many pilots are placing the batteries right in the nose.
4. Besides fuel proofing the wood, are there any other tips or tricks I should keep an eye out for?
5. I could not find the threaded link for the elevators. Is this an oversight or something we are supposed to provide?
Thanks,
Tone
Build is straight forward and cg should be easily achieved. On my hot, I'm back of the wing tube with full uat and a little under 1/4 tank of fuel. I recommend the same for the 2M.
Carf should have provided 3mm threaded rod for all control surfaces, with the tail hardware being in its own bag.
I can't say for sure what length arms are needed for flaps but 1.5" sounds excessively long. You should use max resolution of servo throw, and with full landing flaps set, the servo arm should be such that it and the pushrod form a straight line to the flap connection point. I would think max asrm length would be 1", and you could possibly get away with 3/4".
07-03-2020, 08:38 AM
#150
You just lightly grease the pins and they won’t wear and metal metal is not a worry these days-plus the grease dampens that chance
20mm is about right on elevator
20mm is about right on elevator