T-One Models F22 Raptor build thread


 02-20-2020, 09:34 AM
#77

Yeah I tried both and it was working until I took the unlock piston apart, I cleaned it and added O ring lube and then it seemed to unlock with the V1 valve. Makes me wonder if the restrictor will work now?
02-21-2020, 06:22 AM
#78
Progress is being made but I�ve had some life issues to deal with this week. But will be jumping back into gear now. Only have 2 and a half weeks to get her done. Markings are on the way and paint is here.
i started programming the smooth flight and getting the gear and brakes all working.
I will try and get the build portion done this weekend and move onto painting next week.
if you have a single version you will need to dremel some wood on the top rear fuselage mount. I will show factory and they might change that on future aircraft.
02-21-2020, 07:09 AM
#79

My Feedback: (15)
Yeah, I discovered that is the only way to get the bifurcated pipe in place. Also, the factory seriously needs to include the rear support for the bifurcated pipe with future models.
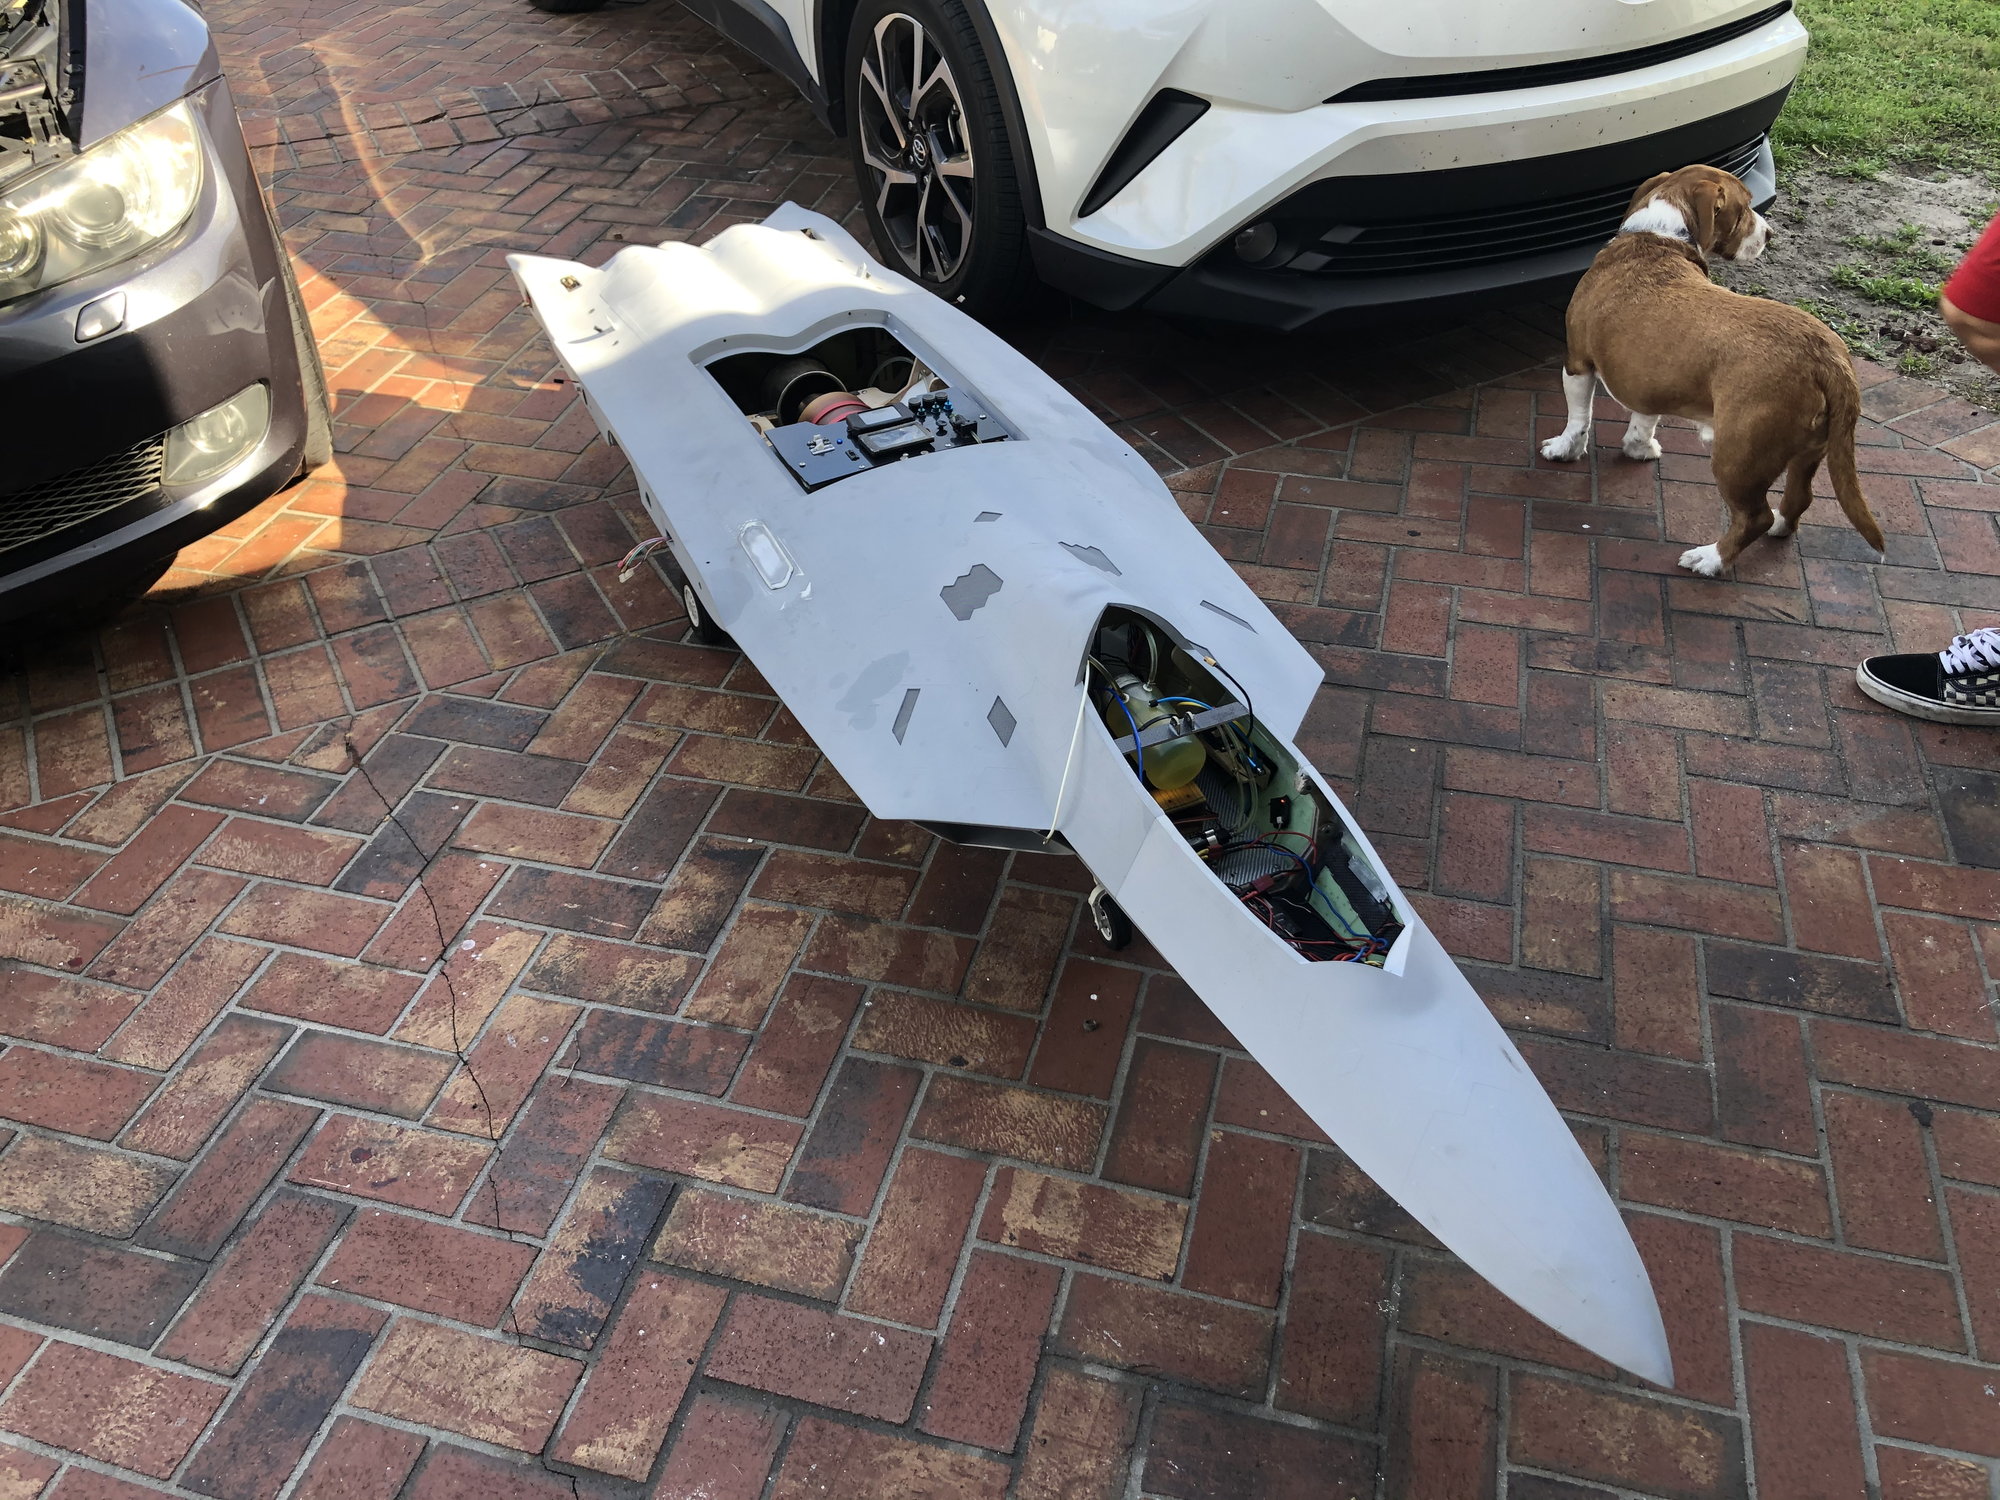
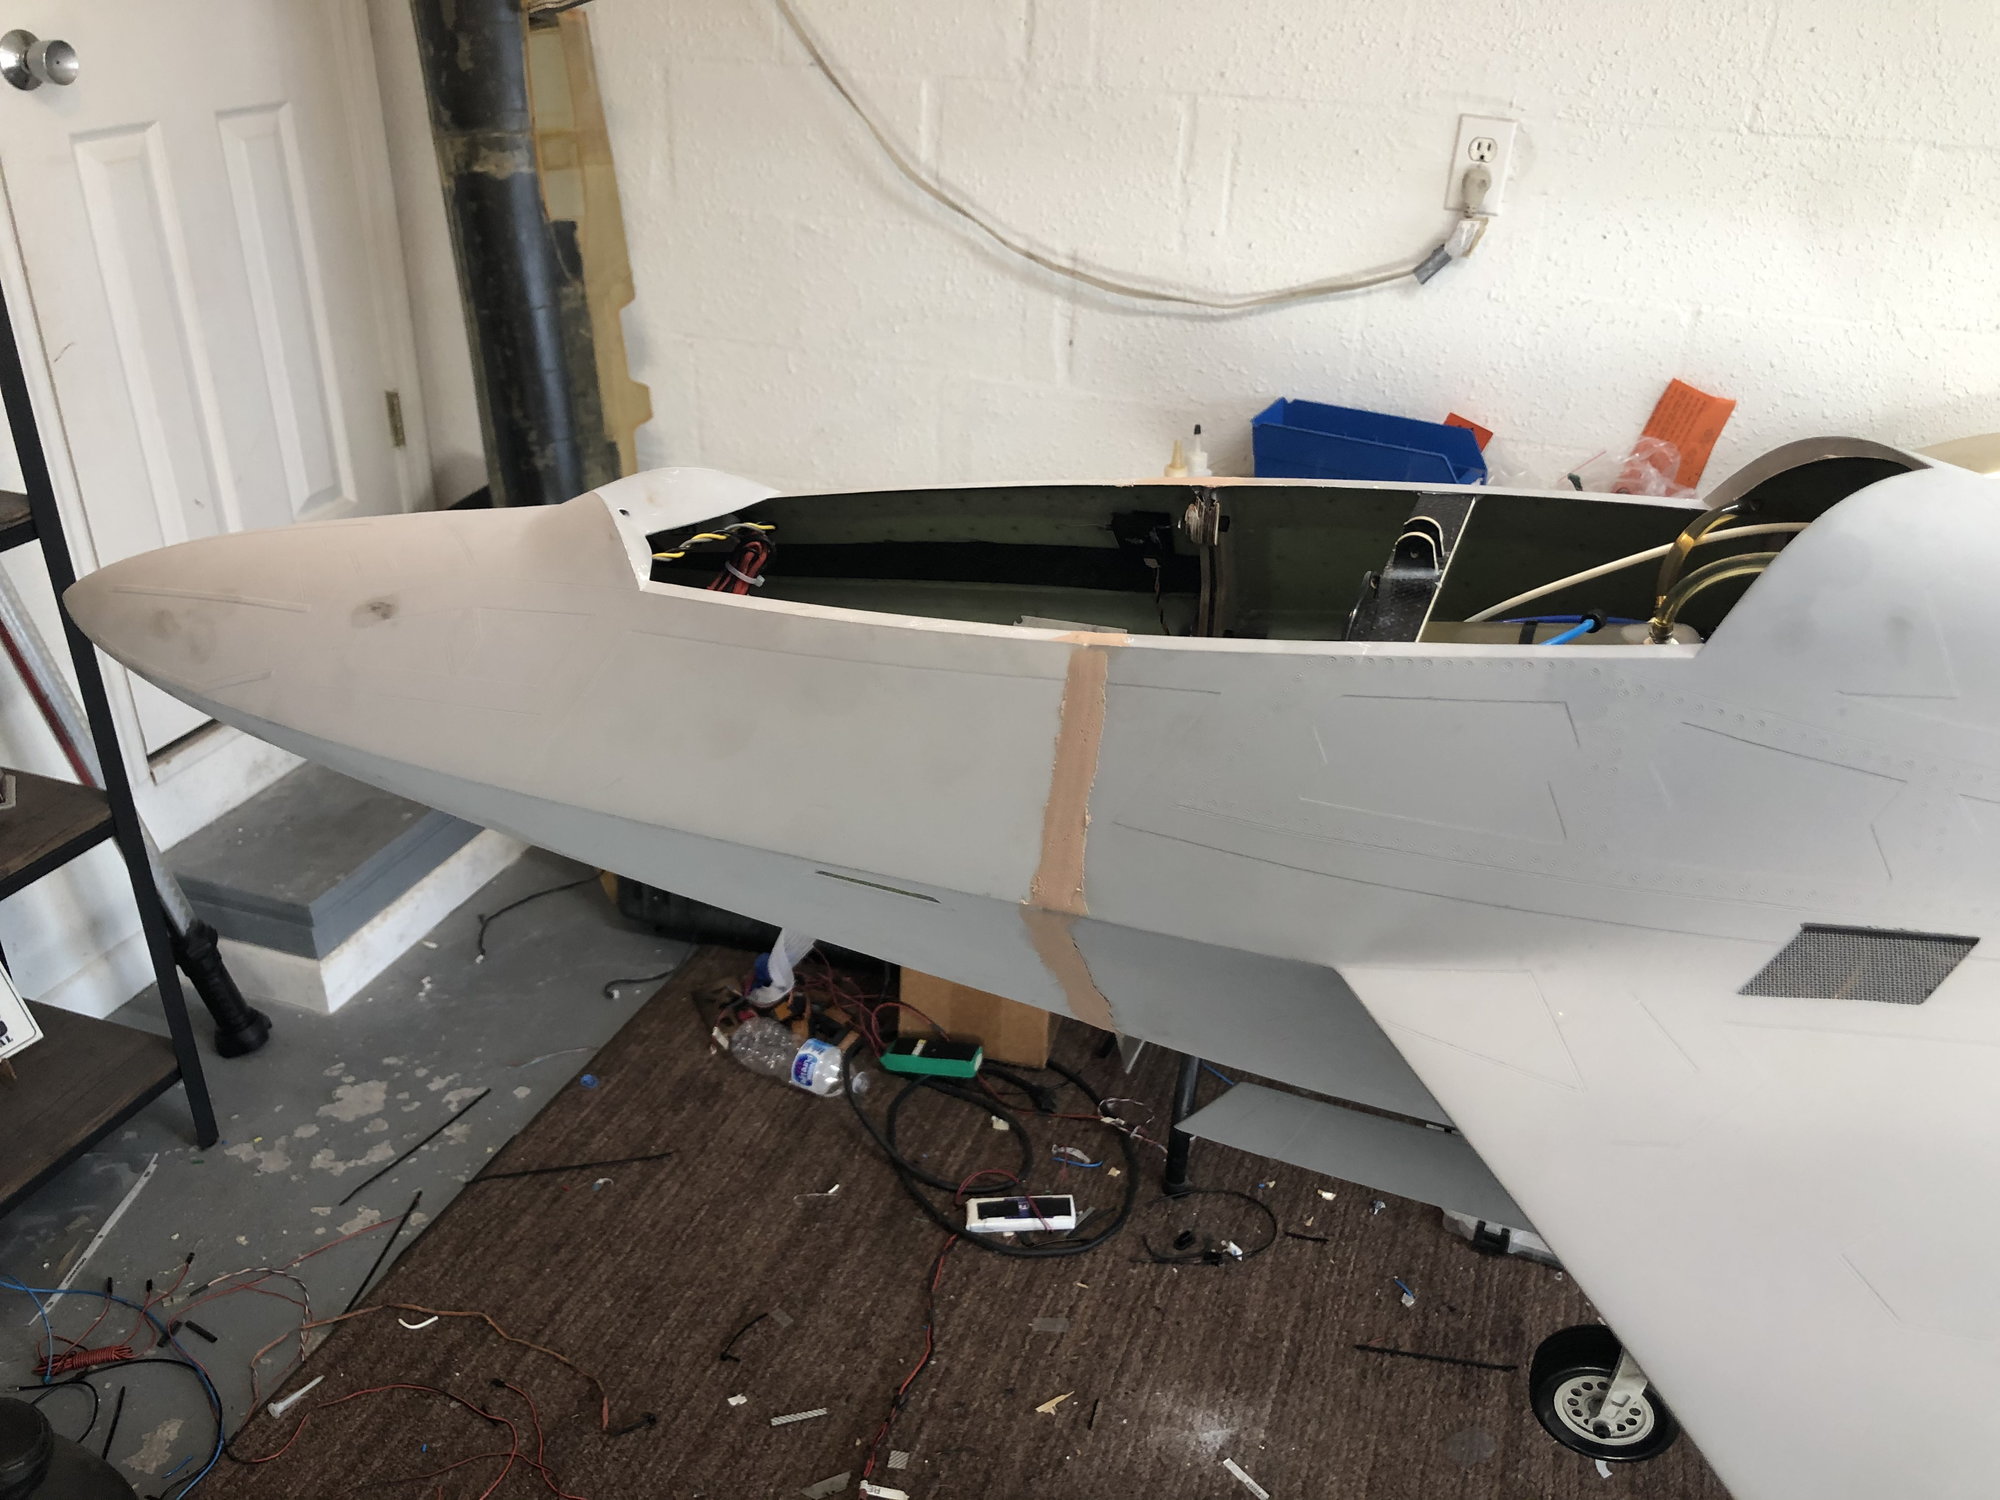
I got the fuel cells installed and all the wiring run to the front section of the fuse. Also received the linear actuators from Fenderbean for the canopy and canopy lock. Now focused on the equipment trays and the best way to route all the wires and airlines to tidy up the front section.
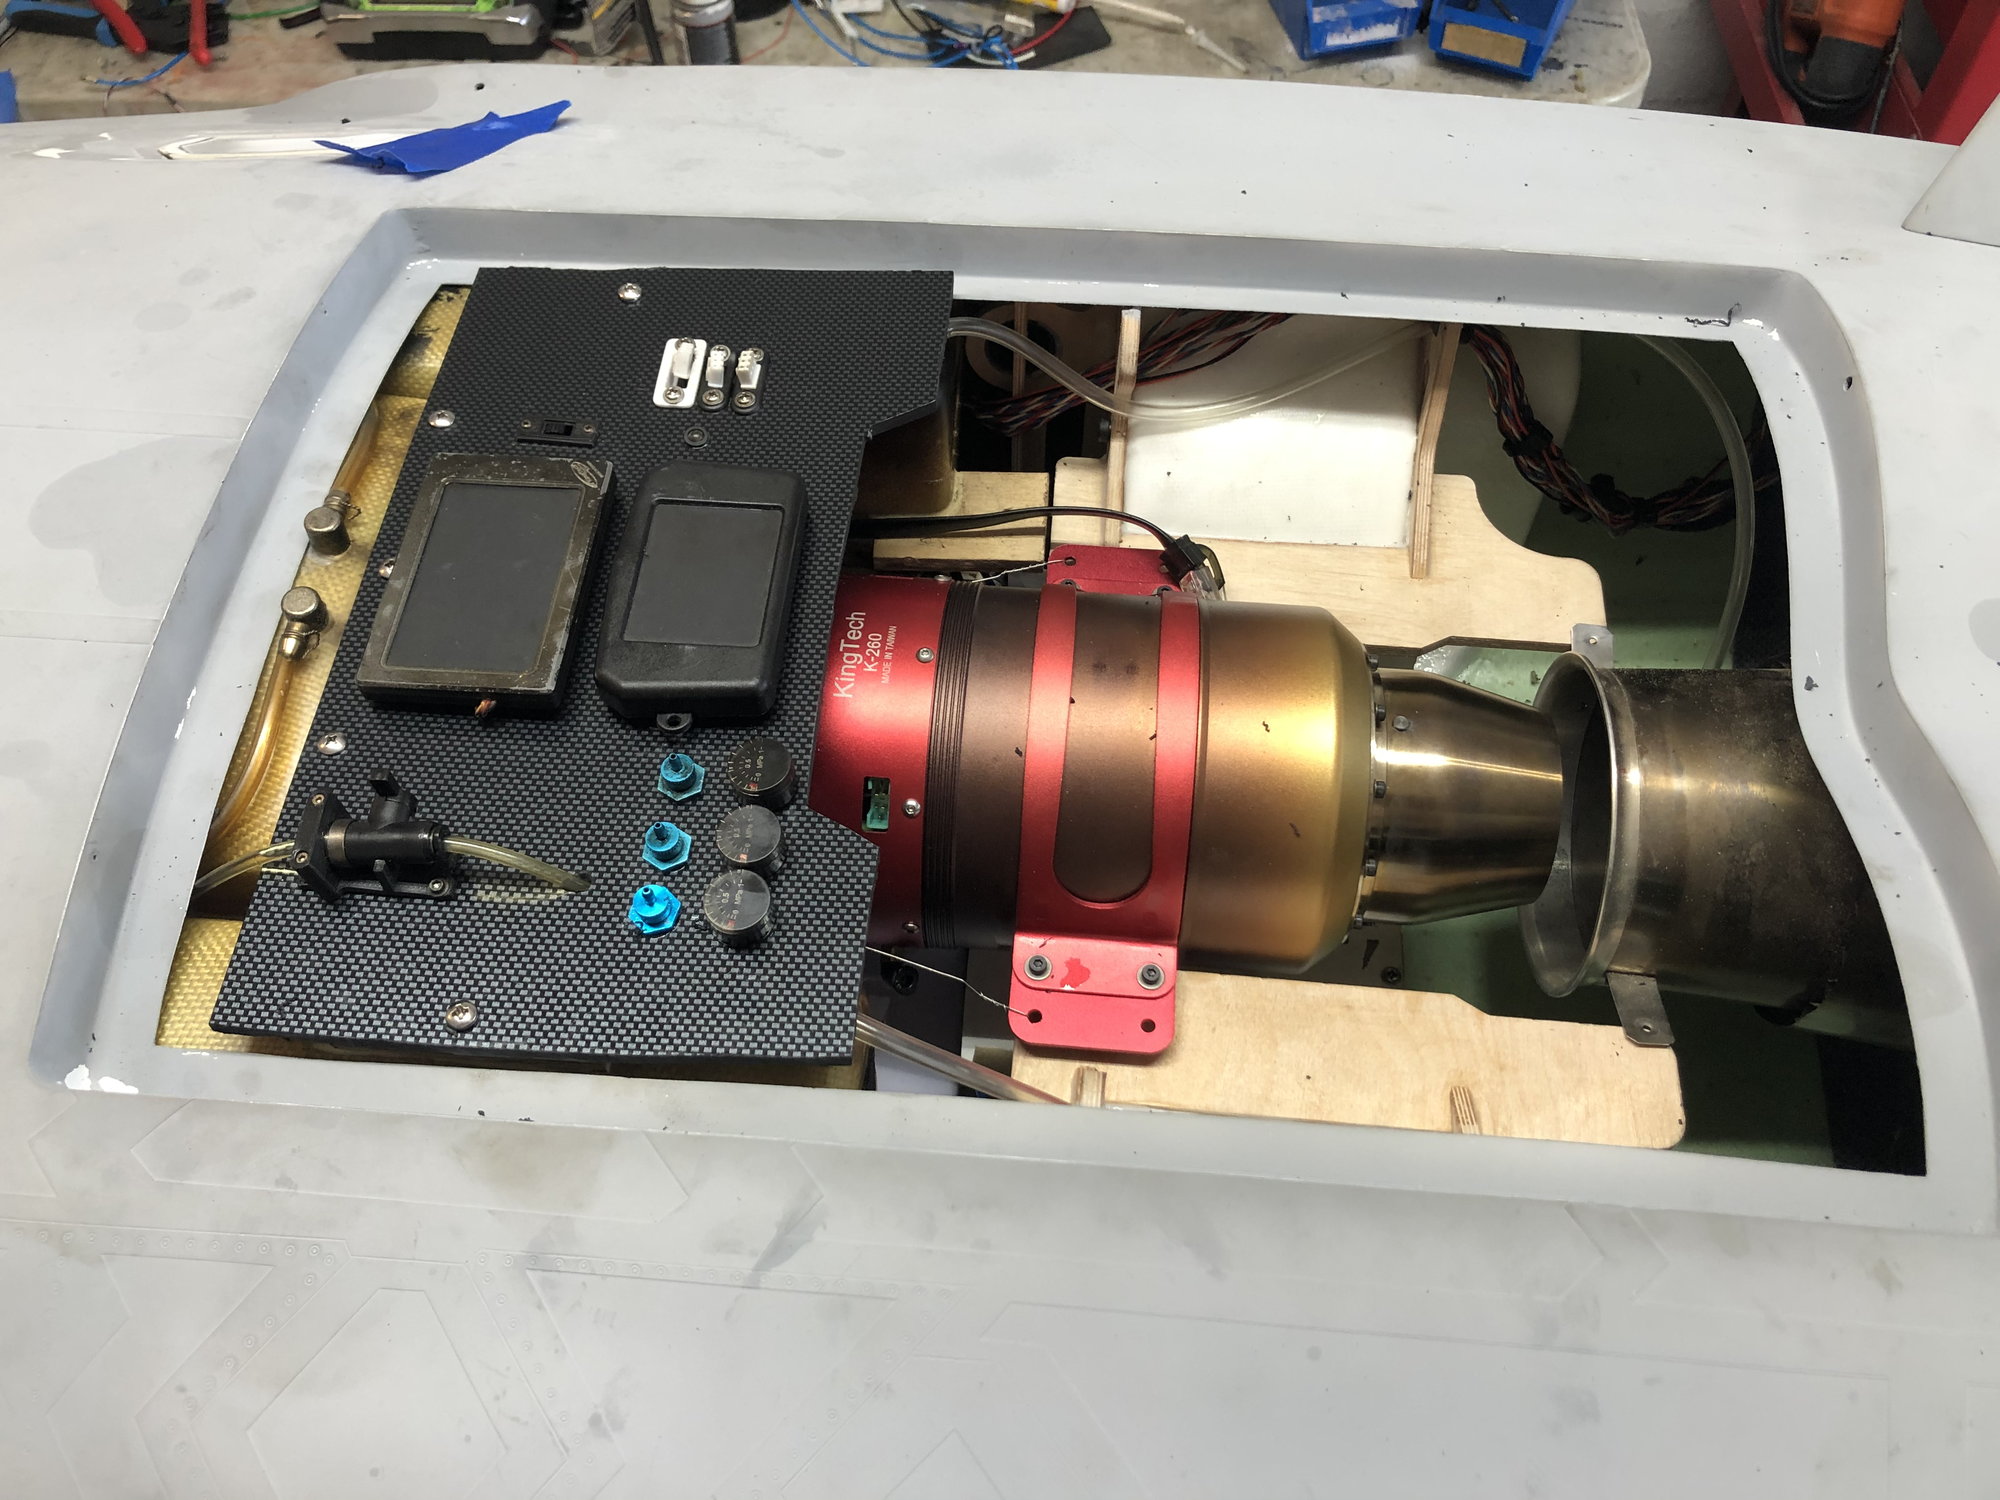
My K-260 was delivered last week, but tried to installed the K-320 just to see if it would fit. IMO, the answer is NO. So, will be looking for another project for the K-320. Really looking forward to my first flight with the F-22.
I got the fuel cells installed and all the wiring run to the front section of the fuse. Also received the linear actuators from Fenderbean for the canopy and canopy lock. Now focused on the equipment trays and the best way to route all the wires and airlines to tidy up the front section.
My K-260 was delivered last week, but tried to installed the K-320 just to see if it would fit. IMO, the answer is NO. So, will be looking for another project for the K-320. Really looking forward to my first flight with the F-22.
Last edited by David Jackson; 02-21-2020 at 07:26 AM.
02-21-2020, 08:05 AM
#80
Yeah, I discovered that is the only way to get the bifurcated pipe in place. Also, the factory seriously needs to include the rear support for the bifurcated pipe with future models.
I got the fuel cells installed and all the wiring run to the front section of the fuse. Also received the linear actuators from Fenderbean for the canopy and canopy lock. Now focused on the equipment trays and the best way to route all the wires and airlines to tidy up the front section.
My K-260 was delivered last week, but tried to installed the K-320 just to see if it would fit. IMO, the answer is NO. So, will be looking for another project for the K-320. Really looking forward to my first flight with the F-22.
Plus im going to compile a list of recommendations on my build if you dont mind I will add the rear mounts for the pipe for the singles
02-21-2020, 08:15 AM
#81
Hi David, I think the best way to run wire and airlines is along the sides, both sides of the jet have a nice open are to route everything all the way to tail servos. If need any help on those actuators just give me a call, they work just like servos.
Plus im going to compile a list of recommendations on my build if you dont mind I will add the rear mounts for the pipe for the singles
Plus im going to compile a list of recommendations on my build if you dont mind I will add the rear mounts for the pipe for the singles
02-21-2020, 05:17 PM
#83
the AB portion on the T1 light controller puts out what ever voltage you put in. The rest of the outputs are regulated.
a turbine ecu pack 3cell LIFE is what I�m using. Lights don�t get hot and burn bright
use 95mm light rings from AirPower.
02-23-2020, 04:51 AM
#85
Finally got everything working. I love this AR receiver. No way I could get all this working without it. 26 channels and I used them all but one. The functioning missile racks kicked my but but got it all working. Hinging the gun door was also a good time. It started off a nice clean install then I just kept adding stuff.
next is fuel tanks and engine install today. After that paint will begin.

next is fuel tanks and engine install today. After that paint will begin.
 02-24-2020, 06:04 AM
#87
Ok found a good cure to the rudder wobble. This will be fixed on future F22s.
for those of us with the wobble. I removed the rudder drive fitting and stuck it in a vise. Just a little squeeze and recheck. Did this until I got all the play out. I did both sides. It has no play now. The ball and T rides at the top of the drive fitting so it does not take much.


for those of us with the wobble. I removed the rudder drive fitting and stuck it in a vise. Just a little squeeze and recheck. Did this until I got all the play out. I did both sides. It has no play now. The ball and T rides at the top of the drive fitting so it does not take much.
 02-25-2020, 04:53 AM
#91
I have flown it more then the factory so I would not go by what they say anyway  .
.
For the ailerons you will want allot of throw. It does not have great aileron authority.
Elevators- You want about as much as you can get on them since you really cant go to far with the way they are set up. I will get some throws if needed on the one I am building. My first one needed up trim. Looking at this one it might have to do with the pipe angle. So with a twin it might not need up trim on a twin.
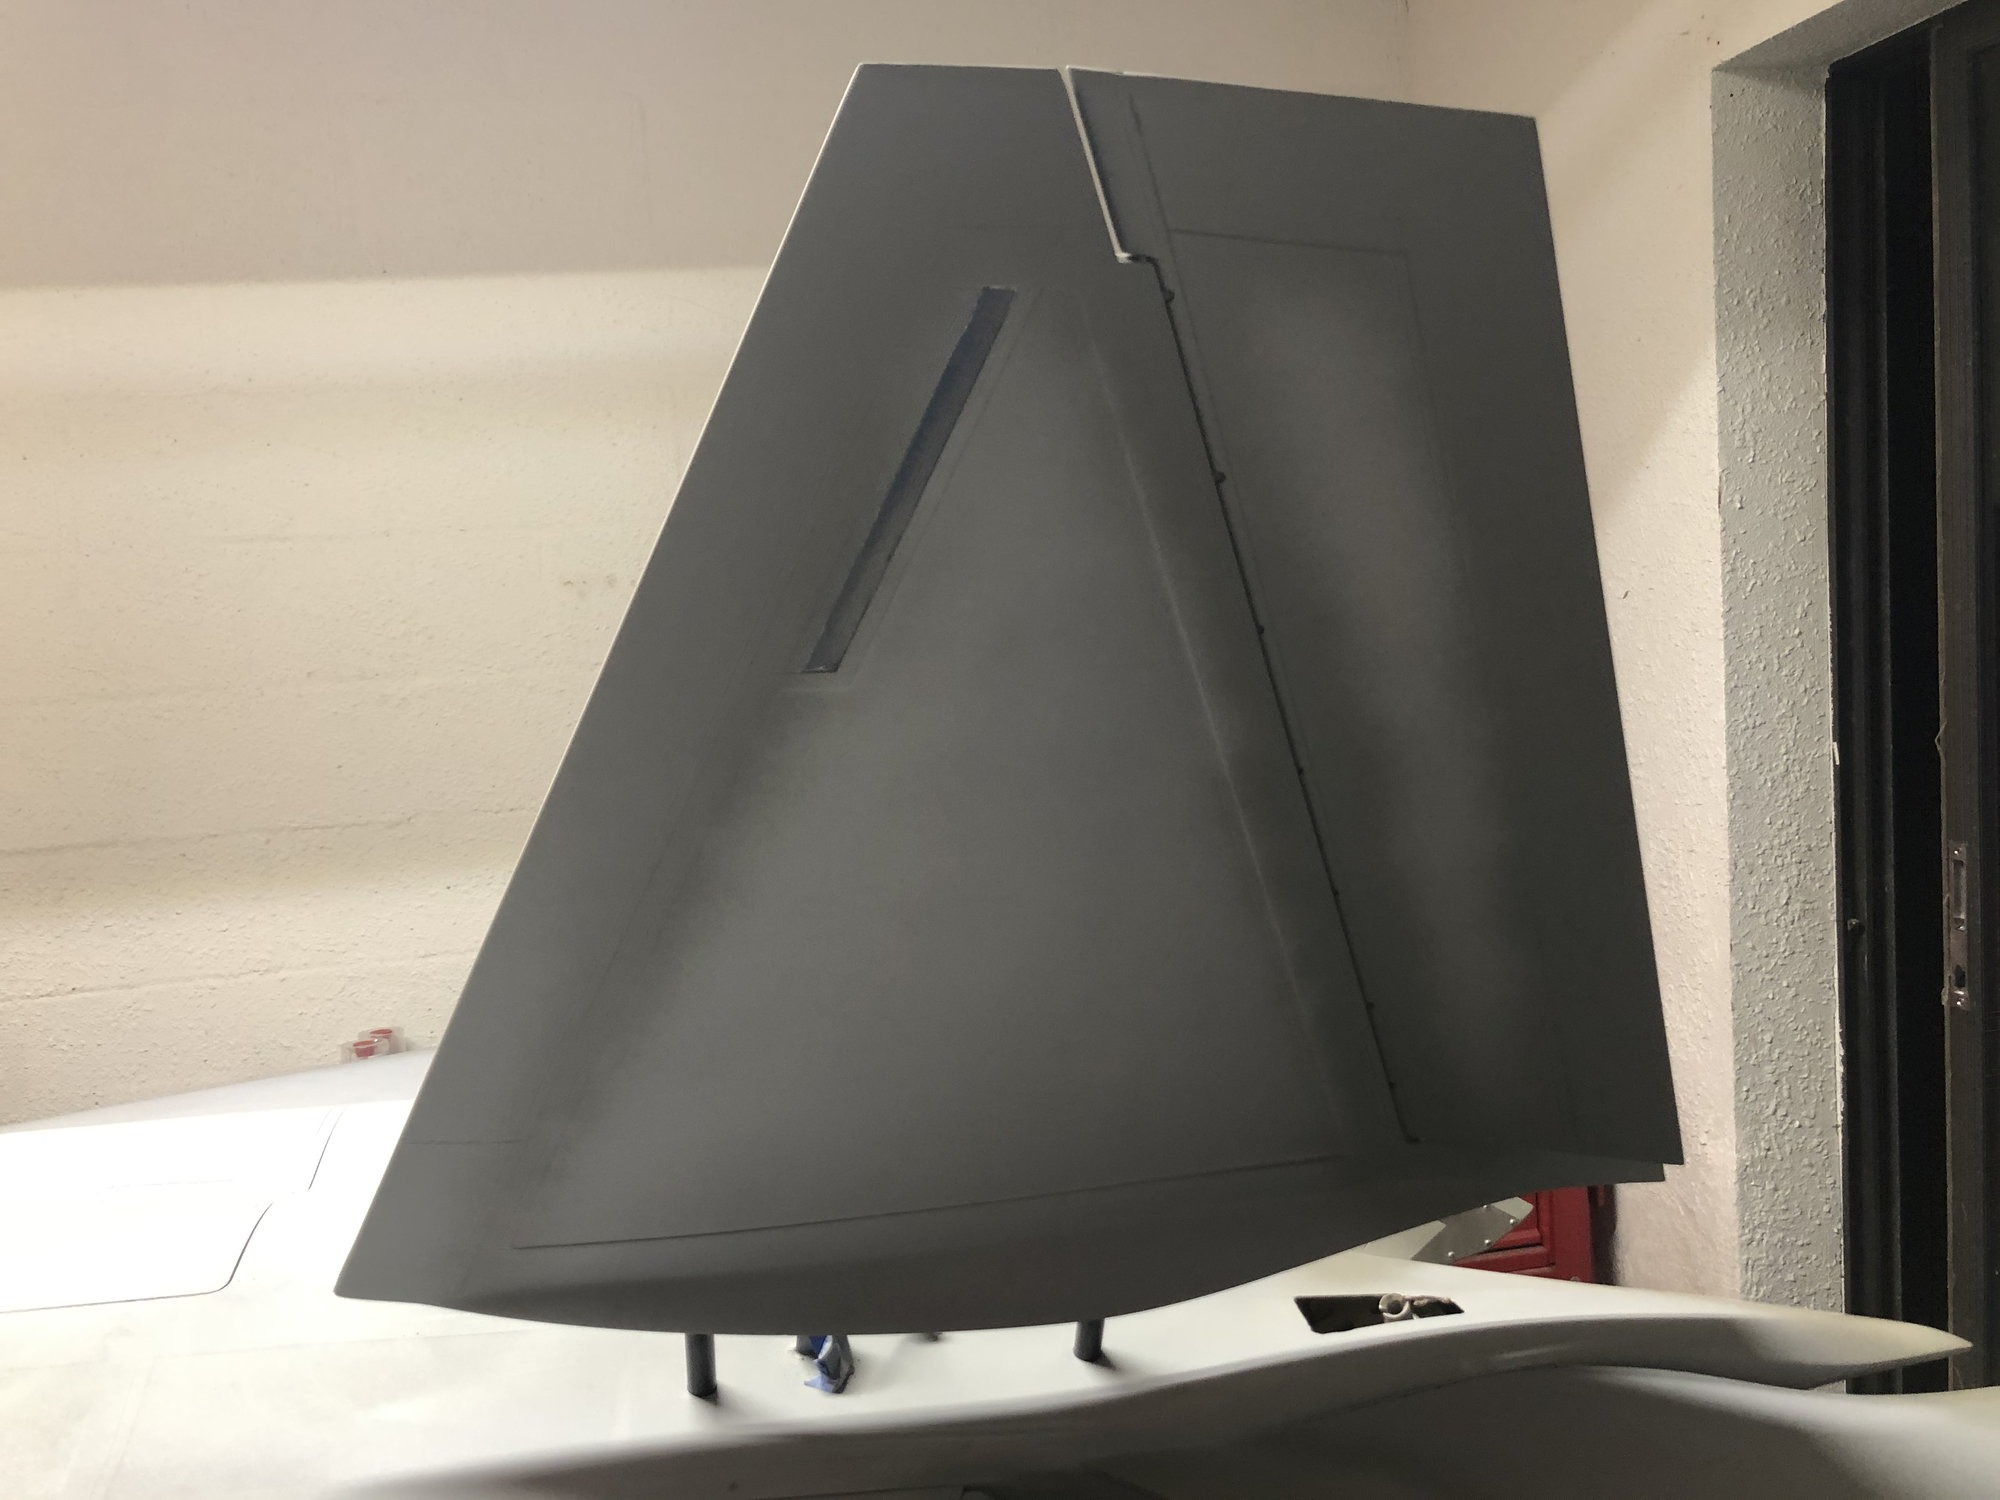
Rudders.... You do not want allot of throw. The rudders on a F22 have lots of roll coupling and you don't really need a bunch. It will take allot of flights to get the roll coupling dialed out of it.
Flaps I gave it as much as I could.
Thrust vectoring... I again gave it max throws. It is a big help with controlling the aircraft when slow. I never turn it off. On this one its not even on a switch and will be on all the time.
Will work on turning the rudders in with flaps down. I liked that on my old F18 because it helps bring the nose up. I will also add crow for landing since this also helps keep that nose high attitude.
. For the ailerons you will want allot of throw. It does not have great aileron authority.
Elevators- You want about as much as you can get on them since you really cant go to far with the way they are set up. I will get some throws if needed on the one I am building. My first one needed up trim. Looking at this one it might have to do with the pipe angle. So with a twin it might not need up trim on a twin.
Rudders.... You do not want allot of throw. The rudders on a F22 have lots of roll coupling and you don't really need a bunch. It will take allot of flights to get the roll coupling dialed out of it.
Flaps I gave it as much as I could.
Thrust vectoring... I again gave it max throws. It is a big help with controlling the aircraft when slow. I never turn it off. On this one its not even on a switch and will be on all the time.
Will work on turning the rudders in with flaps down. I liked that on my old F18 because it helps bring the nose up. I will also add crow for landing since this also helps keep that nose high attitude.
02-25-2020, 05:06 AM
#93
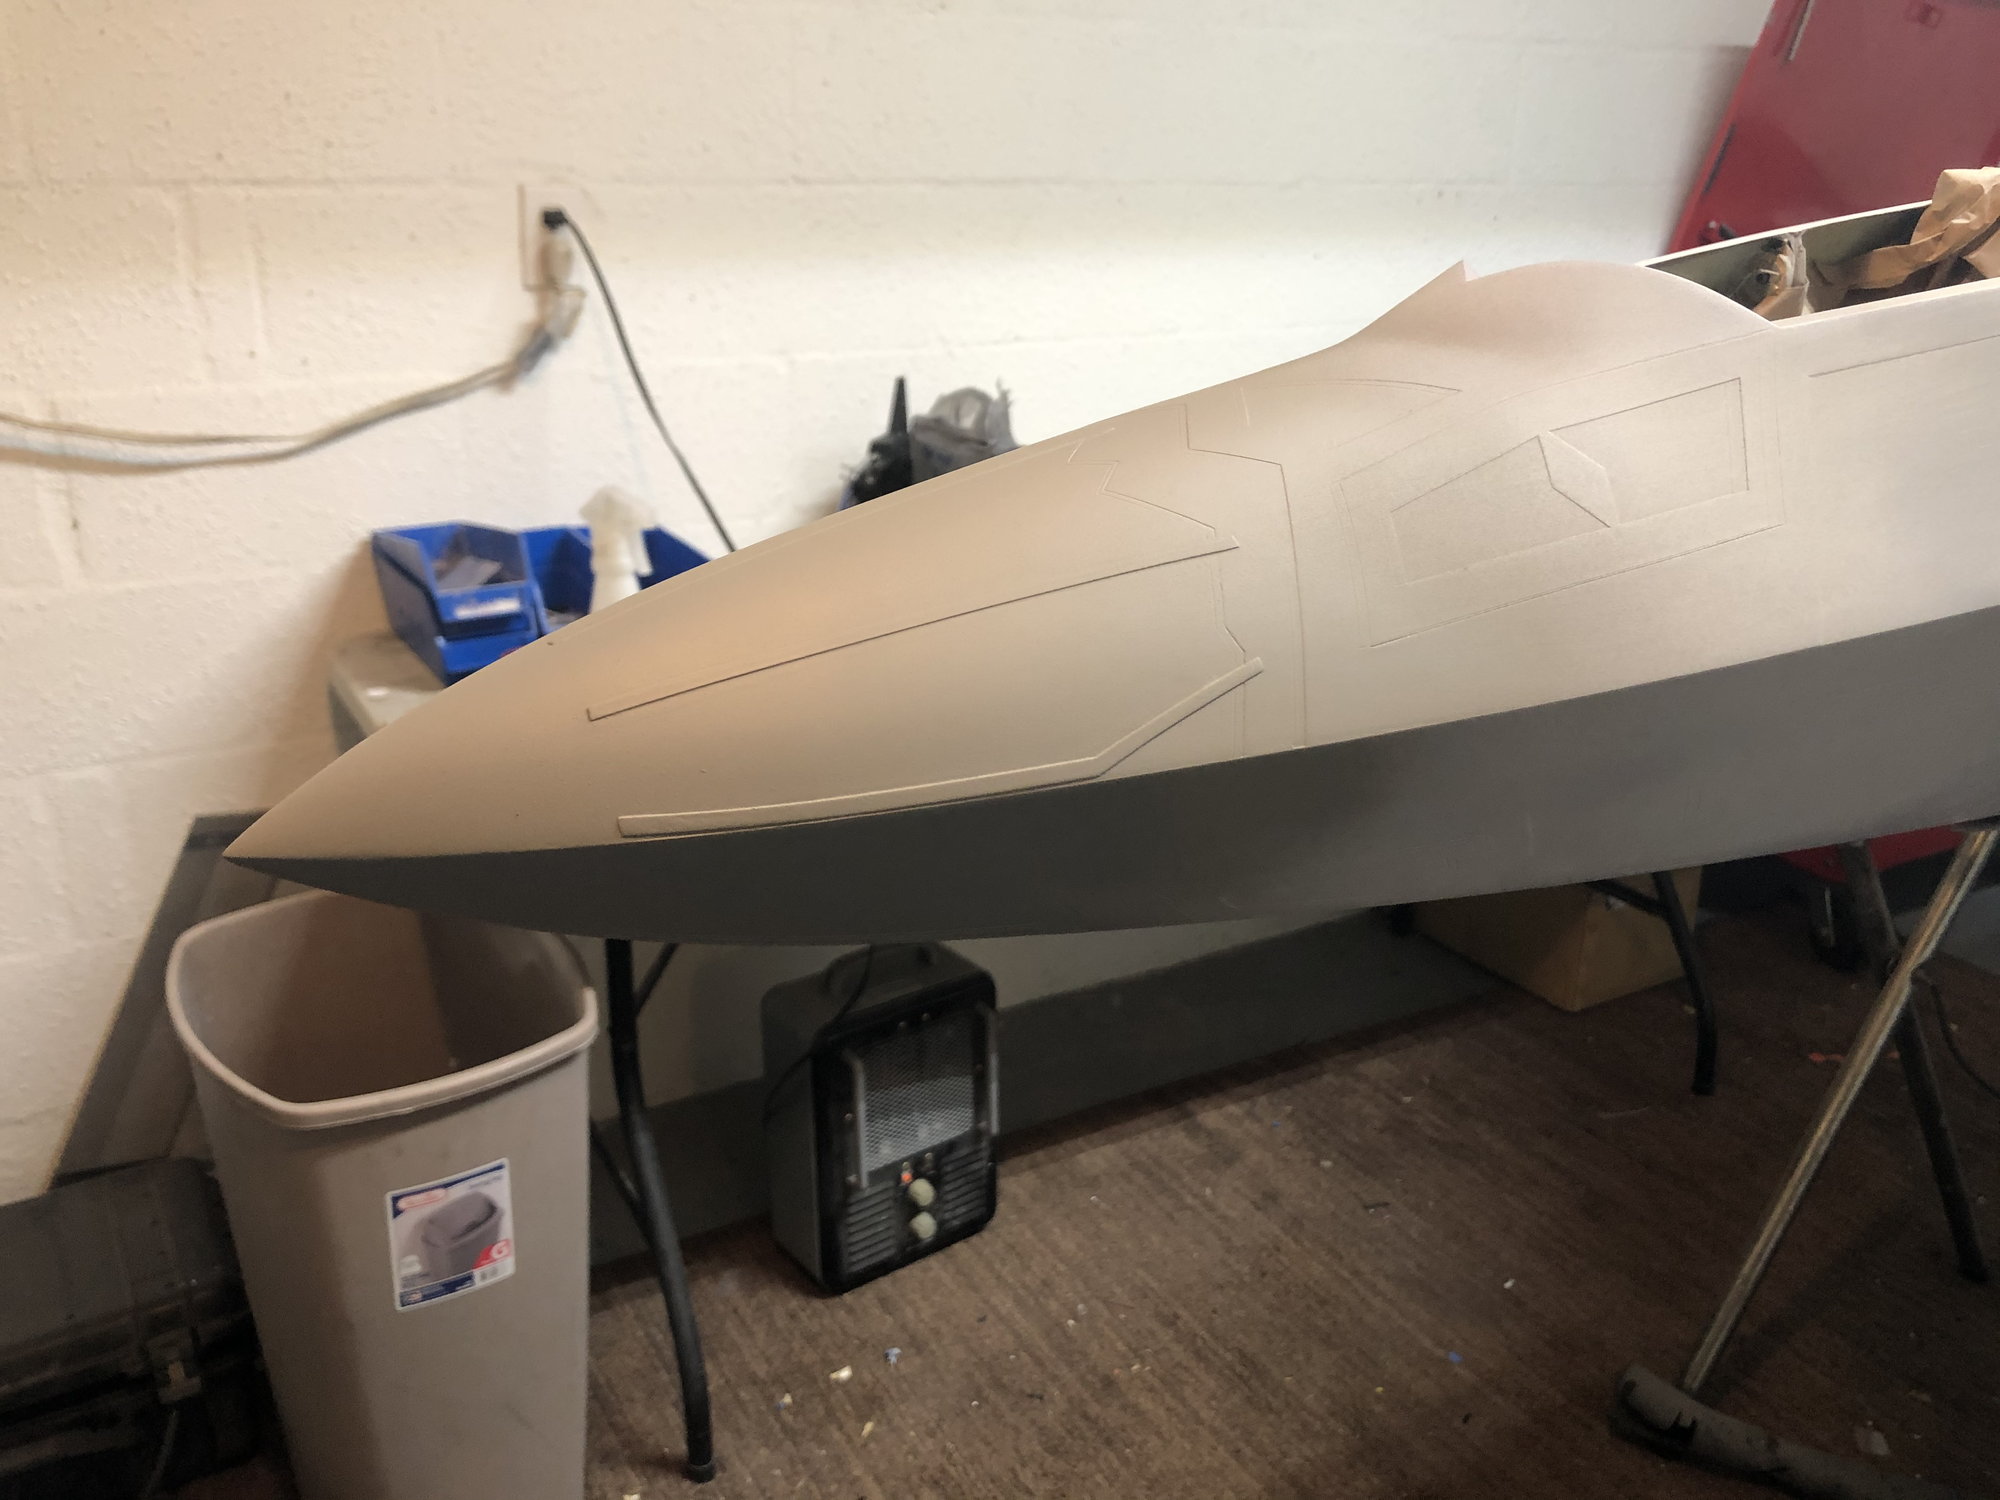
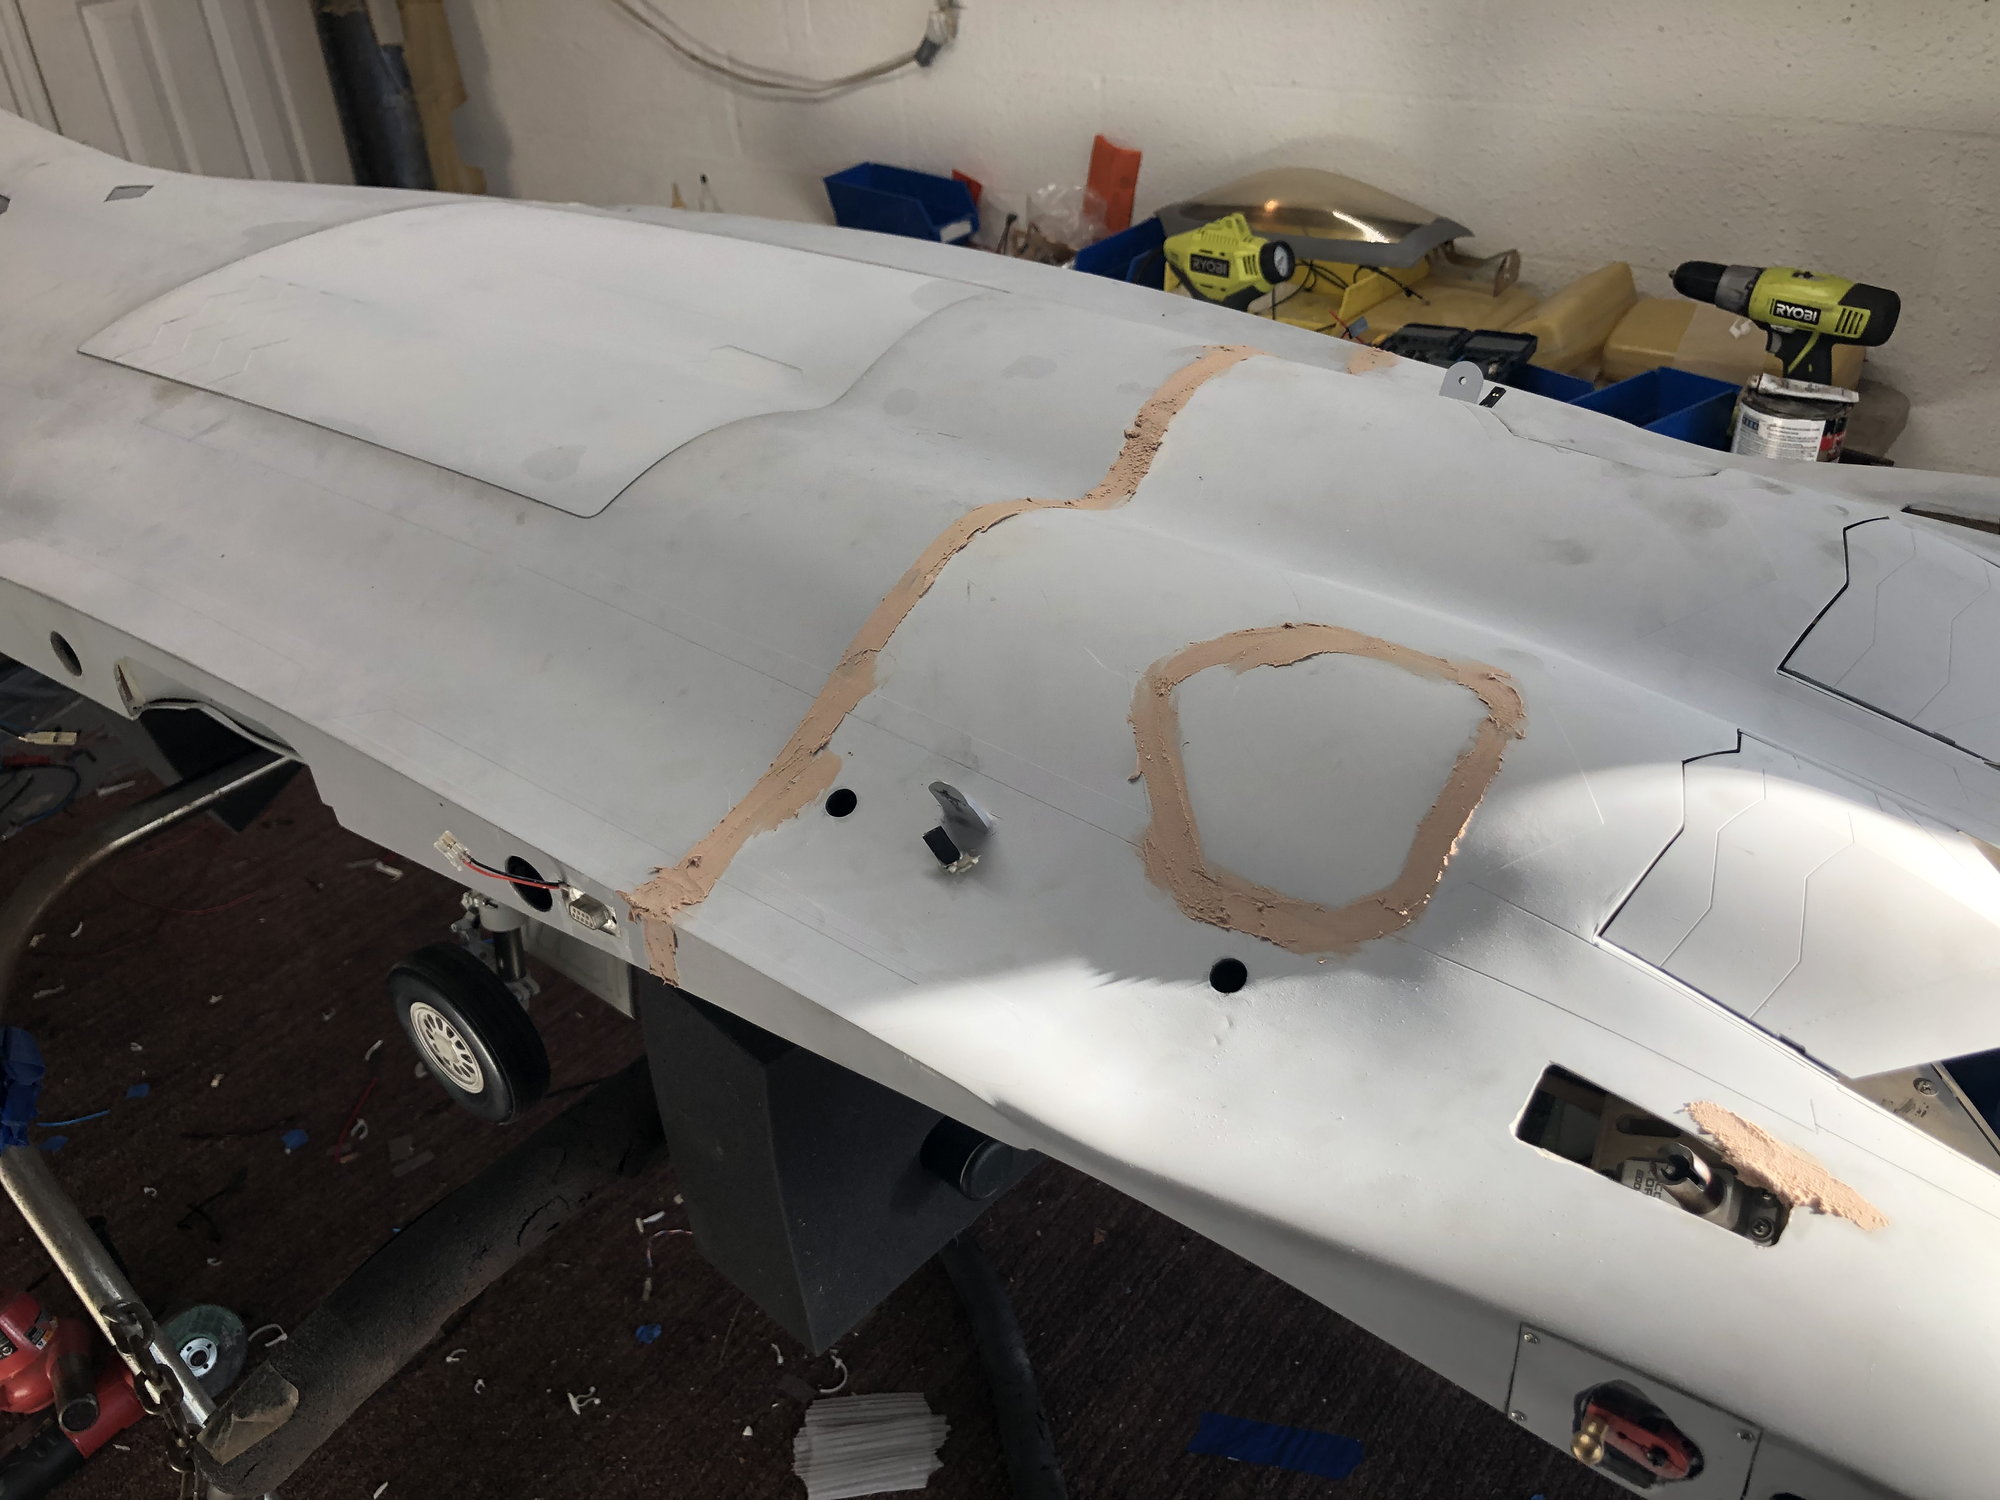
Should have all the filling done tonight. Might be able to start painting the edges tonight. Painting the F22 is something that needs to be done backwards in a way. Since its all metallic paint you really don't want to tape on top of it. So the edges need to be painted first.
Edges get painted with Model Master spray cans Navy Aggressor Grey.
Main color is model master aluminum 4 parts to one part Graphite metallic.
Dark camo color is 4 parts graphite metallic to one part aluminum.
Next will be a can of 2K gloss clear coat.
Markings. Most are paint masks and the small stuff is dry transfer. All from Tailormade decals.
After that will be satin clear. You can adjust how far you spray this to get the about of flat you desire.
Weathering is last. I always weather after the clear so it changes when flying the aircraft. After I go a season with them the fuel I spill from fueling and the fuel that comes out of the vents does some authentic weathering with the oils I use when weathering.
Sean from StrictlyScale.Com Got me some new Pitot tubes to install. I will also be using his missiles. Along with remove before flight tags.
I have another guy I am looking forward to dealing with that has made a super detailed Aces II ejection seat for the raptor. Along with the scale parts that go into the missile bays like the breaker panels and such. Its a perfect spot to add detail that will draw attention when the aircraft is on the ground doing static display. Not sure if these parts will arrive before FL jets though.
 02-25-2020, 11:17 AM
#96
I do everything simple also. My flap switch will do slats flaps and activate tailerons. I don't like flipping a bunch of switches when flying. I also never use rates. My flap switch is also my flight condition switch.
Using the AR system so I don't mess with gyro gain. It controls the gyro gain all by itself . Simply turn it on and forget. I just have a switch to disable it need be. I did not like flying the plane without the gyro. It flew night and day difference with and without. So my 285mm CG is probably on the tail end of the CG range so don't stray aft of that.
Bob I look forward to seeing you! Glad your coming down.
On the ground she has lots of switches to play with though. The gun door has a switch. Lights have a switch. Bomb bay doors of course but the moving missile racks I have setup to move also on a separate switch so I don't accidently hit it in flight. I doubt a missile sticking out on an angle at speed will end up well. then canopy also. The moving pilot has his own small control board so I wont control him he is preprogrammed already. Both arms move and his head.